
























What Is In-The-Hoop Embroidery?In The Hoop
A simple beginner guide to ITH machine embroidery
Welcome
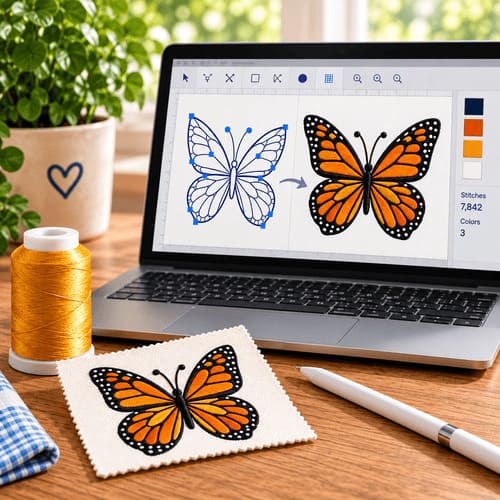
If you are new to machine embroidery, you may see designs labeled ITH. ITH stands for In The Hoop. An in-the-hoop design is more than just a decorative embroidery design. It is created so your embroidery machine helps build the actual project inside the hoop. Instead of embroidering a design onto a finished item, you may end up making the item itself.
How In-The-Hoop Projects Work
Rather than stitching a design onto an already-finished item, ITH projects build the item itself during the stitching process, using placement and tackdown stitches to position fabric layers, stitch seams, and finish edges, all without ever removing the project from the hoop until it's complete.
How Does an ITH Project Work?
Most ITH projects are completed through a series of color stops. A color stop does not always mean you need to change thread. Sometimes the machine stops because it is time for you to do something.
- Place fabric in the hoop.
- Stitch a placement line.
- Add another piece of fabric.
- Stitch it in place.
- Trim extra fabric.
- Continue stitching the design.
- Add the back of the project near the end. The embroidery file tells the machine when to stop so you can complete each step.
What Is a Placement Stitch?
A placement stitch shows you where fabric or another material needs to go. The machine stitches an outline first. You then place your fabric over that outline. After that, the machine usually stitches a tackdown stitch, which holds the fabric securely in place. If the project uses applique, you may then remove the hoop from the machine and trim the fabric close to the tackdown line. Do not remove the project from the hoop while trimming. Then place the hoop back on the machine and continue stitching.
Understanding Placement and Tackdown Stitches
Reading the design's color stop instructions carefully is key — each color stop typically represents a distinct step in the build process, not just a decorative color change.

What Do I Need for an ITH Project?
Your supplies will depend on the design, but most ITH projects use:
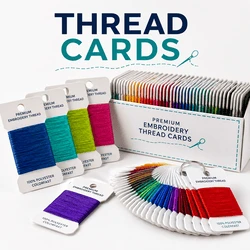
- Embroidery thread
- Stabilizer
- Fabric
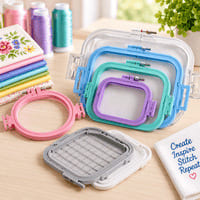
- Your embroidery hoop
- Scissors
- The ITH embroidery design
Some projects may also need felt, vinyl, zippers, ribbon, applique fabric, or stuffing. Always check the project's supply list before you begin.
Do I Need a Sewing Machine?
That depends on the project. Some ITH designs are completed almost entirely in the embroidery hoop. Others may need a small amount of finishing with a sewing machine or by hand after the embroidery is finished. The instructions for the project should tell you what is required. For example, EmbroideryDesigns.com features projects such as ITH Owl Bags, which are made in one hooping with the zipper and lining included, while other projects may require a little finishing after they come out of the hoop.
Why ITH Projects Are Popular
- No separate sewing machine needed — the embroidery machine handles construction and decoration together.
- Fast, satisfying finished projects that go from hoop to usable item in one sitting.
- Great gift options, since many designs (bags, mug rugs, keychains) are quick to personalize and finish.
What Can You Make In The Hoop?
- Keychains
- Ornaments
- Gift card holders
- Pouches
- Bags
- Mug rugs
- Potholders
- Stuffed animals
- Small decorative projects
EmbroideryDesigns.com has many examples, including the ITH Tee Caddy, ITH Teddy Bear, ITH Horse Bag, ITH Teddy Bear Keychain, ITH Fruit Gnomes Potholders, and ITH Light Bloom Mug Rugs. Some projects are very simple, while others have zippers, applique pieces, lining, or several construction steps.
Popular In-The-Hoop Projects
ITH designs cover an impressive range of finished products.


 Click on this icon to see all of our in-the-hoop designs!
Is ITH Embroidery Good for Beginners?
Yes - as long as you choose an easy first project. A small keychain, ornament, gift card holder, or other simple project is usually a much better place to start than a complicated bag or multi-piece project. EmbroideryDesigns.com offers ITH projects for different skill levels, so checking the project instructions before choosing your first one can help you know what to expect.
Getting Started
If you're new to ITH, start with a simple, single-layer project like a mug rug or key fob before moving on to multi-piece builds like bags or stuffed animals. For a closer look at one popular ITH category, see our guide to key fob embroidery designs.
Browse our full range of in-the-hoop embroidery designs to find your next project.
The Most Important Beginner Tip
Follow the instructions one step at a time. ITH projects are designed to be completed in a specific order. When the machine stops, check the instructions before pressing Start again. That stop may be telling you to add fabric, trim applique, attach ribbon, add the back of the project, or complete another construction step.
The Easy Way to Remember ITH
Your embroidery machine is not just decorating the project - it is helping you make the project. You place the materials when instructed, the machine stitches them together, and step by step the finished item takes shape right inside the hoop. For your first ITH project, choose something small with only a few construction steps. Once you complete one and see how the placement stitches, tackdown stitches, and color stops work together, ITH embroidery becomes much easier to understand.
ITH stands for In The Hoop — designs where your embroidery machine helps construct the project inside the hoop, not just decorate fabric.
Yes, if you start with a small, simple project such as a keychain, ornament, or gift card holder and follow the instructions one stop at a time.
Remove the hoop from the machine if needed, but keep the project in the hoop while trimming so registration stays accurate.