





















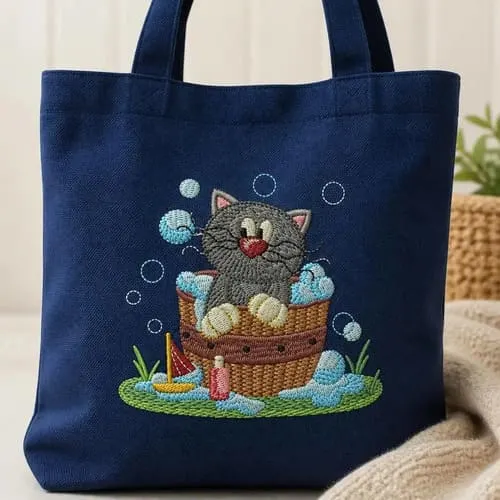

Different Fabrics for Machine EmbroideryFabric
A beginner's guide to cotton, knits, towels, denim, and more
Welcome
Different Fabrics for Machine Embroidery: A Beginner’s Guide If you're brand new to machine embroidery, you may be wondering a surprisingly important question: Can I embroider on any fabric? The short answer is that many different fabrics can be embroidered, but they don't all behave the same way. A sturdy piece of denim is very different from a stretchy T-shirt. A smooth piece of cotton behaves differently from a fluffy towel. And a delicate fabric such as satin can require a little more care than a stable woven fabric. The good news is that once you understand how fabric behaves, choosing the right setup becomes much easier. The biggest things to think about are how stable the fabric is, whether it stretches, how thick or textured it is, and how much support the embroidery design needs. Let's look at some of the most common fabrics you'll encounter and what you should know before stitching on them.
Why Does Fabric Matter in Machine Embroidery?
When your embroidery machine stitches a design, the needle is moving up and down thousands of times. The fabric needs to stay in the correct position while that happens. If the fabric moves, stretches, shifts, or gets pulled out of shape, the embroidery can end up with problems such as:
- Puckering
- Distorted designs
- Poor registration
- Uneven stitches
- Fabric pulled into the embroidery
That's why fabric and stabilizer work together. Stabilizer provides additional support while the embroidery is being stitched. The type you use depends partly on the fabric and partly on the design itself. A stable woven fabric generally needs less help than a stretchy knit. That's an important idea to remember throughout this article: The more the fabric moves or stretches, the more carefully you need to think about stabilization.
Cotton: One of the Best Fabrics for Beginners
Cotton is a wonderful place to start if you're learning machine embroidery. Woven cotton is generally stable and easy to work with, making it a good choice for practicing designs, monograms, quilt projects, napkins, and other embroidered items. Why Is Cotton Beginner-Friendly? Cotton doesn't have the same stretch as a knit T-shirt, so it tends to stay put more easily during embroidery. For a beginner, that makes learning the basics—such as hooping, centering your design, and choosing stabilizer—a little less complicated. Tear-away stabilizer is often a good starting point for stable cotton fabrics, particularly when you're working with a suitable design. What Should You Watch For? Not every cotton fabric is identical. A lightweight quilting cotton behaves differently from a heavy canvas-like cotton. A very thin cotton may need additional support, while a heavier fabric may need a different stabilizer or needle combination. If you're unsure, stitch a test sample first. And here's an important beginner habit: wash and press fabric when appropriate before embroidering it, especially for projects where shrinkage could affect the finished result.
Denim: A Great Choice for Beginners
Denim is one of those fabrics that looks intimidating but can actually be quite friendly to embroider. The reason is simple: denim is stable. Unlike a stretchy T-shirt, denim generally doesn't move around as much while you're stitching. Denim works beautifully for:
- Jeans
- Denim jackets
- Shirts
- Bags
- Pockets
- Caps and other structured items
What Makes Denim Different? The challenge with denim is often its thickness, rather than stretch.
You need to make sure your needle and machine can comfortably handle the fabric and embroidery design you're using. You also need to consider the thickness of the area you're trying to embroider. A flat piece of denim is one thing; stitching through multiple layers of a denim garment is another. A tear-away stabilizer can be a good starting point for stable denim and an appropriate embroidery design, but your particular fabric and design may require a different setup. As always, test first.
T-Shirts and Other Knits
This is where beginners often run into trouble. A T-shirt fabric is a knit, which means it can stretch. That stretch is wonderful when you're wearing the shirt, but it creates a challenge for embroidery. As the machine stitches, the fabric can move or stretch. When the stitching is finished and the fabric relaxes, you may see puckering or distortion. Does That Mean You Shouldn't Embroider T-Shirts? Not at all. T-shirts are one of the most popular things to personalize with machine embroidery. You just need to give the fabric enough support. One important step is to use a fusible stabilizer on the back of the T-shirt in the area where you're going to embroider. The fusible stabilizer attaches to the fabric and helps keep the knit from shifting and stretching while the machine is stitching. This is especially useful because a T-shirt can move or stretch much more easily than a stable woven fabric. For many stretchy fabrics, cut-away stabilizer is also commonly used because it continues supporting the embroidery after the project is finished. The exact stabilizer combination should depend on the shirt, design, and machine setup. How Do You Apply Fusible Stabilizer to a T-Shirt? Before you begin, make sure the shirt is clean, dry, and pressed. Cut a piece of fusible stabilizer large enough to cover the embroidery area with some extra around the edges. Place the fusible side against the inside back of the shirt, following the stabilizer manufacturer's instructions for applying it with an iron. Allow the stabilizer to cool and bond to the fabric before continuing with your embroidery setup. The goal is to create a more stable embroidery area without stretching the shirt out of its natural shape. The Biggest T-Shirt Mistake
Don't stretch the shirt tightly in the hoop just to make it look perfectly smooth. You want the fabric secured, but you don't want to distort its natural shape. The fusible stabilizer helps give the knit additional support so you don't have to rely on stretching the shirt tight in the hoop. Think of it this way: Secure the fabric without stretching it. That one idea can prevent a lot of beginner frustration.
Towels and Terry Cloth
Towels are another popular machine-embroidery project. And they introduce a completely different problem: texture. A towel has a raised surface, or pile. If you stitch directly onto that fluffy surface, some of the embroidery stitches can disappear into the pile. That's why towel embroidery often uses a water-soluble topping over the fabric. The topping helps keep the embroidery stitches sitting above the textured surface so they remain visible. Should You Hoop the Towel? Not necessarily. For some towel projects, you can hoop the stabilizer and secure the towel on top rather than placing the towel itself inside the hoop. This can also help avoid permanent hoop marks in the towel. This is a good example of why you shouldn't assume that every fabric should be hooped in exactly the same way. A Simple Towel Setup For a typical towel project, you may need:
- Appropriate stabilizer underneath.
- The towel secured to the stabilizer.
- A water-soluble topping on top of the towel.
- A design appropriate for the project.
- A test stitch-out before working on the finished towel. The exact combination can vary depending on the towel, design, and machine.
Fleece and Other Soft, Thick Fabrics
Soft fabrics such as fleece can also be embroidered, but their thickness and softness create their own challenges. Because fleece can compress and move under the embroidery, it needs enough support to keep the design stable. A cut-away stabilizer may provide the support needed for some fleece projects, depending on the fabric and design. What About the Fuzzy Surface? If the fabric has a noticeable pile or fuzzy surface, you may also need to think about how the stitches will sit on top of the fabric. That's when a topping can become useful. The goal is to keep the embroidery visible rather than allowing the fabric fibers to work their way up through the stitches.
Satin and Other Smooth, Slippery Fabrics
Satin can produce beautiful embroidery, but it's less forgiving than a stable cotton. The smooth surface can make the fabric more difficult to keep perfectly positioned, and dense embroidery can emphasize puckering. If you're new to embroidery, I wouldn't make satin your first-ever project. But once you're comfortable with hooping and stabilization, it can be a rewarding fabric to try. Start With a Small Design A small, lighter design is usually a better starting point than a very dense design covering a large portion of the fabric. And test on a scrap. That little test piece can tell you whether your combination of fabric, stabilizer, needle, thread, and design is working before you've put your finished project at risk.
Canvas and Other Heavy Woven Fabrics
Canvas and other sturdy woven fabrics can be excellent choices for embroidery. They're useful for projects such as:
- Tote bags
- Pouches
- Home décor
- Utility bags
- Wall hangings
- Accessories
The main consideration is thickness. A heavy fabric may require more attention to needle choice and machine capability than a lightweight woven fabric. Also remember that a dense embroidery design can add considerable stitching to an already heavy fabric. A lighter design may be a better choice when you're working with very thick material.
Faux Leather and Similar Materials
You can also encounter materials such as faux leather in machine-embroidery projects. These aren't fabrics in quite the same sense as cotton or denim, but they're worth mentioning because they're often used for personalized bags, patches, labels, and accessories. The important thing here is to follow the manufacturer's recommendations for the material and your embroidery machine. Some materials can show needle holes permanently, so testing is especially important. You don't want to discover after stitching your design that you've created a row of unwanted holes in the finished material.
Faux leather doesn't need traditional stabilizer in the same way woven fabrics do — a lightweight tear-away or even no stabilizer at all can work, since faux leather generally doesn't fray or stretch. Use a leather or sharp needle and stitch slowly to avoid perforating the material too heavily.
The Design Matters as Much as the Fabric
Here's something beginners sometimes discover the hard way: You can't choose your embroidery setup based on fabric alone. Imagine you have a cotton shirt. A small name with a relatively light stitch count is one situation. A large, dense filled design is another. Both are being stitched onto cotton, but they don't necessarily need exactly the same setup. When choosing a design, consider:
- Design size
- Stitch count
- Stitch density
- Fabric weight
- Fabric stretch
- Fabric texture
- Where the design will be placed
If you're learning, starting with a smaller, less complicated design gives you more opportunity to learn how your fabric behaves. Should You Hoop Every Fabric? No. Hooping is the process of securing fabric and stabilizer in the embroidery hoop so the material stays in position while the machine stitches. The exact hooping method depends on the fabric. For stable woven fabrics, hooping the fabric and stabilizer together may be straightforward. For towels, you may want to float the towel over the hooped stabilizer instead. With some garments, bags, or bulky projects, floating may also make more sense than trying to force the entire item into the hoop. The important thing is to keep the embroidery area stable without stretching or distorting the material. A Beginner's Fabric Test Before stitching an important project, make a small test. You don't need to create a perfect miniature version of the whole project. Instead, use a scrap of the same or very similar fabric. Test:
- Your chosen design
- The stabilizer
- The needle
- The thread
- The hooping method
- The design placement
For stretchy garments such as T-shirts, test the fusible stabilizer setup as well. Then look closely at the result. Is the fabric puckering? Are the stitches sitting nicely? Does the design look distorted? Are there skipped stitches? Is the fabric being pulled into the embroidery?
A test stitch-out can save you from ruining a favorite shirt, expensive towel, or carefully prepared piece of fabric.
Common Beginner Mistakes With Fabric
Choosing the Fabric Without Thinking About the Design Don't choose fabric first and assume any embroidery design will work. Think about the design and fabric together. Stretching Fabric in the Hoop Especially with knits, stretching the fabric to make it look tight can create problems after you remove it from the hoop. Secure it without distorting it. Skipping Fusible Stabilizer on a T-Shirt A stretchy T-shirt can shift while you're embroidering. Using an appropriate fusible stabilizer on the back of the shirt can help stabilize the embroidery area and reduce unwanted fabric movement. Always follow the stabilizer manufacturer's instructions for application. Using the Same Setup for Everything There isn't one embroidery setup that is perfect for every fabric. A stable woven fabric and a stretchy knit have different needs. The same is true for a smooth satin, thick canvas, and textured towel. Skipping the Test Stitch This is probably the easiest mistake to avoid. If you have enough fabric to make the project, you usually have enough fabric for a small test. Use it. Starting With Your Favorite Garment Your favorite shirt is probably not the place to learn how your machine behaves on knits. Start with a practice piece. Once you know what works, move on to the garment you actually care about.
So, What Fabric Should a Beginner Start With?
If you're completely new to machine embroidery, I'd start with a stable woven fabric such as medium-weight cotton.

It's relatively straightforward to handle, gives you a chance to practice hooping and stabilization, and doesn't introduce the stretch problems you'll encounter with a T-shirt. Once you're comfortable with cotton, try:
- Denim
- Towels
- Fleece
- Knits and T-shirts
- More delicate or challenging materials You don't have to master every fabric at once. Each new fabric teaches you something about how machine embroidery works.
If you're new to machine embroidery, start with cotton, then work your way toward denim and towels once you're comfortable, before tackling knits, fleece, and more delicate materials. For stabilizer pairings by fabric, see Understanding Machine Embroidery Stabilizers.
The Bottom Line
Different fabrics behave differently under an embroidery needle. Stable woven fabrics such as cotton and denim are generally easier places to begin. Stretchy fabrics such as T-shirts require more attention to stabilization, including using an appropriate fusible stabilizer on the back of the shirt to help keep the fabric from shifting. Textured fabrics such as towels may need additional support on top to keep the stitches visible. The trick isn't memorizing a long list of rules. Instead, look at three things: What is the fabric doing? What is the design doing? And what support does the combination need? Once you start thinking that way, fabric selection becomes much less intimidating. And remember: you don't have to get everything perfect on your first try. Grab a scrap, stabilize it, stitch a small design, and see what happens. That's how you learn what your machine—and your fabric—like.
What to Learn Next
Once you're comfortable choosing fabric, the next skill to learn is machine embroidery stabilizer. Understanding how stabilization works with different fabrics will make many of the fabric choices in this article much easier. EmbroideryDesigns.com also has beginner projects that let you practice these techniques on different materials, including cotton, towels, knits, and other fabrics.
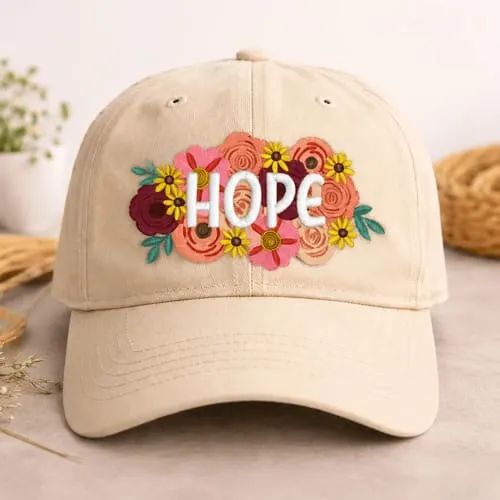
Stable woven cotton is one of the easiest starting fabrics because it stretches less than knits and is forgiving while you learn hooping.
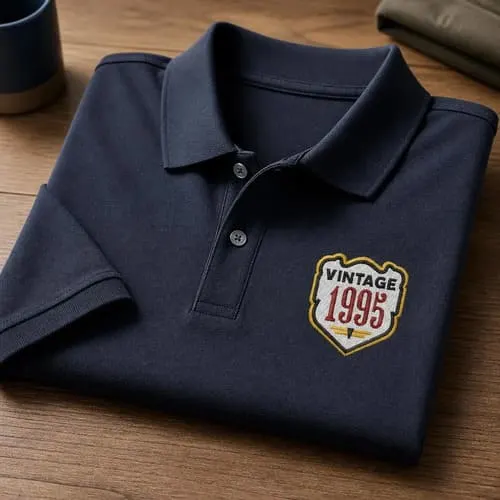
Support the knit — often with fusible stabilizer and/or cut-away — and hoop without stretching the shirt out of shape.
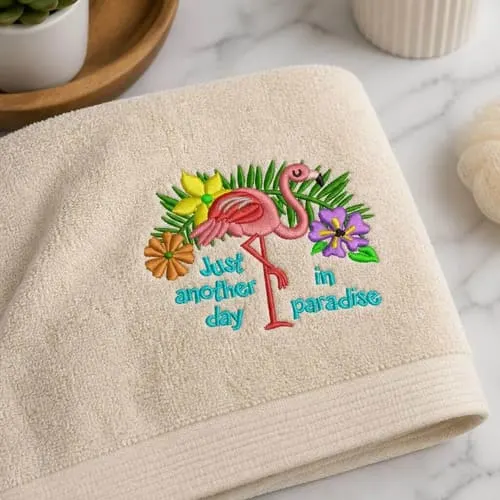
Towel pile can swallow stitches. A water-soluble topping helps keep embroidery sitting on top of the texture.