Border OptionsHugging border, circle, square, or rectangle — with a 3mm satin stitch.
Backing OptionsAvailable with iron-on, sew-on, or velcro backing.
Fast ShippingShipped quickly from the USA.
Free Online Tools
Powerful embroidery utilities that save time and prevent costly mistakes.
Stitch AssistantRECOMMENDED
Get the exact stabilizer, machine settings, needle, and thread color sequence for every embroidery design you purchase — based on that design's stitch density, dimensions, and color count.
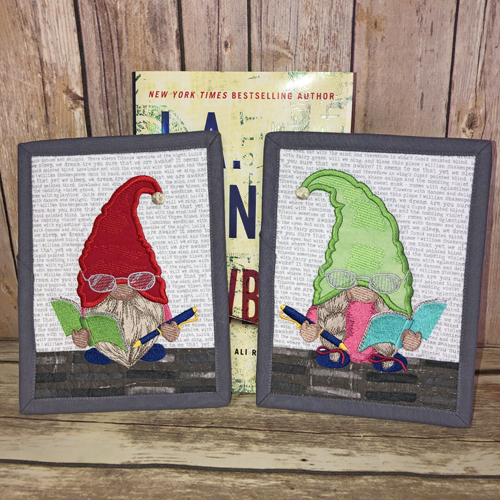
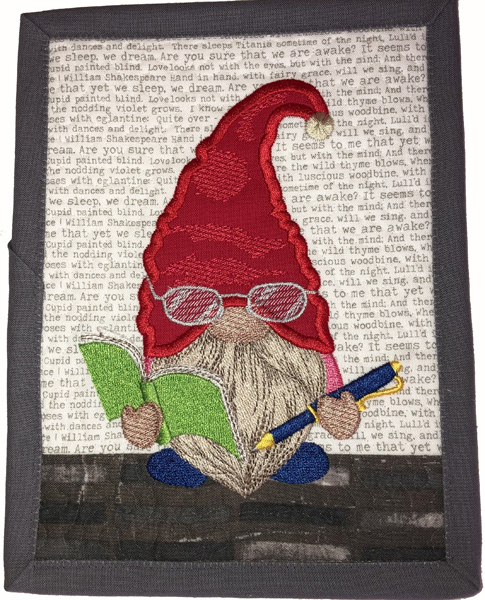
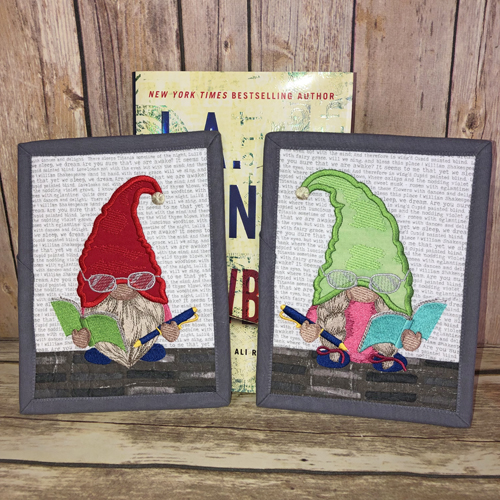
These charming applique mug rugs feature gnome characters engrossed in reading, perfect for the writer or journalist in your life. Crafted with pieced fabrics, applique, and quilting done in the hoop, they add a touch of whimsy to any desk or coffee table. Step-by-step instructions are included.
Print out the color chart from the page where your purchase the designs as some color stops represent steps to be taking in the assembly process rather than actual colors that are used in the project. For example: the 1st five color stops of these mug rugs can all be stitched in grey thread.
Step 1:
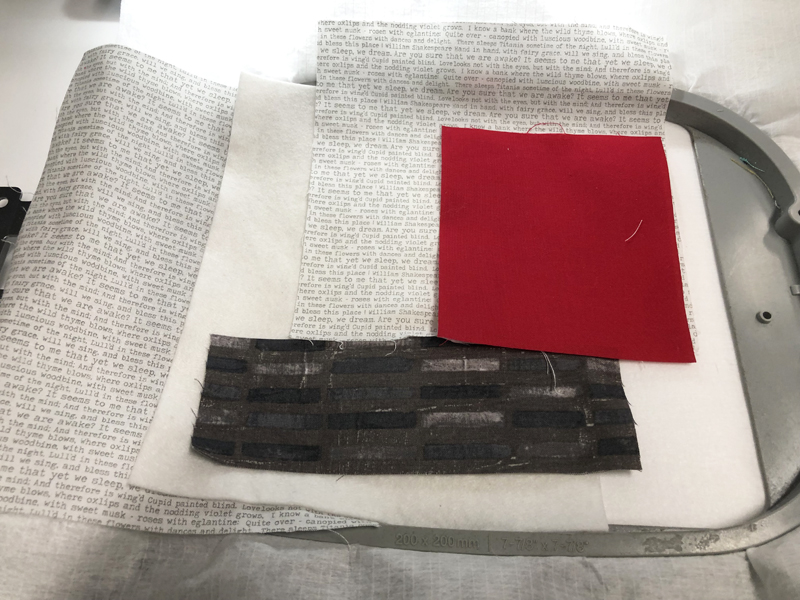
Cut your fabrics per the materials list above and tautly hoop your stabilizer. Fuse the Heat N Bond Lite® to the back of the cap fabric.
(Click Image to Enlarge)
Step 2:
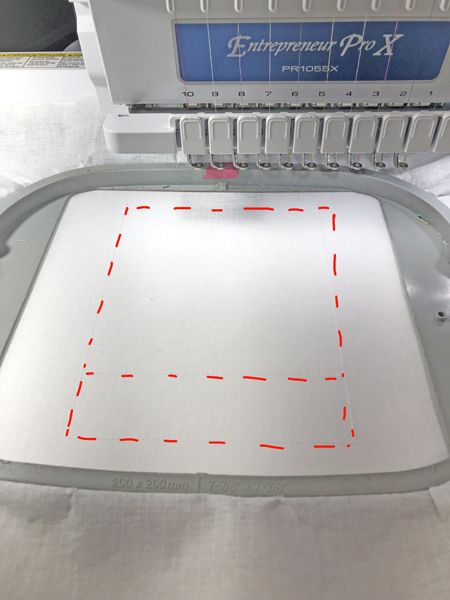
Run the first color stop (CS) as a placement line for the fabrics.
(Click Image to Enlarge)
Step 3:
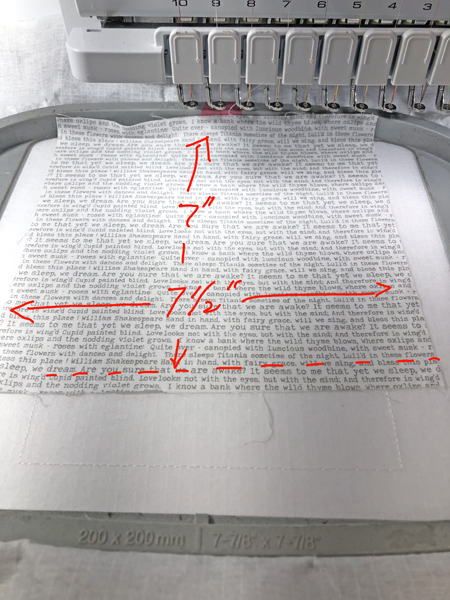
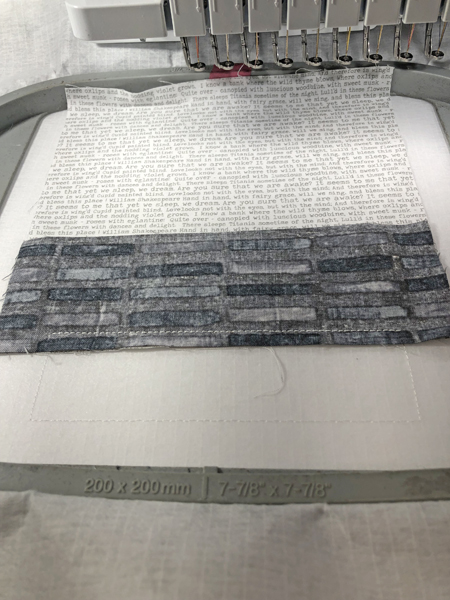
Spray adhesive on the back of the Text fabric and position the fabric so that the bottom of the fabric is about ¼” below the placement line that is 1 ½” above the bottom of the placement lines. The sides and the top of the fabric will exceed the placement lines by at least 1/2”. The 7 ½” width of the fabric goes across the mug rug, the 7” height of the fabric goes to the top and ¼” below the floor placement line.
(Click Image to Enlarge)
Step 4:
Lay the Floor fabric right side down aligning the bottom edge with the bottom edge of the Text fabric. No spray adhesive is used on the floor fabric yet. Run CS 2 to stitch the two fabrics together.
(Click Image to Enlarge)
Step 5:
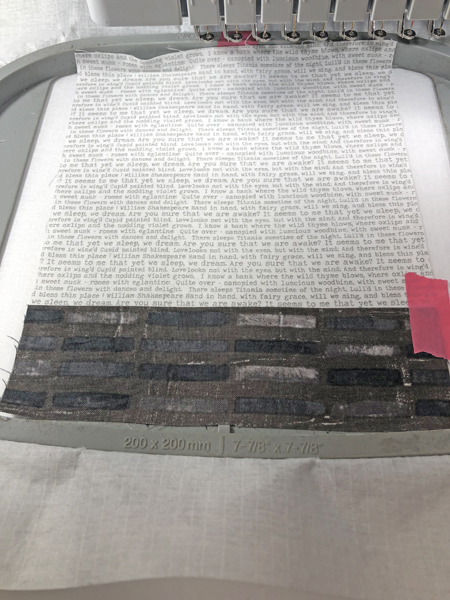
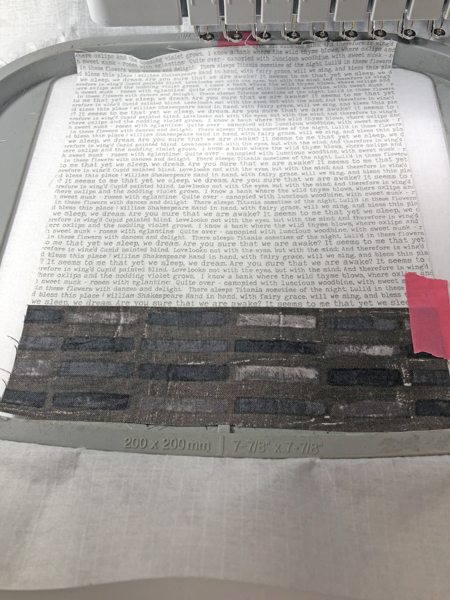
Remove the hoop from the machine, do not unhoop. Spray adhesive on the stabilizer area below the fabrics seam. Smooth the floor fabric away from the Text fabric and over the bottom placement line. The fabric should exceed the bottom placement line by at least ½”. Place tape where the Text and floor fold over right outside the stitching lines to keep the fabric from being lifted by the presser foot.
(Click Image to Enlarge)
Step 6:
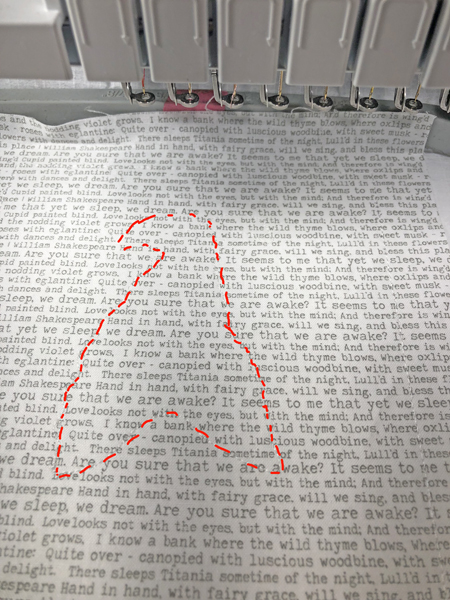
Run CS 3 in Chrome (1011) to tack down both fabrics. ( I ran it in Super White in the sample which is why I know to tell you to stitch it in Chrome.
(Click Image to Enlarge)
Step 7:
Run the next color stop in Chrome (The sample was made with Super White thread which made it hard to see the placement line.)
(Click Image to Enlarge)
Step 8:
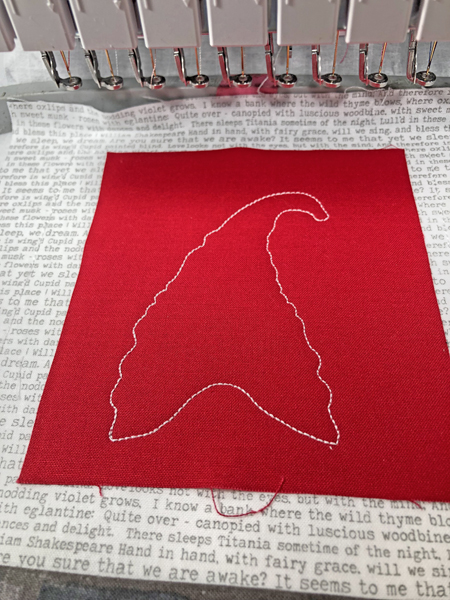
Peel the paper off the 4 ½” x 5” rectangle of cap fabric; spray adhesive on the Heat N Bond Lite® side and position the fabric over the placement lines so that the fabric exceeds the placements by ½ on all sides. Run the next CS to tack down the fabric.
(Click Image to Enlarge)
Step 9:
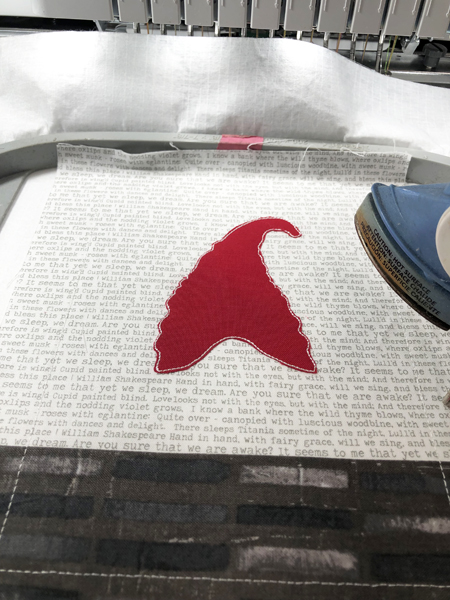
Remove the hoop from the machine, do not unhoop. Trim the applique right up next to the tack down stitches and then press the applique with an applique iron.
(Click Image to Enlarge)
Step 10:
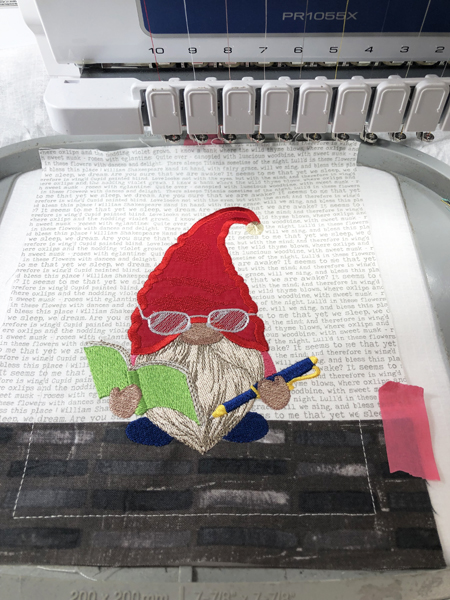
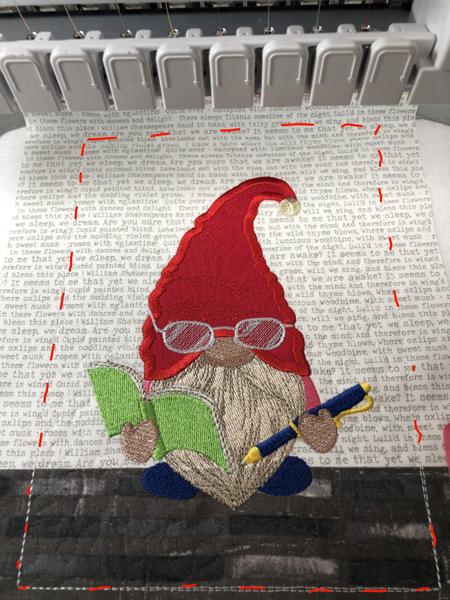
Follow the color chart to embroider the Writer Gnome. Do not stitch the last two color stops.
(Click Image to Enlarge)
Step 11:
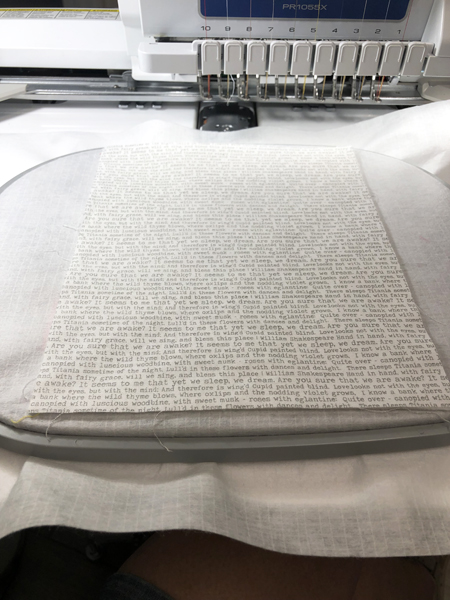
Remove the hoop from the machine – do not unhoop-place the hoop face down on a flat surface. Spray adhesive on the Battilizer® and position it over the back of the hoop aligning it with your front fabric. Spray adhesive on your backing fabric and position it right side up over the Battilizer®.
(Click Image to Enlarge)
Step 12:
Return the hoop to the machine and run the next to last color stop in Chrome thread to tack down the fabrics and batting. Run the last CS in invisible thread to quilt over both the Text and floor.
(Click Image to Enlarge)
Step 13:
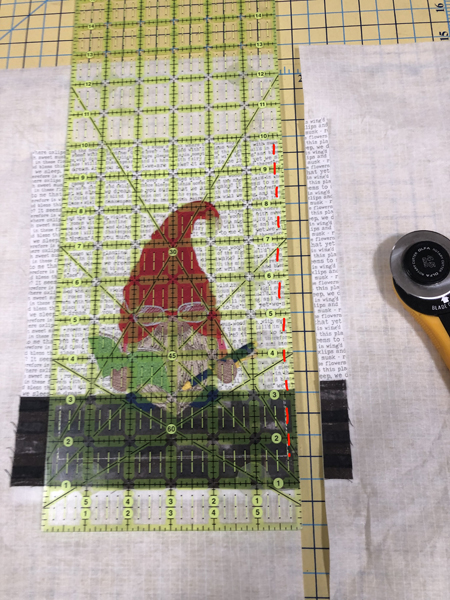
Remove the project from the hoop. Lay the ¼” mark of a see-through ruler along the tack down lines and trim all sides to a ¼” seam allowance.
Award winning Digitizer, Embroidery Educator, Author and a Consultant to the Industry, Pat Williams has 30 years of experience in the embroidery industry. Pat has won multiple awards for her digitizing expertise including the 2007 Impressions Awards Grand Championship, Best of Show as well as the 1st and 2nd Place Awards. Pat’s love of digitizing has afforded her the opportunity to write numerous articles for Impressions magazine in the United States and Images Magazine in Europe. In 2001 Pat was named “Embroidery Educator of the Year.” For many years Pat taught digitizing seminars at the ISS Shows in Long Beach, CA and for Compucon software. She now resides in Tucson, AZ.