Border OptionsHugging border, circle, square, or rectangle — with a 3mm satin stitch.
Backing OptionsAvailable with iron-on, sew-on, or velcro backing.
Fast ShippingShipped quickly from the USA.
Free Online Tools
Powerful embroidery utilities that save time and prevent costly mistakes.
Stitch AssistantRECOMMENDED
Get the exact stabilizer, machine settings, needle, and thread color sequence for every embroidery design you purchase — based on that design's stitch density, dimensions, and color count.
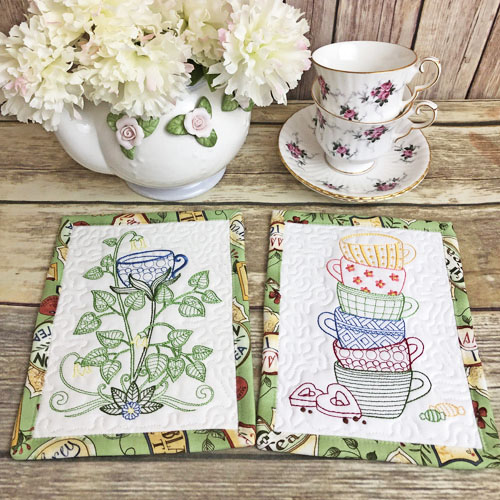
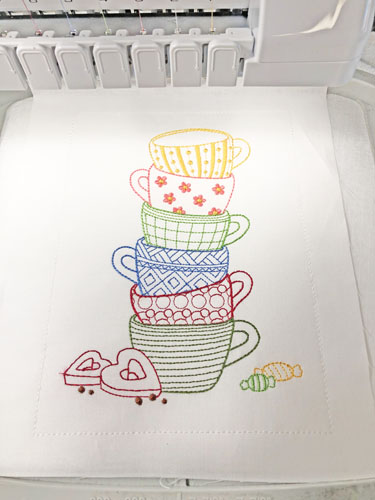
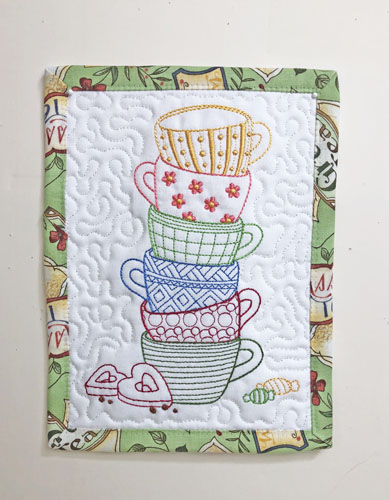
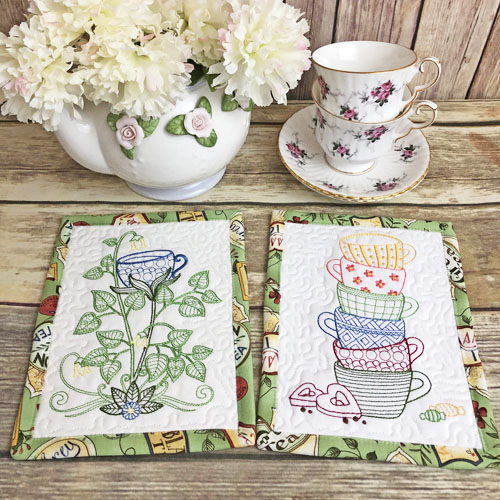
Two little mug rugs made especially for the tea lovers among your family and friends are embroidered and quilted in the hoop. The binding is sewn on at your sewing machine.
The sample was stitched in an 8” x 8” hoop so yours might look a little different if stitching in a 6” x 10” hoop.
Step 1:
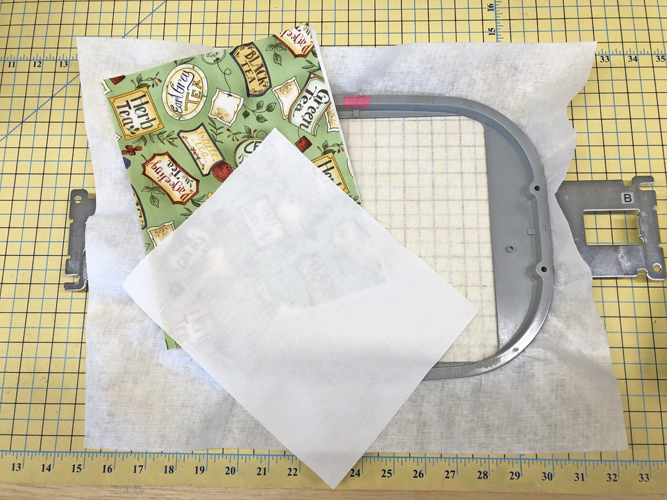
Cut the fabrics per the materials list above. Tautly hoop the stabilizer in the embroidery hoop.
(Click Image to Enlarge)
Step 2:
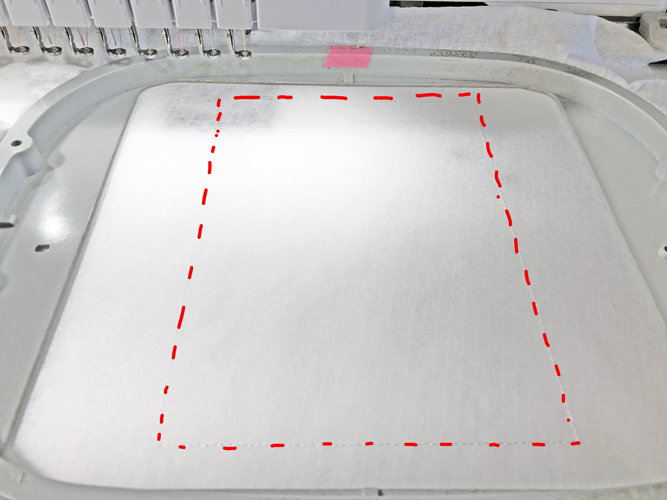
Run the first color stop (CS) in a neutral color as a placement line.
(Click Image to Enlarge)
Step 3:
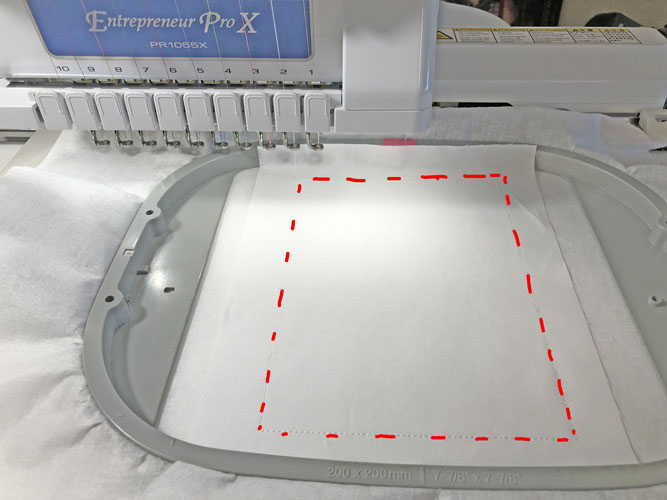
Spray adhesive on the white fabric and position over the placement line so that the fabric exceeds the placement line by 1” on all sides. Run CS 2 in a matching thread to tack down the fabric.
(Click Image to Enlarge)
Step 4:
(Click Image to Enlarge)
Follow the color chart or pick out colors from your Tea Print fabric to embroider the design. Do not stitch the last two color stops yet.
Step 5:
(Click Image to Enlarge)
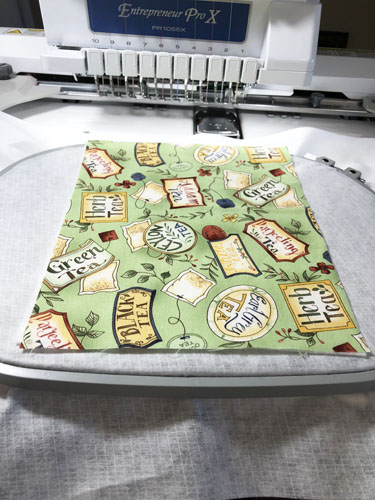
Remove the hoop from the machine; do not unhoop; place the hoop face down on a flat surface; spray adhesive on the rectangle of Battilizer® and place it over the back of the hoop so that the edges of the Battilizer® exceed the original placement line by 1” on all sides; spray adhesive on the back fabric and align right side up over the Battilizer®.
Step 6:
(Click Image to Enlarge)
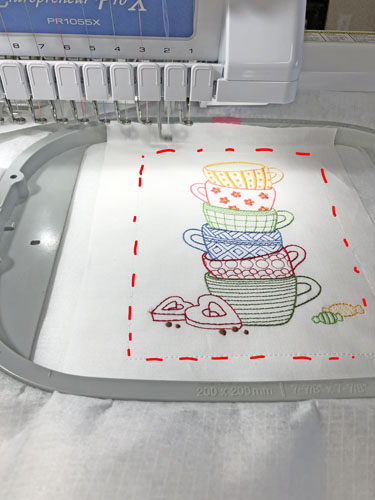
Return the hoop to the machine, and make sure the back fabrics remain smoothed on the back of the hoop. Run the next to last CS to tack down the back fabrics.
Step 7:
(Click Image to Enlarge)
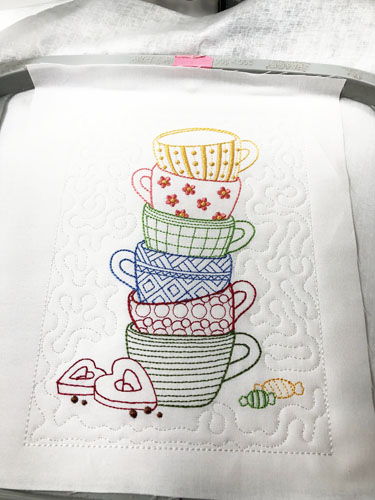
Run the final CS in white thread to quilt the mug mat.
Step 8:
(Click Image to Enlarge)
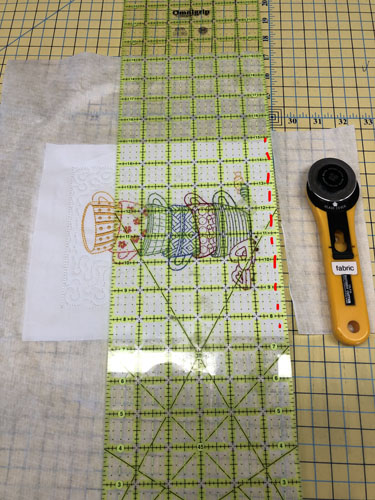
Lay the ¼” mark of a see-through ruler along the tack-down stitching lines and trim all edges of the block to ¼” seam allowance.
Step 9:
(Click Image to Enlarge)
Use your preferred method for binding the mug rug. If you do not have a preferred method follow the instructions in our article “Binding Small Embroidery Projects”.
Step 10:
Congratulations your ITH Stacked Teacup Mug Rugs are complete! Make both great gifts and craft fair items.
Award winning Digitizer, Embroidery Educator, Author and a Consultant to the Industry, Pat Williams has 30 years of experience in the embroidery industry. Pat has won multiple awards for her digitizing expertise including the 2007 Impressions Awards Grand Championship, Best of Show as well as the 1st and 2nd Place Awards. Pat’s love of digitizing has afforded her the opportunity to write numerous articles for Impressions magazine in the United States and Images Magazine in Europe. In 2001 Pat was named “Embroidery Educator of the Year.” For many years Pat taught digitizing seminars at the ISS Shows in Long Beach, CA and for Compucon software. She now resides in Tucson, AZ.