Spooky Faces Halloween Collection

Spooky Faces Halloween Collection Embroidery Project

By   Pat Williams   on   September 09, 2024
  • SKILL LEVELBeginner
  • TIME REQUIRED00:30
Description

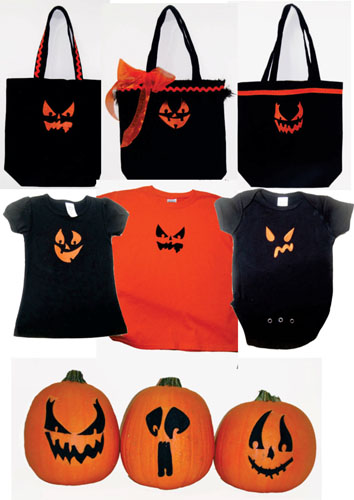
Explore a collection of spooky faces perfect for Halloween-themed crafts. Ideal for embellishing bags, shirts, and more, these designs add a playful scare to your creations. Step-by-step instructions are included.

Step of

Materials

Project Preview Video

Materials
  • Stabilizer based on the type of project.
  • Orange and black embroidery thread (poly thread if you choose to embroider the pumpkins)
  • Invisible thread
  • Knit interfacing if embroidering children’s shirts.
  • 6” squares of tulle if embroidering the pumpkins faces
  • Rick rack and assorted trims for Halloween treat bags
  • 13 x 13 purchased black totes (these were purchased at Hobby Lobby) 3 for $7.99
  • Baby Onesie in desired size
  • Toddler shirt in desired size
  • Youth t-shirt
  • Small pumpkins
  • Fibrous water soluble stabilizer such as Wet N’ Gone
  • Glue stick
  • Spray Adhesive

  • Designs used in this project
  • https://www.embroiderydesigns.com/productdetails/Pat-Williams/DesignPack/1/DPTOTN
  • https://www.embroiderydesigns.com/productdetails/pat-williams/designs/1/TOTN01
  • https://www.embroiderydesigns.com/productdetails/pat-williams/designs/1/TOTN02
  • https://www.embroiderydesigns.com/productdetails/pat-williams/designs/1/TOTN03
  • https://www.embroiderydesigns.com/productdetails/pat-williams/designs/1/TOTN04
  • https://www.embroiderydesigns.com/productdetails/pat-williams/designs/1/TOTN05
  • https://www.embroiderydesigns.com/productdetails/pat-williams/designs/1/TOTN06
  • https://www.embroiderydesigns.com/productdetails/pat-williams/designs/1/TOTN07
  • https://www.embroiderydesigns.com/productdetails/pat-williams/designs/1/TOTN08
  • https://www.embroiderydesigns.com/productdetails/pat-williams/designs/1/TOTN09
  • https://www.embroiderydesigns.com/productdetails/pat-williams/designs/1/TOTN10
  • https://www.embroiderydesigns.com/productdetails/pat-williams/designs/1/TOTN11
  • https://www.embroiderydesigns.com/productdetails/pat-williams/designs/1/TOTN12

  • Preface:
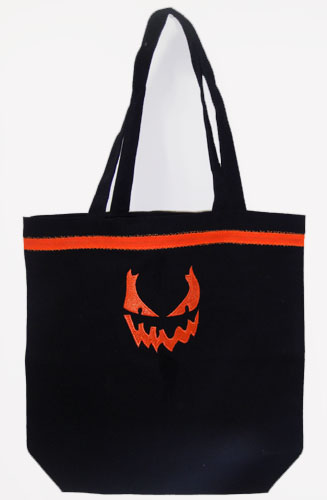
    You can complete any one of these projects in 30 minutes or less. Though we have three different types of projects shown here, it is just to show you how many ways you can use some really simple designs. You could also use these designs on place mats or embroider them on white sheets and hang over a balloon to make a ghost to hang from a tree. Let you imagination run wild and don’t be afraid of these terrors of the night.


    Step 1:
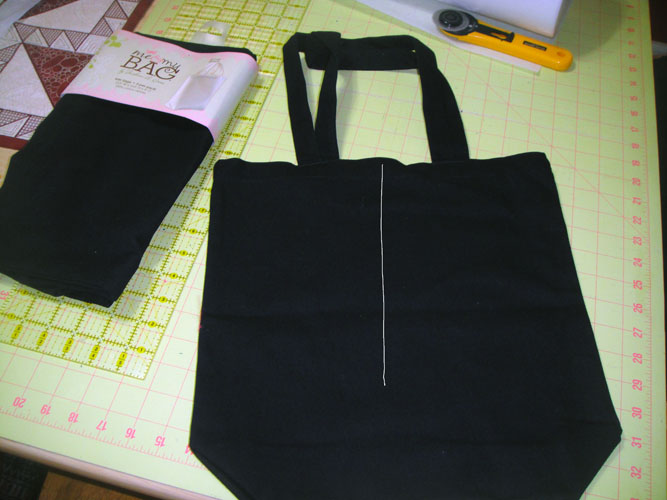
    Halloween Trick or Treat bags. Find the center of the bag by measuring between the two handles and mark with white chalk.

    (Click Image to Enlarge)


    Step 2:
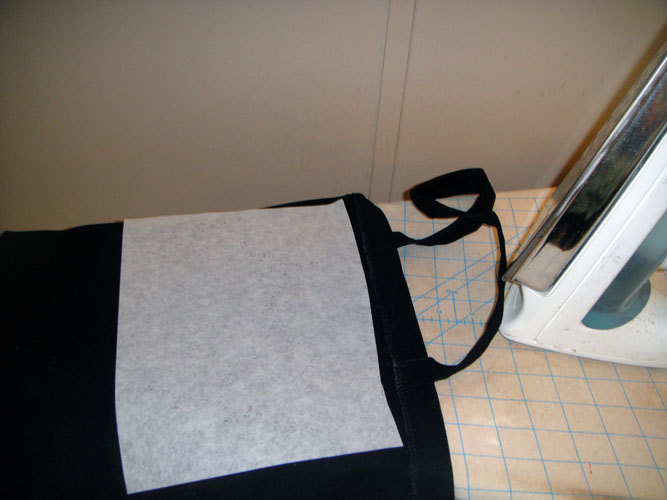
    Iron on a 10” x 8” rectangle of fusible tear a way onto the inside of the bag just below the top hem and centering based upon your center mark.

    (Click Image to Enlarge)


    Step 3:
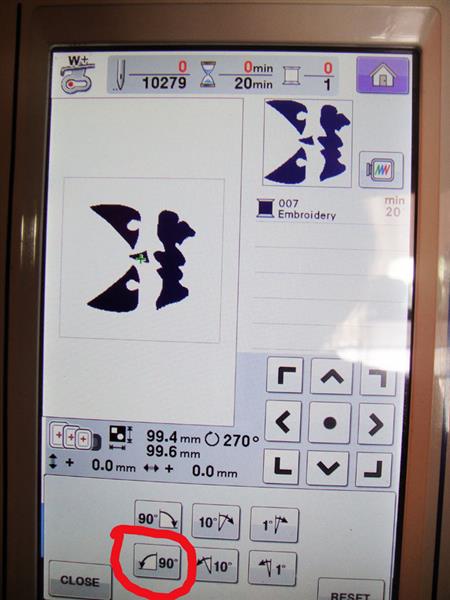
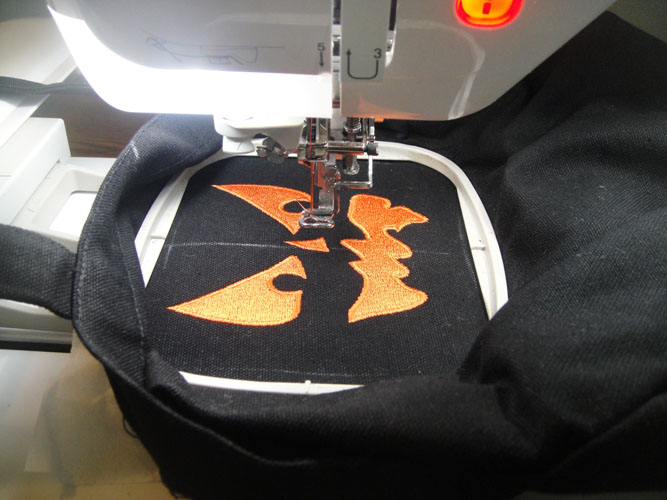
    Load the desired design file into your embroidery machine and rotate 90 degrees to the left to have the face properly positioned on the bag.

    (Click Image to Enlarge)


    Step 4:
    Sew the design, remove from the hoop and remove the excess tear a way stabilizer.

    (Click Image to Enlarge)


    Step 5:
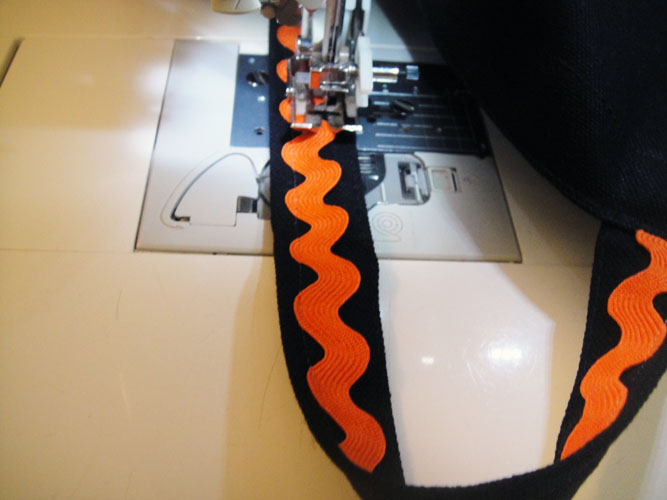
    Trim the bag as desired. When applying rick rack sew down both edges of the rick rack in a straight seam using invisible thread. This will keep the rick rack from curling as this bag is sure to be used for many years.

    (Click Image to Enlarge)


    Step 6:
    (Click Image to Enlarge)
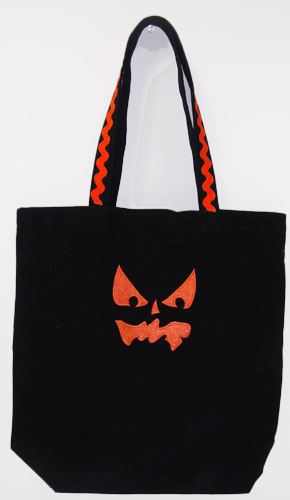
    This bag had the Terror design TOTN06 and rick rack on the handles only for a little boy.


    Step 7:
    (Click Image to Enlarge)
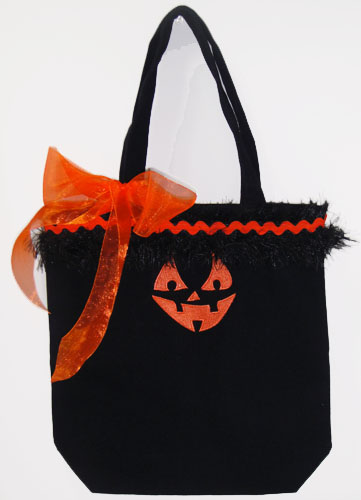
    This bag, obviously for a girl, has Night Fright design TOTN11 embroidered. A feathery fringe, rick rack and an organza ribbon were added to decorate this tote.


    Step 8:
    (Click Image to Enlarge)
    This bag uses the design Terror in the Night, TOTN07, and purchased bias tape applied with a decorative machine stitch.


    Step 9:
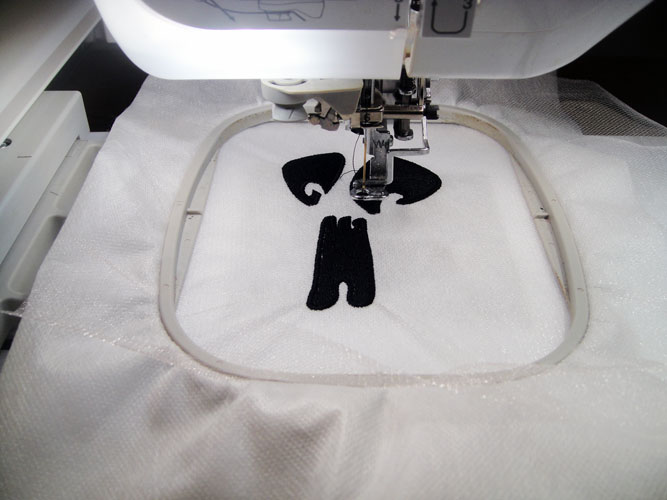
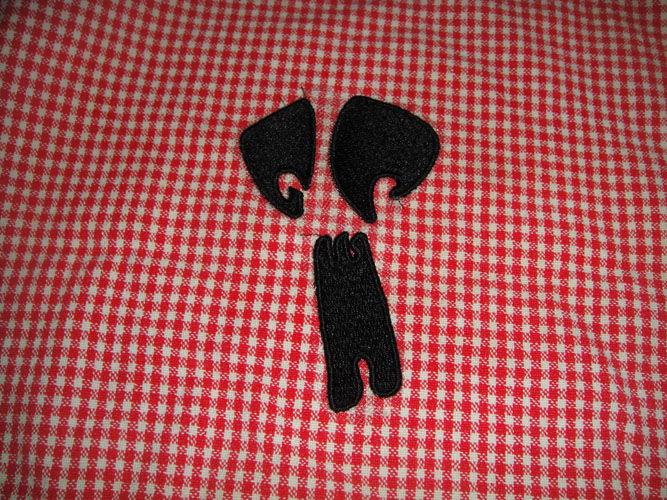
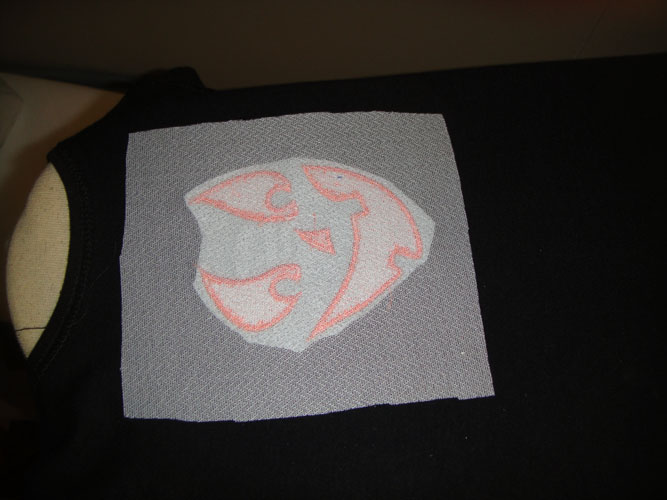
    To make faces for the pumpkins hoop two layers of fibrous water soluble stabilizer with a layer of tulle on top. Light pink tulle was used in the sample as it is what I had on hand. Stitch the desired Terrors of the Night face.

    (Click Image to Enlarge)


    Step 10:
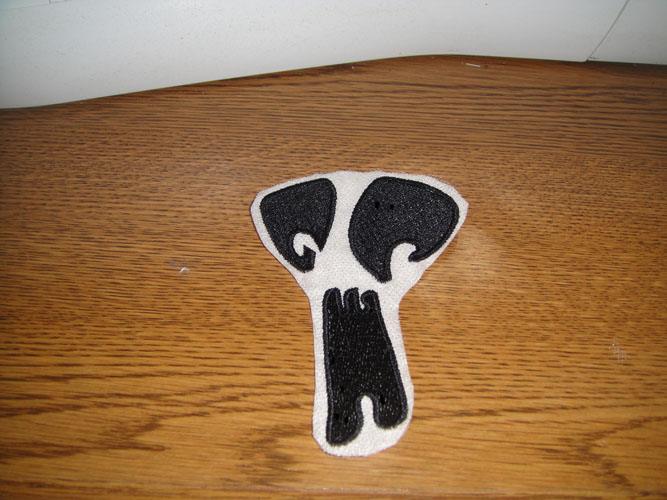
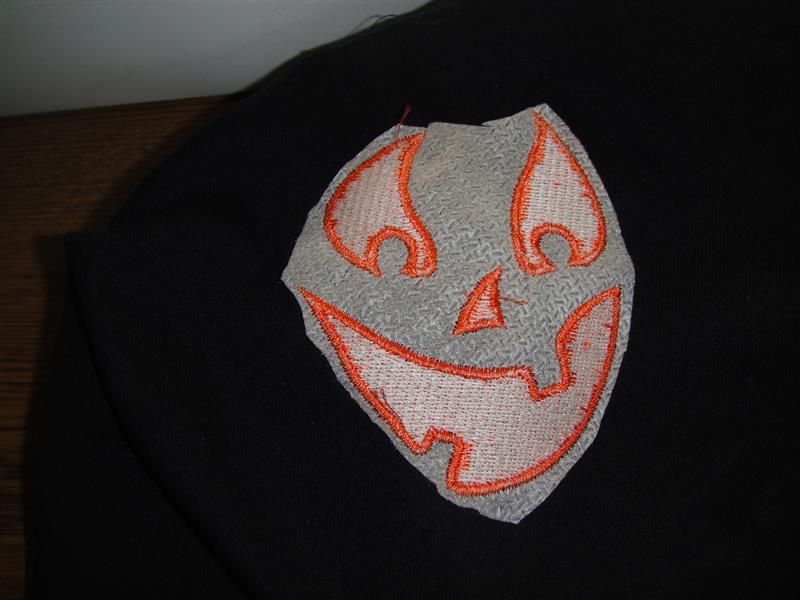
    Cut out the embroidered face in an oval shape from the stabilizer leaving the tulle inside the design to maintain the spacing of the facial features.

    (Click Image to Enlarge)


    Step 11:
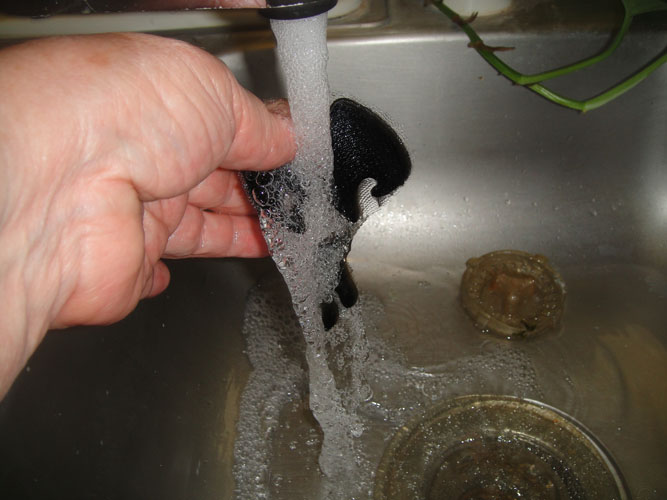
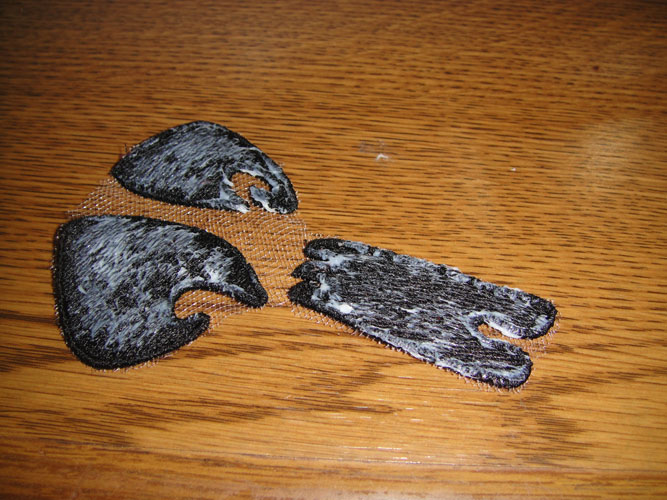
    Hold the face under running hot water to remove the stabilizer.

    (Click Image to Enlarge)


    Step 12:
    Place the embroidery on a smooth cotton towel and allow to dry thoroughly.

    (Click Image to Enlarge)


    Step 13:
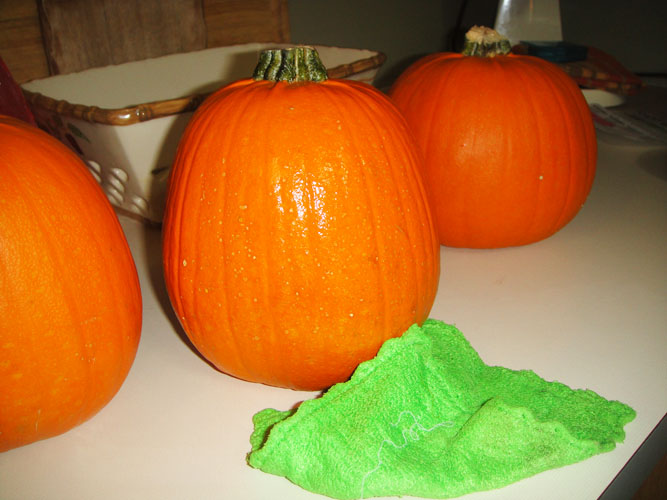
    With a damp microfiber rag clean off the face area of the pumpkin.

    (Click Image to Enlarge)


    Step 14:
    Apply glue stick to the back of the embroidered facial features. I also sprayed a little spray adhesive on the pumpkin to help hold the features in place.

    (Click Image to Enlarge)


    Step 15:
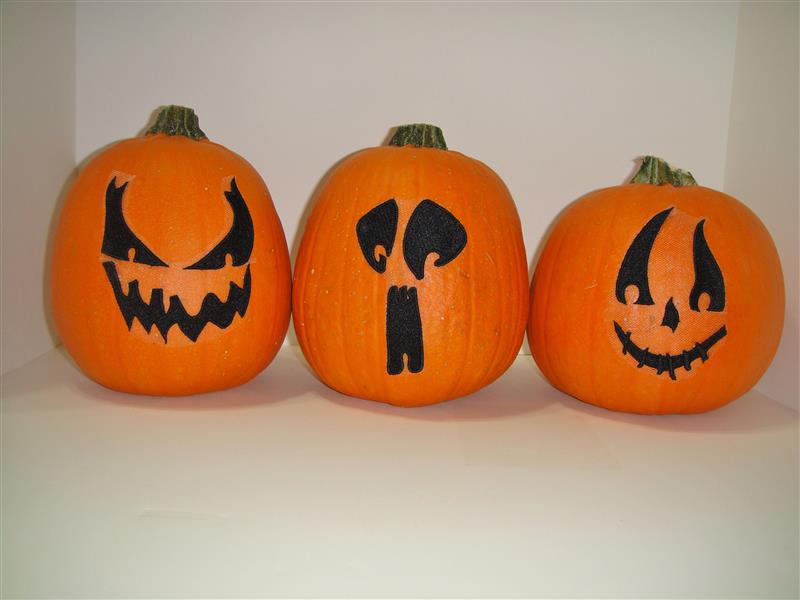
    Position the faces onto the pumpkins. Placing the features so that the bottom of the eyes rest on an imaginary line around the center of the pumpkin seems to be a good guideline for placement. Check as the glue is drying as you might have to finger press the pieces down more than once. The faces used on these pumpkins are: Terror of the Night (TOTN07), Scream (TOTN02), and Jack O’ Lantern (TOTN10).

    (Click Image to Enlarge)


    Step 16:
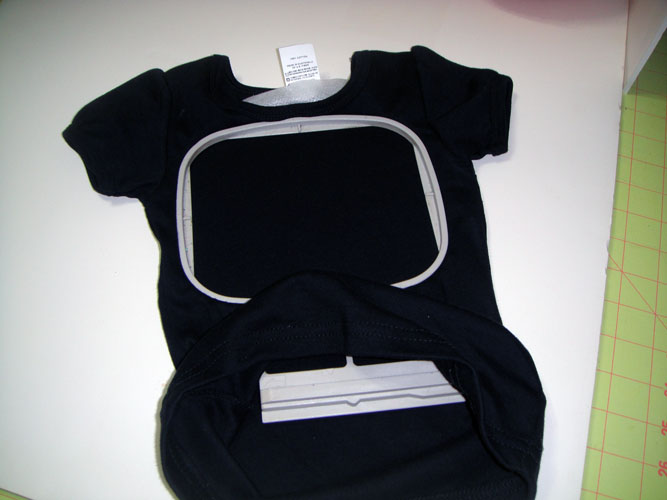
    The three knit garments were all embroidered in the same fashion. Fusible poly mesh cut a way stabilizer was ironed to the inside of the garments. Hoop the garment through the bottom.

    (Click Image to Enlarge)


    Step 17:
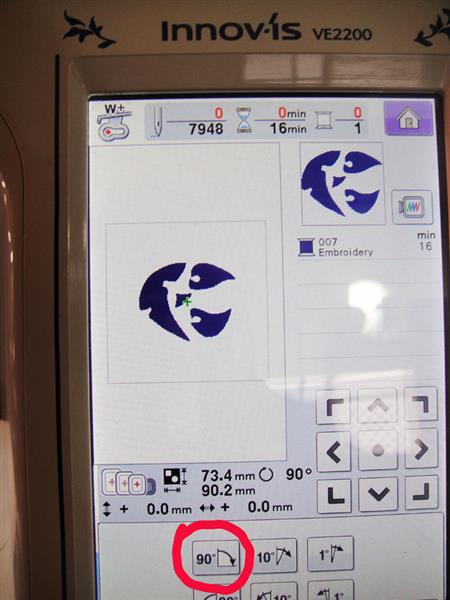
    Rotate the design 90 degrees to the right.

    (Click Image to Enlarge)


    Step 18:
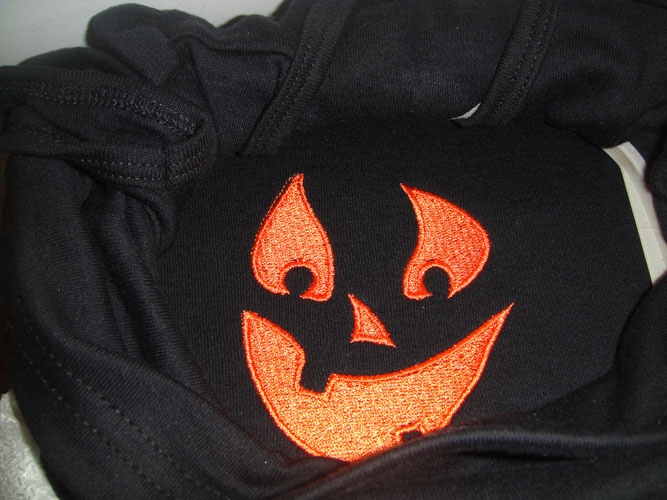
    Stitch the design.

    (Click Image to Enlarge)


    Step 19:
    Cut a way the excess stabilizer.

    (Click Image to Enlarge)


    Step 20:
    Cut a piece of soft knit interfacing slightly larger than the design and fuse over the back of the embroidery.

    (Click Image to Enlarge)


    Step 21:
    (Click Image to Enlarge)
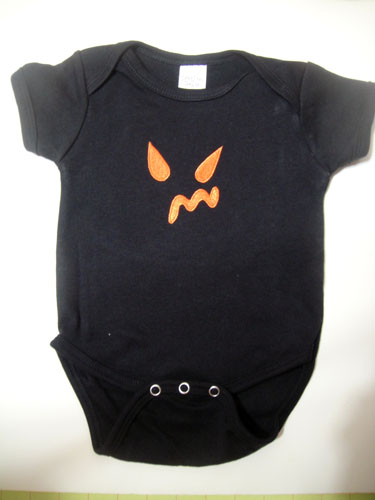
    The onesie was embroidered with the “Nightmare” design TOTN12.


    Step 22:
    (Click Image to Enlarge)
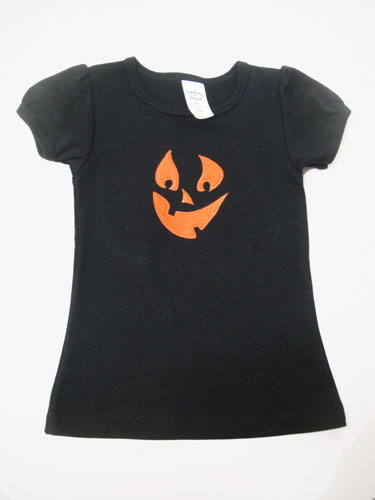
    The toddler girl’s shirt was embroidered with the “Happy Ghost” design TOTN09.


    Step 23:
    (Click Image to Enlarge)
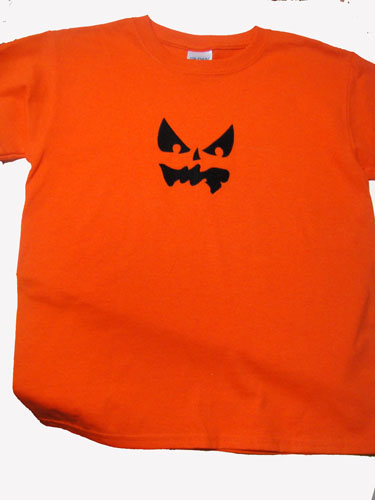
    The youth t-shirt was embroidered with the “Terror” design TOTN06.


    Step 24:
    What will you do?

    For the love of embroidery…
    Pat Williams
    Meet the Author: Pat Williams
    Pat Williams
    Award winning Digitizer, Embroidery Educator, Author and a Consultant to the Industry, Pat Williams has 30 years of experience in the embroidery industry. Pat has won multiple awards for her digitizing expertise including the 2007 Impressions Awards Grand Championship, Best of Show as well as the 1st and 2nd Place Awards. Pat’s love of digitizing has afforded her the opportunity to write numerous articles for Impressions magazine in the United States and Images Magazine in Europe. In 2001 Pat was named “Embroidery Educator of the Year.” For many years Pat taught digitizing seminars at the ISS Shows in Long Beach, CA and for Compucon software. She now resides in Tucson, AZ.
    More From This Author
    Link is Broken, Please check the URL
    Exclusive Embroidery Offers!
    Copyright © {{ currentDate | date:'yyyy'}} - EmbroideryDesigns.com
    GET 50% OFF! ×