Border OptionsHugging border, circle, square, or rectangle — with a 3mm satin stitch.
Backing OptionsAvailable with iron-on, sew-on, or velcro backing.
Fast ShippingShipped quickly from the USA.
Free Online Tools
Powerful embroidery utilities that save time and prevent costly mistakes.
Stitch AssistantRECOMMENDED
Get the exact stabilizer, machine settings, needle, and thread color sequence for every embroidery design you purchase — based on that design's stitch density, dimensions, and color count.
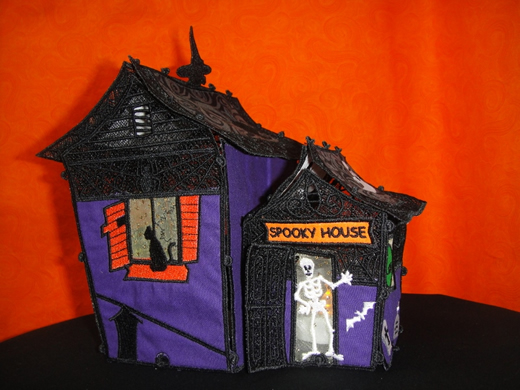
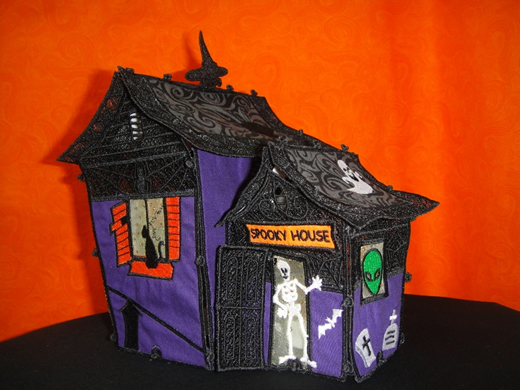
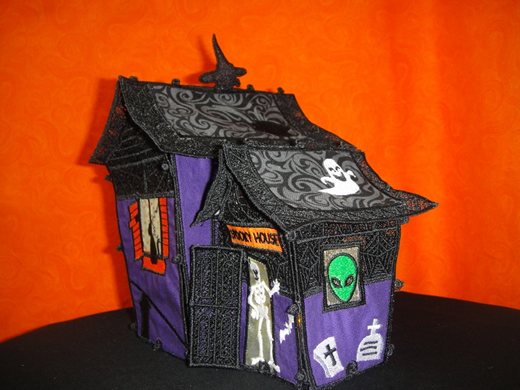
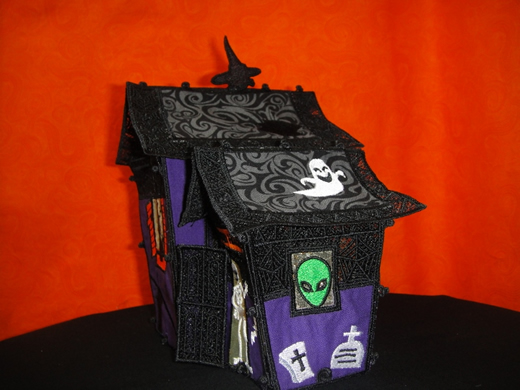
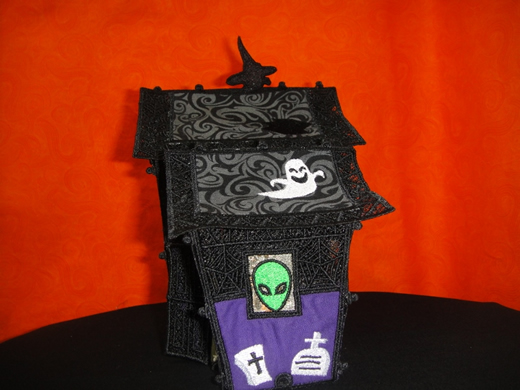
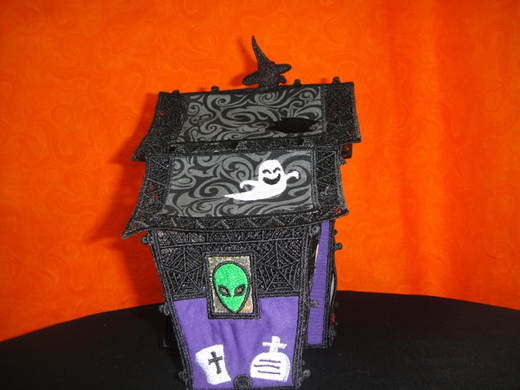
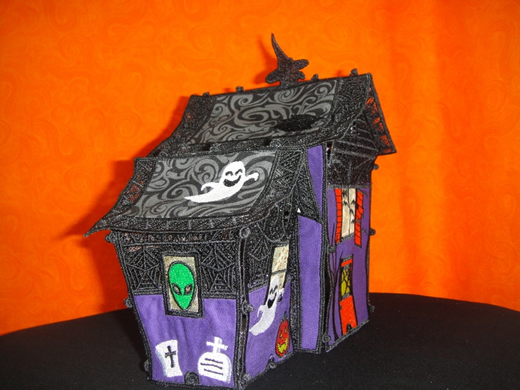
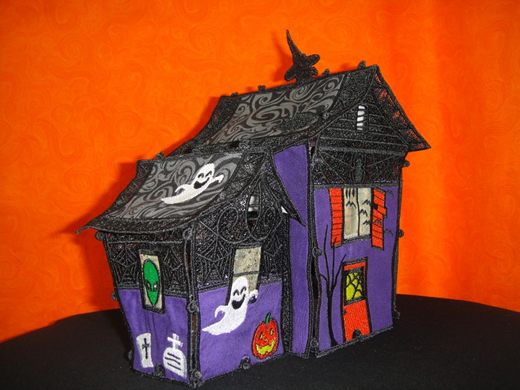
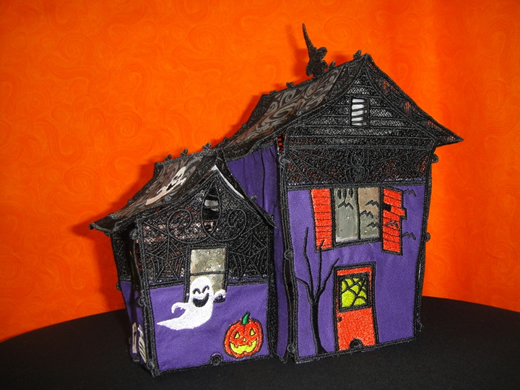
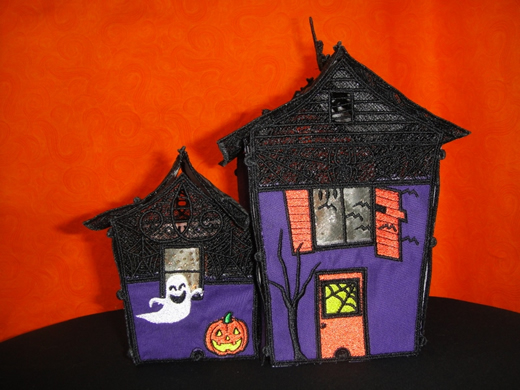
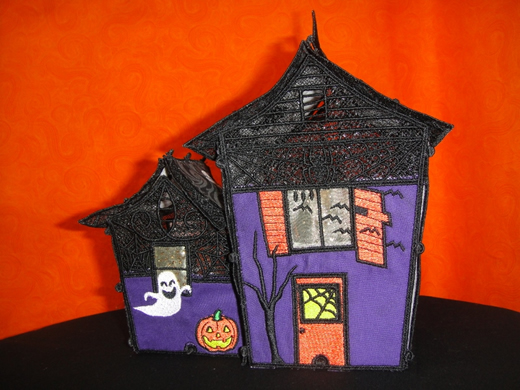
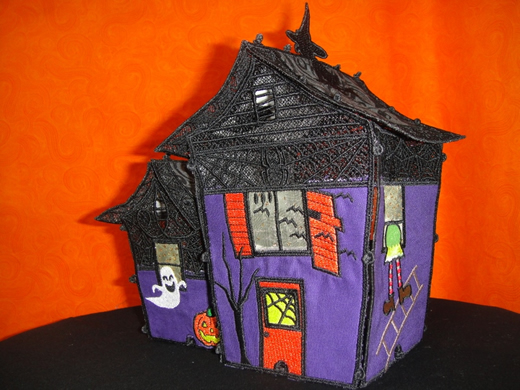
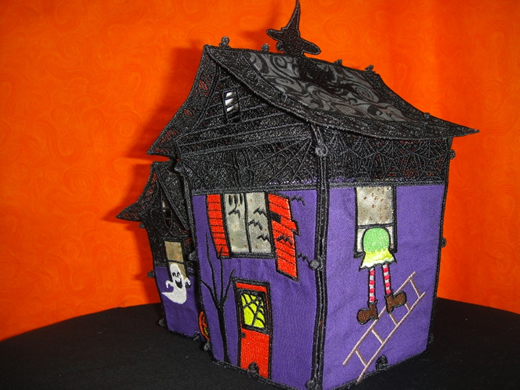
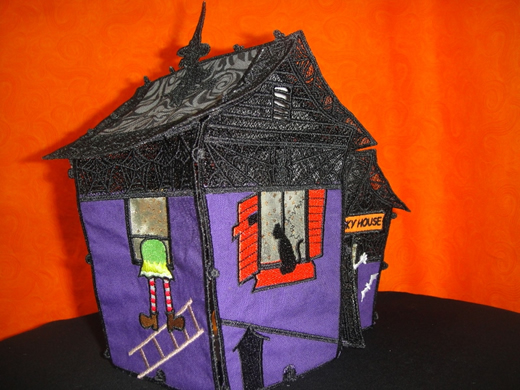
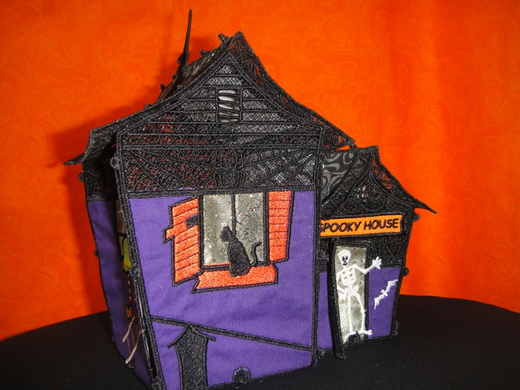
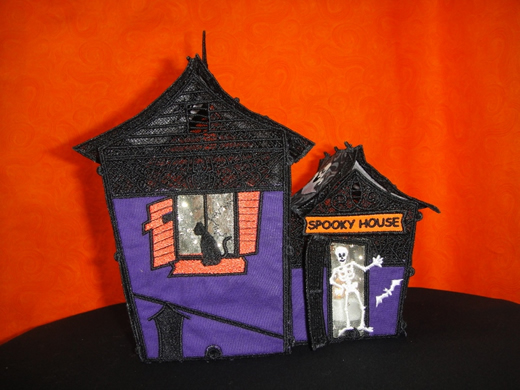
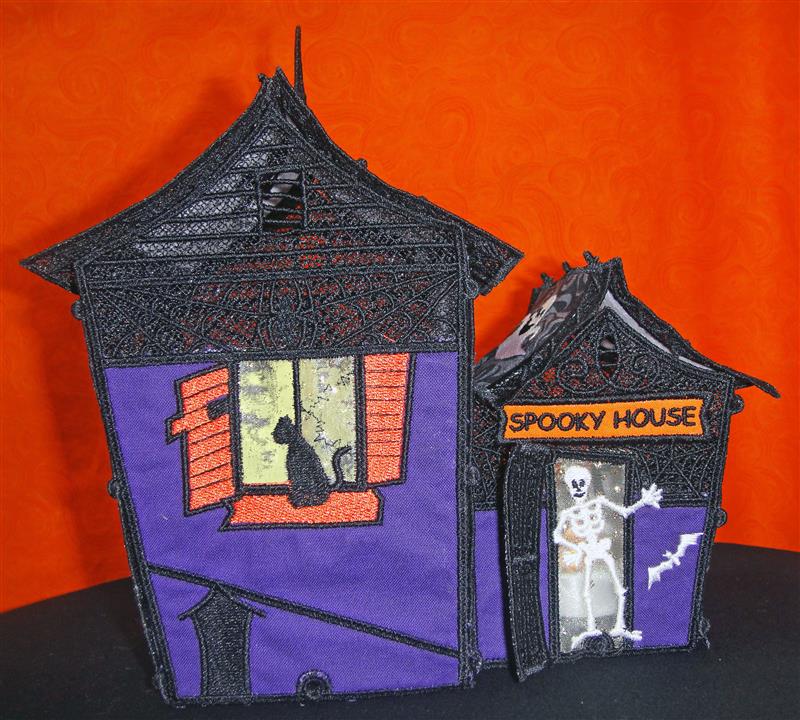
Amaze your children, grandchildren and friends with this Spooky House totally made
on your embroidery machine. No other sewing is required as the assembly is completed
with the buttons and loops that are built into the embroidery designs.
Step 1:
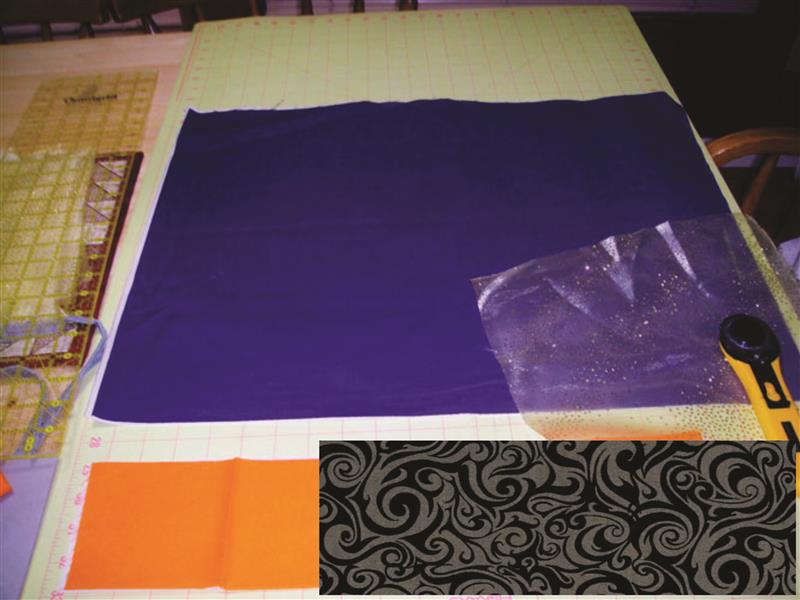
Press all fabrics except the organza with Best Press or Magic sizing. Apply the
Pellon Craft Fuse 808 to the back of your purple, orange and roof fabric following
manufacturer’s instructions.
(Click Image to Enlarge)
Step 2:
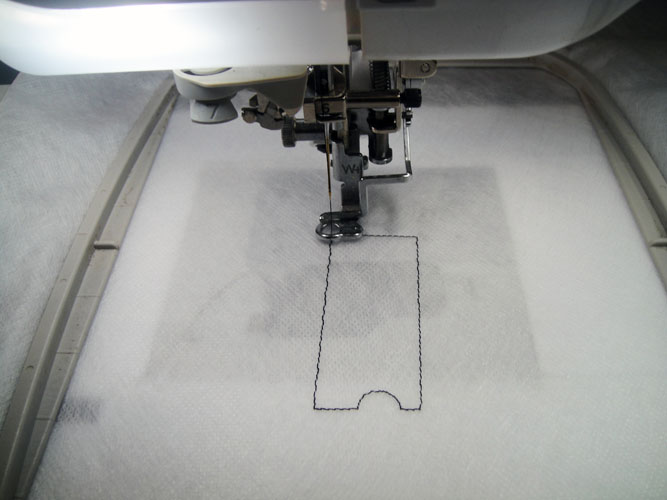
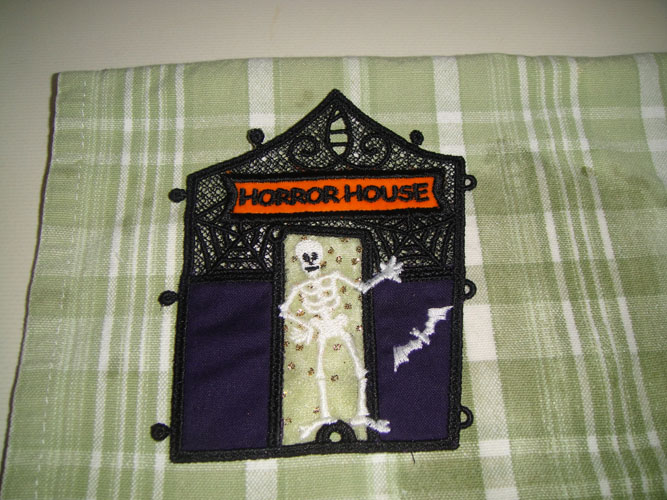
Load design FSH01 into your machine to make the front entrance, insert a black bobbin
as well as black polyester thread in the top of the machine. Note: Pre-wound bobbins
were specified in the material list as embroidery thread is really too thick to
use as bobbin thread and doing so will change the appearance of the embroidery as
it changes your tensions. So either purchased appropriate colored bobbin thread
or purchase the pre-wound bobbins. Hoop two layers of fibrous water soluble stabilizer
in your embroidery hoop and run the first color stop which is an outline for the
door.
(Click Image to Enlarge)
Step 3:
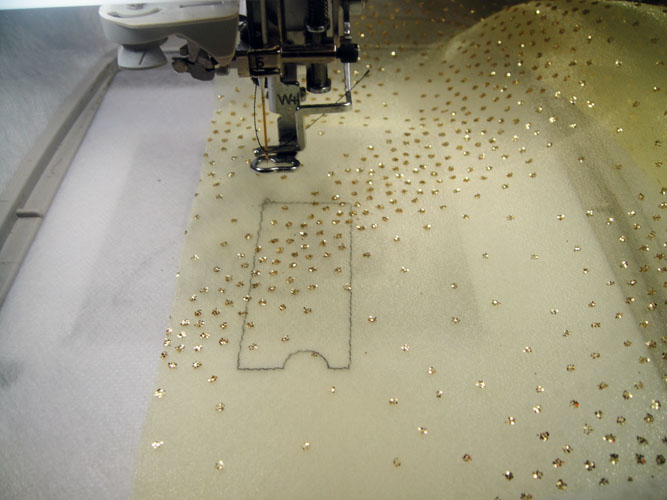
Spray a little adhesive on a small section of the Glittered yellow organza and place
over the outline. Run the second color stop which will tack down the organza over
the door.
(Click Image to Enlarge)
Step 4:
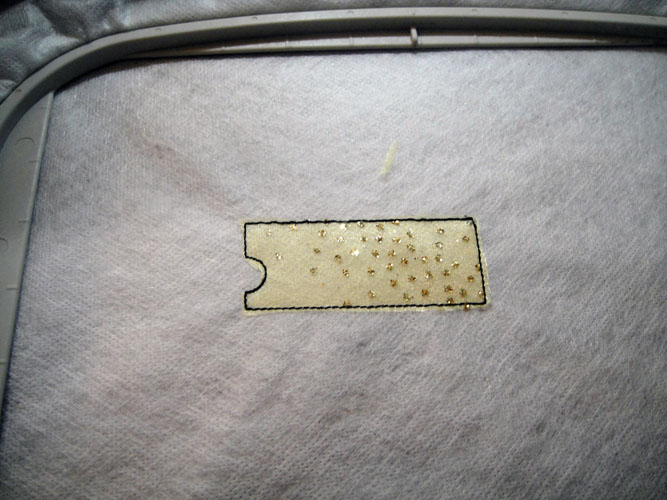
Remove the hoop from the machine, do not unhoop – trim the excess organza
from the door.
(Click Image to Enlarge)
Step 5:
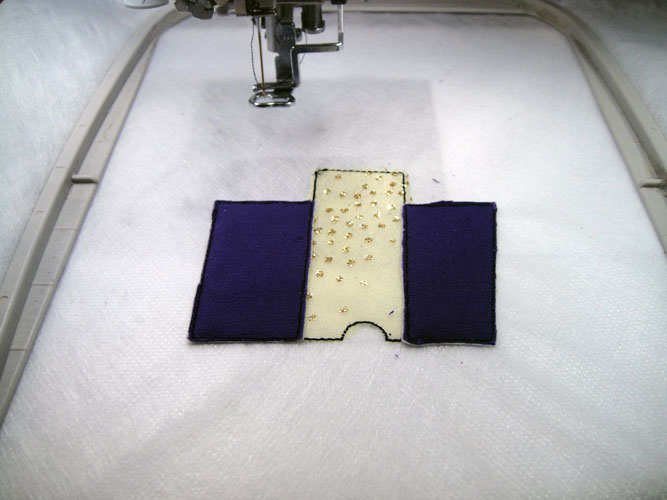
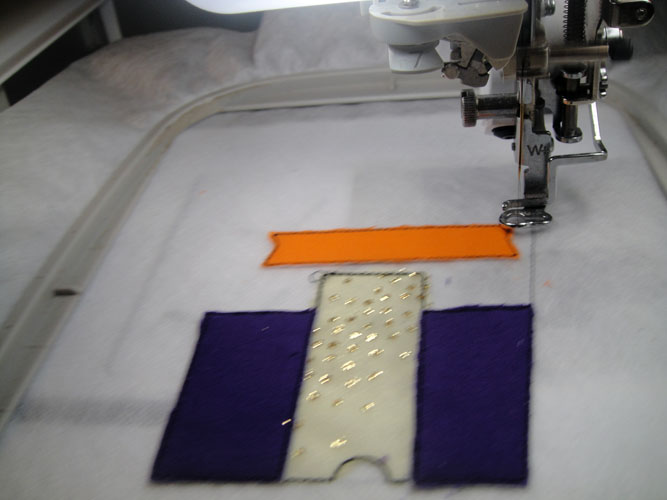
Return the hoop to the machine. Apply the two purple appliques as follows.
• Run the third color stop which is the outline for the left side of the house.
• Spray the purple applique fabric with adhesive and apply over the outline.
• Stitch the tack down line.
• Trim the applique
• Repeat for the right side of the entrance.
(Click Image to Enlarge)
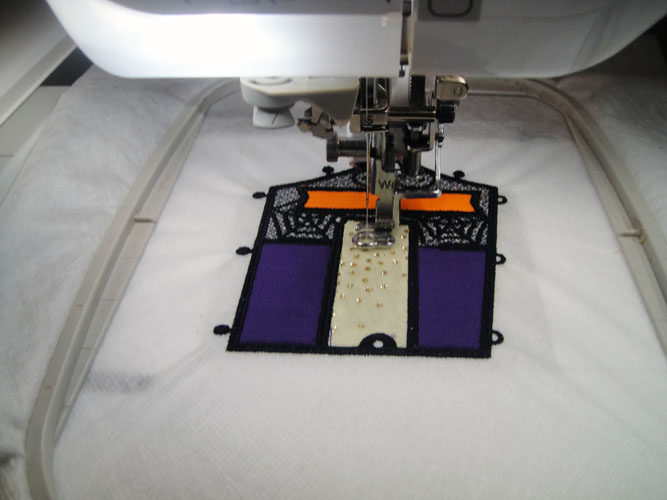
Step 6:
The 7th color stop will sew the outline for the sign. Using the orange fabric apply
the applique to the sign and trim as in Step 5. Color stop 8 will stitch the tack
down.
(Click Image to Enlarge)
Step 7:
Color stop 9 will sew the FSL and details on the entrance.
(Click Image to Enlarge)
Step 8:
Switch to a white bobbin and load white thread in the top of your embroidery machine
to stitch the skeleton and bat on the front of the entrance. Run color stop 10 for
these two objects.
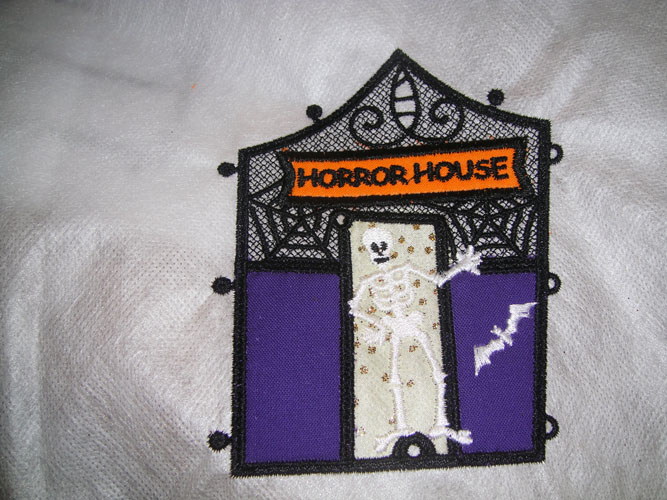
Step 9:
The final color stop will stitch the eyes on the skeleton and the lettering.
(Click Image to Enlarge)
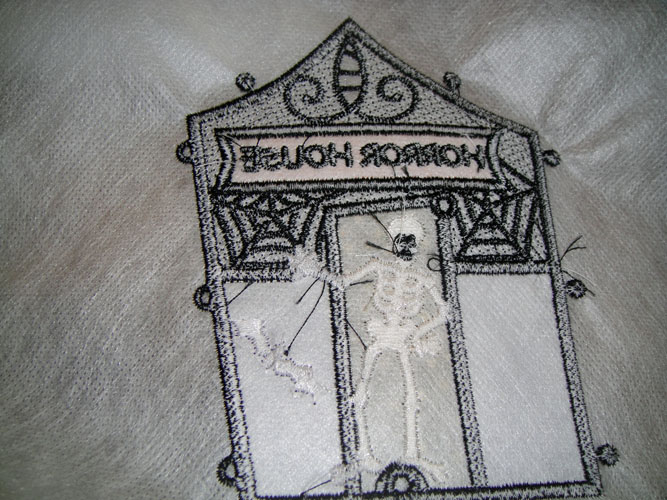
Step 10:
Turn the hoop over and trim off any thread tails that fall behind the organza or
lace sections as once the piece is wet to remove the stabilizer they will be stuck
behind the translucent portions of the project.
(Click Image to Enlarge)
Step 11:
Trim away the excess stabilizer around the design. Hold under running hot water
to remove the stabilizer from the project piece and place on a smooth cotton towel
to dry.
(Click Image to Enlarge)
Step 12:
(Click Image to Enlarge)
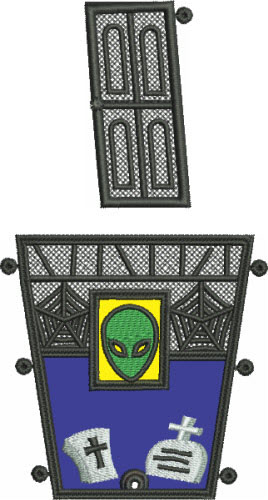
Load design FSLH02 for the side of the entrance and the front door. Using the same
stitch and trim techniques as above;
• Color stop 1 is for the outline of the window. Apply organza over the outline.
• Color stop 2 is the tack down for the window. Stitch and trim the window.
• Color stop 3 is the outline for the bottom of the side. Place purple applique.
• Color stop 4 is the tack down for the purple applique. Stitch and trim.
• Color stop 5 stitches the lace and outline portions of the side.
• Color stop 6, switch to white bobbin and stitch the alien face.
• Color stop 7 stitches the tombstones.
• Color stop 8, switch bobbin back to black thread and stitch the detail on
the entrance side.
• Color stop 9 stitches the front door.
• Trim piece and remove thread tails and rinse in running hot water and set
aside to dry.
Step 13:
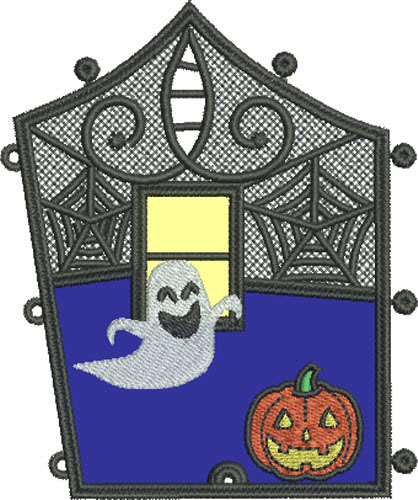
Load FSLH03 for the back of the entrance. Using the same stitch and trim techniques
as above:
• Color stop 1 is the outline for the window. Place organza applique.
• Color stop 2 is the tack down for the window. Stitch and trim the applique
• Color stop 3 is the outline for the purple applique. Place purple fabric
over the outlines.
• Color stop 4 is the tack down for the purple fabric. Stitch and trim.
• Color stop 5 is he lace and borders.
• Color stop 6 is (change bobbin to a white one) Daffodil for the jack-o-lantern’s
mouth and eyes.
• Color stop 7 Pumpkin for the pumpkin.
• Color stop 8 is Green Thumb for the top of the pumpkin.
• Color stop 9 is Super White for the ghost.
• Color stop 10 (change back to a black bobbin) is for borders and detail
on the inside figures.
Step 14:
(Click Image to Enlarge)
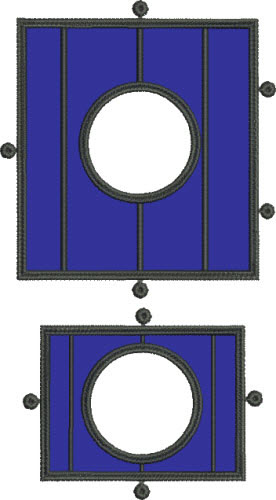
Load design FSLH04 into your machine for the floors.
• Color stop 1 is an outline – place the purple applique fabric as above.
• Color stop 2 is the tack down for the outer edges and inside hole. Trim
around both the outside edges and the inside hole.
• Color stop 3 is the outline for the second floor – place the purple
fabric over the outline.
• Color stop 4 is the tack down for the second floor; stitch and trim around
both the outside edges and the inner hole.
• Color stop 5 is the borders on both floors.
Step 15:
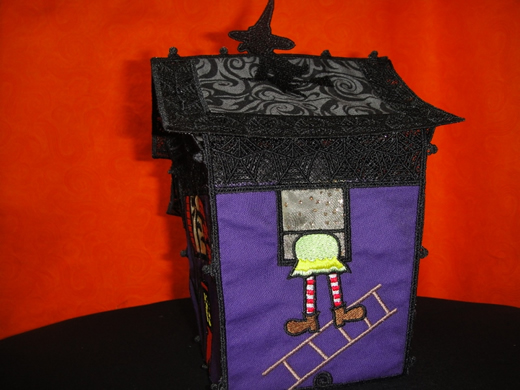
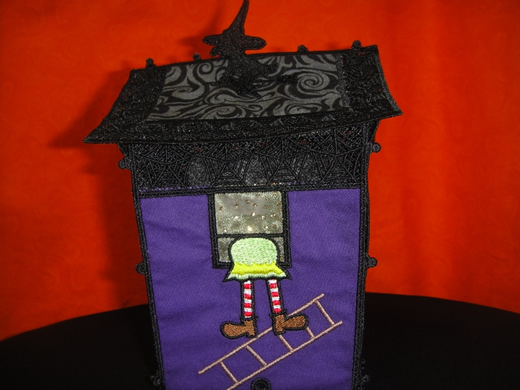
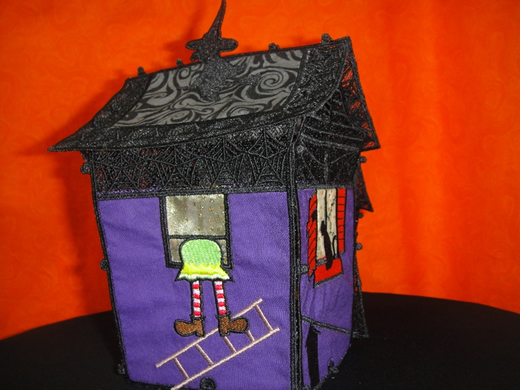
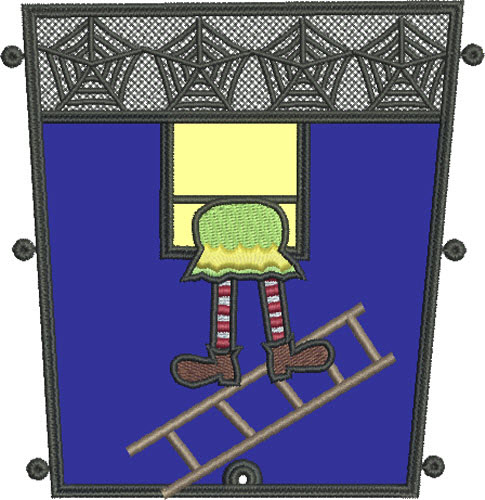
Load design FSLH05 into the machine for the large side of the house. Using the stitch
and trim techniques above;
• Color stop 1 is the outline for the window. Stitch and place organza applique.
• Color stop 2 is the tack down for the window. Stitch and trim applique.
• Color stop 3 is the outline for the body of the house. Stitch and place
purple applique
• Color stop 4 is the tack down for the body of the house. Stitch and trim
applique.
• Color stop 5 is black for the FSL of the house
• Color stop 6 (switch to white bobbin) is Buckskin for the ladder
• Color stop 7 is white for the witch’s stockings.
• Color stop 8 is red for the witch’s stockings
• Color stop 9 is cumin for the witch’s shoes
• Color stop 10 is margarita lime for the witch’s skirt
• Color stop 11 is daffodil for the witch’s skirt
• Color stop 12 is black for detail on the witch
Step 16:
(Click Image to Enlarge)
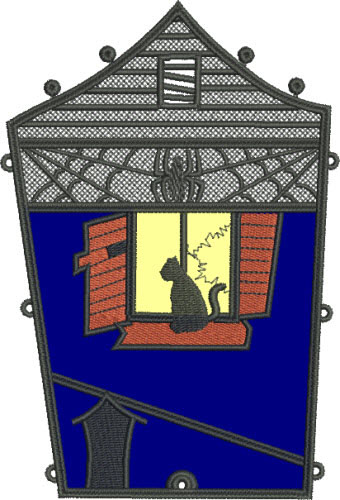
Load design FSLH06 for the main house front. Using stitch and trim techniques above;
• Color stop 1 (black bobbin) is the outline for the window. Stitch and place
organza applique
• Color stop 2 is the tack down for the window. Stitch and trim excess organza.
• Color stop 3 is the outline for the main body of the house. Stitch and place
purple applique over outline.
• Color stop 4 is the tack down for the main body of the house. Stitch and
trim excess purple.
• Color stop 5 is pumpkin for the window shutters. Stitch.
• Color stop 6 is black for the detail on the house and the FSL.
Step 17:
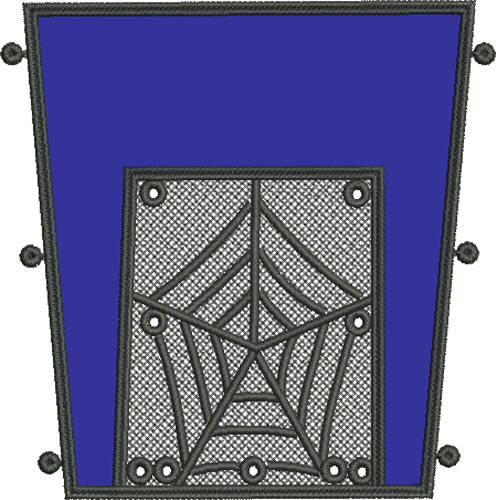
Load design FSLH07 for the inner wall. Using the same stitch and trim techniques
as above;
• Color stop 1 is the outline for the purple applique. Stitch and place purple
applique fabric over the outline.
• Color stop 2 is the tack down for the purple applique. Stitch and trim the
excess purple fabric.
• Color stop 3 is the FSL and borders for the inner wall. Stitch.
Step 18:
(Click Image to Enlarge)
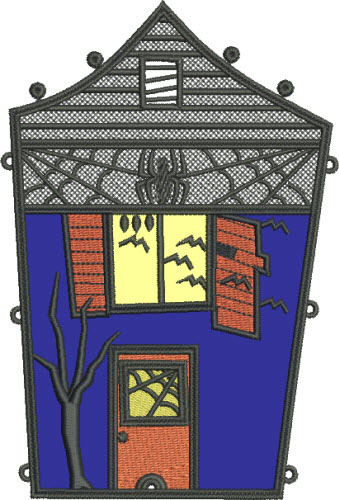
Load design FSLH08 for the back wall of the main house. Using the stitch and trim
techniques as above;
• Color stop one is for the outline of the window. Stitch and place organza
applique.
• Color stop 2 is for the tack down of the window. Stitch and trim the organza.
• Color stop 3 is for the outline of the purple applique. Stitch and place
purple applique fabric over the outline.
• Color stop 4 is black for the FSL and borders of the back wall.
• Color stop 6 is Daffodil for the window in the back door. Use a white bobbin
if you have any fear of the bobbin thread showing. Stitch the door window.
• Color stop 7 is Pumpkin for the back door.
• Color stop 8 is black for the detail on the back wall. Switch back to a
black bobbin for this step if you had switched to white at color stop 6.
Step 19:
(Click Image to Enlarge)
Load design FSLH09 for the first large roof top.
• Color stop one is an outline for the house roof top fabric. (Note the fabric
used in this picture is the fabric actually used – I used a black and grey
swirl design from the RJR “Let’s go haunting collection as pictured
in Step 1.) Stitch the outline and place your fabric over the outline.
• Color stop 2 is the tack down for the roof fabric. Stitch and trim the fabric.
• Color stop 3 is the FSL and detail on this roof section.
Step 20:
Load design FSLH10 for the second large roof section. Follow the steps in Step 19
above to stitch this section.
Step 21:
(Click Image to Enlarge)
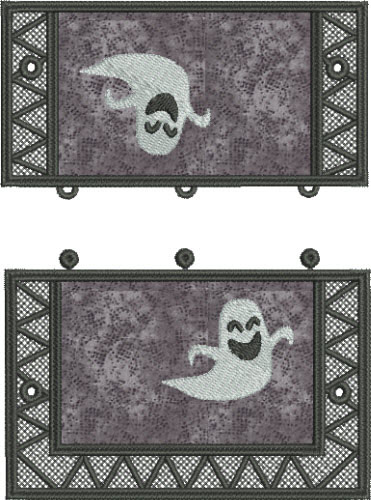
Load design FSLH11 for the smaller roof.
• Color stop 1 is the outline for the lower section of the roof. Stitch and
place grey/black fabric over the outline.
• Color stop 2 is the tack down for the lower section of the roof. Stitch
and trim applique.
• Color stop 3 is the outline for the upper section of the roof. Stitch and
place grey/black fabric over the outline.
• Color stop 4 is the FSL and borders on both roof sections
• Color stop 5 (switch to white bobbin) stitches the ghosts on both sections.
• Color stop 6 stitches the faces on both ghosts
Step 22:
Trim any thread tails from the backs of the pieces and rinse in hot running water
to remove the stabilizer. Just rinse them enough to clear holes in the lace and
behind the windows. Leaving some stabilizer in the project helps it to maintain
its stiffness. Let everything dry thoroughly. If necessary you can press the pieces
with an iron if any have curled.
(Click Image to Enlarge)
Step 23:
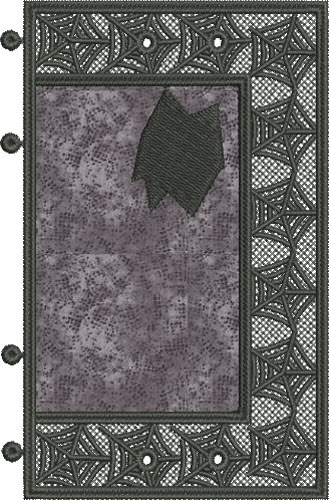
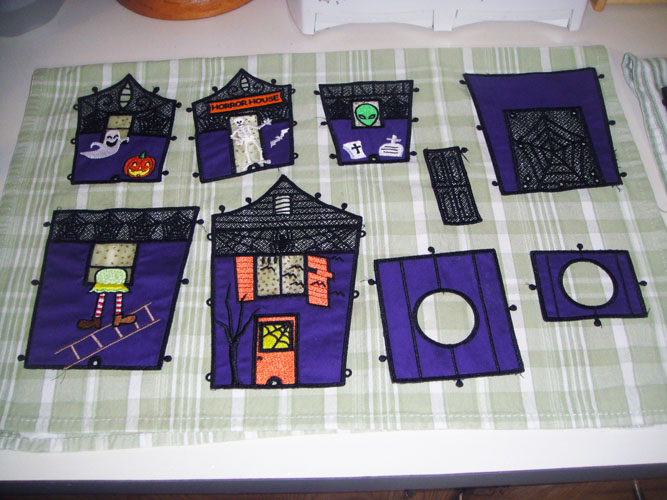
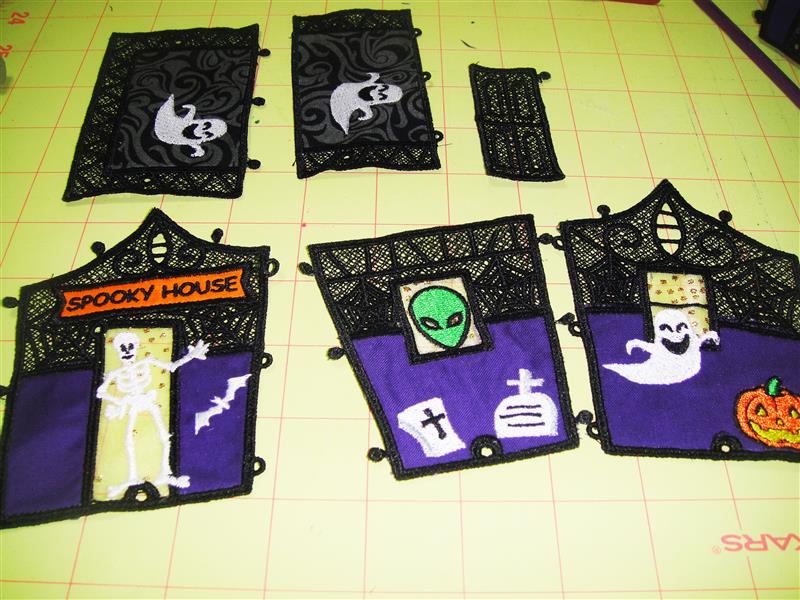
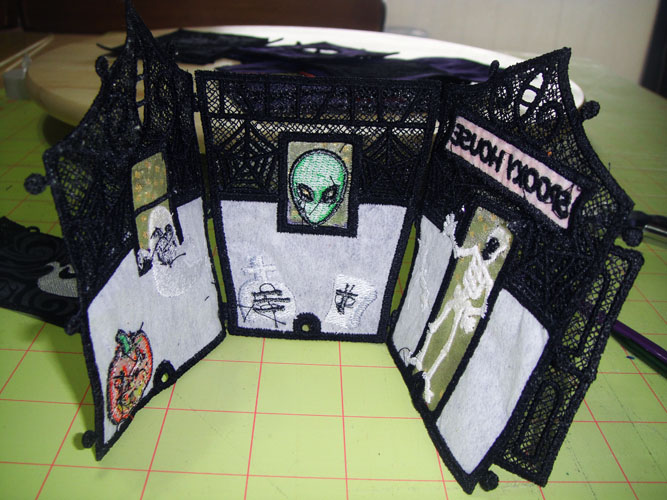
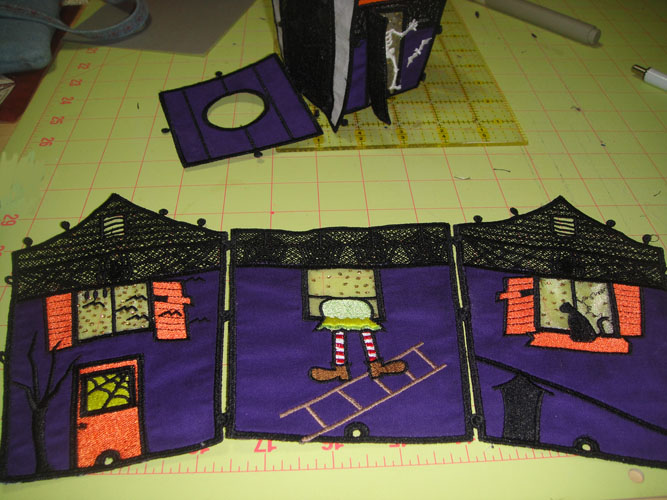
To assemble the house. Lay out the three smaller house sections. The skeleton on
the door to the left, the alien in the window to the center and the ghost and pumpkin
section to the right.
(Click Image to Enlarge)
Step 24:
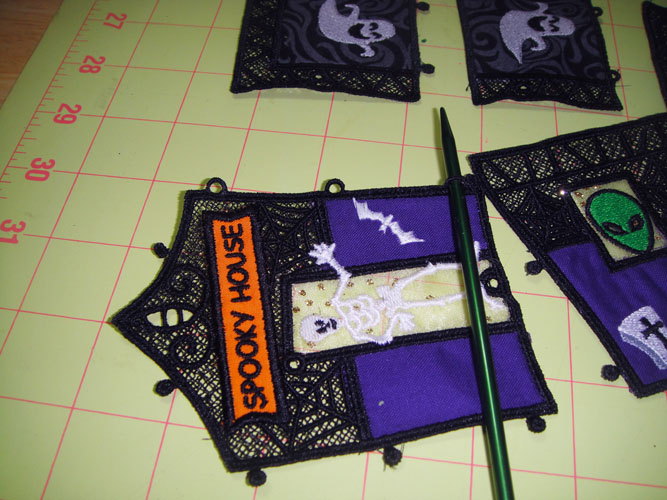
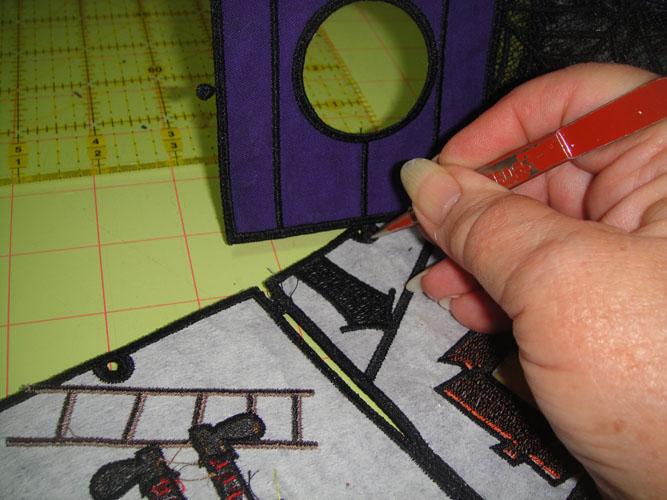
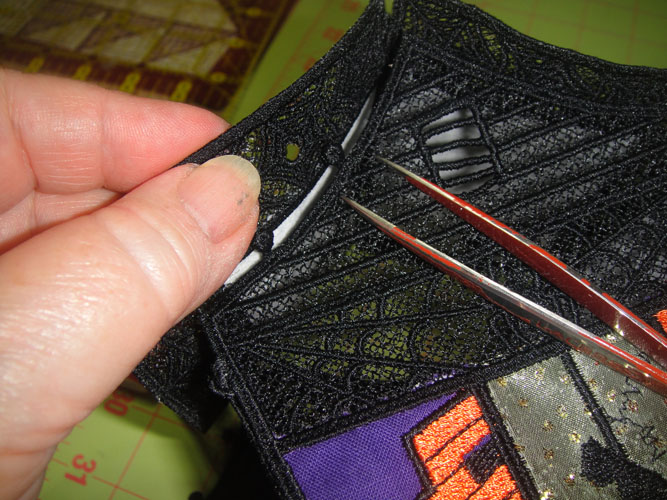
To ease the insertion of the button into the loops it helps to break the sizing
in the loops and to stretch the holes a little. Do this by gently inserting a size
6 (US) knitting needle through the loops on the front and back sections as well
as through the holes at the bottom of all sections.
(Click Image to Enlarge)
Step 25:
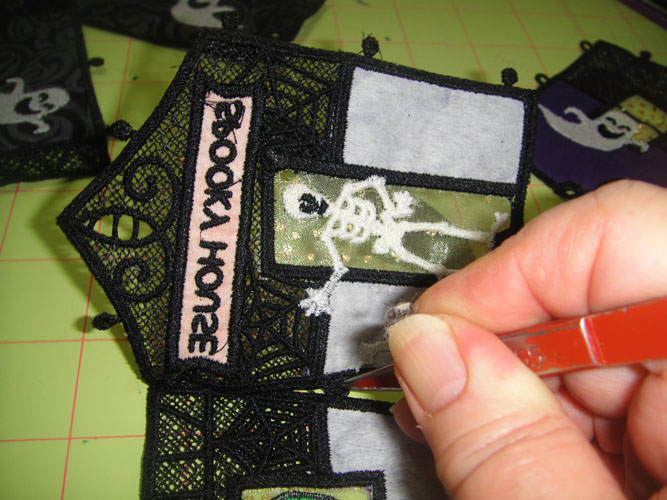
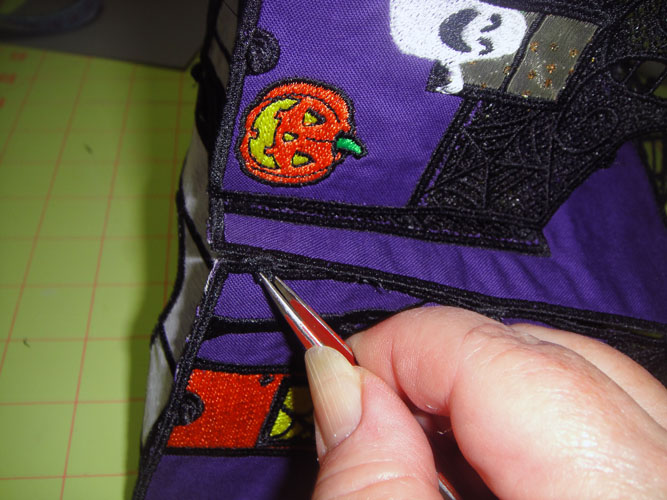
You may use crochet hooks, tweezers, hemostats or whatever other tools that assist
you to insert the buttons through the loops. I’ve found that my favorite old
splinter tweezers are the greatest help to me here. Placing the section with the
loops face down on a protected work surface I align the buttons over the loops.
I use the tweezers to hold the button in place and while pushing down on the button,
slightly lift the section with the loops so that the loop slips over the button.
Assemble all three loops joining the entrance front to the side piece. Assemble
the side unit to the back unit.
(Click Image to Enlarge)
Step 26:
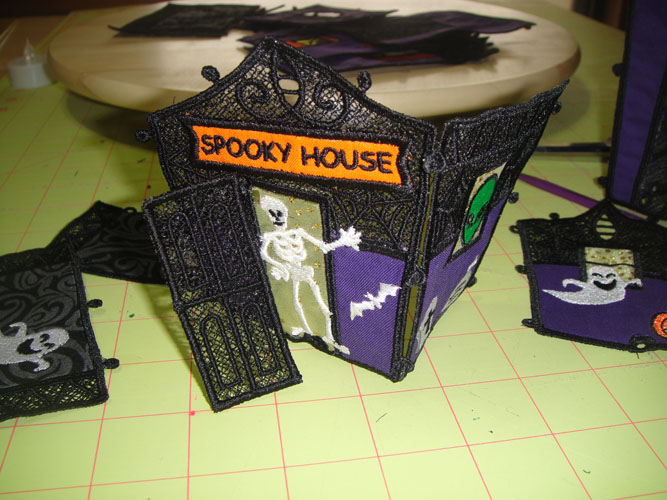
Insert the button on the door through the hole in the front entrance to the house.
The door hangs by only this one “hinge”.
(Click Image to Enlarge)
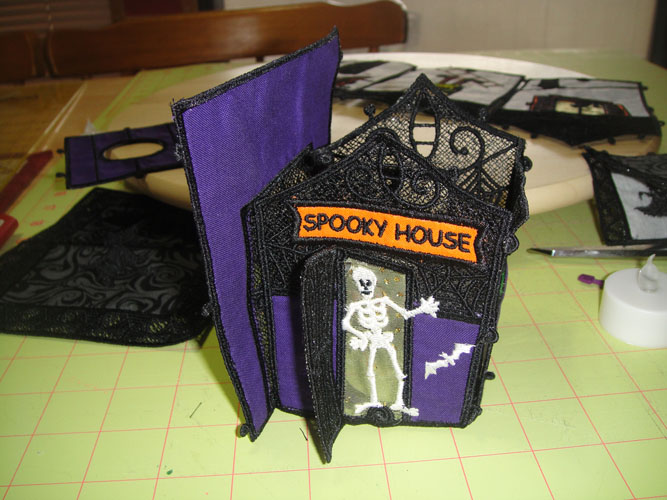
Step 27:
The entrance section of your Spooky House will now look like this.
(Click Image to Enlarge)
Step 28:
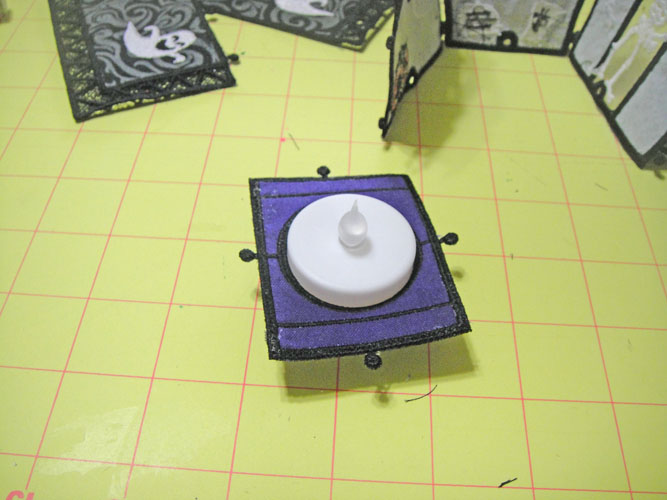
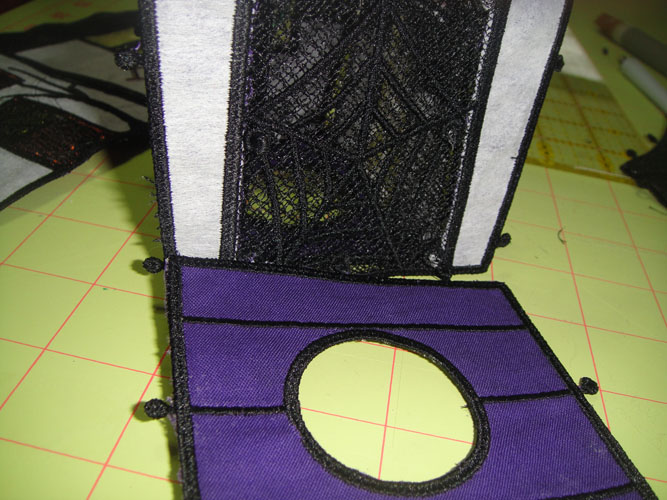
Make sure your flameless tea light fits into the hole in the smaller floor piece.
You will need to stretch the hole slightly when inserting the tea light, but don’t
stretch it too much as you will need it to old the tea light in place when your
house in complete.
(Click Image to Enlarge)
Step 29:
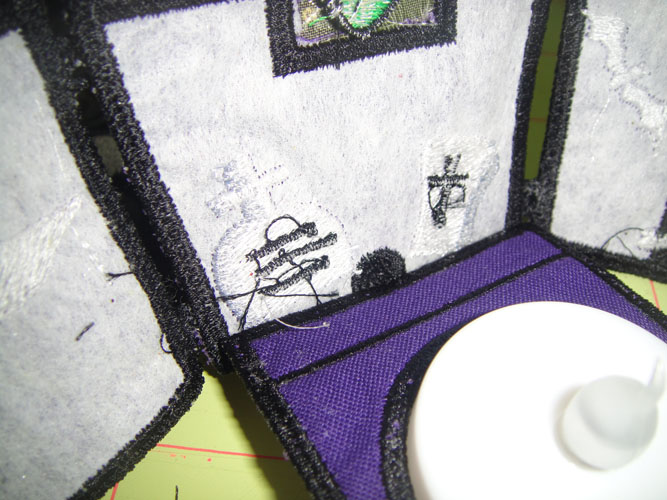
Insert the buttons on the floor into the side of the entrance. You might want to
remove the tea light for the next step.
(Click Image to Enlarge)
Step 30:
There are many holes in the inner wall section. The holes closest to both long sides
are the holes for the entrance to be attached to the inner wall. The next two holes
in at the bottom are for the floor of the larger part of the house to be attached.
The center bottom hole is for the entrance floor. Push the buttons on the sides
of the house entrance though the appropriate holes in the inner wall. Push the button
on the entrance floor through the center hole on the bottom of the inner wall. Push
the entrance floor buttons through the holes in the front and back of the entrance
section. Your Spooky House will now look like this.
(Click Image to Enlarge)
Step 31:
The main floor has one side with two buttons. Insert those two buttons into the
bottom of the inner wall.
(Click Image to Enlarge)
Step 32:
Assemble the three pieces of the main part of the house. The section with the cat
is the front of the house.
(Click Image to Enlarge)
Step 33:
Push the buttons on the three sides of the floor through the holes on the bottom
of the main house pieces.
(Click Image to Enlarge)
Step 34:
Insert the buttons on the sides of the inner wall through the loops on the front
and back main house sections.
(Click Image to Enlarge)
Step 35:
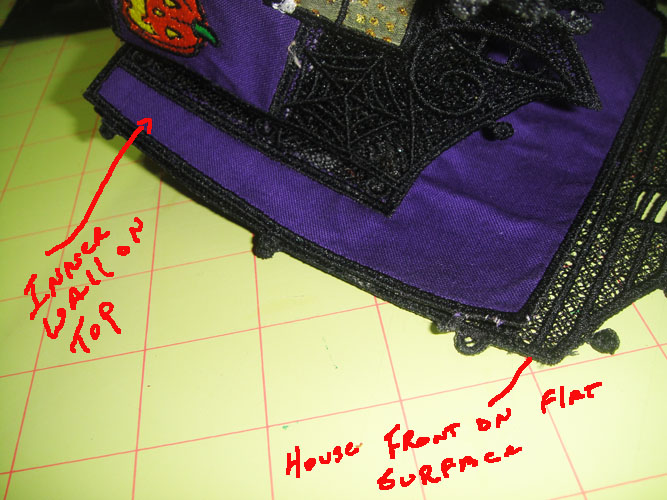
Due to the square shapes of both pieces you are joining you have to move your pieces
to the edge of your work surface. With the sections suspended over the edge of the
work surface place the edge of the house front on your work surface; place the inner
wall on top and push the buttons through the loops.
(Click Image to Enlarge)
Step 36:
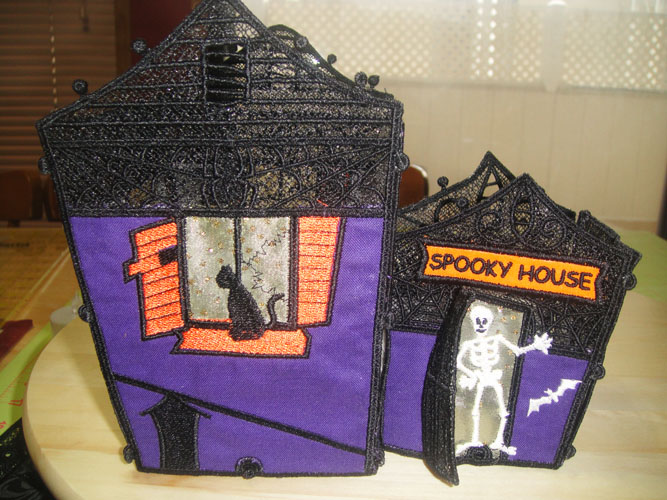
Your Spooky house will now look like this. Insert your two tea lights into the floors.
(Click Image to Enlarge)
Step 37:
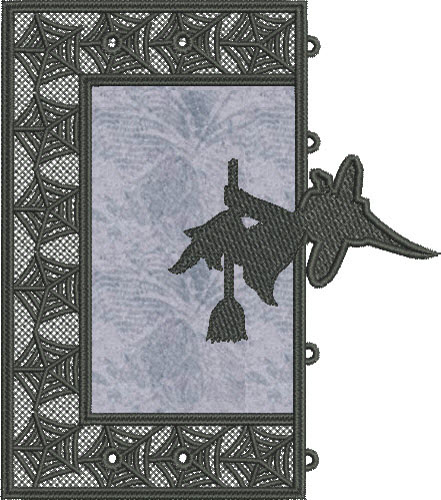
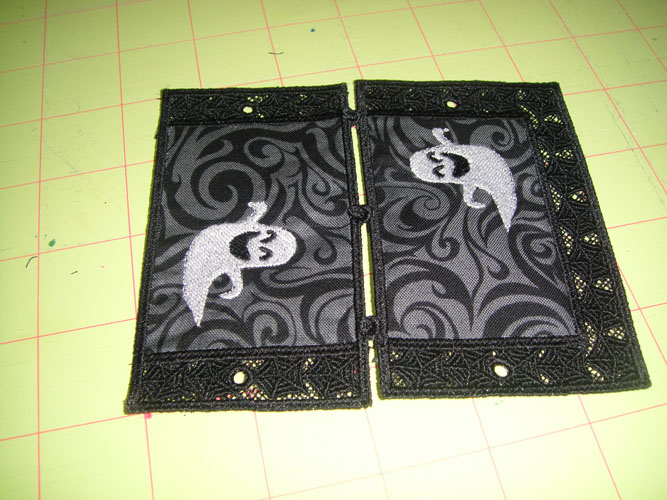
Join the two roof sets together. The two sections with the ghosts are joined together
for the house entrance. The larger set with the witch on one side and the hole in
the roof on the other are joined together.
(Click Image to Enlarge)
Step 38:
Attach the roof with the witch to the main section of the house grasping the button
on top of the house and pushing it through the holes in the lace section of the
roof. The witch side of the roof should be on the outside of the house.
(Click Image to Enlarge)
Step 39:
Attach the roof with the ghosts to the entrance of the house. Note one side of the
entrance roof does not have lace on the bottom edge. This side of the roof goes
towards the house and the laced edged piece hangs over the outside of the house.
Pinch the tops of the roofs together to encourage the sides to curve over the curved
top edges of the house sections. Congratulations your Spooky House is complete!
Award winning Digitizer, Embroidery Educator, Author and a Consultant to the Industry, Pat Williams has 30 years of experience in the embroidery industry. Pat has won multiple awards for her digitizing expertise including the 2007 Impressions Awards Grand Championship, Best of Show as well as the 1st and 2nd Place Awards. Pat’s love of digitizing has afforded her the opportunity to write numerous articles for Impressions magazine in the United States and Images Magazine in Europe. In 2001 Pat was named “Embroidery Educator of the Year.” For many years Pat taught digitizing seminars at the ISS Shows in Long Beach, CA and for Compucon software. She now resides in Tucson, AZ.