Holiday Flash $1.49
Victorian Christmas Gift Bag

Victorian Christmas Gift Bag Embroidery Project

By   Ramona Baird   on   September 29, 2014
  • SKILL LEVELIntermediate
  • TIME REQUIRED06:00
Description

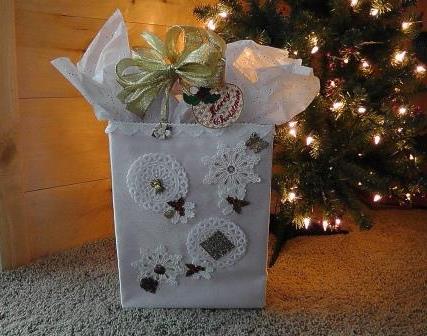
Craft a beautiful Victorian-inspired Christmas gift bag with intricate lace-like designs. Perfect for adding an elegant touch to your holiday gift-giving. Step-by-step instructions are included.

Step of

Materials

Project Preview Video

Materials
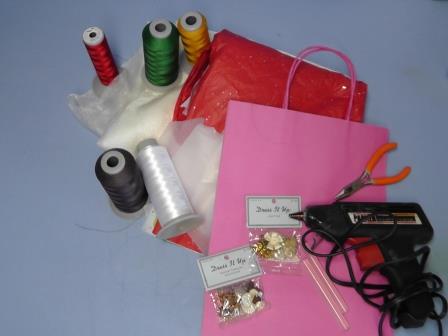
  • Fabrics to cover bag (this is an option depending on the gift bag you have and the amount depends on size of bag)
  • White nylon or polyester organza (or your choice of color to coordinate with the embroidery thread color you are using. This will be used to make designs that are not digitized specifically as FSL, able to stand as a lace-like embroidery object)
  • Embroidery threads as designated in the color chart of the design
  • Water soluble stabilizer (use a heavy water soluble stabilizer for sewing out the FSL designs)
  • Gift bag-white or colored
  • Victorian style “findings” such as buttons, ribbons, flowers, etc.
  • Gift tissue for stuffing bag
  • Hot glue gun and glue sticks
  • Wire cutter to remove button shanks
  • Permanent spray glue (to stick fabric to paper)
  • Ribbons to coordinate with the Victorian findings to wrap the gift bag handles and make a bow and ties

  • Designs used in this project

    Final Product: What You Will Create

    Preface:
    This bag is easy to create. The time is really spent in watching beautiful free standing lace (FSL) designs stitch out. Depending on the size of the gift bag to be created, stitch as many FSL designs as you’d like. Use printed templates of the designs to create the layout on the bag, stitch the designs, remove the water soluble stabilizer and then decorate the bag with fabric and the FSL designs. Finish the bag with a bow and FSL ornament used as a gift tag. Who wouldn’t love to receive a gift in a gift bag that actually could become a decorative element and a keepsake.

    Note: due to the nature of the FSL designs, it is not recommended to resize FSL designs.

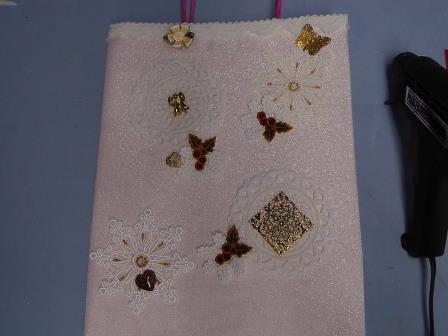
    Designs DYD18706 and WBE0500_008 will use two layers of organza hooped together to create a lace-like stand-alone design. They are not FSL designs; the organza will hold the stitching together.

    All the FSL designs are stitched using two layers of a heavy water soluble stabilizer.


    Step 1:
    Gather the supplies needed and read through all the instructions before beginning the project.


    Step 2:
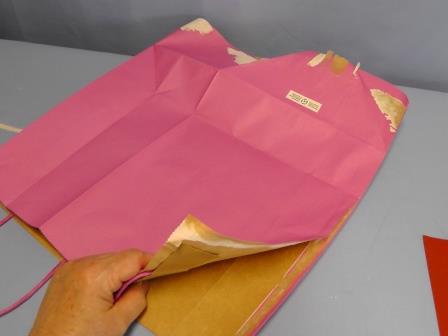
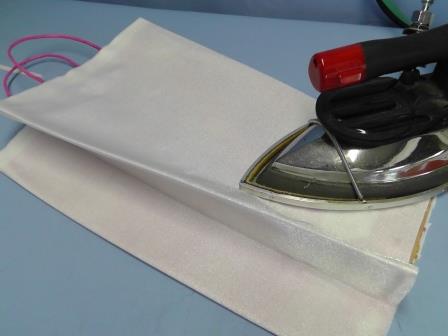
    Begin by taking apart the gift bag at the glued seams (use a bit of steam from an iron to soften the glue if needed). At this point, use the paper embroidery design templates to generally plan the layout of the designs and findings on the bag. By pre-planning, you will know how many of each design you will want to stitch out.


    Step 3:
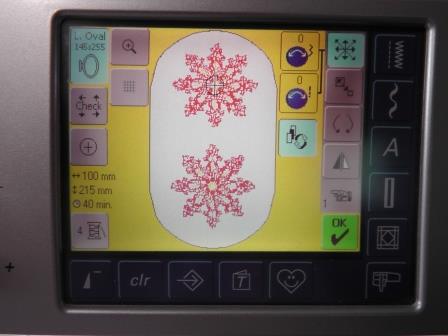
    Load design WBE0500_008. If the hoop is large enough, gang more than one design in each hooping for stitchout. Do not place the designs too close together, though.


    Step 4:
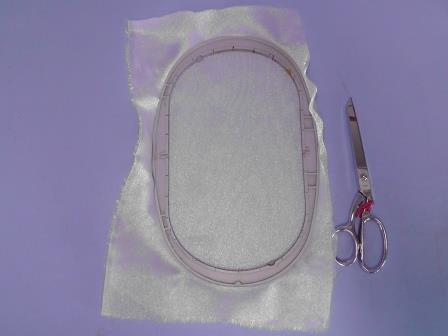
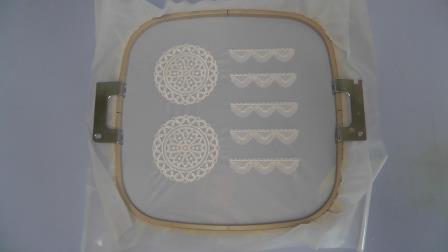
    Hoop two layers of organza. The nylon organza will keep the design together and make it a lace-like design.


    Step 5:
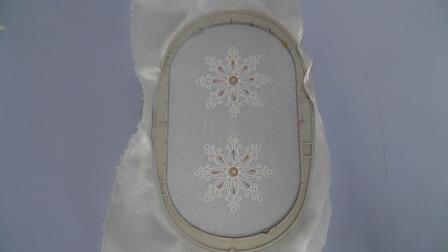
    Stitch the design(s) following the color sequence.


    Step 6:
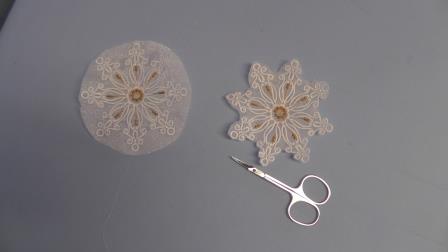
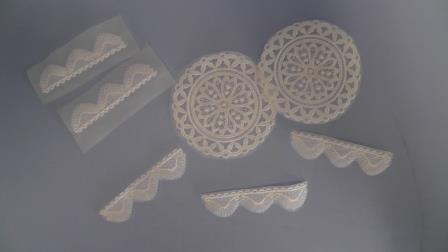
    Remove the fabric from the hoop and cut out each design from the organza, then cut the organza away close to the stitching as shown. 


    Step 7:
    Hoop two layers of organza and load design DYD18706. Stitch the design following the color sequence.


    Step 8:
    Cut away the excess organza then use small embroidery scissors to trim away the fabric close to the stitching lines. Be very careful not to clip any of the embroidery threads. 


    Step 9:
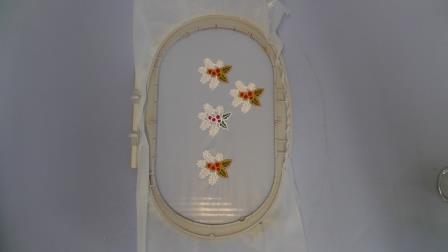
    To stitch the FSL designs APE0467A009 and FSL141R, hoop two layers of water soluble stabilizer. Gang up designs in the hoop if possible, but do not place the designs too close together. Stitch the designs using the thread color of choice.


    Step 10:
    Remove the embroidery from the hoop and loosely cut around the designs to remove the excess stabilizer.


    Step 11:
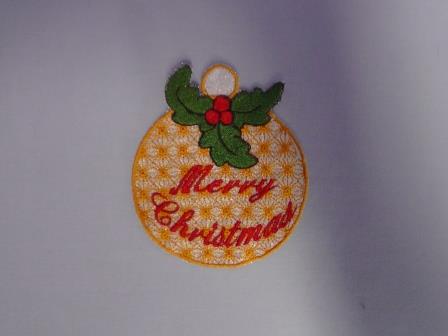
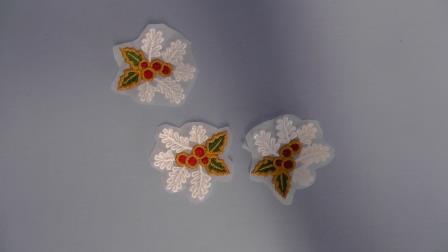
    Hoop two layers of water soluble stabilizer. Load design SHE0203_002 and stitch the design as many times as needed as planned in the layout. As you can see, I did a color test using white instead of gold in the outline.


    Step 12:
    Remove the embroidery designs from the hoop and loosely cut around the designs to remove the excess stabilizer.


    Step 13:
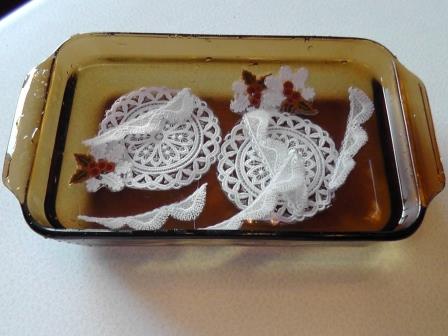
    Place the stitched FSL designs in water the temperature stated on the product instructions.


    Step 14:
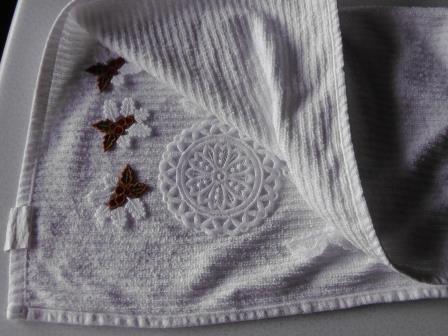
    After the stabilizer is removed, pat the designs dry on a towel. Leave the designs flat to dry.


    Step 15:
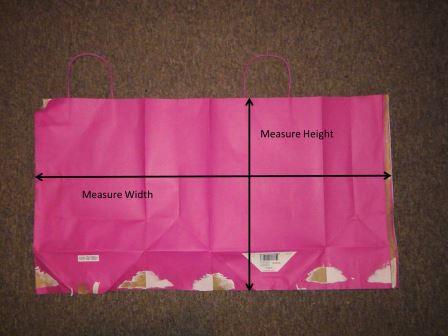
    While the designs are drying, cover the gift bag in fabric. Measure the bag height and width. These measurements will determine how much fabric to cut.


    Step 16:
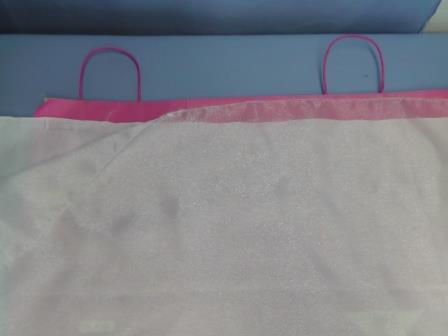
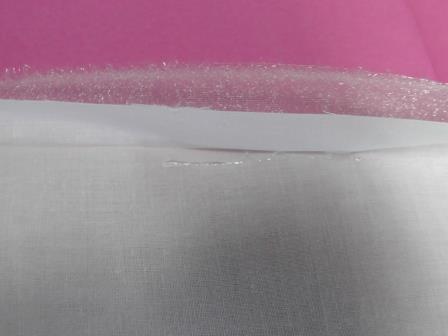
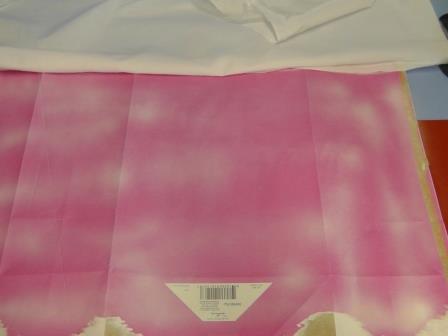
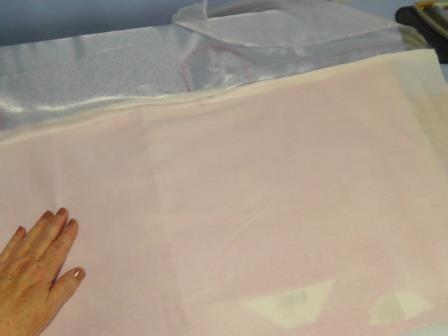
    Covering the bag in fabric is an optional step. If you have a plain bag or printed bag you’d just like to decorate, then skip the fabric steps and proceed to decorating after the FSL designs are dry. To cover the bag, measure and cut the fabric(s). For the project bag, I used a layer of white muslin topped with a layer of white nylon organza to mute the hot pink color of the bag. Cut each piece of fabric the height and width of the bag plus additional fabric all around each side; the excess will be trimmed away after the bag is covered.


    Step 17:
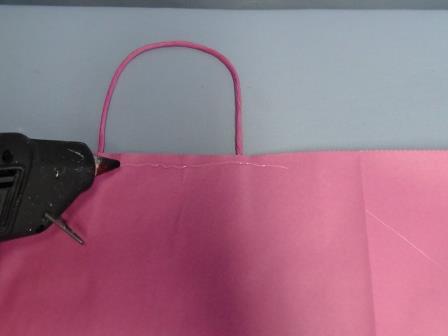
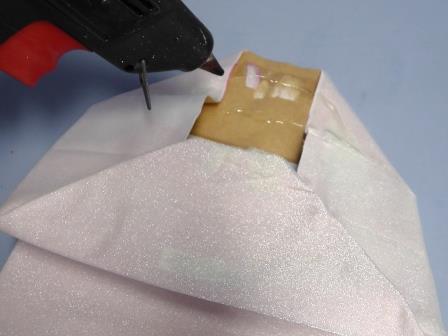
    Heat up the glue gun. Fold the fabric at the top over 1”, press, and then glue in place.


    Step 18:
    Run a bead of hot glue at the top of the bag and press the fold of the fabric to the top edge of the bag meeting the edges.


    Step 19:
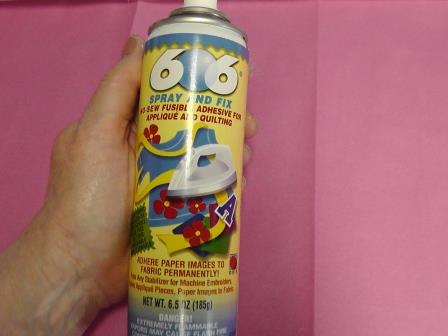
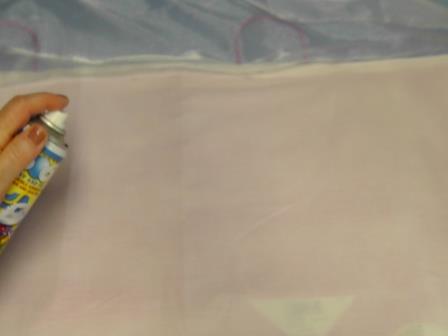
    Read and follow the directions carefully on the spray adhesive product being used.


    Step 20:
    Spray the gift bag with the spray glue.


    Step 21:
    Smooth the fabric over the spray.


    Step 22:
    If using two layers of fabric, another layer of spray glue may need to be added and then the second layer of fabric smoothed over the first.


    Step 23:
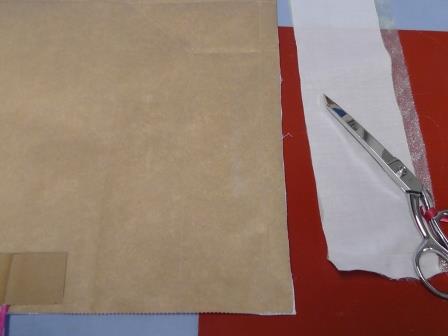
    Let the spray glue dry thoroughly then trim away the excess fabric from the remaining three edges.


    Step 24:
    With a warm iron, press the creases into the fabric following the original crease lines on the gift bag. 


    Step 25:
    Use the hot glue gun to re-glue the bag together as it was originally done at the side and bottom.


    Step 26:
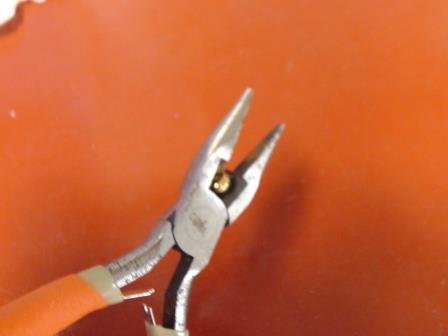
    Use the wire cutters to remove the shanks on any buttons. These buttons were plastic, so the shanks were easily cut off.


    Step 27:
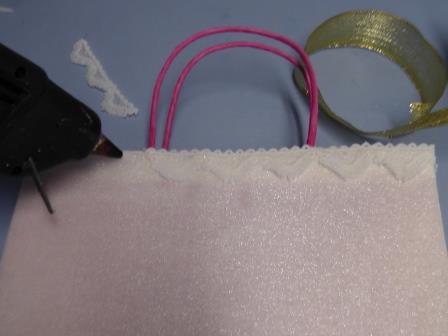
    Now start gluing the trim to the top of the bag. The trim may be sewn together first, then glued, but I just glued the sections on one after the other.


    Step 28:
    Place the remaining embroidered designs and findings on the bag as planned and glue them in place using the hot glue.


    Step 29:
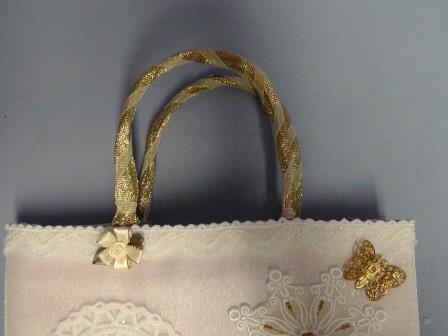
    Wrap the handles of the bag with the ribbon. For this bag, I used a gold wired ribbon first and then a narrow white organza ribbon.


    Step 30:
    (Click Image to Enlarge)
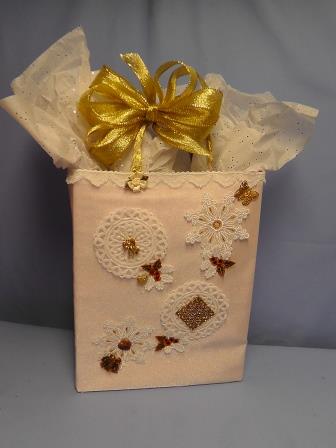
    Stuff the bag with tissue and insert the gift. Make a bow with the remaining ribbon and tie it to the handle.


    Step 31:
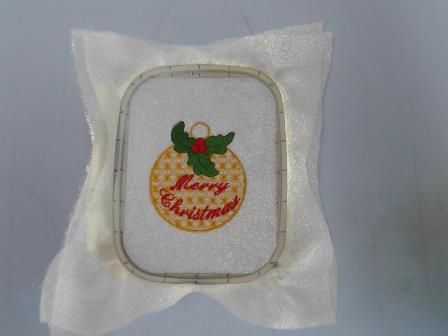
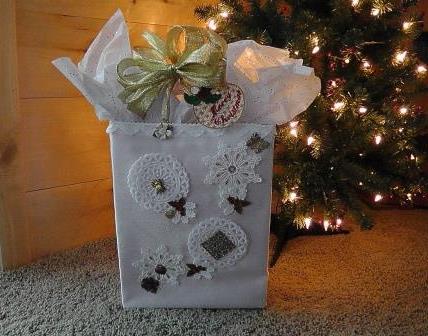
    Add the “Merry Christmas” ornament to the top and the gift is ready to delight the recipient! 
    Meet the Author: Ramona Baird
    Ramona Baird
    Ramona Baird has been in the embroidery industry for over 23 years. She and her husband owned a commercial and retail embroidery store in Arizona for many years. She is an experienced digitizer having been mentored by award-winners Pat Williams and Lindee Goodall. Ramona is a contributor to “Creative Machine Embroidery” magazine having 5 covers to her credit. Ramona has worked for Wilcom America and served many years as Education Director for the American Sewing Guild. With a degree in fashion design, she is able to design and execute patterns which Pat Williams says are “out of the box” in creativity and application. Ramona likes to challenge the boundaries of embroidery and bring new and exciting designs, ideas, and projects to EmbroideryDesigns.com. She wants embroiderers of all levels to increase their skills and enjoyment in using their embroidery machine for gift-making and personal pleasure.
    More From This Author
    Link is Broken, Please check the URL
    Exclusive Embroidery Offers!
    Copyright © {{ currentDate | date:'yyyy'}} - EmbroideryDesigns.com
    GET 50% OFF! ×