Border OptionsHugging border, circle, square, or rectangle — with a 3mm satin stitch.
Backing OptionsAvailable with iron-on, sew-on, or velcro backing.
Fast ShippingShipped quickly from the USA.
Free Online Tools
Powerful embroidery utilities that save time and prevent costly mistakes.
Stitch AssistantRECOMMENDED
Get the exact stabilizer, machine settings, needle, and thread color sequence for every embroidery design you purchase — based on that design's stitch density, dimensions, and color count.
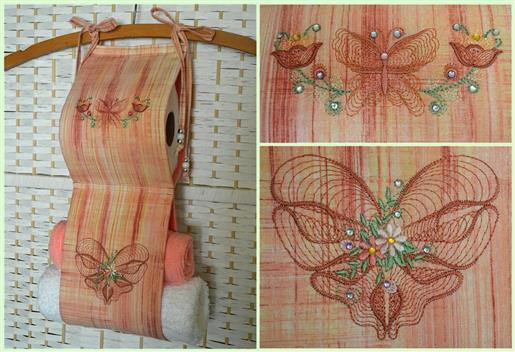
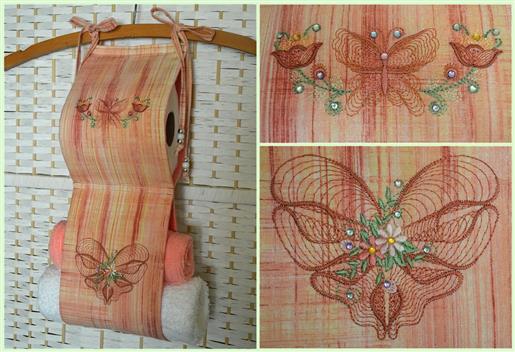
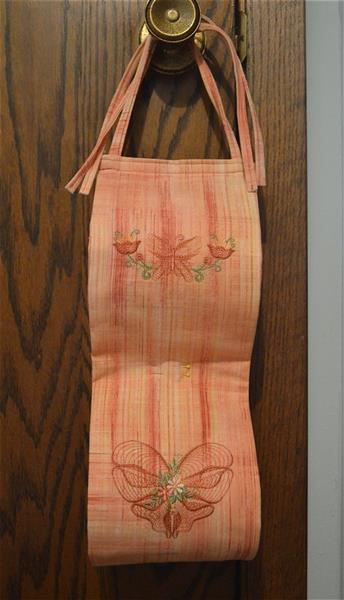
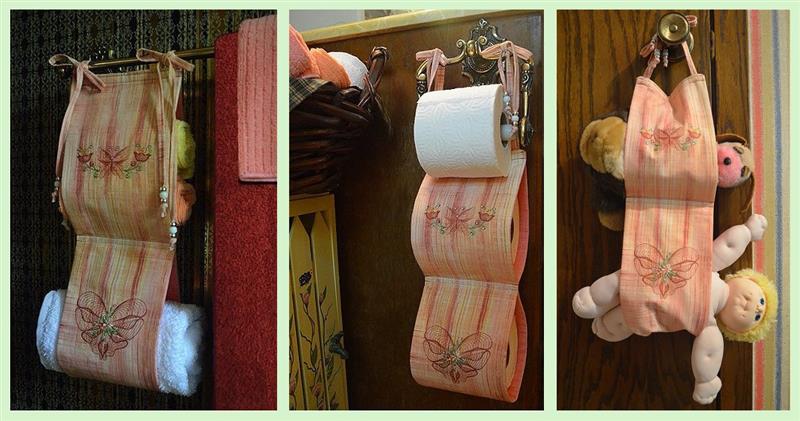
A great toilet paper storage solution, this hanging holder can also be used in the kitchen for towels, tied on a bed post to hold a book, hang from a door knob to organize toys, or use in any room to hold just about anything that fits in the sling.
Step
of
TP Holder & Other Thing Sling
By Bonnie Landsberger
This project requires less than a half-yard total for the two panels and ties necessary for each holder. The length of the toilet paper core, determines the yardage, and the amount of slings that you want to make determines the necessary fabric width. The circumference of the toilet paper roll that you generally use determines the length of each holder. If you create only one sling using the same print inside and outside, you would likely get by with about 8” of fabric that is 42” wide. A 3-sling holder requires a 64” fabric width. (If you plan to make more than one 2-sling holder, you can reverse the measurements, using the yardage for the length of the holder and cut about six panels 6.5” wide and six strips 1” wide for ties from 1 yard that is at least 42” wide to create three 2-sling holders.) This pattern is for creating one 2-sling holder.
Step 1:
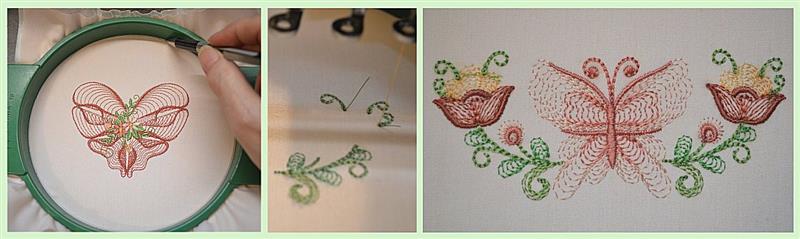
Test sew your designs and create a template by marking the inside edge of the hoop, then cut along your mark line. This is a good time to make note of possible problems. My sample shows how a tail of green was tacked down by the yellow in the left flower. Be sure trimmers are turned on or if you are stitching with a machine without trimmers, you should stop the machine after the jump to trim away the excess tail.
(Click Image to Enlarge)
Step 2:
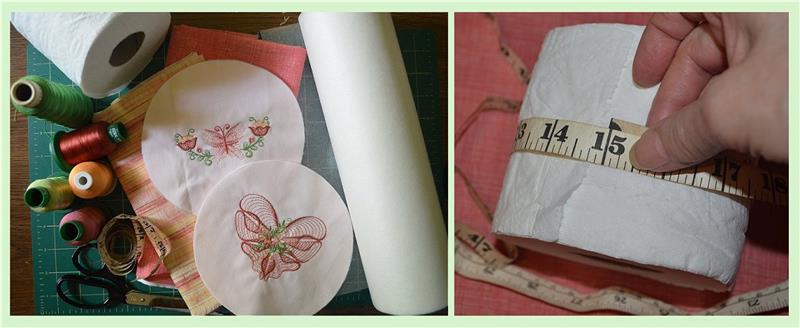
Gather your materials, determine the measurements and cut. This pattern calls for the sling to hold the standard size roll that measures about 4” from the top of the core to the bottom of its core. To be sure that the sling will hold your favorite brand of TP, measure the length of its core and add 2.5” and the sum will determine the width of the panel. Determine the length of the panels for a 2-sling holder by measuring the circumference of the TP roll, double that number and add 6”. Cut two panels of fabric accordingly; my two cut panels measured 6.5 x 36”. Cut two 1” x 30” strips for ties. Alternately, you might also use ¼” wide ribbon for the ties.
(Click Image to Enlarge)
Step 3:
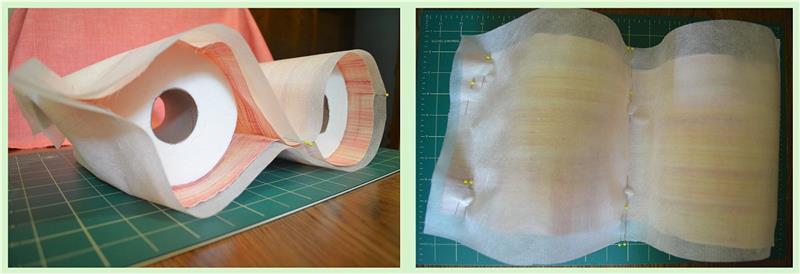
Pre-assemble and mark. With a roll of TP inserted in each sling, assemble top panel to the inside with stabilizer on the outside. You can also accomplish this with the fabric right side out, but I prefer to hide marks whenever possible. Pin and mark between the two rolls where your final center seams will stitch (approximately 8 ¼” up from the fold); this will not be at exact center because you need an allowance at the top of the holder for top seams. Determine and mark an X at where you believe the center point of the embroidery design should be. Un-assemble and use two pins crossed on the right side to mark each design center, matching up the pins to your marks on the stabilizer.
(Click Image to Enlarge)
Step 4:
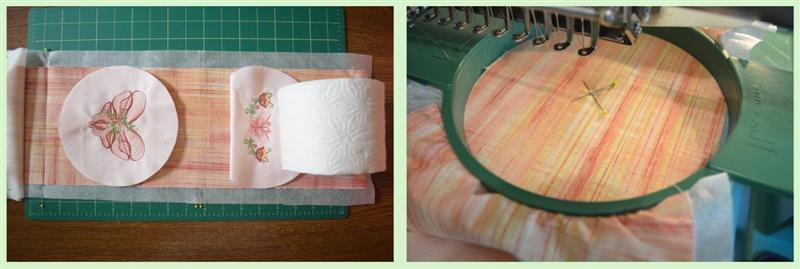
Pin the templates to the right side to help placement when hooping, matching up the center of the design to the crossed pins; a roll of TP will help judge whether designs will be centered. Hoop around where the template is pinned and then remove the template, line up center on the machine, and then remove the pins and stitch. Note: I included a margin of stabilizer on each side to accommodate the size of the hoop I used and it’s cut away after the embroidery. If you use a smaller size that allows hooping all fabric securely, this excess margin of stabilizer is not necessary.
(Click Image to Enlarge)
Step 5:
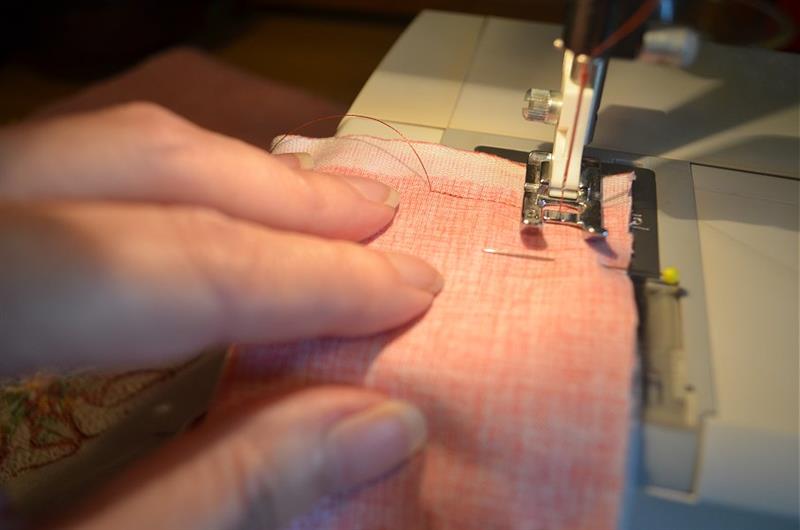
With right sides together, pin the inside and outside panels together and sew a 5/8” seam around each side, leaving an opening at one end.
(Click Image to Enlarge)
Step 6:
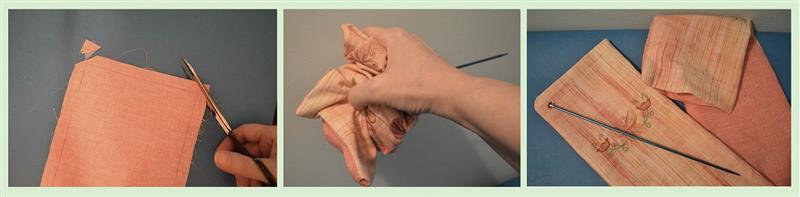
Trim corners and turn. Use the blunt end of a knitting needle to help push out corners. Press.
(Click Image to Enlarge)
Step 7:
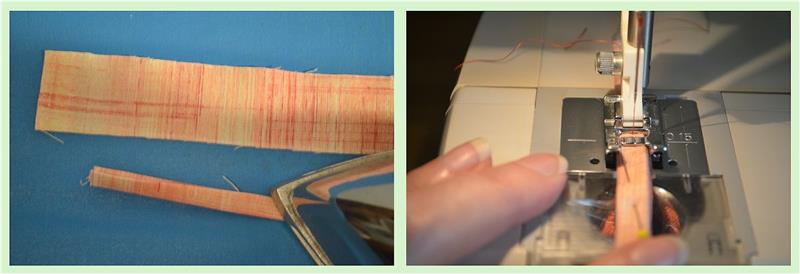
Create ties. Fold and press each long edge to meet at the center, and then fold and press in half along the length. Pin and sew a narrow seam, stitching close to the edge.
(Click Image to Enlarge)
Step 8:
(Click Image to Enlarge)
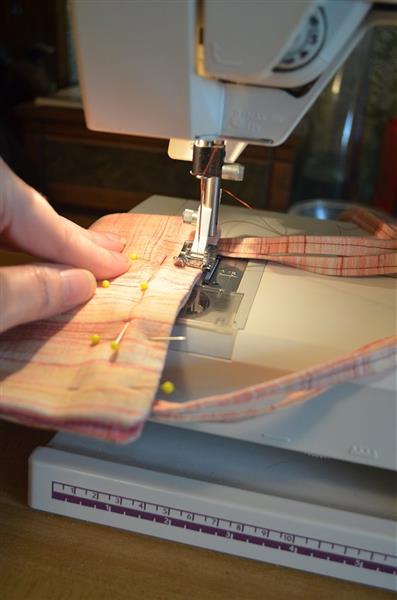
Fold the stitched panel in half, right sides out, and pin at top. Fold the ties in half and place the folded ends between the two sides of the panel, in about 1” from the top of the holder. Pin and stitch a narrow seam at the top edge. Stitch another seam about 3/8” down from the top seam.
Step 9:
(Click Image to Enlarge)
Tie to a door knob or clothes hanger with rolls of TP inserted to double check where the center seams should be. Pin and stitch two seams across the center about 3/8” apart.
Step 10:
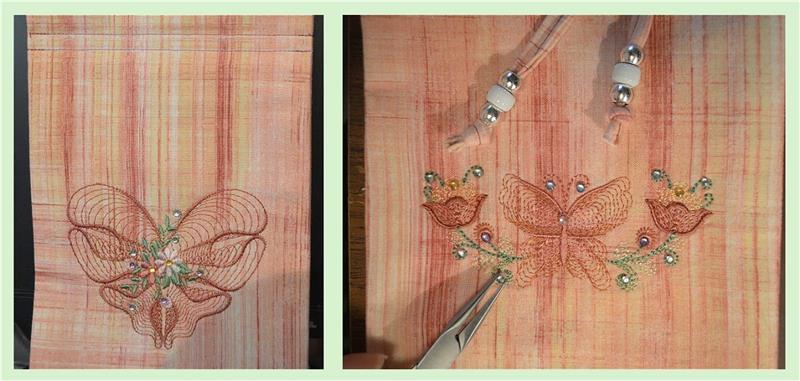
Optional: Add gems where preferred, fastening with Gem-Tack or other fabric glue. Thread the ends of the ties through beads and knot the ends.
(Click Image to Enlarge)
Step 11:
You’ll find many different ways to use the “thing sling” and it’s even perfect for gift giving! Embroider with designs appropriate for its use, such as an Angel design for a baby’s room or monogram to hang from the back of a car headrest to hold tissues or other backseat needs.
Bonnie Landsberger has been a crafter and hand embroiderer since childhood and a machine embroiderer and digitizer since 1986. She was the in-house head digitizer for a 50-head embroidery shop for 11 years and later offered custom digitizing services and stock design sales through her web site for Moonlight Design since 1993. She currently also holds a position as a customer service representative at EmbroideryDesigns.com.
Bonnie has won several awards for digitizing, including a gold medal in the 2002 Digitizing Olympics and grand prize in all categories & first place for Winter Holidays category in the Stitches Magazine Great Greeting Card Contest 2003.
Her embroidery and digitizing technical articles can be found in various trade magazines and she is currently a contributing writer and Editorial Advisory Board Member for Stitches Magazine. You can also find more of her articles online at EmbroideryDesigns.com and will continue to contribute articles to our Learning Center.