Border OptionsHugging border, circle, square, or rectangle — with a 3mm satin stitch.
Backing OptionsAvailable with iron-on, sew-on, or velcro backing.
Fast ShippingShipped quickly from the USA.
Free Online Tools
Powerful embroidery utilities that save time and prevent costly mistakes.
Stitch AssistantRECOMMENDED
Get the exact stabilizer, machine settings, needle, and thread color sequence for every embroidery design you purchase — based on that design's stitch density, dimensions, and color count.
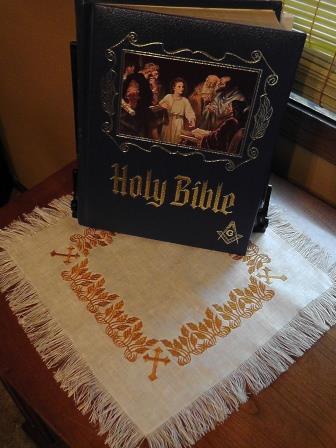
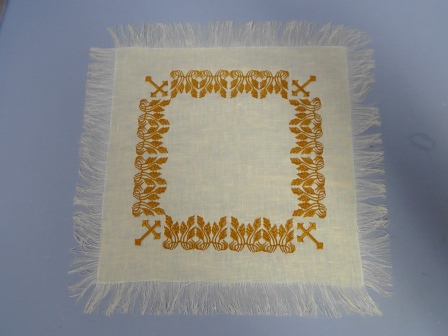
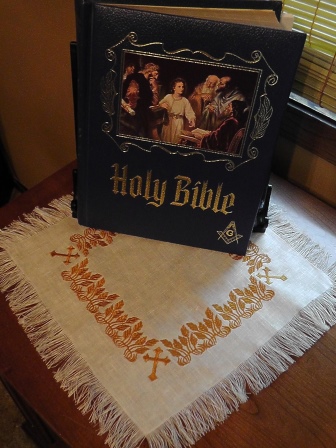
This elegant table scarf features cross and wheat designs stitched on linen, perfect for enhancing the display of a Bible stand. The intricate detailing adds a touch of sophistication to any religious setting. Step-by-step instructions are included.
Step
of
Cross and Wheat Table Scarf for Bible Stand
By Ramona Baird
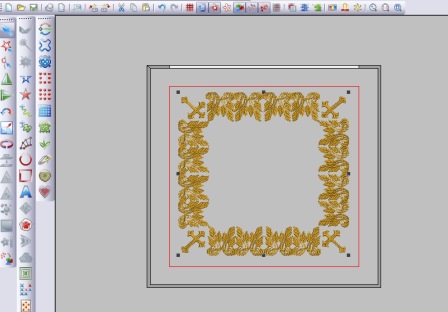
Software makes easy work to set up the design in one hooping. The wheat design is first made a to sew in a single color. The Golden Wheat design is copied, grouped and aligned along each edge with the Cross angled in each corner.
Step 1:
(Click Image to Enlarge)
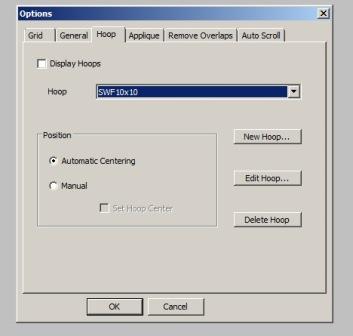
Using embroidery software, select the hoop size. Note: Designs are sewn in the order they are placed on screen. Care should be taken to work around the hoop in one direction alternating the Golden Wheat and Cross designs to complete the entire file for stitching in one hooping.
Step 2:
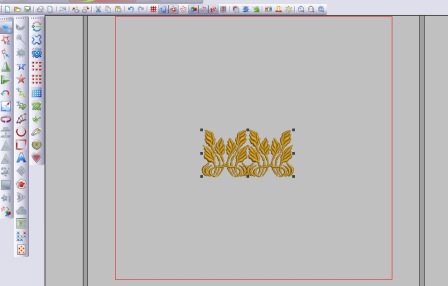
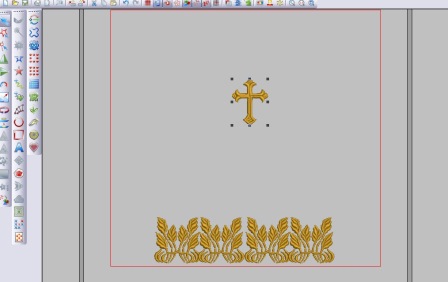
Insert the “Golden Wheat JLA000557A” design. Select the design and make the design one color.
Step 3:
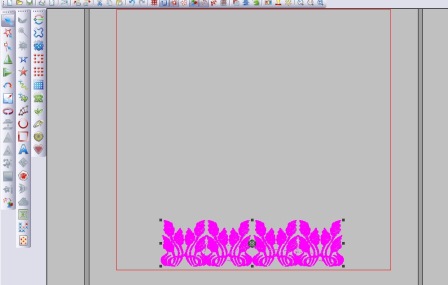
Align the design at the bottom left. Copy, paste, and align a second design next to the first as shown. Group both sets together.
Step 4:
Insert “Cross 00142” design.
Step 5:
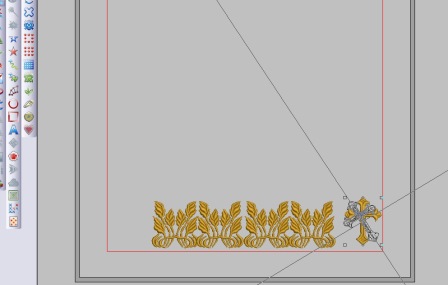
Position and rotate the cross in the lower right hand corner.
Step 6:
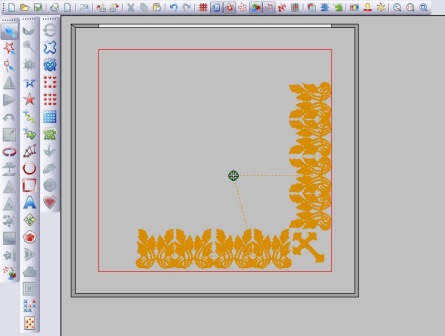
Select, copy and paste the Golden Wheat group. Rotate and position the second grouped set of wheat designs along the right side of the hoop area as shown. Note: The tips of the wheat designs should meet above the cross design.
Step 7:
(Click Image to Enlarge)
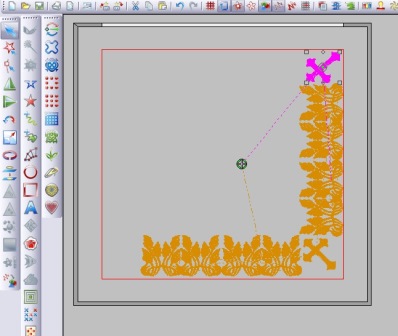
Copy, paste, position and rotate the Cross design in the next corner.
Step 8:
Continue copying, pasting and positioning the grouped Golden Wheat design and Cross design to complete the layout as shown. Use the alignment tools in the software to be sure everything is aligned as desired.
Step 9:
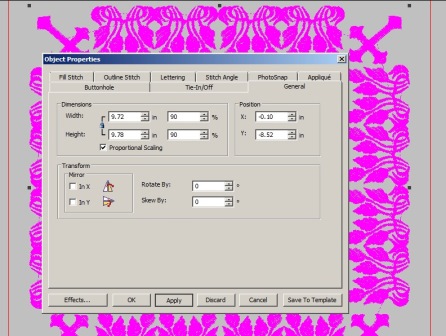
If needed, resize the design to fit within the stitching area of the hoop. Save the design in the software and then save the design as a stitching file for the machine.
Step 10:
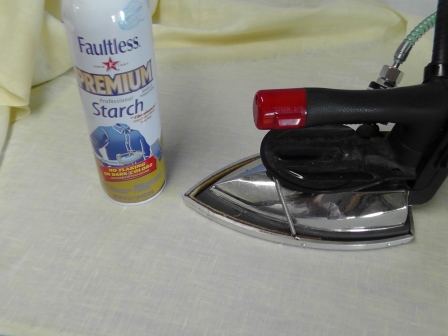
Press the fabric well using spray starch to add crispness.
Step 11:
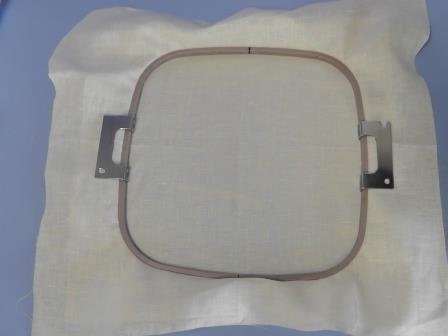
Hoop the fabric with one or two layers of stabilizer (in this project, one layer was used, but if the linen chosen is heavier, two may be needed.) Be as careful as you can to make sure the grainline of the fabric is squared up in the hoop. Be sure there is a full bobbin in the machine.
Step 12:
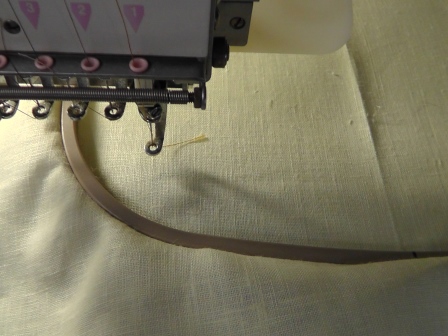
At the machine, check to be sure the stitching area clears the hoop.
Step 13:
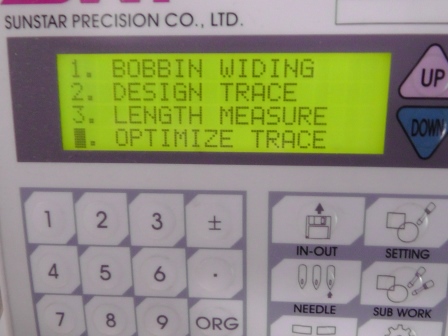
If the machine has it, use the Optimize Trace feature. This feature traces the exact outline (outer edges) of the design. It takes a bit of time for the machine to calculate this, but when the design fills out the hoop, this is a safer method of checking the clearance of the design within the hoop.
Step 14:
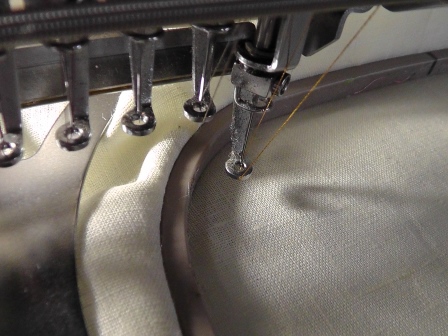
If the foot is too close, adjustment of the design in the hoop may be needed. Be sure the back side of the presser foot will clear the hoop as well.
Step 15:
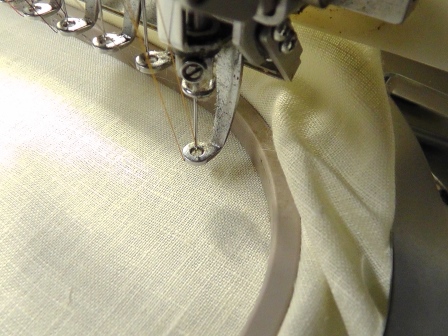
Check each corner carefully. If the foot is too close to the edge, go back to the software and resize the design the amount needed, so the foot will clear the hoop totally.
Step 16:
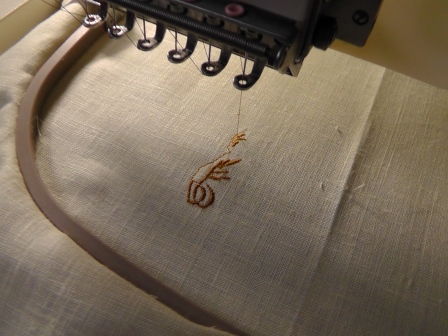
Load the thread on the machine, and start the machine to stitch the design.
Step 17:
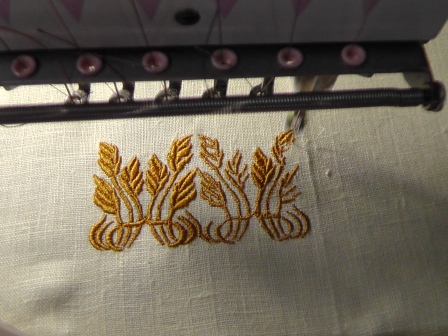
The design was changed to one color in the software, so the entire design layout will stitch in one color.
Step 18:
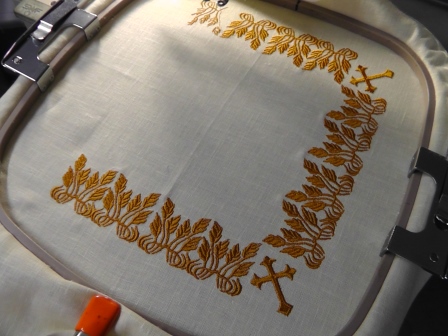
Continue stitching the entire design.
Step 19:
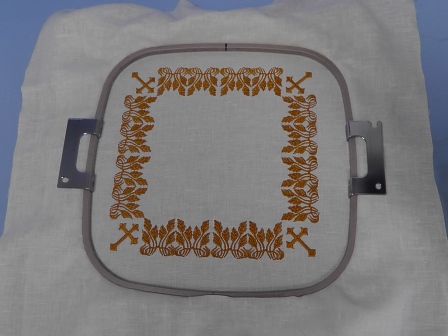
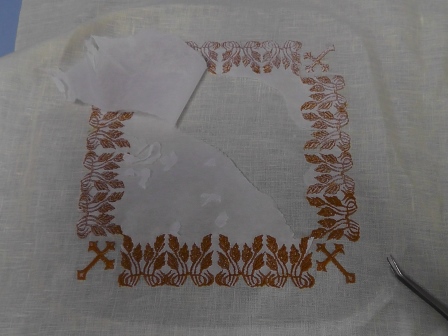
The entire design is stitched.
Step 20:
Remove the fabric from the hoop and remove the stabilizer.
Step 21:
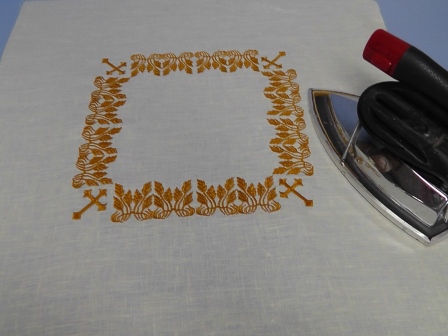
Press the fabric well.
Step 22:
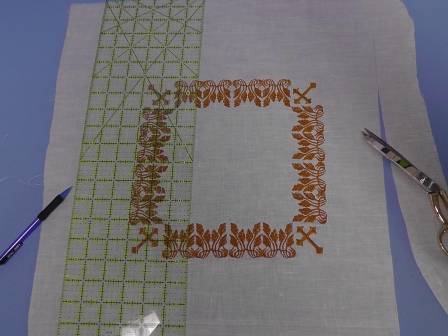
Mark the cutting line of the fabric 3” from the outside edge of the embroidery along each side and cut along the drawn line.
Step 23:
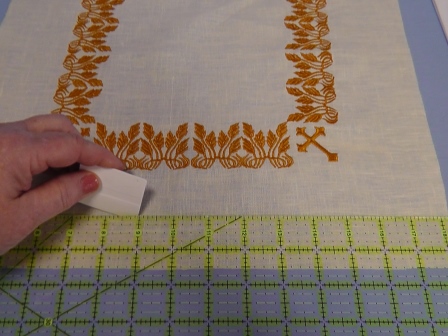
From the cut edge, draw a line 1 ½” using marking chalk. Stitching will be done along this line to create a stop for the frayed edge. Mark from each cut edge the same amount all around the fabric.
Step 24:
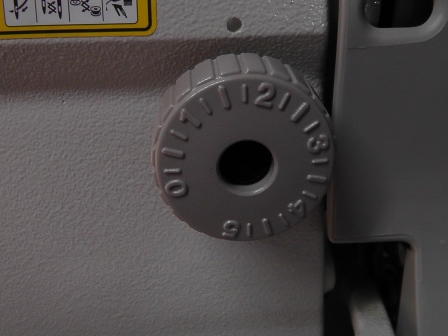
Thread the sewing machine with thread the same color as the fabric. Set the stitch length to 1.5-2.0mm. This shortened stitch will prevent the fabric fraying beyond this stitching line.
Step 25:
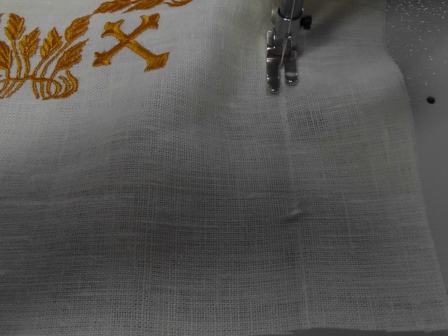
Beginning at one side, stitch along the drawn line.
Step 26:
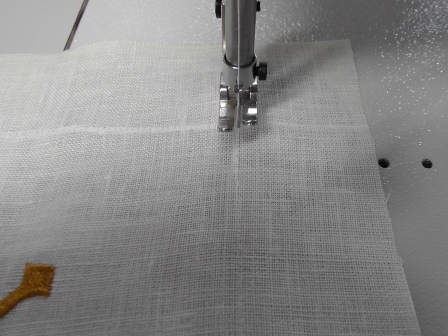
Pivot at the corner and continue sewing and sew along the next side.
Step 27:
Sew around all sides. Back at the beginning, sew over the first few stitches instead of backstitching.
Step 28:
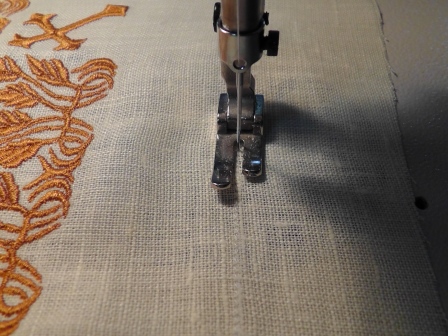
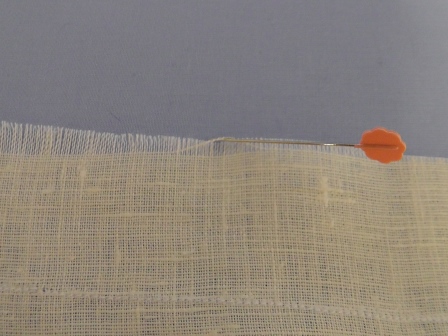
Using a pin, grab a single fiber and pull it out. Continue pulling a single fiber until all the fibers are removed along one side, then move on to the next side. Continue on pulling the threads up to the stitching line until all four sides are done.
Step 29:
Press the scarf carefully.
Step 30:
(Click Image to Enlarge)
Place the scarf on the table underneath the Bible and stand.
Ramona Baird has been in the embroidery industry for over 23 years. She and her husband owned a commercial and retail embroidery store in Arizona for many years. She is an experienced digitizer having been mentored by award-winners Pat Williams and Lindee Goodall. Ramona is a contributor to “Creative Machine Embroidery” magazine having 5 covers to her credit. Ramona has worked for Wilcom America and served many years as Education Director for the American Sewing Guild. With a degree in fashion design, she is able to design and execute patterns which Pat Williams says are “out of the box” in creativity and application. Ramona likes to challenge the boundaries of embroidery and bring new and exciting designs, ideas, and projects to EmbroideryDesigns.com. She wants embroiderers of all levels to increase their skills and enjoyment in using their embroidery machine for gift-making and personal pleasure.