Border OptionsHugging border, circle, square, or rectangle — with a 3mm satin stitch.
Backing OptionsAvailable with iron-on, sew-on, or velcro backing.
Fast ShippingShipped quickly from the USA.
Free Online Tools
Powerful embroidery utilities that save time and prevent costly mistakes.
Stitch AssistantRECOMMENDED
Get the exact stabilizer, machine settings, needle, and thread color sequence for every embroidery design you purchase — based on that design's stitch density, dimensions, and color count.
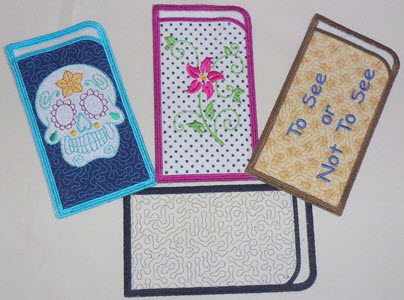
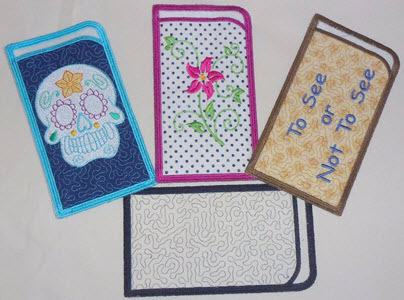
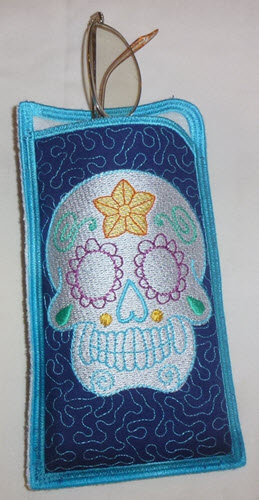
This project comes with four top designs and one back design. The tops are a flower, sugar skull, sayings and a blank with stippling so you can add a monogram or another design that fits the 3 x 5 1/2 sewing area.
To begin wash and press the cotton fat quarter with spray starch. Cut 2 5 x 8 rectangles from both the fat quarter and the fleece.
Step 1:
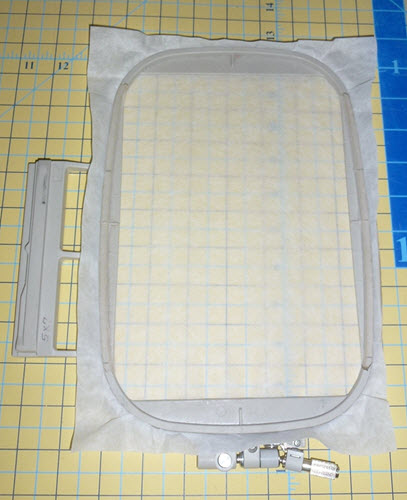
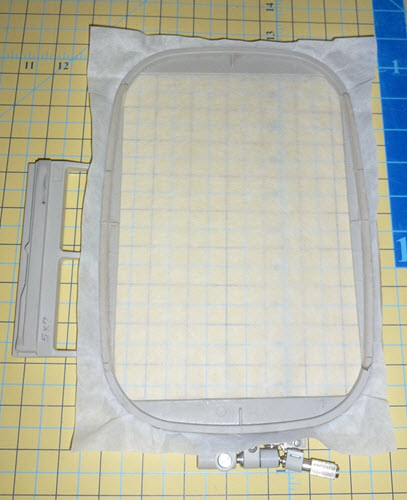
Hoop tear away stabilizer for the back of the case.
Step 2:
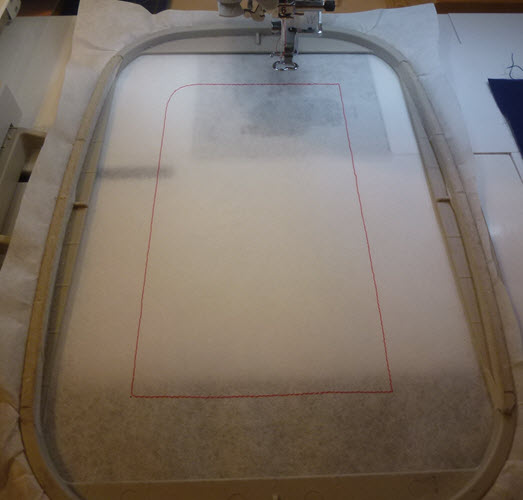
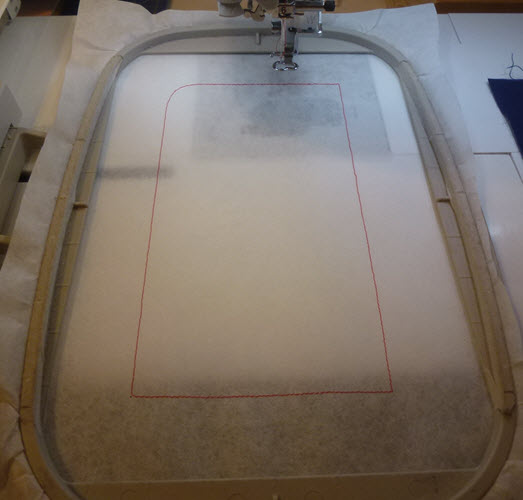
Load EGCS01 into your machine and stitch fabric placement outline in any color.
(Click Image to Enlarge)
Step 3:
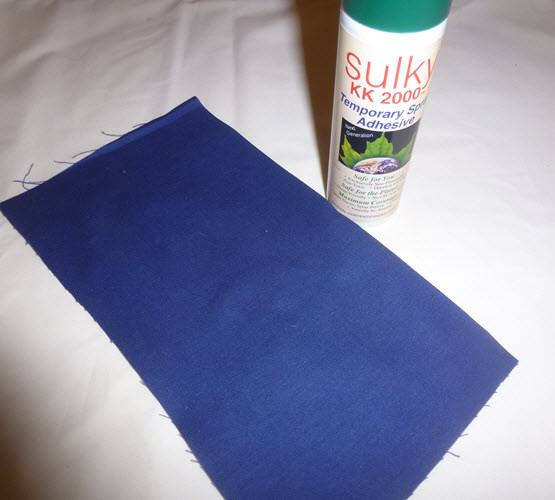
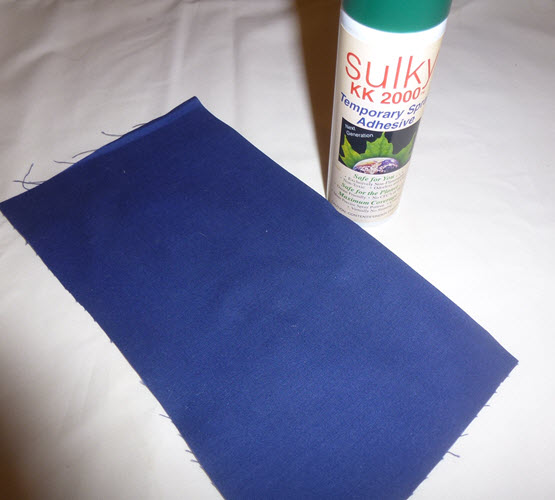
Spray temp adhesive on the back side of the cotton or felt fabric.
(Click Image to Enlarge)
Step 4:
(Click Image to Enlarge)
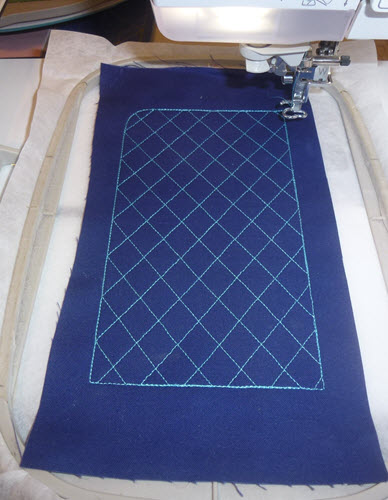
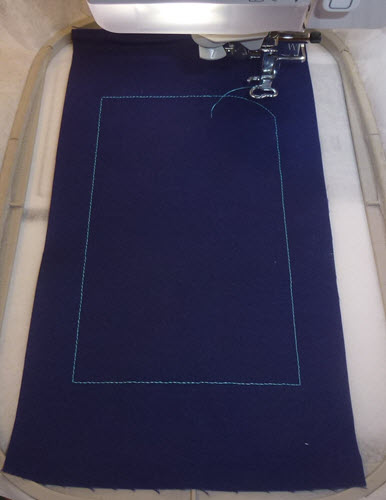
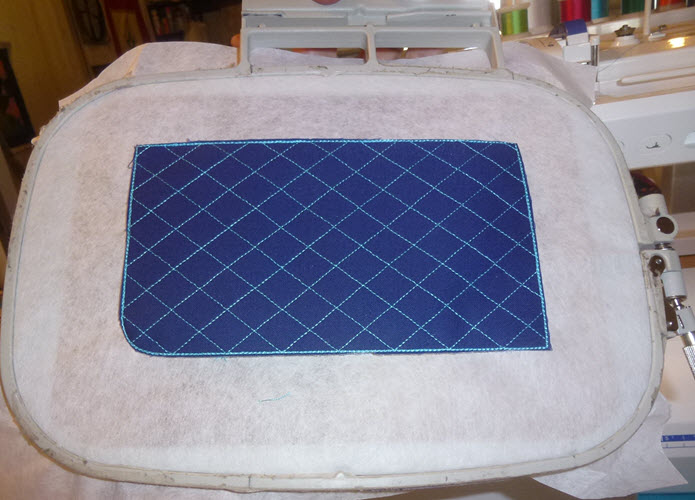
Place fabric right side up on top of the stabilizer making sure fabric edges extend outside the placement lines on all sides, stitch tack down and pattern thru thread color #3 which is the cross hatch.
Step 5:
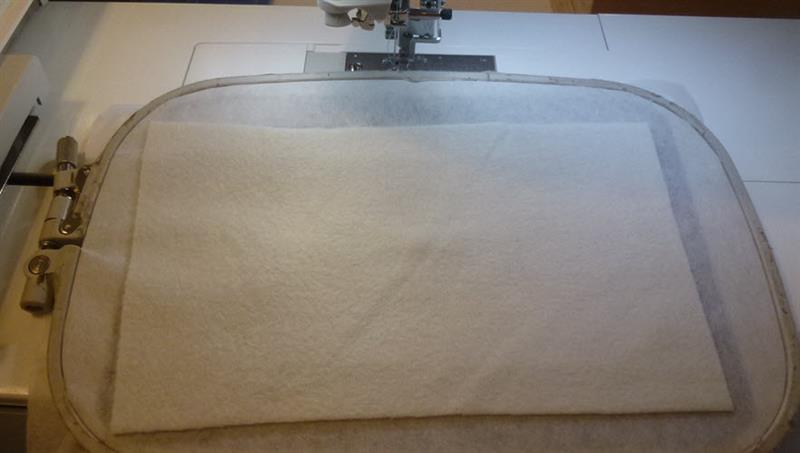
Lightly spray the back side of the fleece and put on the BACK of the hoop making sure the fabric edges extend outside the placement lines on all sides. Sew tack down stitch thread color #4.
(Click Image to Enlarge)
Step 6:
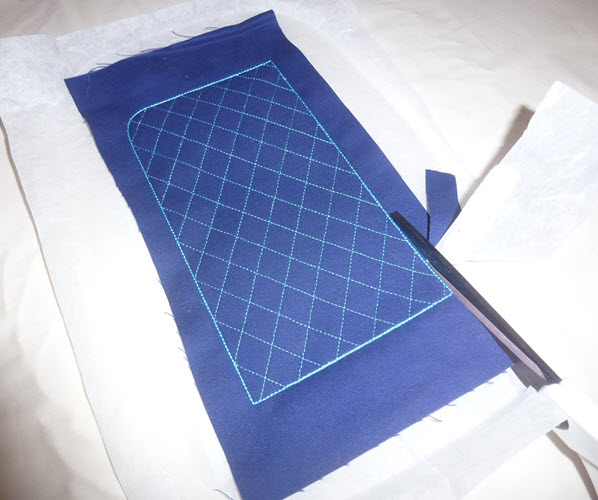
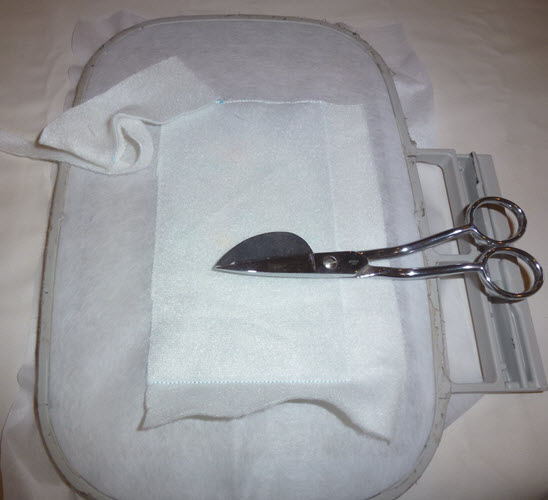
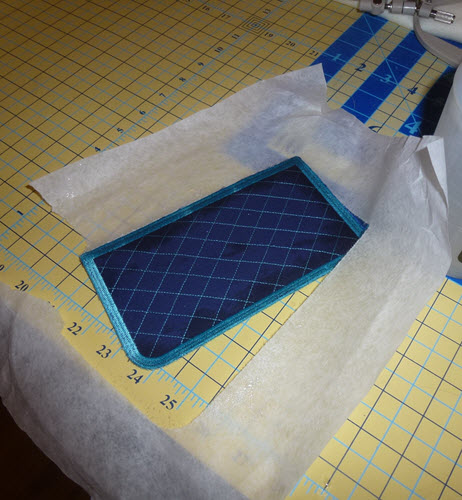
Remove from hoop and trim to the edge of the stitching.
(Click Image to Enlarge)
Step 7:
Hoop another piece of tear away stabilizer for the top of the case.
Step 8:
Load top case design. You will use one of the following: EGCS02, EGCS03, EGCS04, or EGCS05. Note: EGCS02 is just stippling, EGCS03 is a flower, EGCS04 is a sugar skull and EGCS05 is a saying.
Step 9:
Stitch fabric placement outline.
(Click Image to Enlarge)
Step 10:
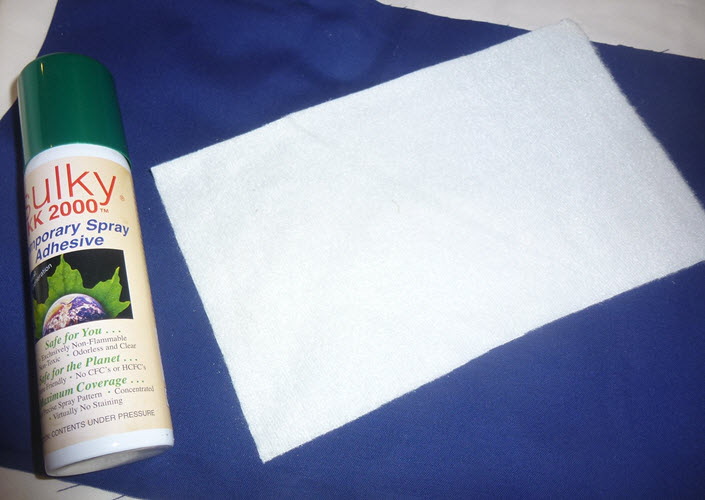
Spray temp adhesive on the back side of the cotton or felt fabric.
(Click Image to Enlarge)
Step 11:
(Click Image to Enlarge)
Place fabric right side up on top side of the stabilizer making sure the fabric extends beyond the outline stitching on all sides and sew tack down stitch.
Step 12:
(Click Image to Enlarge)
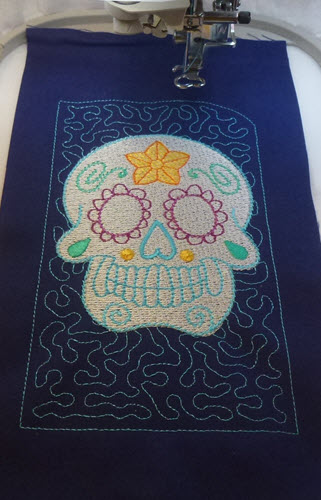
Sew out design. I choose the sugar skull design. If you are using design EGCS02 and you intend to add a different design to the front of the case at this stage you stop stitching after thread color #3, the stippling, install a decorative design such as a different sugar skull or flower, stitch it out then reload EGCD02 and advance thru the thread chart on the machine to restart stitching at the thread color #4 for the placement outline stitch for the fleece and finish the eye glass case following the instructions.
Step 13:
Lightly spray the back side of the fleece with temp spray adhesive.
(Click Image to Enlarge)
Step 14:
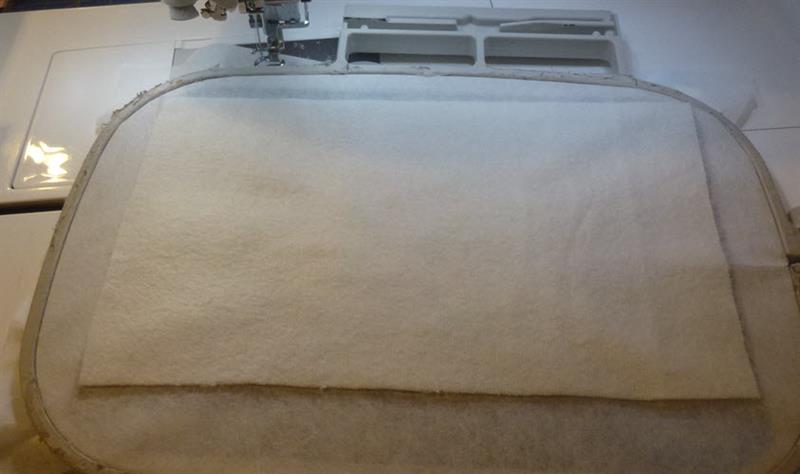
Place the fleece on the BOTTOM side of the hoop placing the fleece so the edges extend beyond the outline stitches on all sides. Return the hoop to the machine and sew the tack down stitch.
(Click Image to Enlarge)
Step 15:
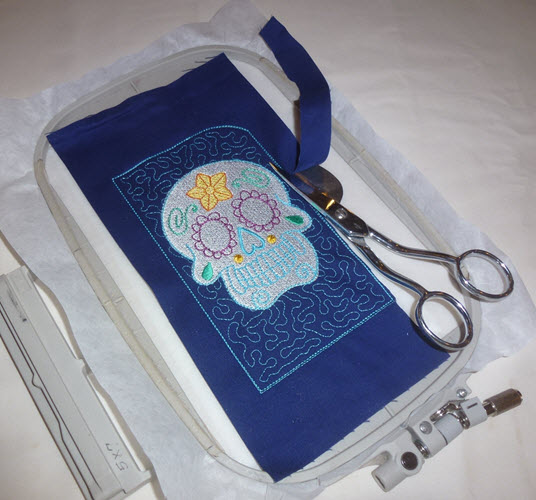
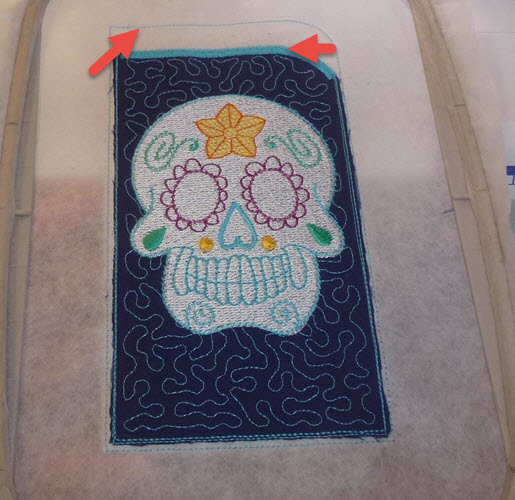
DO NOT take the design out of the hoop but do remove the hoop from the machine. Trim top fabric to the outline stitching.
(Click Image to Enlarge)
Step 16:
Trim the back fabric, the fleece, to the outline stitching.
(Click Image to Enlarge)
Step 17:
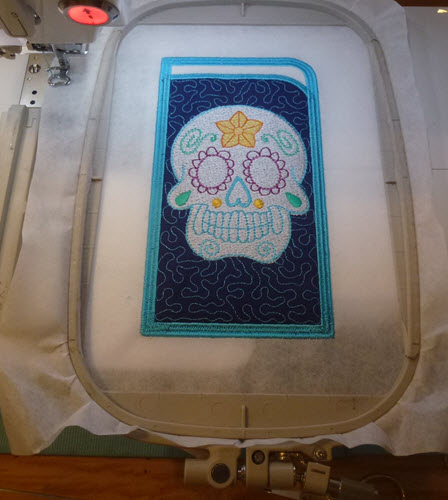
Put hoop back in the machine. Using matching bobbin and top thread stitch satin stitch at the top side of the design and back placement outline stitch.
Step 18:
On the back of the hoop add the CASE BACK with the soft fleece FACING the stabilizer within the placement stitch. Sew tack down stitch. Note: I inserted a pin in the middle of the back to hold it in place before I sewed the tack down stitch.
(Click Image to Enlarge)
Step 19:
While still using matching top and bobbin thread in your machine sew satin outline stitch around the outside of the design.
Step 20:
Take the design out of the hoop and tear away the stabilizer from edges.
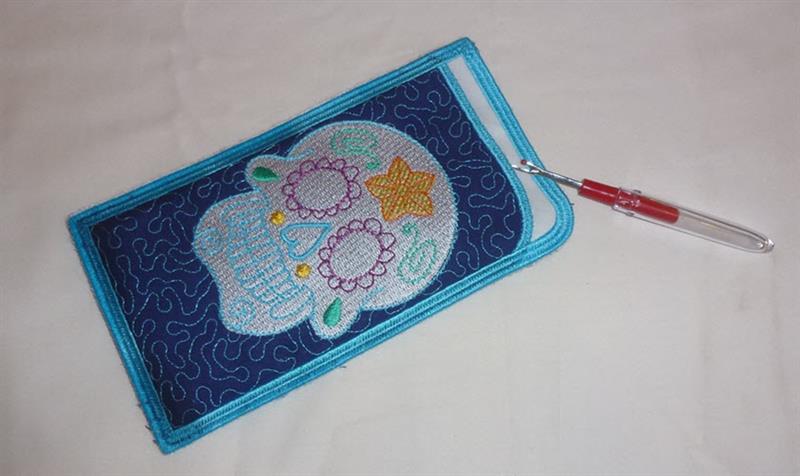
Step 21:
Tear the little piece of stabilizer out between the front and back.