Border OptionsHugging border, circle, square, or rectangle — with a 3mm satin stitch.
Backing OptionsAvailable with iron-on, sew-on, or velcro backing.
Fast ShippingShipped quickly from the USA.
Free Online Tools
Powerful embroidery utilities that save time and prevent costly mistakes.
Stitch AssistantRECOMMENDED
Get the exact stabilizer, machine settings, needle, and thread color sequence for every embroidery design you purchase — based on that design's stitch density, dimensions, and color count.
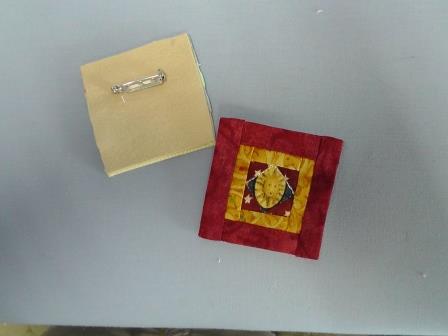
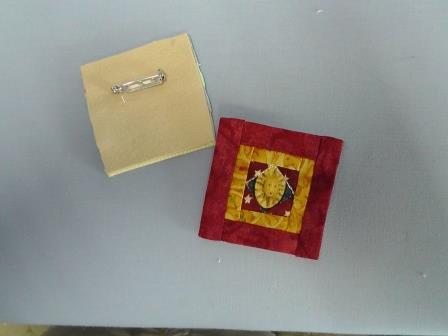
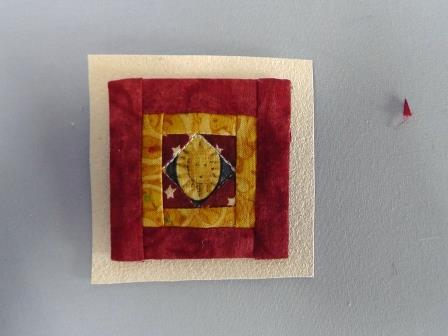
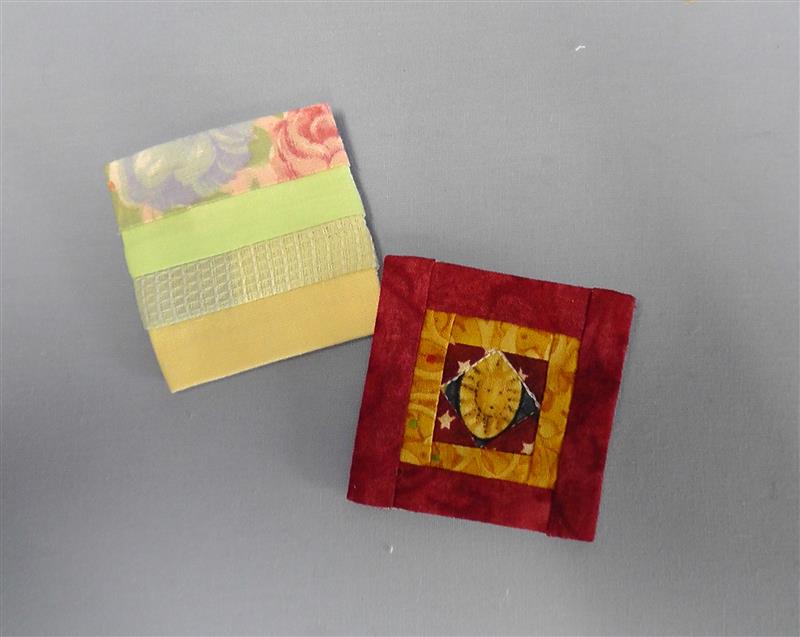
Create a delightful Quilters Friendship Pin entirely in-the-hoop. This quick and easy project is perfect for gifting and trading among quilting enthusiasts. Step-by-step instructions are included.
Use up scraps of fabric to create unique pins to give and trade with friends. All the stitching is done in the hoop. Just prepare the fabrics, load the design, and stitch following the color sequence. The final steps are to attach a pin closure to a fabric back, then use adhesive bonding material to attach it to the back of the quilt square. Using assembly-line techniques, several of these could be created in an afternoon for an embroidery club or even a quilt event give-away.
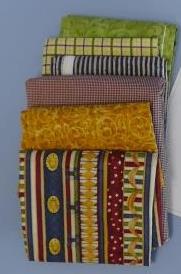
Choose fabrics for the project. These pins are very small, so even leftover scraps from quilts or embroidery projects may be used. There are several steps in the color sequence. However, each step represents a stop so fabric may be placed. The first fabric is right side up and the subsequent ones are placed right side down, the machine started again, and the seam line stitched. Only one color of thread needs to be used for the entire project. Choose a color that will blend with all the fabrics.
After the seam allowance is trimmed, the fabric is pressed in place over the seam. If using a standard iron, be careful it will not melt the hoop. Use a mini-iron made for small spaces, or a wooden pressing stick. The pressed seam should be pressed crisply before applying the next fabric.
Step 1:
(Click Image to Enlarge)
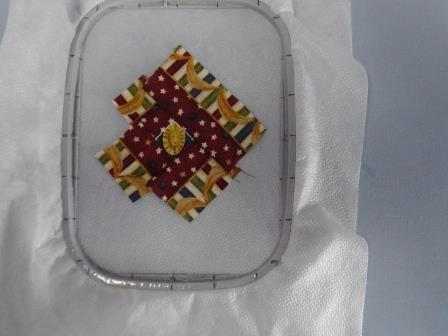
Choose the fabric for the “Courthouse” quilt block.
Step 2:
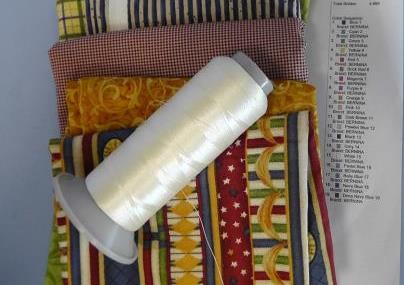
For this project, an off white embroidery thread was used in all the color steps.
Step 3:
(Click Image to Enlarge)
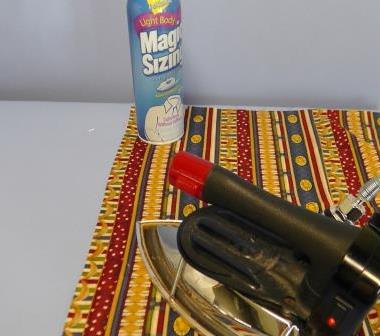
Press all the fabrics with spray sizing or spray starch. This helps add body to the fabric making such small pieces easier to handle.
Step 4:
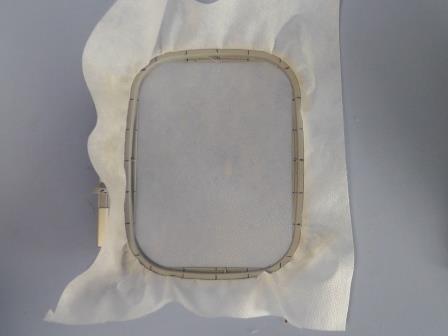
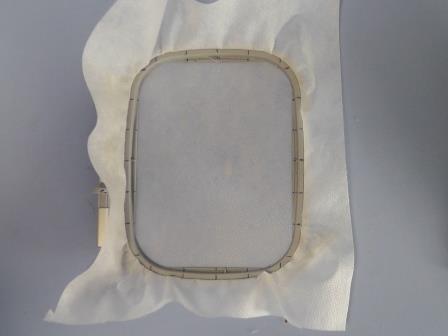
Hoop one layer of poly mesh stabilizer. Place the hooped stabilizer on the machine.
Step 5:
(Click Image to Enlarge)
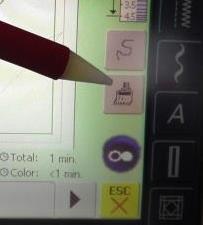
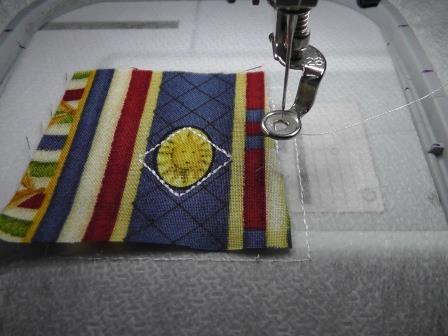
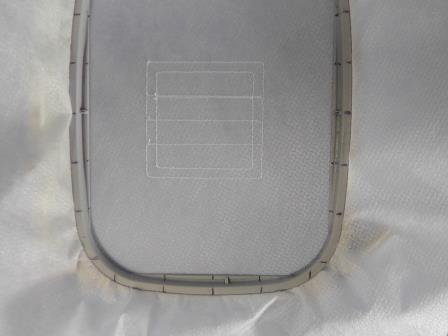
Load the design “Courthouse” in the machine. Touch the button to make the entire design stitch out in the one color. I found it easier to stitch the entire design so I knew where all the placement lines for the fabrics would be.
Step 6:
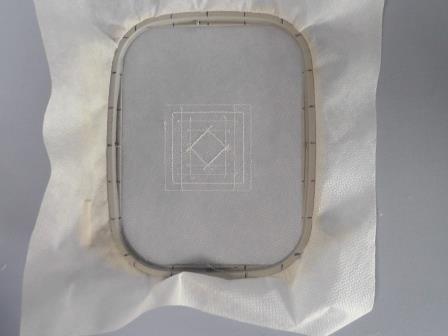
Press the start button to stitch out the entire design with no fabric.
Step 7:
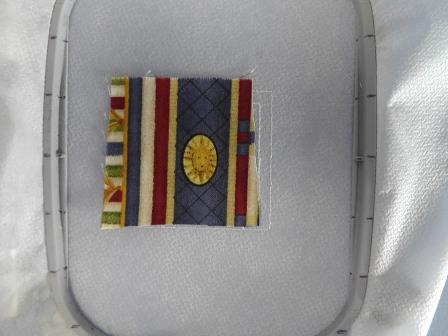
Cut the first piece of fabric for the center of the quilt square. If you’d like, find a piece in the fabric to frame as a medallion.
Step 8:
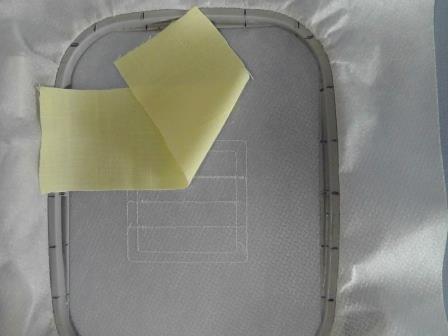
Align and center the fabric, right side up, over the center of the design.
Step 9:
The entire design was stitched, so omit color one and proceed to color 2 to secure the center to the stabilizer.
Step 10:
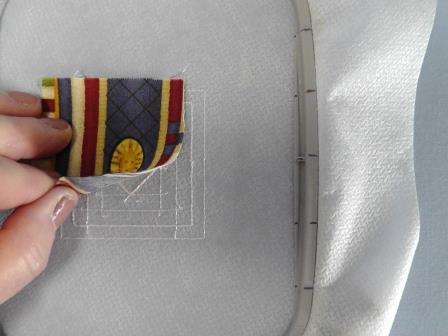
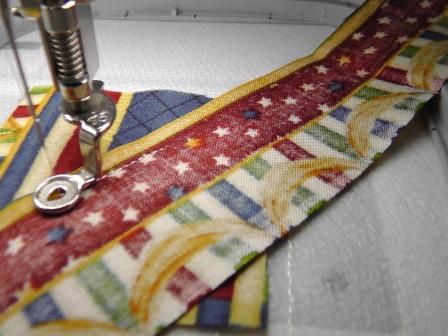
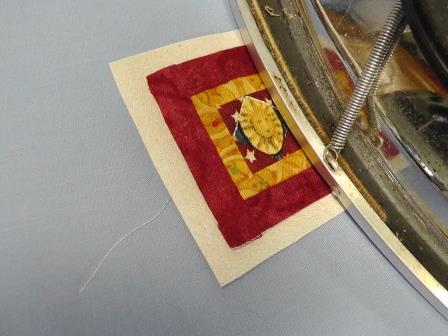
Cut strips for fabric 2. In the project, the bands of stars were used for the four strips needed around the center medallion. Press start to stitch the next color; this creates the stitching for the seam. Remove the hoop from the machine, but do not remove the fabrics from the hoop. Trim the seam allowance to ¼” and press the fabric over the seam allowance.
Step 11:
Repeat for the remaining three sides around the center medallion.
Step 12:
Use the same sequence of steps of placing the fabric down, stitching the seam line, trimming then pressing for the next fabric colors (yellow for the next strips, and red for the final strips).
Step 13:
The last color will stitch the outline of the quilt square and tack down the outside fabric strips. Remove the fabric from the hoop and press well. Set aside for the final finishing steps.
Step 14:
(Click Image to Enlarge)
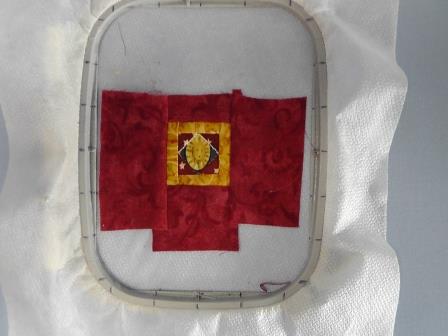
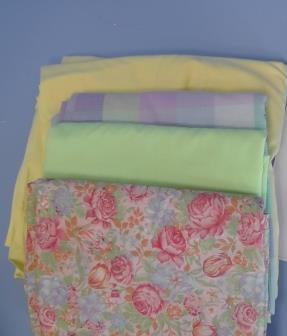
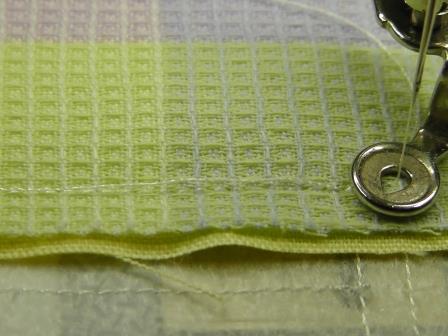
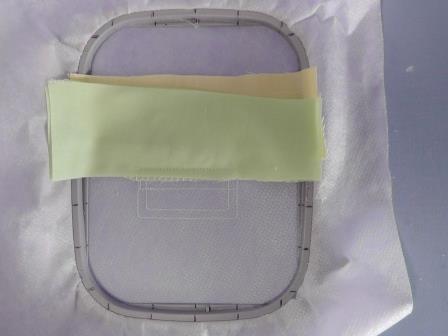
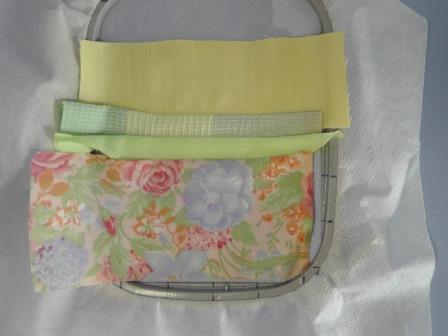
Choose the fabrics for the “Rail Fence Quilt Design”.
Step 15:
Hoop one layer of poly mesh stabilizer. Place the hooped stabilizer on the machine.
Step 16:
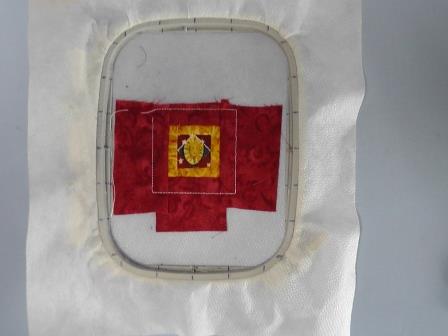
Load design “Rail Fence Quilt Design” in the machine. Touch the button to make the entire design stitch out in the one color. Press the start button to stitch out the entire design with no fabric.
Step 17:
After the entire design is stitched, cut and place down the first fabric right side up.
Step 18:
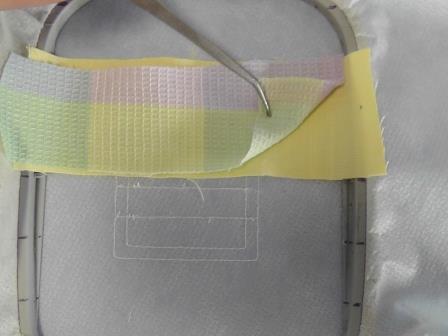
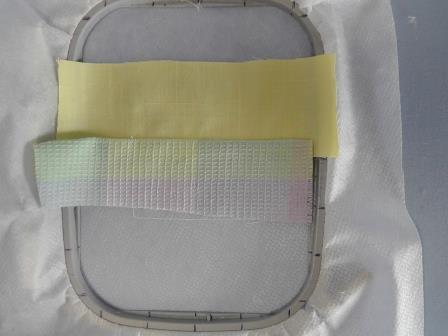
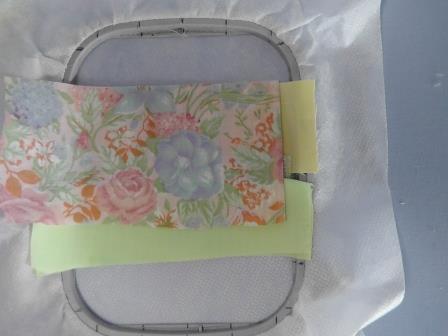
Measure and cut the second fabric. With right sides together, place the second color on top of the first.
Step 19:
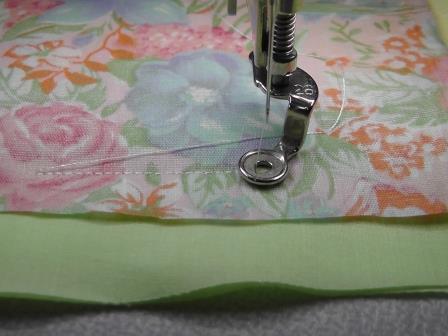
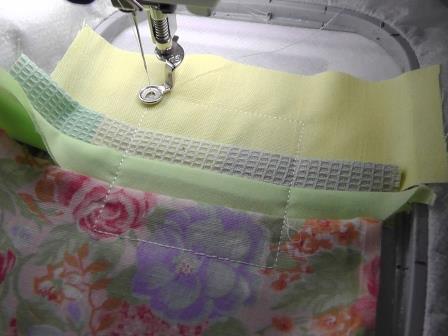
Place the hoop back on the machine. Color 1 stitches the outline again. Since that was already done, advance to step 2 to stitch the seam.
Step 20:
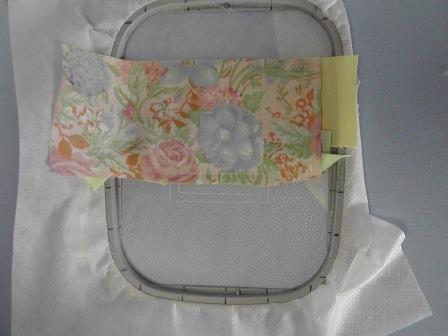
Trim the seam allowances to ¼; press the second fabric downward over the seam allowance.
Step 21:
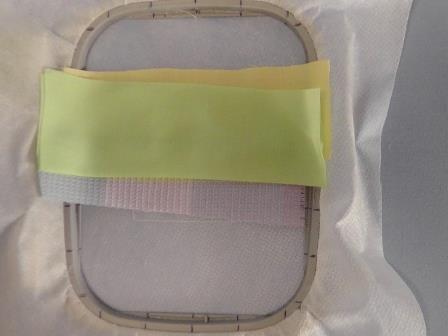
Place the next fabric, right side down on top of fabric 2.
Step 22:
Stitch the next color which will create the seam line.
Step 23:
Trim the seam allowance to ¼” and press the fabric downward over the seam allowance.
Step 24:
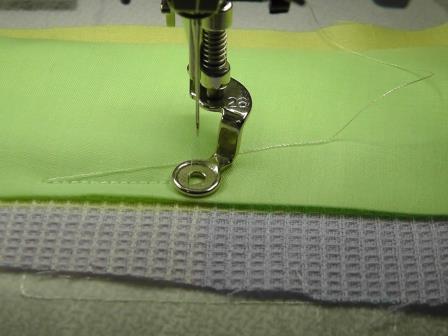
Place fabric 4, right sides together on top of the previous fabric.
Step 25:
Stitch the next color which will create the seam.
Step 26:
Remove the hoop from the machine, trim the seam allowances.
Step 27:
Press the fabric down over the seam allowance.
Step 28:
Place the hoop back on the machine and stitch the last color which will be the outline for the quilt block. Remove the block from the hoop and press well. Set aside for the finishing steps.
Step 29:
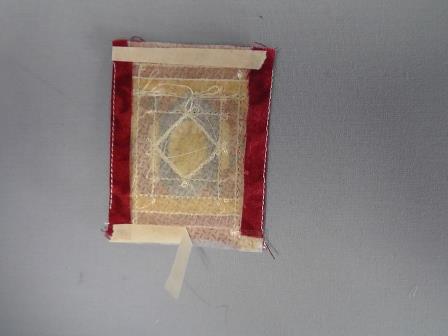
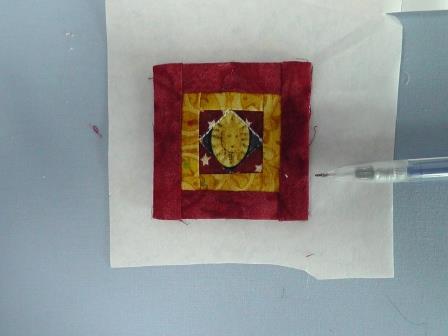
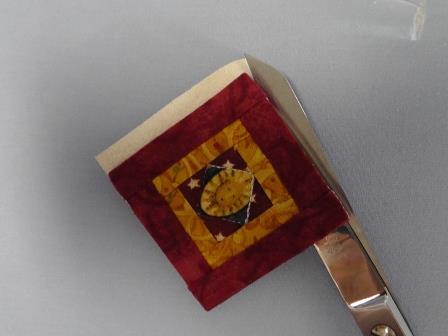
Finishing for both pins: Measure and mark a seam allowance ¼” away from the outside stitched edge around all sides. Cut out along the drawn line. Fold the seam allowances toward the back. Use strips of Heat ‘n Bond adhesive to hold the seam allowance in place. (Read and follow the directions for the Heat ‘n Bond product.)
Step 30:
Cut a piece of suede fabric larger than the finished quilt square.
Step 31:
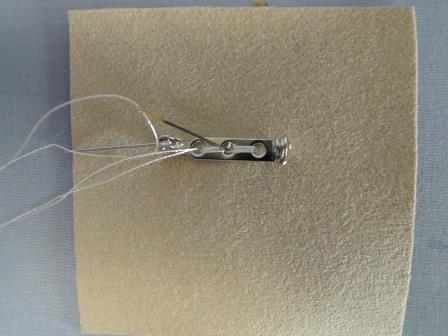
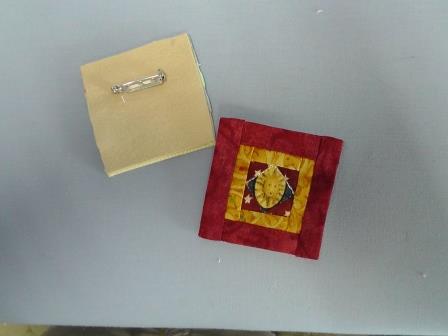
On the pretty side of the suede, sew the pin back to the fabric.
Step 32:
Measure and mark a piece of Heat ‘n Bond the size of the quilt square.
Step 33:
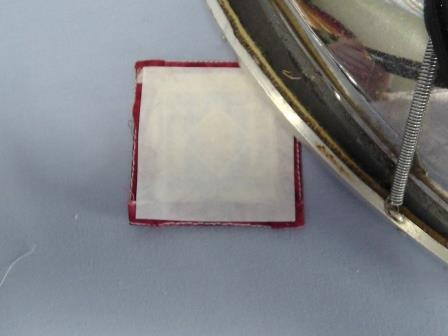
Cut the Heat ‘n Bond slightly smaller than was marked. Press the product onto the back of the quilt square.
Step 34:
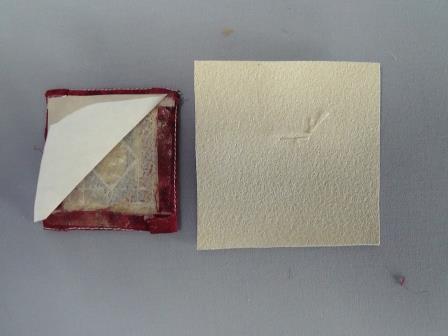
Peel off the protective paper from the adhesive.
Step 35:
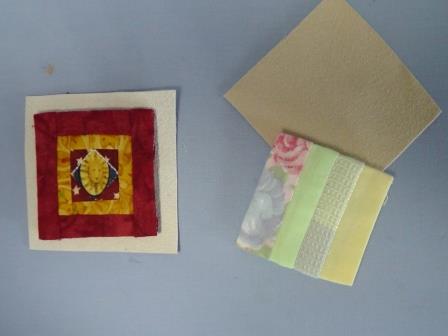
Place the back of the quilt square on top of the wrong side of the suede square.
Step 36:
Press the quilt square to the fabric back to fuse the two together.
Step 37:
When cool, angle the shears and cut the suede fabric to just a scant smaller than the actual quilt square size.
Step 38:
Repeat for the other quilt square.
Step 39:
The Quilter’s Friendship Pins are now ready to be traded, worn and enjoyed!
Ramona Baird has been in the embroidery industry for over 23 years. She and her husband owned a commercial and retail embroidery store in Arizona for many years. She is an experienced digitizer having been mentored by award-winners Pat Williams and Lindee Goodall. Ramona is a contributor to “Creative Machine Embroidery” magazine having 5 covers to her credit. Ramona has worked for Wilcom America and served many years as Education Director for the American Sewing Guild. With a degree in fashion design, she is able to design and execute patterns which Pat Williams says are “out of the box” in creativity and application. Ramona likes to challenge the boundaries of embroidery and bring new and exciting designs, ideas, and projects to EmbroideryDesigns.com. She wants embroiderers of all levels to increase their skills and enjoyment in using their embroidery machine for gift-making and personal pleasure.