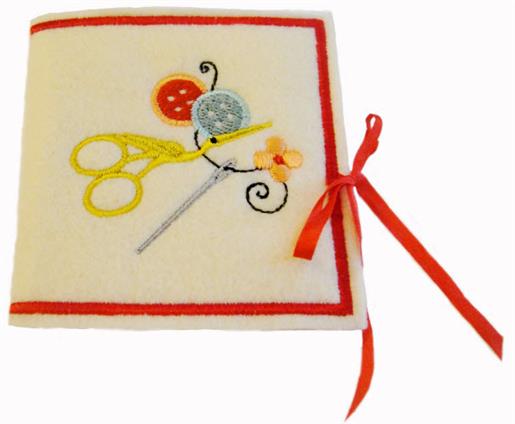
ITH Needle Book with Sewing Motifs

ITH Needle Book with Sewing Motifs Embroidery Project

By   Pat Williams   on   June 09, 2014
  • SKILL LEVELSome Experience
  • TIME REQUIRED00:40
  • FINISHED SIZE3.19 x 3.25 inches
Description

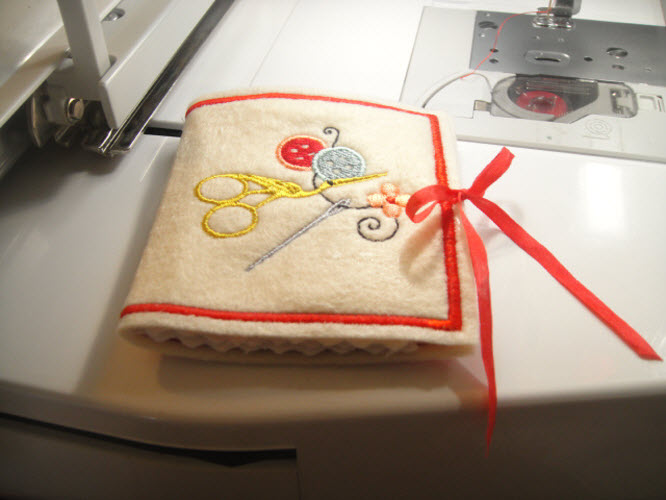
Create a charming needle book featuring classic sewing motifs, perfect for organizing your needles in style. This in-the-hoop project is quick to make and requires only minimal sewing to finish. Step-by-step instructions are included.

Step of

Materials

Project Preview Video

Materials
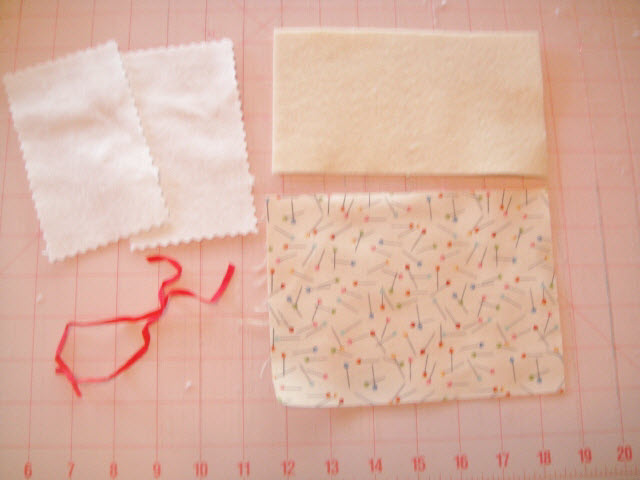
  • 2 5”x 3” rectangle of flannel cut out with pinking shears or pinking rotary cutter
  • 1 7”x4” rectangle of washable acrylic felt
  • 1 7”x5” rectangle of quilting cotton print for lining
  • 12” or 4mm wide red silk ribbon or equivalent
  • Spray Adhesive
  • Rotary Cutter with Pinking blade or Pinking Shears
  • Fibrous Water Soluble Stabilizer

  • Designs used in this project

    Final Product: What You Will Create

    Preface:
    I rarely write in the first person in embroidery instructions. But I have to tell you that this needle book is inspired by the orange felt needle book that was one of my British grandmother’s prized possessions. My Grandmother was blind in one eye, but she hand stitched many beautiful embroideries, 10” by 12” pictures, pillow covers, tea towels, all with fine embroidery floss. At the end of her stitching for the day she always returned her fine needles to her needle book so that they wouldn’t be lost. I know that my grandmother would be thrilled to see that I have carried on her passion for fine embroidery. I want her to know that she is my inspiration “For the love of embroidery…” Pat Williams.


    Step 1:
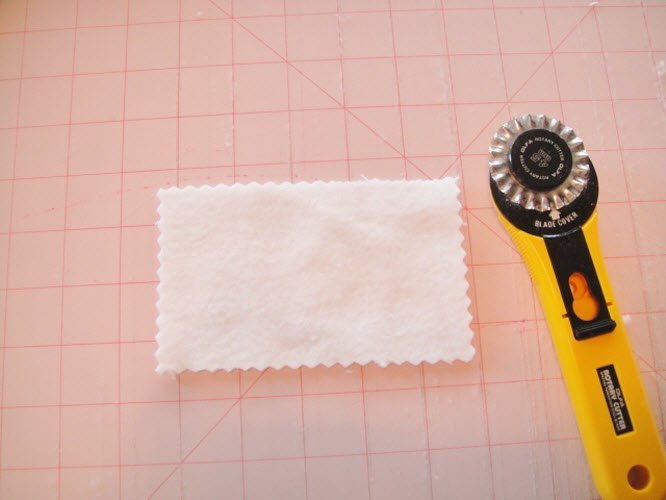
    Cut 2 3”x5” rectangles of flannel with pinking shears or a rotary cutter with a pinking blade.

    (Click Image to Enlarge)


    Step 2:
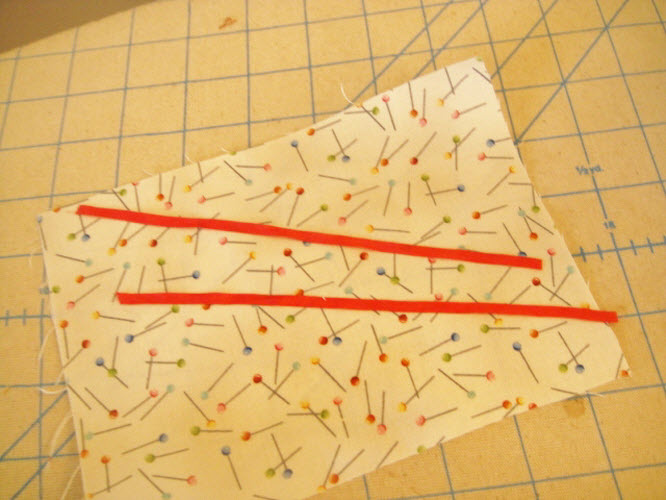
    Cut 1 5” x7” rectangle of quilting cotton for lining, 1 4” x7” rectangle of washable acrylic felt for needle book front and two pieces of 4mm silk ribbon 6” long.

    (Click Image to Enlarge)


    Step 3:
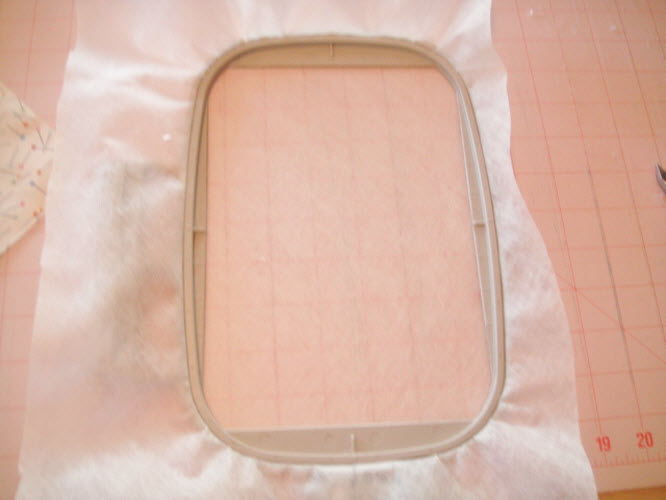
    Hoop fibrous water soluble stabilizer in your 5’x7” hoop.

    (Click Image to Enlarge)


    Step 4:
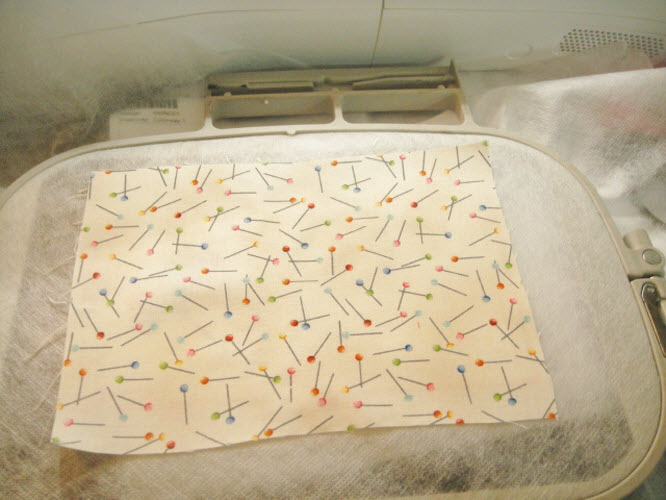
    Iron your lining fabric twice with Best Press or Magic Sizing to make the fabric crisp. Press wrinkles out of the silk ribbon too if necessary.

    (Click Image to Enlarge)


    Step 5:
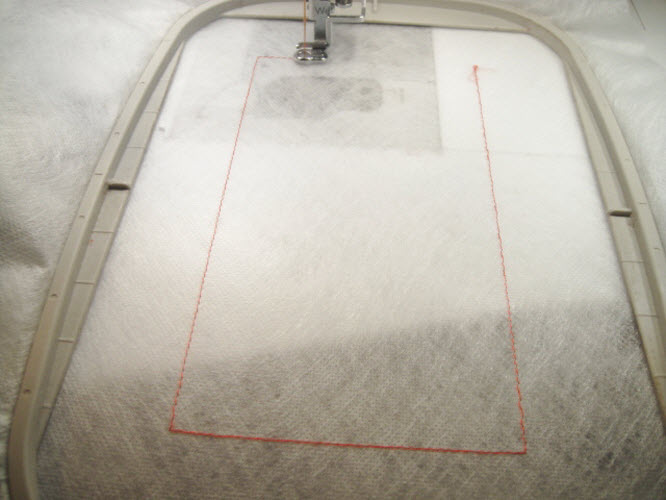
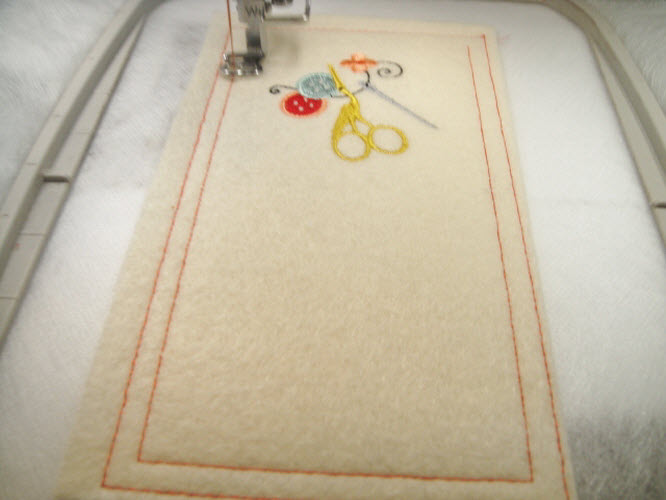
    Load the design into your machine and stitch the first color stop which is an outline for the cover. I used red here so you can see it, but you can use crème if you like.

    (Click Image to Enlarge)


    Step 6:
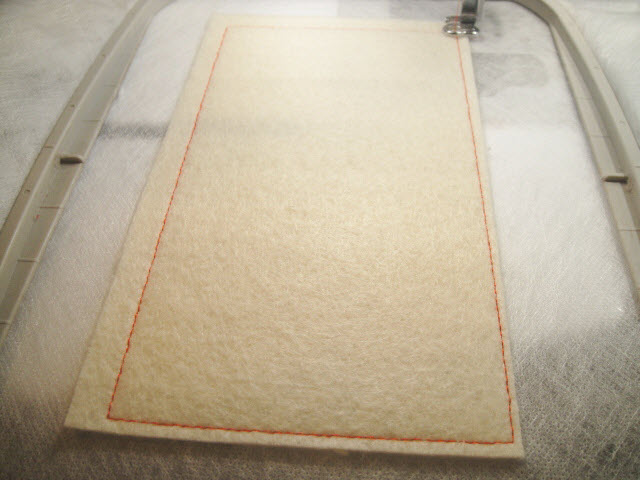
    Spray the 4” x 7” rectangle of felt with adhesive spray and place over the outlines. Run color stop 2 to tack down the felt.

    (Click Image to Enlarge)


    Step 7:
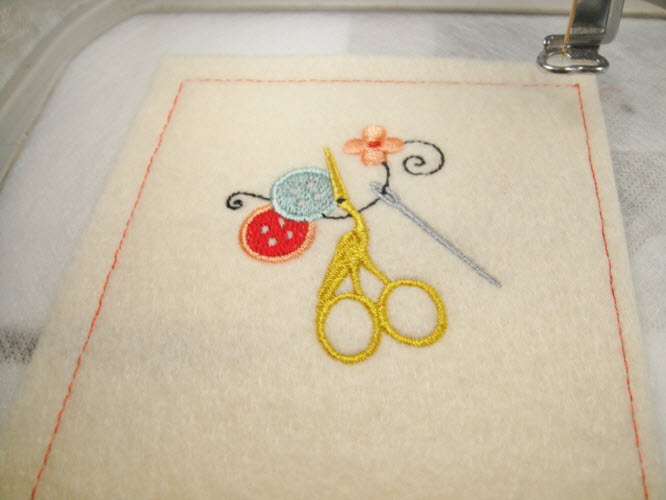
    Follow the color chart stops from #3 to #13 to embroider the design on the cover.

    (Click Image to Enlarge)


    Step 8:
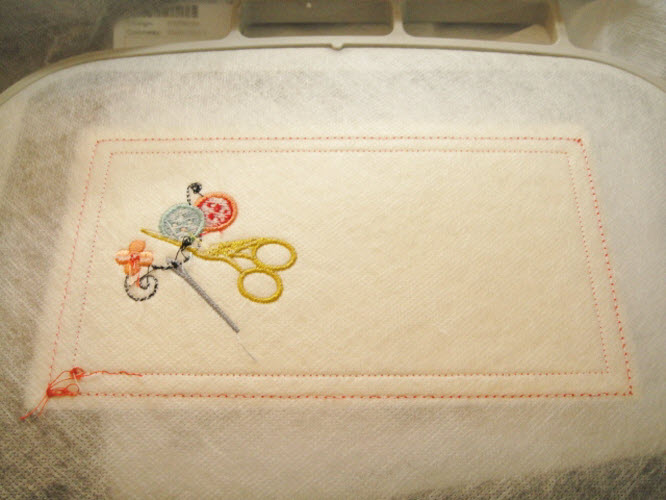
    Run color stop #14 in red as the outline for the lining.

    (Click Image to Enlarge)


    Step 9:
    Remove the hoop from the machine. Do not unhoop. Turn the hoop so the back of the embroidery is facing you.

    (Click Image to Enlarge)


    Step 10:
    Spray adhesive spray on the wrong side of the lining fabric. Place over the outlines just sewn and finger press in place.

    (Click Image to Enlarge)


    Step 11:
    Return the hoop to the machine and run color stop #15 to tack down the lining.


    Step 12:
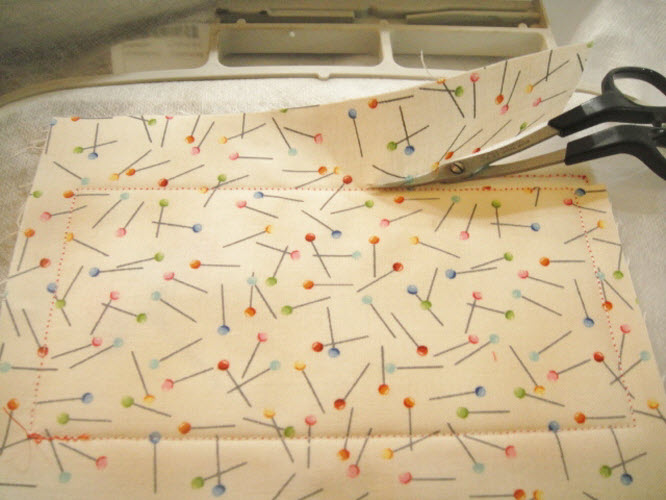
    Remove the hoop again. Do not un-hoop. Trim the excess lining fabric right up to the tack down line with small sharp scissors.

    (Click Image to Enlarge)


    Step 13:
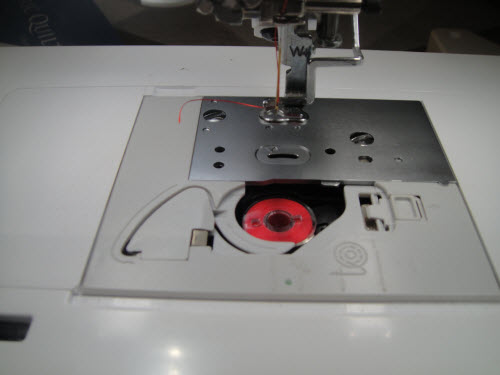
    Before you reload your hoop, change the bobbin thread to the color you are using for the border. In the sample this is red.


    Step 14:
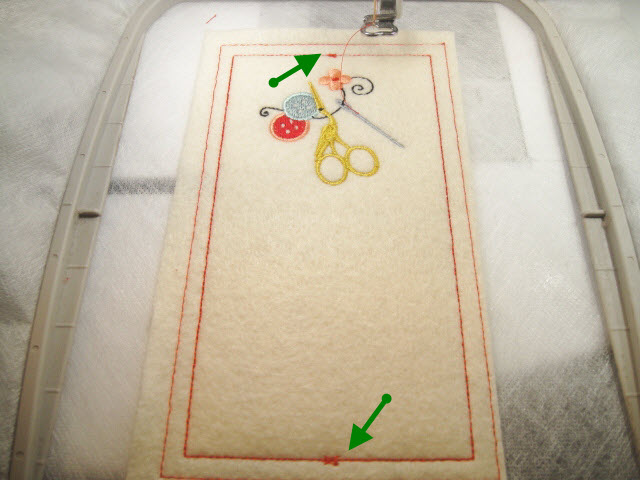
    Run color stop # 16 which are placement marks for the ribbon.

    (Click Image to Enlarge)


    Step 15:
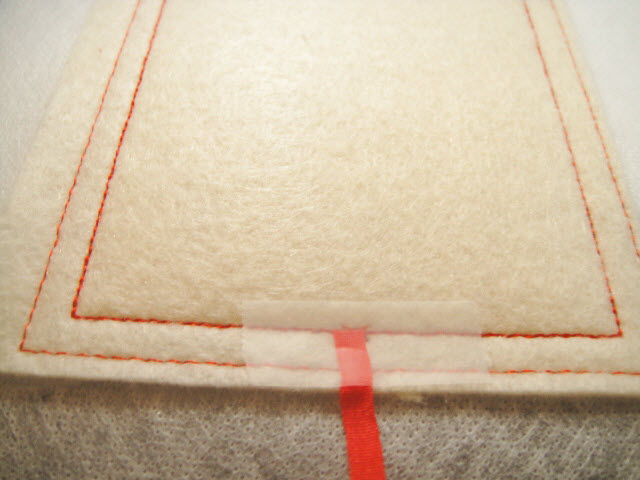
    Scotch tape the silk ribbon over the placement mark at each end of the needle book.

    (Click Image to Enlarge)


    Step 16:
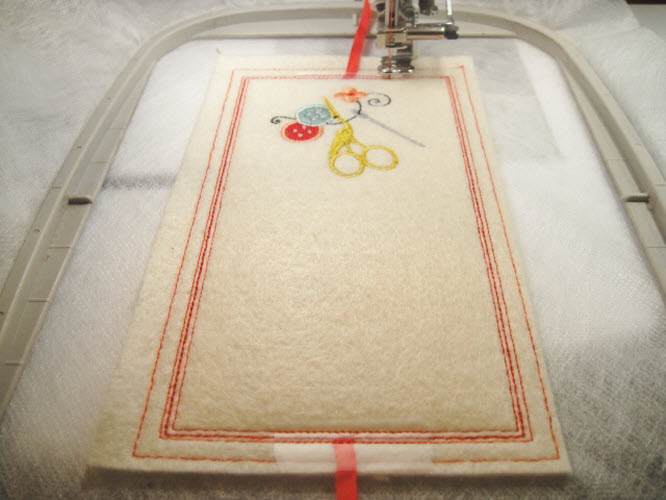
    Run the final color stop #17 in red to complete the needle book cover.

    (Click Image to Enlarge)


    Step 17:
    Remove the tape from the ribbons.


    Step 18:
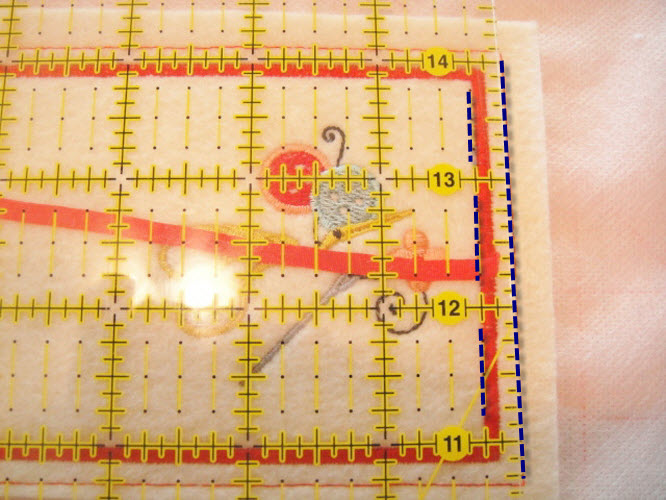
    Folding the ribbons to the inside of the right side of the needle cover. Line up the ¼” mark on your ruler to the inside edge of the border and trim all edges of the needle book cover. This alignment will let you cut off the outlines first sewn.

    (Click Image to Enlarge)


    Step 19:
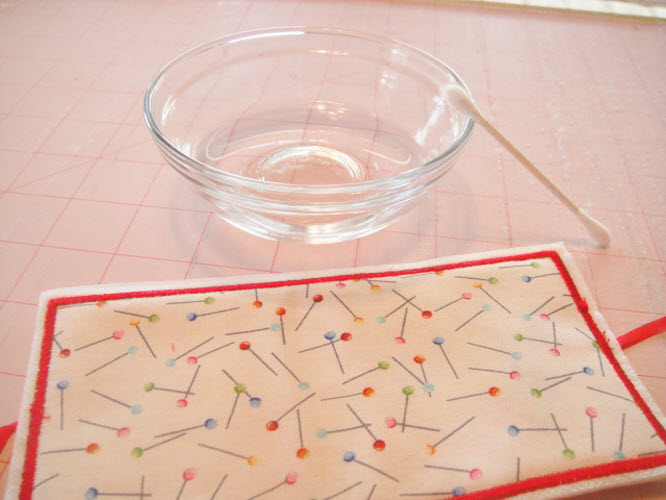
    Rub a wet Q-tip around the inside edges of the inside of needle book cover to remove the exposed water soluble stabilizer.

    (Click Image to Enlarge)


    Step 20:
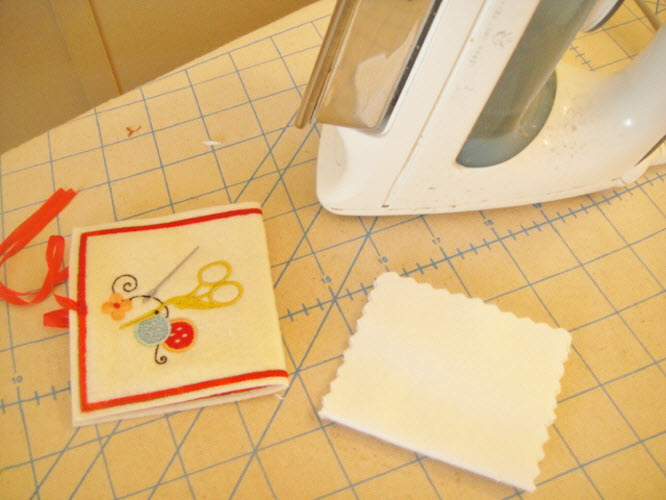
    Fold the cover and the inside flannel sheets in half and stem to crease a center back. Do not touch the cover with the hot steam iron, just hover it over the folded cover and then finger press.

    (Click Image to Enlarge)


    Step 21:
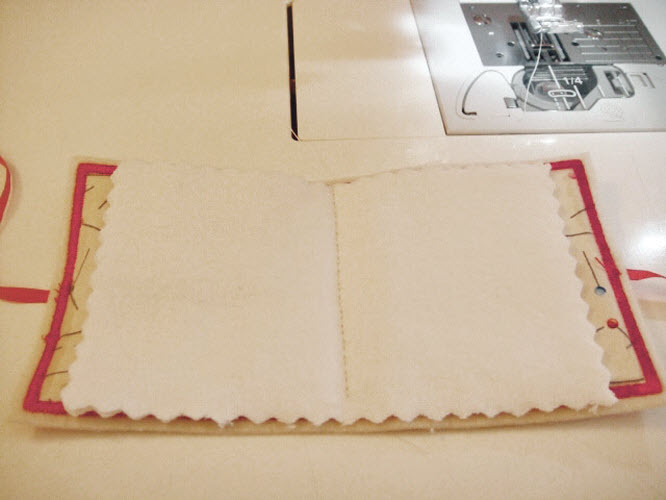
    Place the pages inside the cover aligning the center folds. Stitch with a back stitch in a color to match the felt between the two red borders.

    (Click Image to Enlarge)


    Step 22:
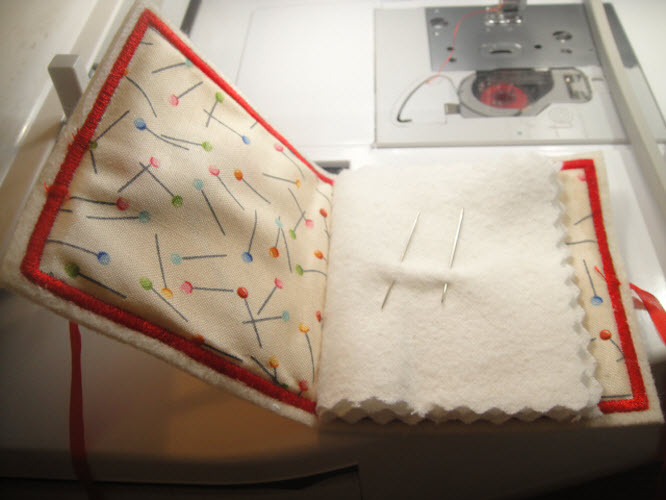
    Place a few needles for safe keeping in the flannel.

    (Click Image to Enlarge)


    Step 23:
    Tie the ribbons and trim at an angle to an attractive length.

    (Click Image to Enlarge)


    For the love of embroidery…
    Pat Williams
    Meet the Author: Pat Williams
    Pat Williams
    Award winning Digitizer, Embroidery Educator, Author and a Consultant to the Industry, Pat Williams has 30 years of experience in the embroidery industry. Pat has won multiple awards for her digitizing expertise including the 2007 Impressions Awards Grand Championship, Best of Show as well as the 1st and 2nd Place Awards. Pat’s love of digitizing has afforded her the opportunity to write numerous articles for Impressions magazine in the United States and Images Magazine in Europe. In 2001 Pat was named “Embroidery Educator of the Year.” For many years Pat taught digitizing seminars at the ISS Shows in Long Beach, CA and for Compucon software. She now resides in Tucson, AZ.
    More From This Author
    Link is Broken, Please check the URL
    Exclusive Embroidery Offers!
    Copyright © {{ currentDate | date:'yyyy'}} - EmbroideryDesigns.com
    GET 50% OFF! ×