Border OptionsHugging border, circle, square, or rectangle — with a 3mm satin stitch.
Backing OptionsAvailable with iron-on, sew-on, or velcro backing.
Fast ShippingShipped quickly from the USA.
Free Online Tools
Powerful embroidery utilities that save time and prevent costly mistakes.
Stitch AssistantRECOMMENDED
Get the exact stabilizer, machine settings, needle, and thread color sequence for every embroidery design you purchase — based on that design's stitch density, dimensions, and color count.
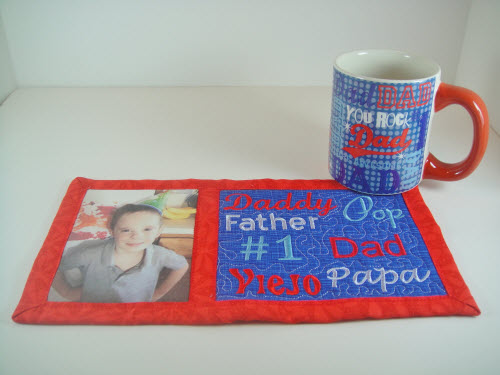
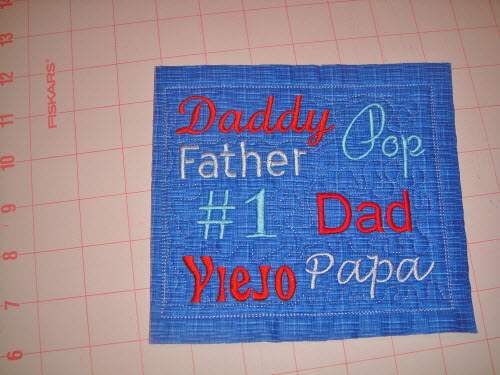
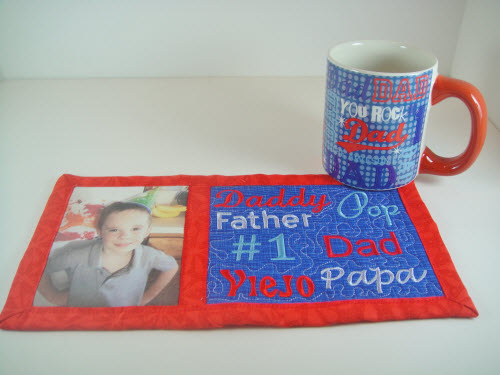
Create a charming in the hoop mug mat perfect for Father's Day. This quilted mat is crafted in two sections and joined for the ideal size. Ideal for children or grandchildren to present to their father on this special occasion. Step-by-step instructions are included.
The inkjet ink is water soluble, so this project has a limited life span. If you don’t use the colorfast computer fabric you can only spot clean this mug mat. Even if you do use the colorfast printer fabric it has specific washing instructions that I’m not sure everyone would remember. But even knowing that this mug mat will have a limited life, depending on how dirty someone gets it, I think the sentiment behind it makes it a worthwhile gift.
Step 1:
Purchase a Father’s Day Mug – this one was found at Ace Hardware.
(Click Image to Enlarge)
Step 2:
Gather fabrics to match the colors in your mugs. Prepress the fabrics with Best Press or Magic Sizing twice to make them crisp.
Step 3:
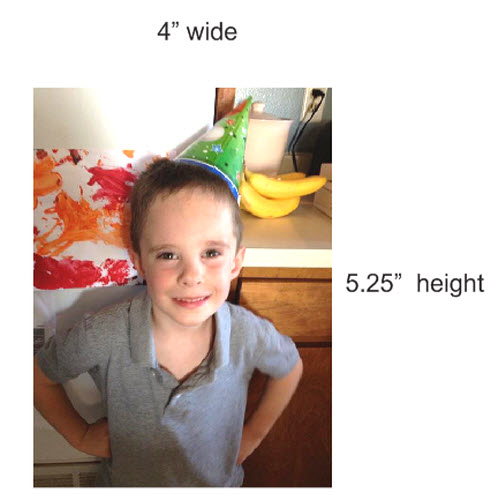
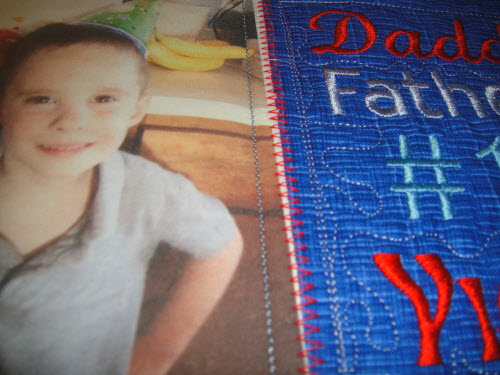
Size your picture to 4.0” wide and 5.25” in height in your computer picture editing program. This is slightly larger than the opening in the project so know that some of the picture will exceed the outlines.
Step 4:
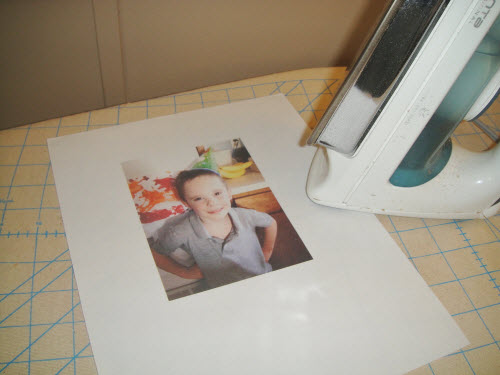
Print the photo on the computer printer fabric. Follow the manufacturer’s instruction regarding drying time and pressing time.
Step 5:
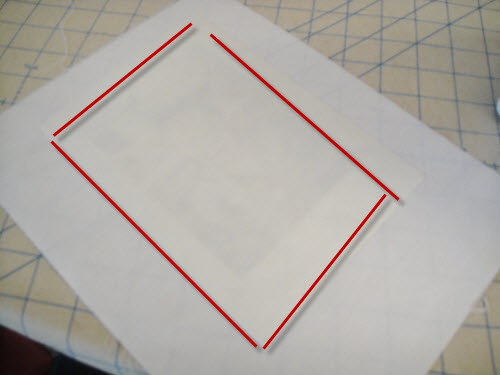
Remove the paper from the back of the computer printer fabric. Place a rectangle of Appli-Kay Wonder or other adhesive applique backing on the back of the photo fabric and press according to the manufacturer’s instructions.
Step 6:
Load the design FDAYMMA into your embroidery machine.
Step 7:
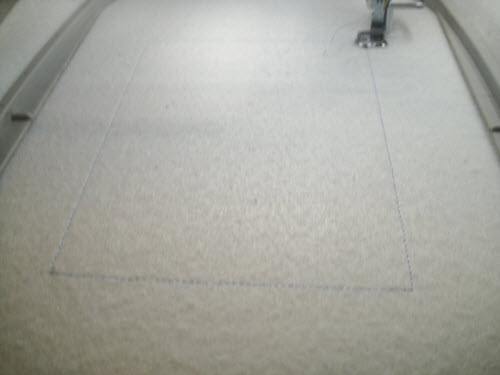
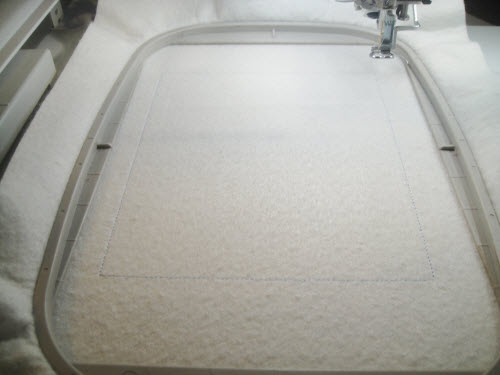
Hoop Battilizer or low loft batting and poly mesh stabilizer into your embroidery 5” x 7” hoop. If using low loft batting and poly mesh place the poly mesh on the bottom with the batting on top. Run the 1st color sequence which is a placement line for the photo.
Step 8:
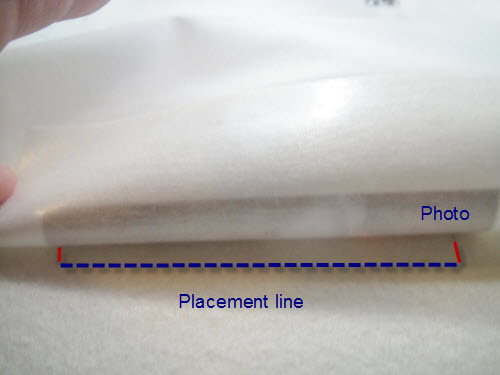
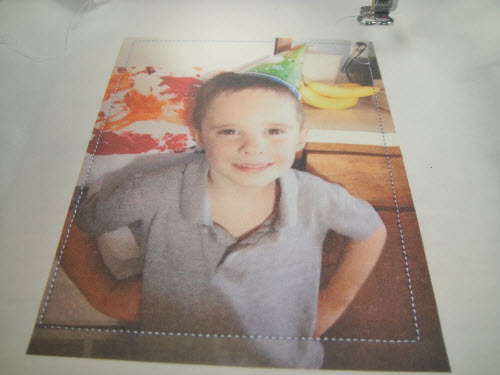
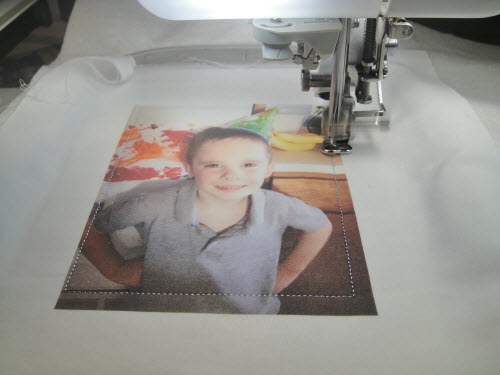
Peel the applique adhesive paper back from the photo and align over the placement line. Have the photo exceed the placement line by ¼” over the bottom, top and sides of the placement line.
Step 9:
Run the next color sequence which is the tack down line for the photo.
Step 10:
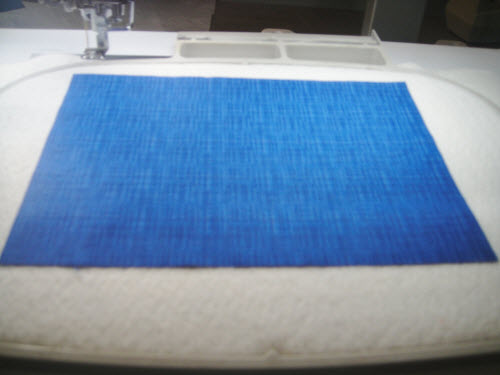
Remove the hoop from the machine – do not unhoop. Turn the hoop over. Spray the wrong side of a 5” x 7” rectangle of the backing fabric and place over the outlines. Make sure the fabric exceeds the outlines by ½” on all sides.
Step 11:
Return the hoop to the machine and run the last color sequence which tacks down the mug mat back.
Step 12:
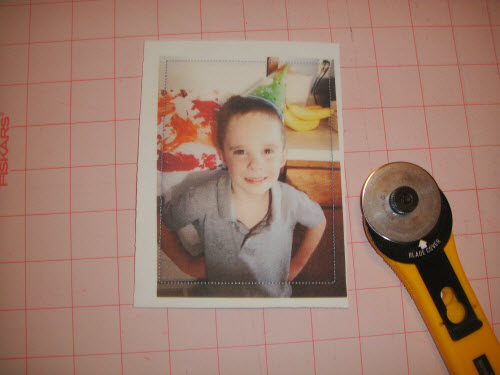
Remove the project from the hoop. Trim the right side edge to ¼” from the tack down lines. Trim the top, left hand edge and bottom to ½” from the tack down line stitching.
Step 13:
Load design FDATMMB into your embroidery machine.
Step 14:
Hoop Battilizer in your embroidery hoop. Run the first color sequence which is an outline.
Step 15:
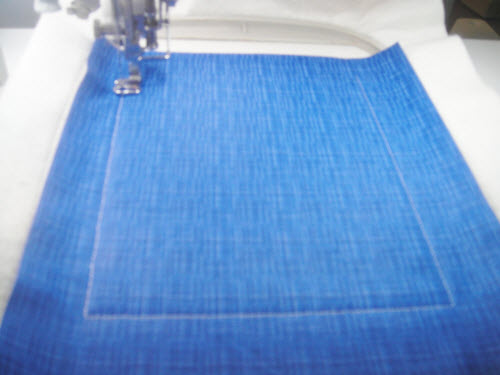
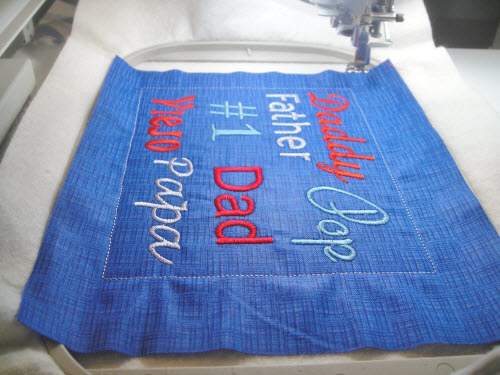
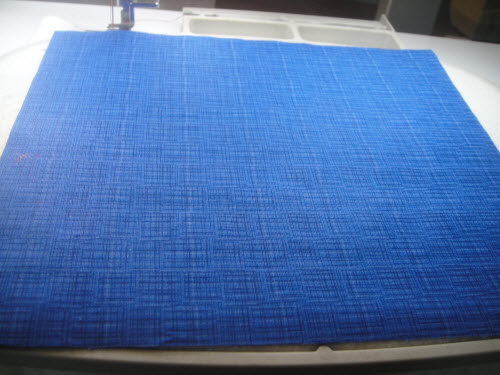
Spray adhesive spray on the wrong side of an 8” x 7” rectangle of your main fabric. Place this over the outline, right side up. Make sure the fabric exceeds the outline by ½” on all sides. Stitch the 2nd color sequence to tack it down.
Step 16:
The next four color stops are for the lettering on the quilt. Choose colors based upon the colors in your cup. The color sequences run in the following order. 3. Daddy and Viejo 4. Father and Papa 5. #1 and Pop 6. Dad
Step 17:
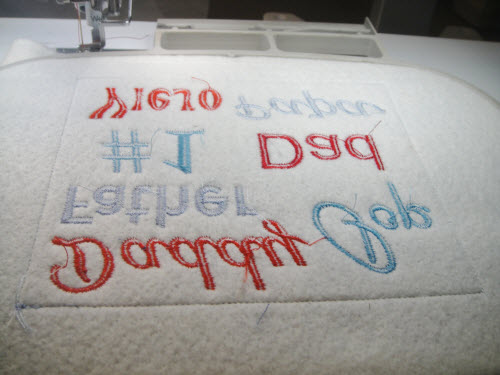
Remove the hoop from the machine – do not unhoop- and turn the hoop over
Step 18:
Spray the wrong side of a 8” x 7” mat back fabric with adhesive spray and place over the outlines on the wrong side of the hoop. Make sure fabric exceeds the outlines by ½” on all sides.
Step 19:
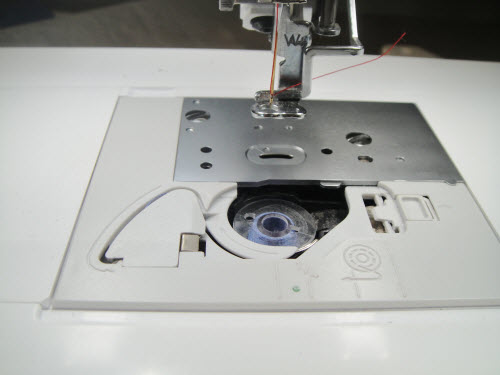
While you have the hoop of the machine it is a good time to change your bobbin to match the thread you will use for the quilting of the project.
Step 20:
Return the hoop to the machine and run the next color sequence (#7) to tack down the back fabric to the project.
Step 21:
Change the top thread to the color you want to use for the quilting. Bring the bobbin thread to the top of the block and run the last color sequence to quilt your mat.
Step 22:
Remove the block from the hoop. Trim the left side edge to ¼”; trim the top, bottom and right had edges to ½” from the outlines. Note: Due to the quilting process you are likely to have two sets of outlines at this point just slightly offset from each other. When you place your ruler on the outlines to trim the edges measure from the innermost outline stitching.
Step 23:
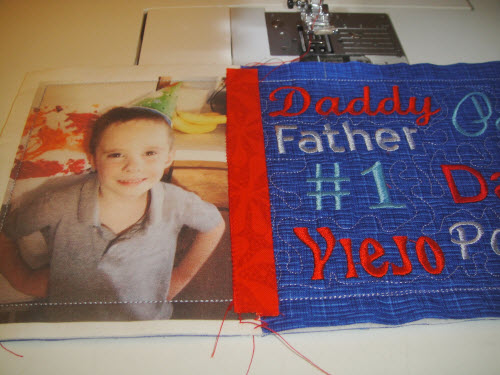
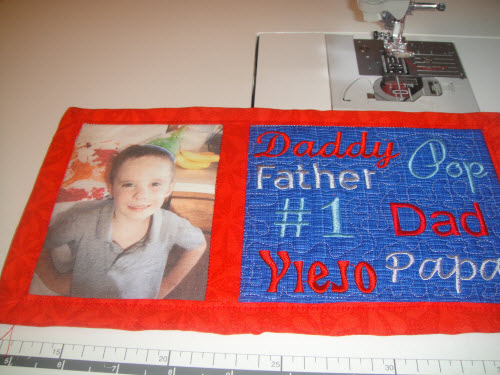
At your regular sewing machine you will attach the two pieces of the mug mat together by butting the two inside edges together and with a wide zigzag stitch, stitch them together. Do not overlap the pieces, just butt them up next to each other.
Step 24:
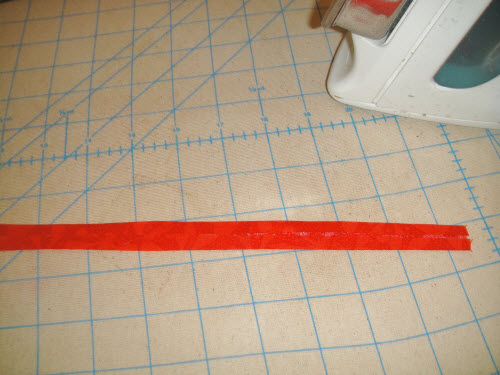
To make the sashing take the 1.25” strip of contrast fabric. Fold both long sides to meet in the middle and press.
Step 25:
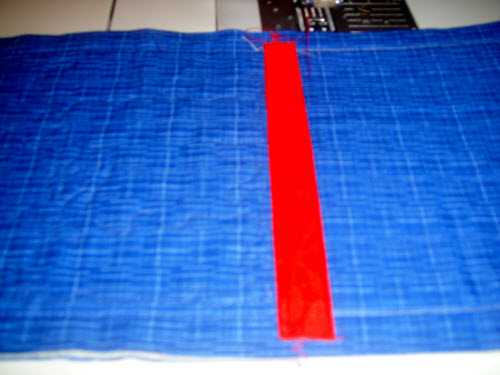
Place the folded strip of sashing over the zigzag join line of the mat and stitch both sides of the sashing to the back of the mat with a zigzag stitch. Note: The ends of the strip just need to go about ¼” or less over the top and bottom outline stitching.
Step 26:
Repeat step 25 on the front of the mat.
Step 27:
Join the 2.5” strips of contrasting fabric and bind the project using your favorite method.
Step 28:
Add the cup and maybe a package of his favorite cookies and you’ve got the perfect Father’s Day gift.
Award winning Digitizer, Embroidery Educator, Author and a Consultant to the Industry, Pat Williams has 30 years of experience in the embroidery industry. Pat has won multiple awards for her digitizing expertise including the 2007 Impressions Awards Grand Championship, Best of Show as well as the 1st and 2nd Place Awards. Pat’s love of digitizing has afforded her the opportunity to write numerous articles for Impressions magazine in the United States and Images Magazine in Europe. In 2001 Pat was named “Embroidery Educator of the Year.” For many years Pat taught digitizing seminars at the ISS Shows in Long Beach, CA and for Compucon software. She now resides in Tucson, AZ.