Border OptionsHugging border, circle, square, or rectangle — with a 3mm satin stitch.
Backing OptionsAvailable with iron-on, sew-on, or velcro backing.
Fast ShippingShipped quickly from the USA.
Free Online Tools
Powerful embroidery utilities that save time and prevent costly mistakes.
Stitch AssistantRECOMMENDED
Get the exact stabilizer, machine settings, needle, and thread color sequence for every embroidery design you purchase — based on that design's stitch density, dimensions, and color count.
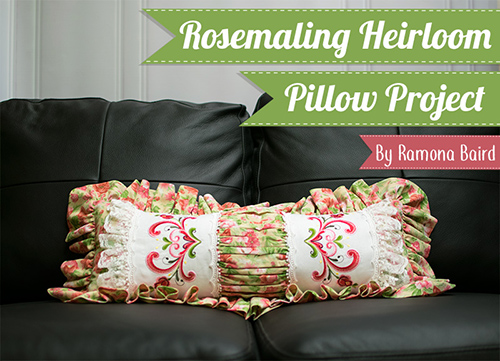
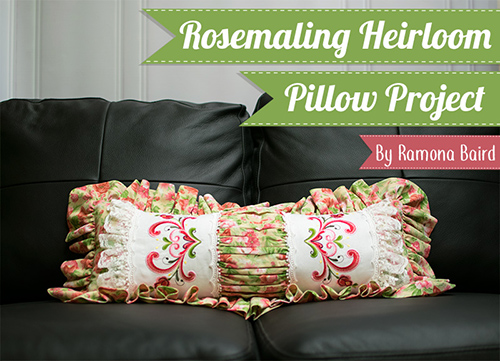
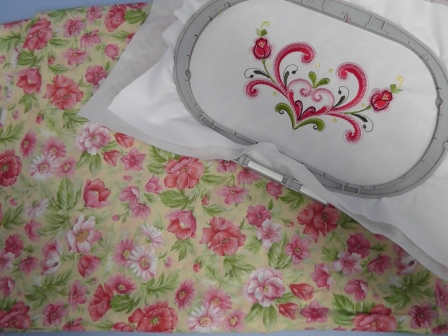
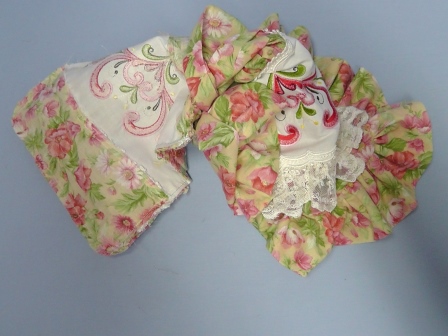
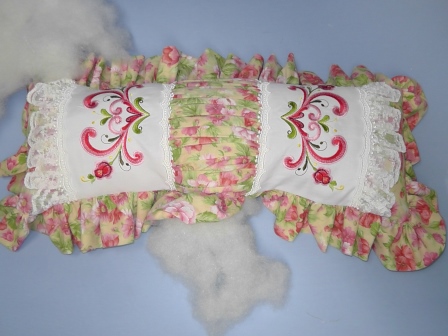
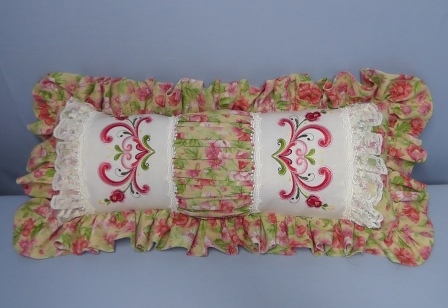
This heirloom pillow features a beautiful Rosemaling design on cotton voile, complemented by lace and a self-fabric ruffle. Perfect for adding a touch of elegance to any chair or bed. Step-by-step instructions are included.
Because hoop sizes vary, general instructions will be given on how I created the project with measurements in parenthesis as it was done for the project. Adjust the measurement for the embroidery design to fit the hoop that came with your machine and then adjust all the fabric measurements to fit the final embroidered and trimmed fabric pieces.
The embroidery design is re-colored to coordinate with the floral colors in the fabric and sewn twice. The pillow is created with a shirred center and self-fabric ruffle. This is an advanced project and presumes techniques are known for ruffling and shirring lace and fabric. The embroidery is done on the white fabric and then cut to size after the embroidery is completed.
Note: ¼” seam allowances are used throughout the entire project and the seam allowances are included in the measurements given in parenthesis.
Step 1:
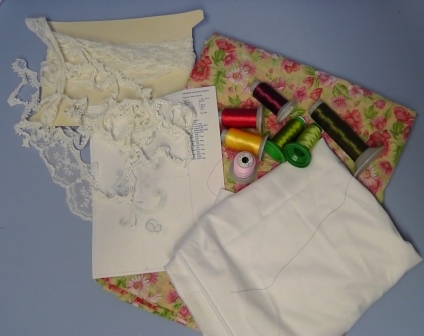
Gather the materials and read through all the instructions before beginning. Select thread colors to coordinate with the colors in the floral fabric.
Step 2:
(Click Image to Enlarge)
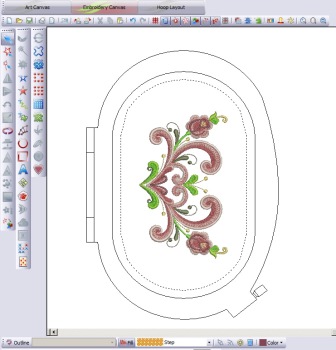
In embroidery software (or at the machine) open the design “Rosemaling Roses” APE1471_008. Increase the scale of the design 20%. Re-color the design using the selected thread colors. Rotate the design to fit in the hoop.
Step 3:
Test-sew the design to be sure the design re-sized accurately and you like the way the colors sew out (an additional piece of fabric and stabilizer is needed for this step in addition to what is on the materials list).
Step 4:
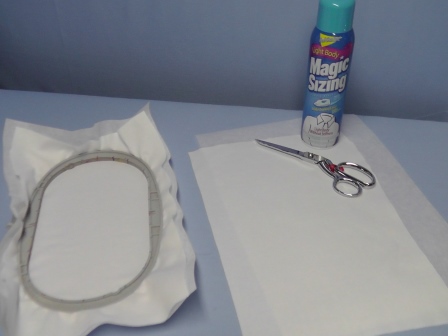
Cut two pieces of white fabric and two pieces of tearaway stabilizer to hoop. Starch the fabric. Hoop the first piece of white fabric with a piece of the tearaway stabilizer.
Step 5:
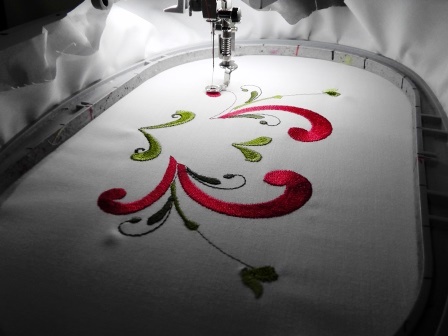
Load the edited “Rosemaling Roses” APE1471_008 design in the machine and stitch following the color sequence. Remove the stabilizer from the back of the embroidery and repress the fabric from the wrong side.
Step 6:
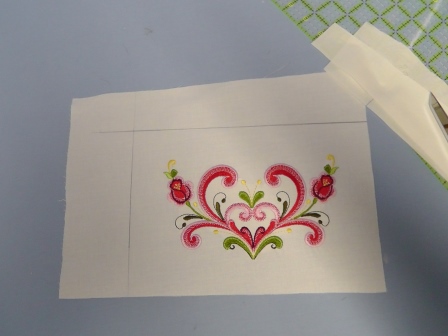
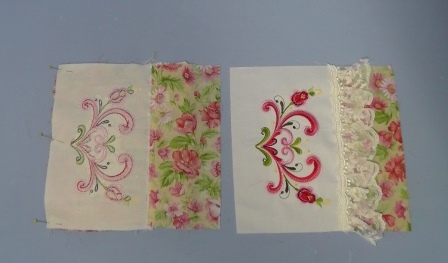
Draw and square lines all the way around the design 1 ¼” from the outer most edges of the design. (9.25” x 9 ½”) Repeat the steps to embroider and trim the other white piece of fabric.
Step 7:
From the floral fabric, cut two end panels (9 ¼” x 4”), a center stay panel (9 ¼” x 5 ½”) and a piece of fabric the same width and three times the height of the center stay panel (27 ¾” x 5 ½”) This longer piece will be shirred and placed on top of the center stay panel.
Step 8:
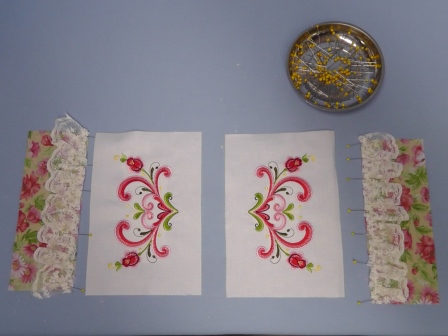
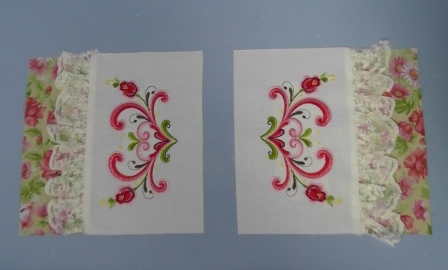
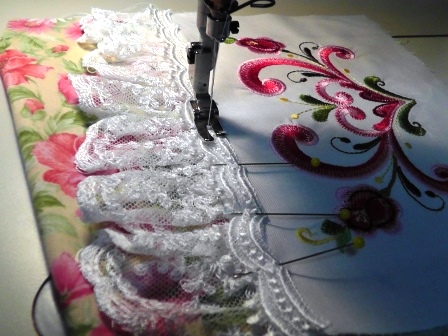
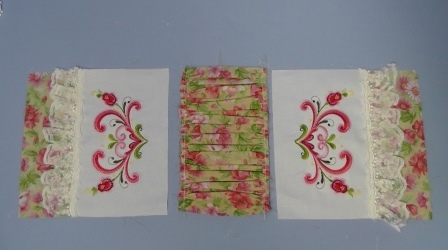
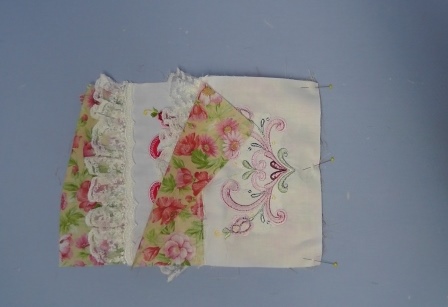
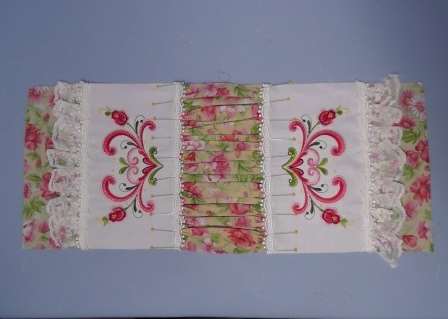
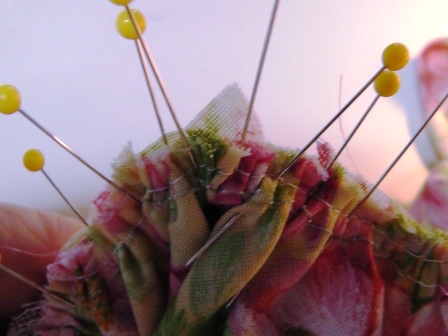
Cut two pieces of Schiffli lace two times the height of each outside panel (18 ½”). Gather the lace and pin in place as shown.
Step 9:
With right sides together, place the embroidered fabric over the lace, matching cut edges.
Step 10:
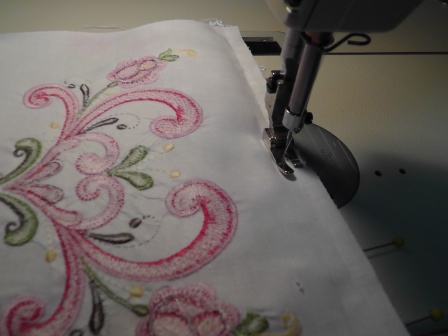
Sew each pinned edge using a ¼” seam allowance.
Step 11:
Press the seam allowances toward the embroidered panels.
Step 12:
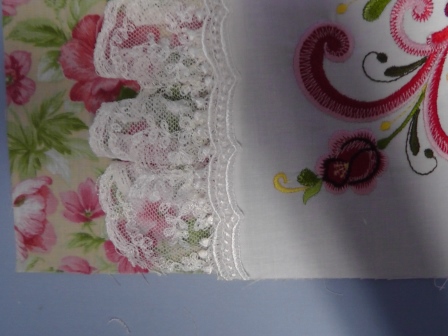
Cut two pieces of Venice lace (9 ¼”).
Step 13:
Pin the lace in place so the outer edge is just slightly over the seam allowance.
Step 14:
Stitch the lace in place over each seam.
Step 15:
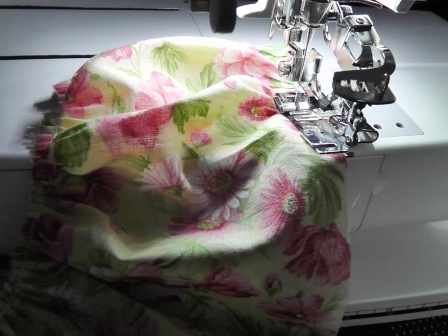
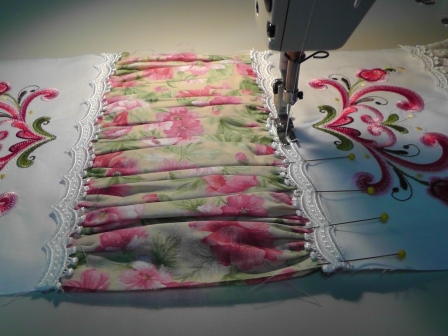
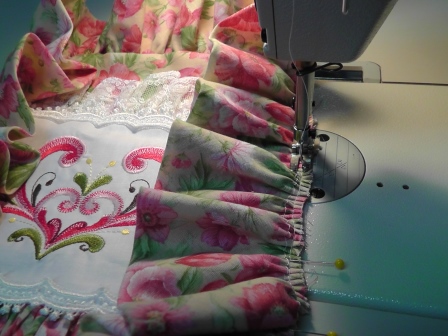
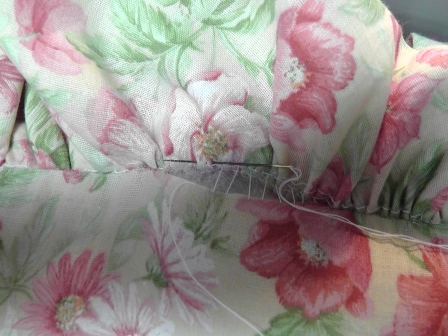
Shirr the long piece of fabric along each edge (this is a great time to use a ruffle attachment if you have one for your machine).
Step 16:
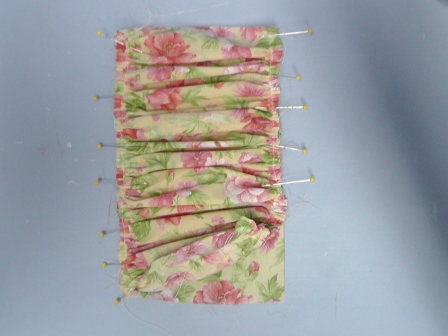
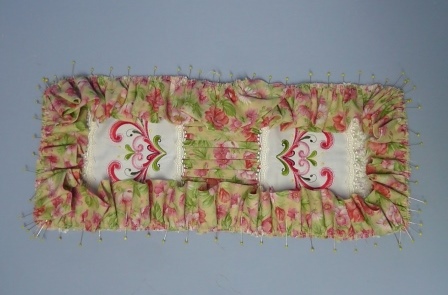
Adjust the shirring and pin in place over the center stay panel.
Step 17:
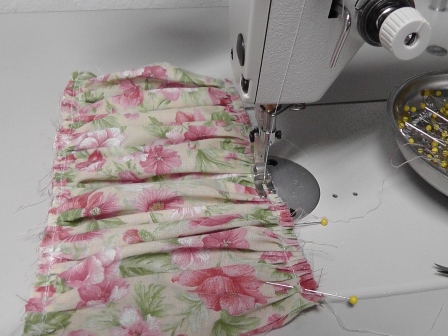
Baste the shirred panel to the stay panel.
Step 18:
(Click Image to Enlarge)
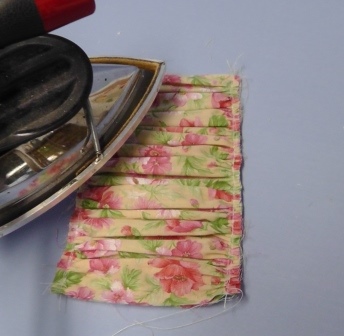
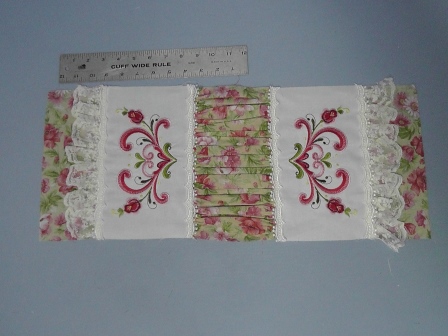
Carefully adjust the shirring and carefully steam to create soft folds (the iron should not touch the fabric).
Step 19:
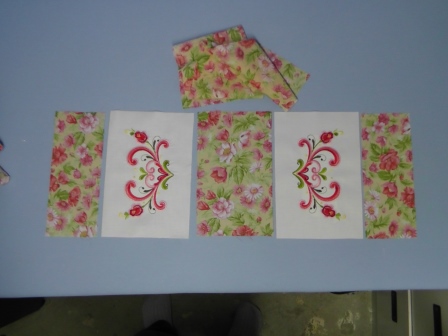
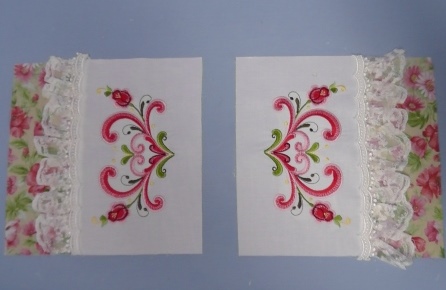
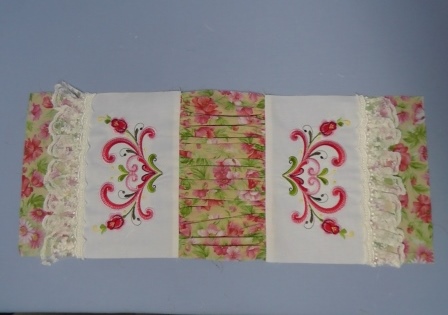
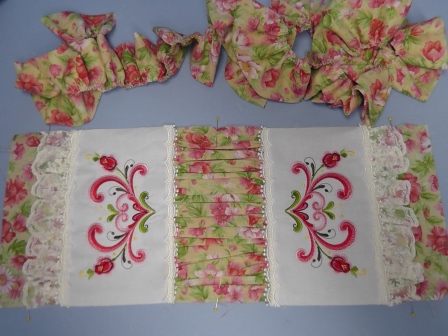
Now it is time to sew the remaining sides of the embroidered fabric to the shirred panel. Layout the pieces as shown.
Step 20:
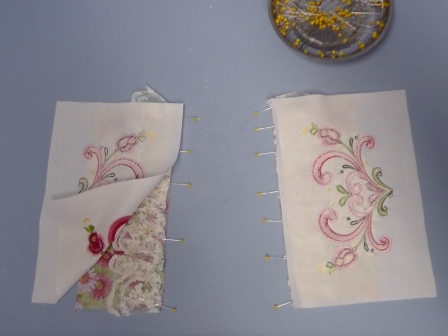
With right sides together, pin the embroidered panel to the shirred panel along one side. Stitch in place.
Step 21:
Repeat for the remaining embroidered panel.
Step 22:
Press the seam allowances toward the embroidered panel
Step 23:
Cut two pieces of Venice lace (9 ¼”) and place the outer edge just over the seam allowances just sewn; pin in place.
Step 24:
Sew the lace in place.
Step 25:
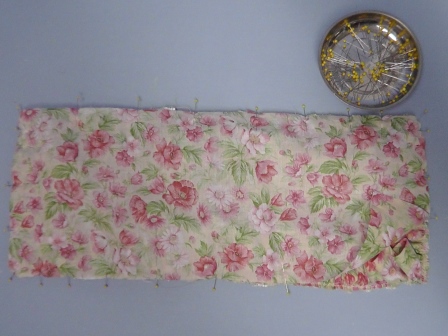
Measure and cut a piece of floral fabric for the back of the pillow (9 ¼” x 23 ½”). Set this piece aside until needed.
Step 26:
Measure the circumference of the finished pillow top. Cut enough of the floral fabric on the bias to create a ruffle (twice the circumference measurement) to go around the pillow plus about 10” to ease more into the corners and for finishing (6” x 141”). Sew the bias sections together, fold in half lengthwise, baste the cut edges together, then ruffle the cut edged to create one continuous piece to fold and gather for the ruffle.
Step 27:
Matching cut edges, pin the ruffle in place on the pillow top as shown.
Step 28:
Ease more ruffle into the corners and round the corners with the ruffle as shown.
Step 29:
Baste the ruffle in place to the pillow top.
Step 30:
With right sides together, pin the fabric back piece over the pillow top (be sure the ruffles are tucked inside). Sew the pieces together leaving one edge at the center panel open for turning and stuffing the pillow.
Step 31:
Trim the corners to round them out then turn the pillow right side out through the opening, forming and pushing out the corners.
Step 32:
Stuff the pillow through the opening. Stuff the corners first and then fill out the remaining pillow with the fiber-fil.
Ramona Baird has been in the embroidery industry for over 23 years. She and her husband owned a commercial and retail embroidery store in Arizona for many years. She is an experienced digitizer having been mentored by award-winners Pat Williams and Lindee Goodall. Ramona is a contributor to “Creative Machine Embroidery” magazine having 5 covers to her credit. Ramona has worked for Wilcom America and served many years as Education Director for the American Sewing Guild. With a degree in fashion design, she is able to design and execute patterns which Pat Williams says are “out of the box” in creativity and application. Ramona likes to challenge the boundaries of embroidery and bring new and exciting designs, ideas, and projects to EmbroideryDesigns.com. She wants embroiderers of all levels to increase their skills and enjoyment in using their embroidery machine for gift-making and personal pleasure.