{{superHeaderAds.title}}
Live Chat
Embroidery Designs
Welcome, Embroiderer
Login
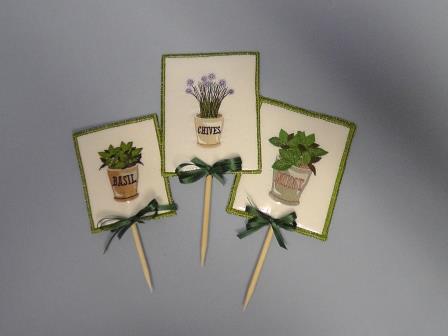
Plant Marker Trio
{{mainImageAlt || (productInfo._source && productInfo._source.name) || ''}}

Plant Marker Trio Embroidery Project

By   Ramona Baird   on   June 02, 2014

PROJECT DETAILS

SKILL LEVEL
Some Experience
TIME REQUIRED
04:30
Description

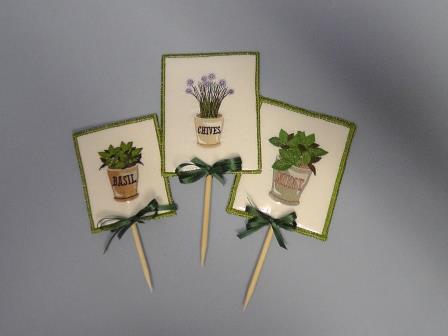
A trio of plant markers are perfect for use indoors or out with the use of polyester thread and iron on vinyl to protect them from the elements.

Project Preview Video

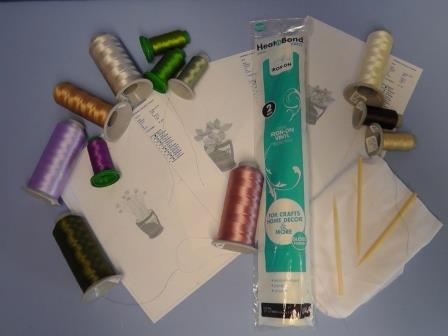
Materials
  • 100% cotton fabric (enough for hooping each of the three designs and for the back of each plant marker)
  • Embroidery thread
  • Tearaway stabilizer
  • 1 Sheet heavy craft stabilizer with adhesive on both sides (Floriani Stitch ‘n Shape double sided fusible was used in the project)
  • 3-plant sticks (popsicle craft sticks will work, too)
  • Iron on vinyl
  • Jeans or size 18 needle for sewing through the layers of craft stabilizer
  • Fine line permanent marker for writing on fabric
  • ¼” wide polyester ribbon to coordinate with embroidery designs
  • Seeds for planting: Basil, Chives, Mint
  • Optional: Applique pressing sheet

  • Designs used in this project

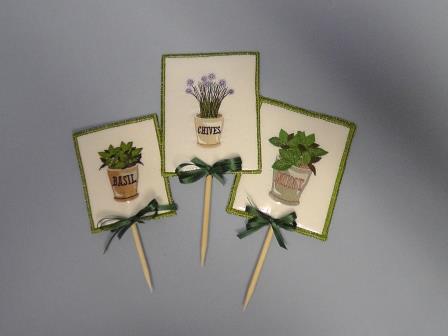
    Final Product: What You Will Create

    Preface:
    Embroidery is done on cotton fabric, trimmed down and then two layers of heavy craft stabilizer back the project to make it stiff and hold the marker stick in place. If your machine will not sew through two layers of a heavy craft stabilizer even with a heavy needle, perhaps use something like a heavy cutaway stabilizer and polyester fiberfil to stuff the center of each plant marker.


    Step 1:
    Gather the supplies. Read through the instructions for use on the iron on vinyl and heavy craft stabilizer. 


    Step 2:
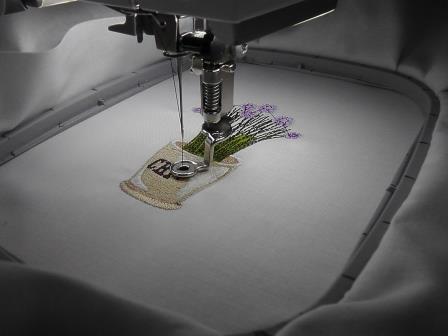
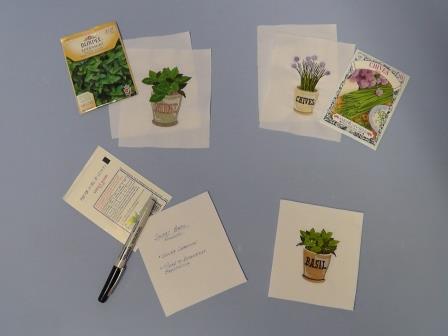
    Hoop one layer of cotton fabric with the tearaway stabilizer and stitch the “Potted Chives” design (HS1201016B) following the color sequence. Remove the stabilizer and press the fabric from the back.


    Step 3:
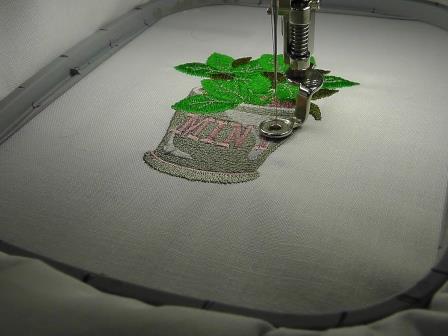
    Hoop one layer of cotton fabric with the tearaway stabilizer and stitch the “Mint Plant” design (HS1201012B) following the color sequence. Remove the stabilizer and press the fabric from the back.


    Step 4:
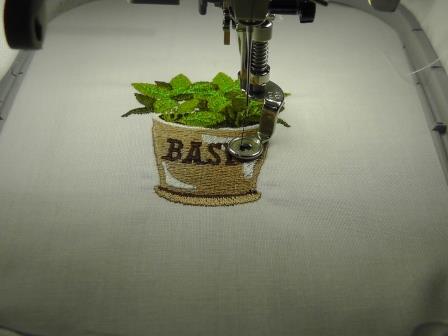
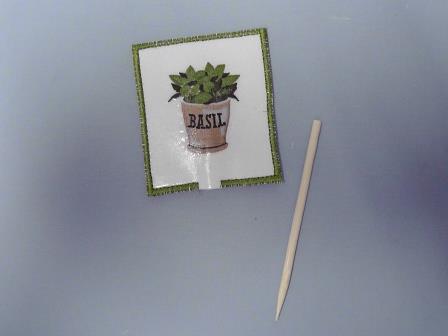
    Hoop one layer of cotton fabric with the tearaway stabilizer and stitch the “Pot of Basil” design (HS1201015B) following the color sequence. Remove the stabilizer and press the fabric from the back.


    Step 5:
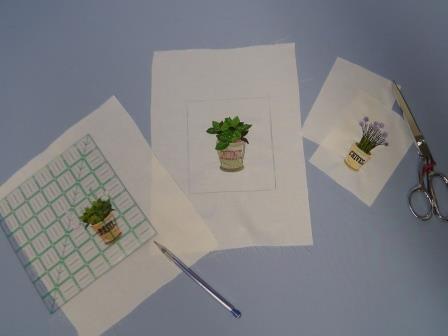
    Use a ruler to mark 1” away from the outer most edges of each design and draw a square. Cut out along the lines. Cut a second piece of fabric the same size as each embroidered square.


    Step 6:
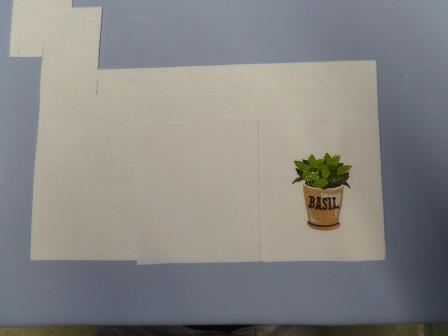
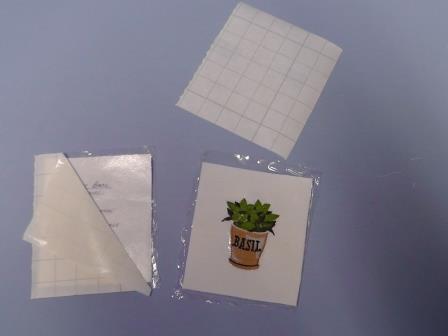
    Place the wrong side of each embroidered piece and each plain piece on top of the craft stabilizer.


    Step 7:
    Place the applique press sheet over the top and fuse the fabric to the craft stabilizer following the manufacturer’s instructions. Repeat for all 6 pieces of fabric. When cooled, cut the stabilizer out around each fabric piece.


    Step 8:
    On the plain pieces of fabric, write information from the seed packets such as height, sun requirements or any other information you may find useful.


    Step 9:
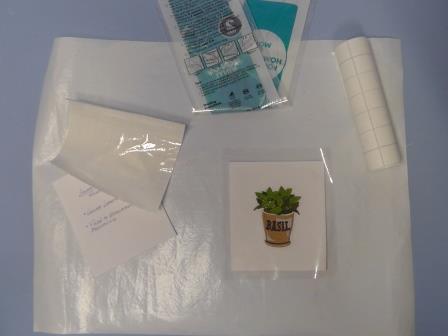
    Cut one piece of the iron on vinyl about half inch larger all the way around than each fabric square. 


    Step 10:
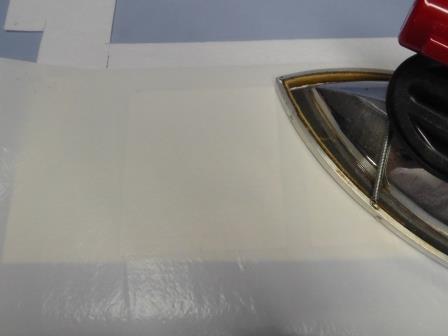
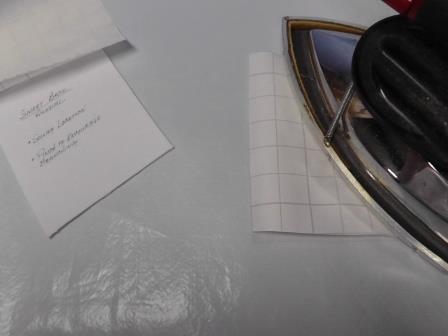
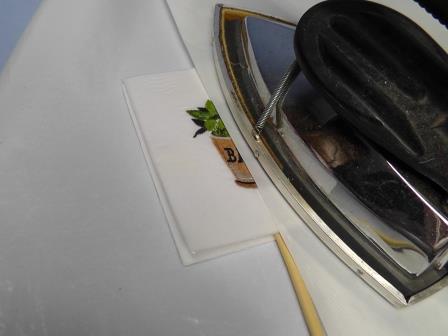
    Follow the manufacturers’ directions for application. The vinyl will be ironed over the writing for the marker backs, and over the embroidery for the marker fronts. 


    Step 11:
    Repeat applying vinyl to the right side of the fabric for all the remaining pieces of fabric.


    Step 12:
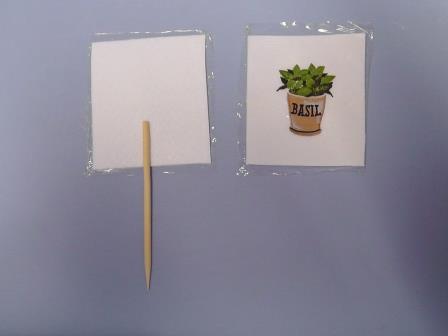
    Place the writing side down, center the marker stick over the back side of the craft stabilizer.


    Step 13:
    Place the matching embroidered piece over the stick and press to fuse the two craft stabilizer pieces together following the manufacturers’ directions. (Note: the stick will not fuse, but having the stick sandwiched between the pieces leaves room to re-insert the stick after the final stitching is done around the marker.)


    Step 14:
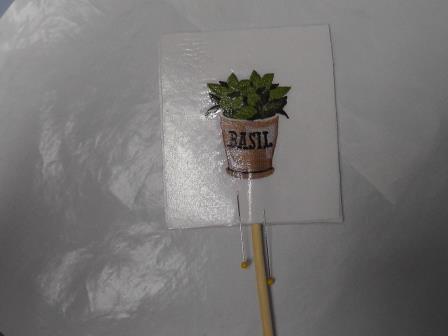
    Allow the marker to cool. Trim the excess vinyl from around the stabilizer. Place pins on each side of the wooden stick to mark its placement; remove the stick.


    Step 15:
    Place the Jeans needle or size 18 needle in the machine. Use any decorative stitch from the machine to stitch around the outside of each marker, leaving the area between the pins un-stitched. Note: for this project a narrow satin was done the first time and then a wider satin done over it a second time to fill in; the needle was allowed to swing over the edge of the fabric to totally encase the cut edges. Repeat for the remaining two markers.


    Step 16:
    Insert the sticks back into the opening of the markers. Create bows with the ribbon and tie around each marker as shown.


    Step 17:
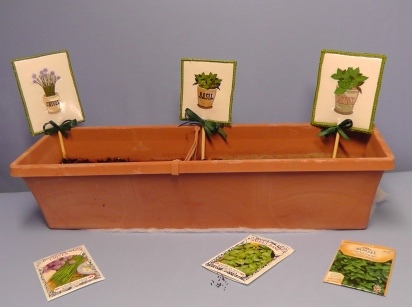
    Plant the little herb garden and place the sticks in the pots to identify what is growing.
    Meet the Author: Ramona Baird
    Ramona Baird
    Ramona Baird has been in the embroidery industry for over 23 years. She and her husband owned a commercial and retail embroidery store in Arizona for many years. She is an experienced digitizer having been mentored by award-winners Pat Williams and Lindee Goodall. Ramona is a contributor to “Creative Machine Embroidery” magazine having 5 covers to her credit. Ramona has worked for Wilcom America and served many years as Education Director for the American Sewing Guild. With a degree in fashion design, she is able to design and execute patterns which Pat Williams says are “out of the box” in creativity and application. Ramona likes to challenge the boundaries of embroidery and bring new and exciting designs, ideas, and projects to EmbroideryDesigns.com. She wants embroiderers of all levels to increase their skills and enjoyment in using their embroidery machine for gift-making and personal pleasure.
    More From This Author
    Link is Broken, Please check the URL
    Exclusive Embroidery Offers!
    Copyright © {{ currentDate | date:'yyyy'}} - EmbroideryDesigns.com
    GET 50% OFF! ×