Live Chat
Embroidery Designs
Welcome, Embroiderer
Login
ITH Pressing Mat
{{mainImageAlt || (productInfo._source && productInfo._source.name) || ''}}

ITH Pressing Mat Embroidery Project

By   Jeanie Marleen   on   May 19, 2014
  • SKILL LEVELSome Experience
  • TIME REQUIRED01:00
Description

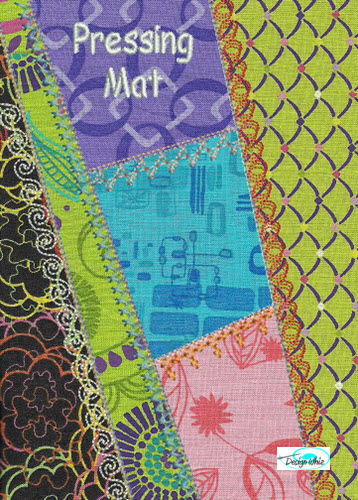
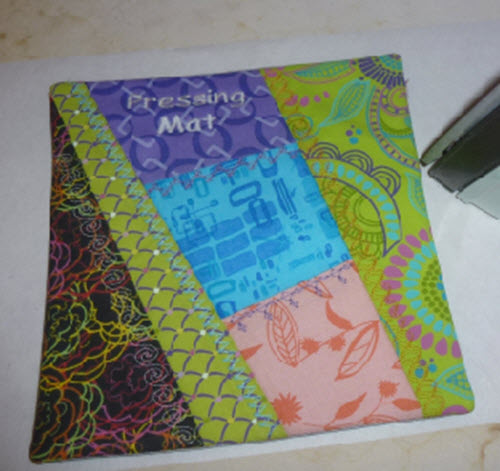
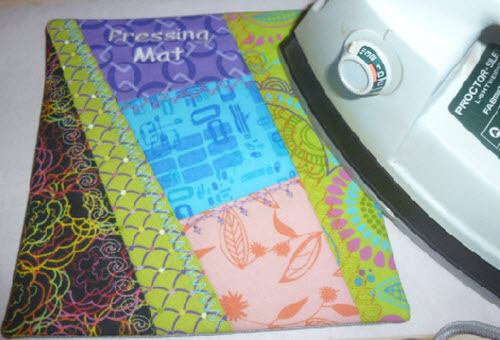
Need a pressing mat for doing applique that you can keep next to the sewing machine - this project is for you! This is a quick in the hoop project that will be fun to make for yourself and give to friends as gifts. 4 sizes - 5x7, 6x6, 8x8 and 8x12.

Step of

Materials

Project Preview Video

Materials
  • 100% 40wt COTTON Thread (This is a pad designed to be used with a hot iron and you must use 100% cotton thread in the top and bobbin of your machine.)
  • 6 fat quarters in coordinating colors or scraps you have been saving
  • 1/4 yd Insul-Brite (heat reflective batting)
  • 1/4 yd Therma-flec non quilted (looks like the silver top of an ironing board)
  • Poly mesh stabilizer to fit your hoop
  • Temporary Spray Adhesive
  • Spray Starch

  • Designs used in this project

    Preface:
    There are four (4) sizes available for this mat (5 x 7, 6 x 6, 8 x 8 and 8 x 12). You will be really talented at this sew and flip technique after making all four sizes and have a fun project to use and gift to friends.


    Step 1:
    (Click Image to Enlarge)
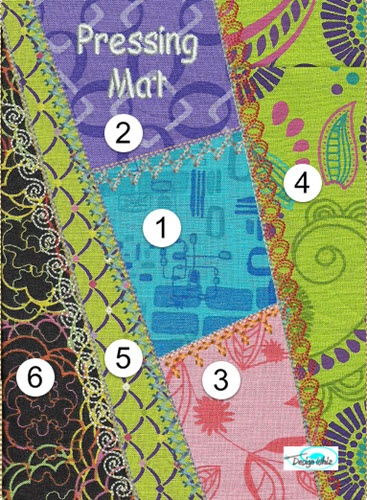
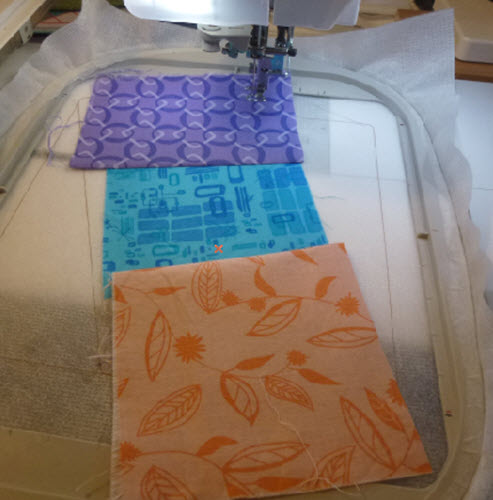
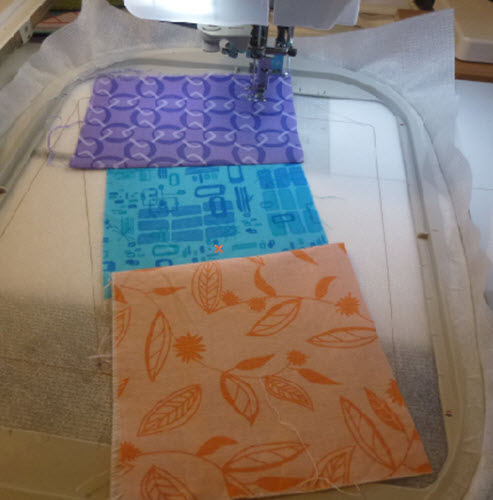
    Wash, dry and press fat quarters using spray starch. Cut fat quarters into the indicated sizes to be pieced. There are six pieces in this project so use a different fabric for each piece.
     
    Cut:
     
    5 x 7 hoop - #1- 3 x 3.5; #2- 3.5 x 4; #3- 3.5 x 4; #4- 3 x 8.5; #5- 2 x 9; #6- 3 x 8.5
    6 x 6 hoop - #1- 3.5 x 4; #2- 3.5 x 4.5; #3- 4 x 4.5; #4- 3.5 x 8; #5- 2.5 x 9; #6- 3.5 x 8
    8 x 8 hoop - #1- 4.5 x 4.5; #2- 4 x 5.5; #3- 4.5 x 5; #4- 5 x 10; #5- 2.5 x 10; #6- 4.5 x 10
    8 x 12 hoop - #1- 6 x 4.5; #2- 6 x 6; #3- 6 x 6; #4- 5 x 14; #5- 4 x 14; #6- 4.5 x 14


    Insul-Brite cut 2 inches larger than hoop so 5 x 7 hoop cut 7 x 9; 6 x 6 hoop cut 8 x 8; 8 x 8 hoop cut 10 x 10; 8 x 12 hoop cut 10 x 14.

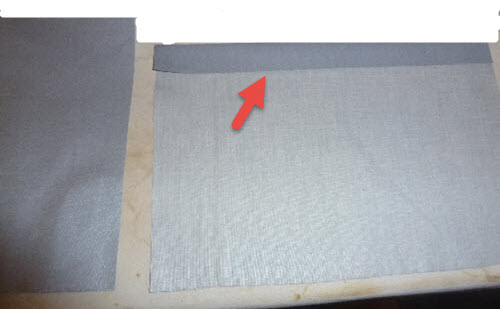
    Therma-flec cut 2 pieces. Fold over short side on each piece about an inch and press.
     
    5 x 7 hoop – both pieces 6 x 6 
    6 x 6 hoop – both pieces cut 5.5 x 7
    8 x 8 hoop – both pieces cut 7 x 9
    8 x 12 hoop – both pieces cut 8.5 x 9


    Step 2:
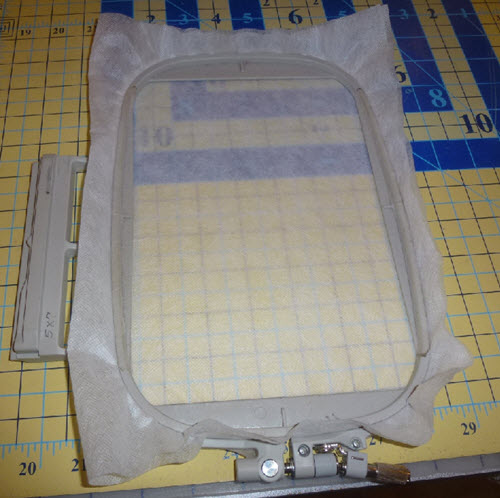
    Hoop mesh stabilizer.


    Step 3:
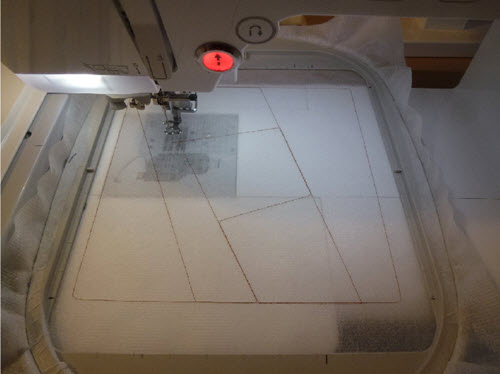
    Stitch fabric placement outline in any color.


    Step 4:
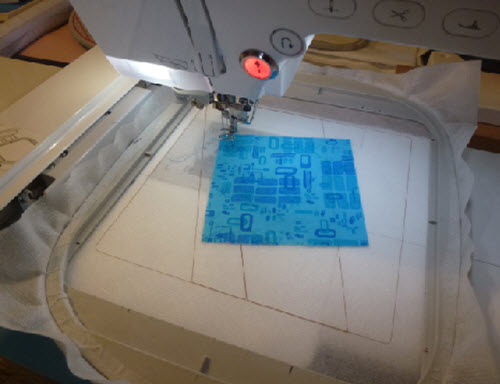
    Spray temp adhesive spray on the back of fabric 1. Place fabric 1 right side up on stabilizer. Stitch tack down stitch. Trim seam to about 1/4".


    Step 5:
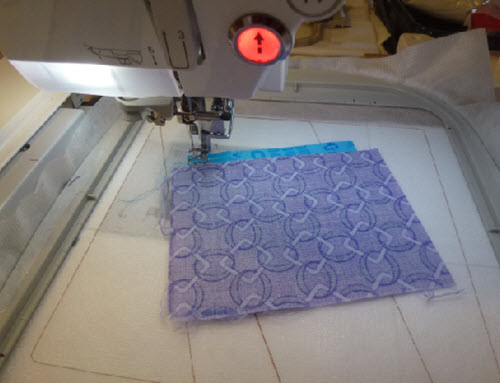
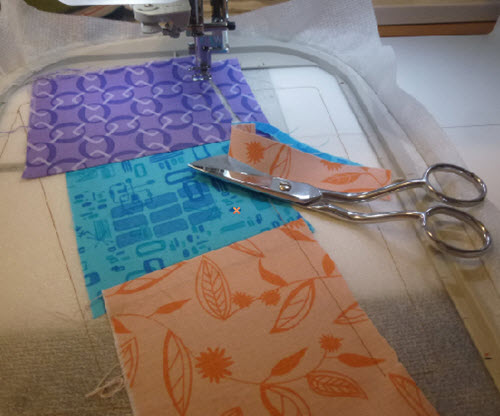
    Place fabric 2 right sides together on top of fabric 1 making sure fabric 2 matches edge of trimmed seam. Sew tack down stitch.


    Step 6:
    Flip fabric 2 right side up and press seam.


    Step 7:
    Sew tack down stitch on opposite side of fabric 1.


    Step 8:
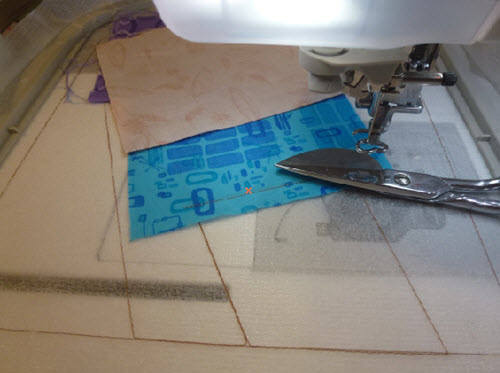
    Trim seam to ¼”.


    Step 9:
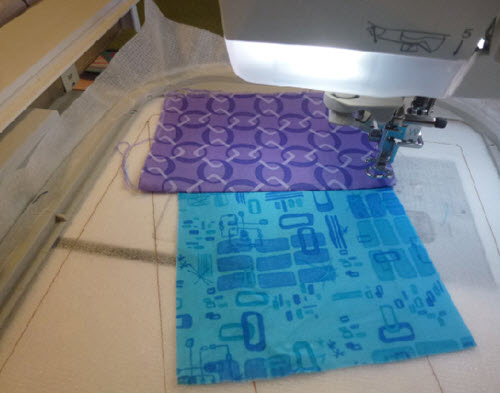
    Place fabric 3 right sides together on top of fabric 1. Make sure fabric 3 extends over the tack down stitch of fabric 1 matching edge of trimmed seam. Sew tack down stitch.


    Step 10:
    Flip fabric 3 right side up and press seam.


    Step 11:
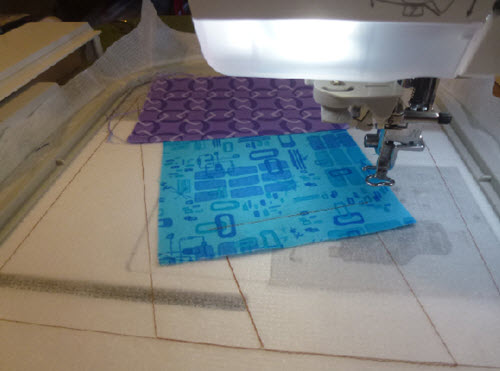
    Sew tack down stitch on the right of fabrics 1, 2 and 3.


    Step 12:
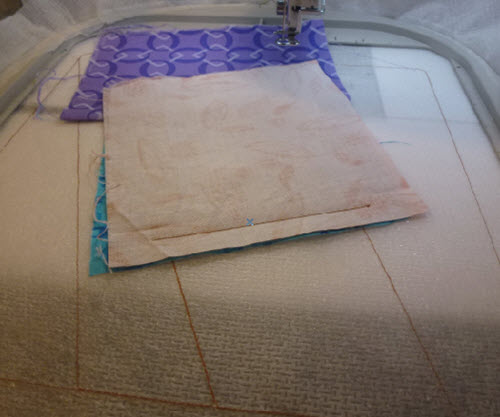
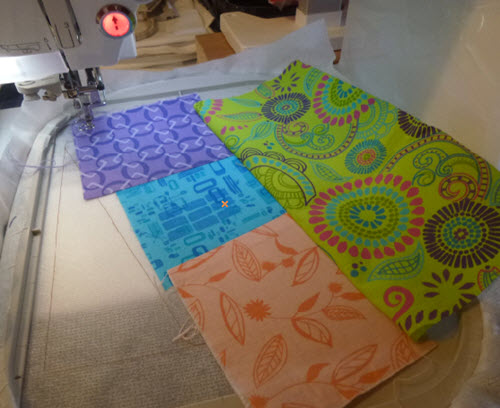
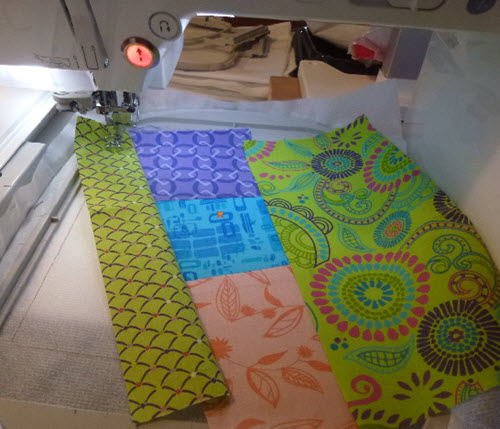
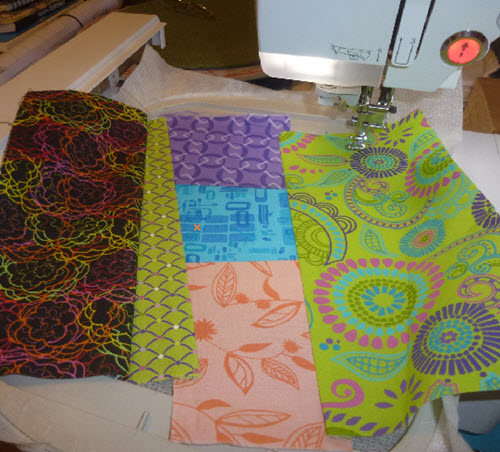
    Trim seam to ¼”. Place fabric 4 right sides together on top of 1, 2 and 3 making sure fabric 4 extends over tack down stitch by ¼” matching edge of trimmed seam. Sew tack down stitch.


    Step 13:
    Flip fabric 4 and press seam.


    Step 14:
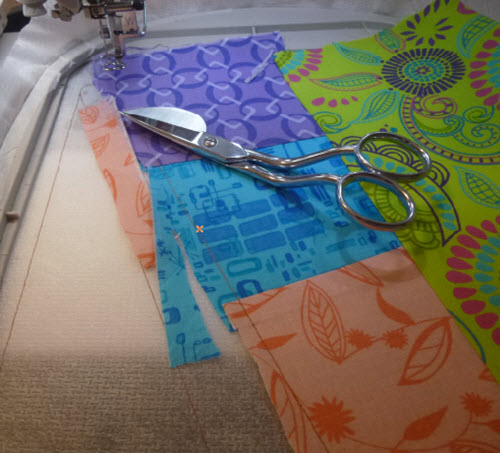
    Sew tack down stitch on the left of fabrics 1, 2 and 3. Trim seam to ¼”.


    Step 15:
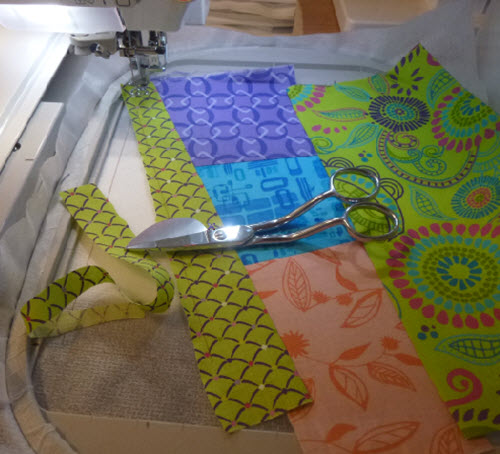
    Place fabric 5 right sides together on top of 1, 2 and 3 making sure fabric 5 extends over tack down stitch by ¼” matching edge of trimmed seam. Sew tack down stitch.


    Step 16:
    Flip fabric 5 and press seam.


    Step 17:
    Sew tack down stitch. Trim seam to ¼”.


    Step 18:
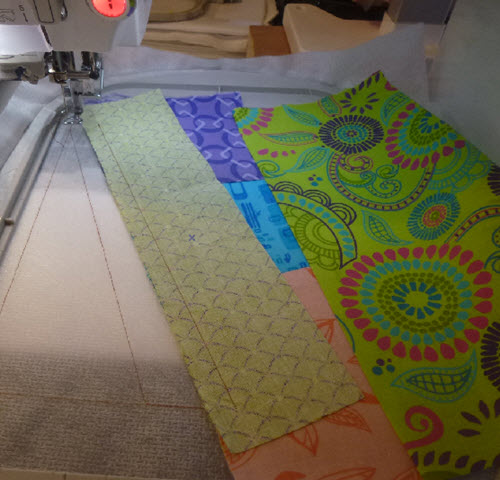
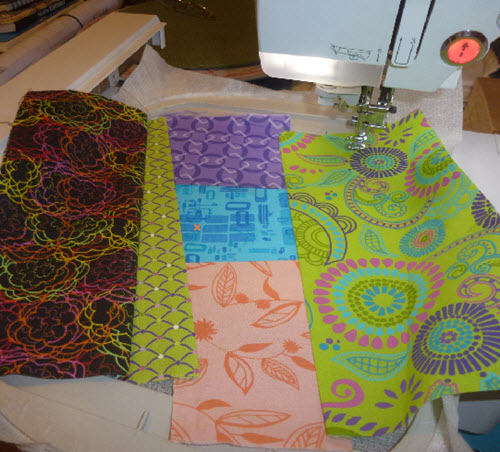
    Place fabric 6 right sides together on top of fabric 5. Make sure fabric 6 extends over the tack down stitch of fabric 5 matching edge of trimmed seam. Sew tack down stitch.


    Step 19:
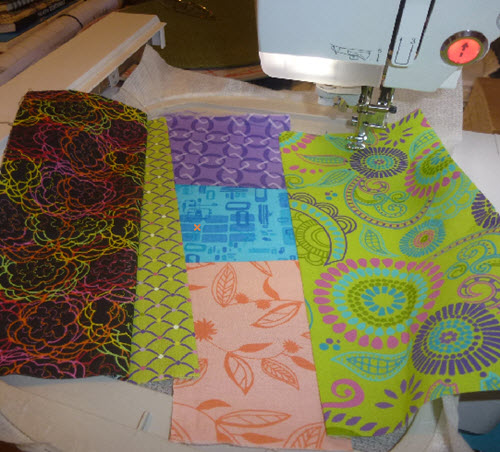
    Flip fabric 6 and press seam.


    Step 20:
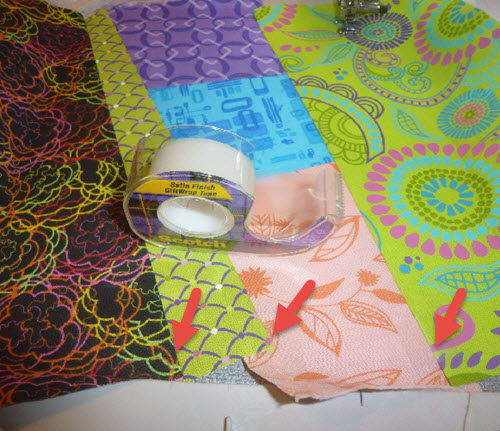
    Tape all loose edges outside of seam line to secure fabric so it does not get caught in the embroidery foot as the next step is stitched.


    Step 21:
    Stitch tack down stitch on outside of project.


    Step 22:
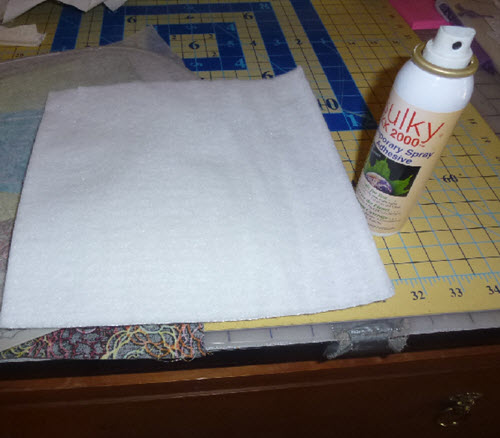
    Spray Insul-Brite with spray adhesive.


    Step 23:
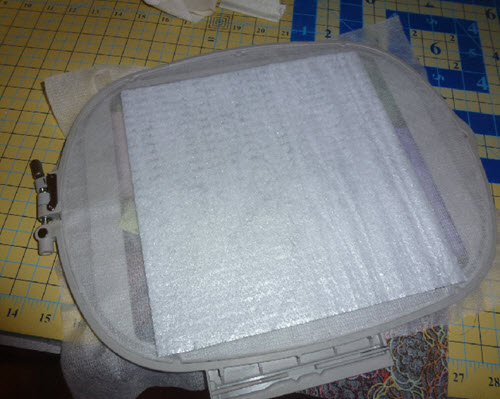
    Place Insul-Brite batting on bottom side of project.


    Step 24:
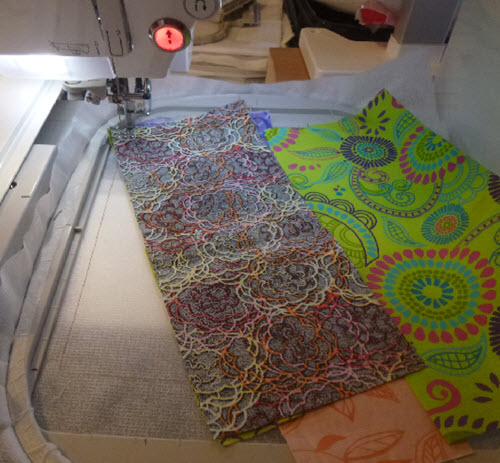
    Sew tack down stitch.


    Step 25:
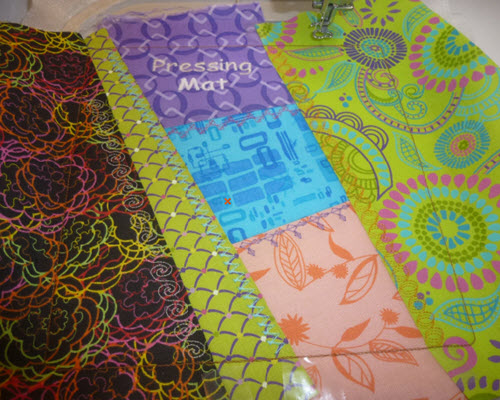
    Sew decorative stitching on project. Use cotton thread that will show on the fabric.


    Step 26:
    Fold over top edge of Therma-flec about an inch and press.


    Step 27:
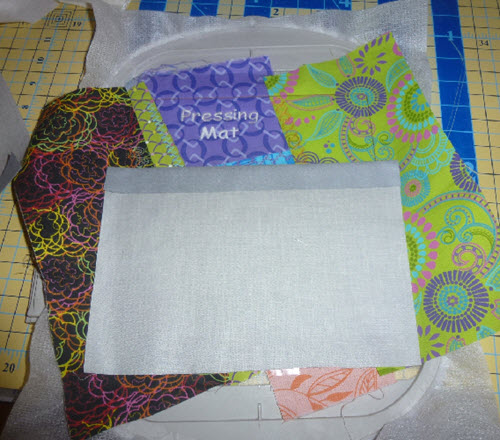
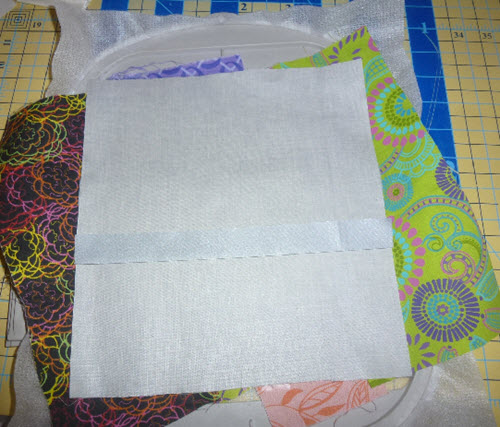
    Place Therma-flec on TOP side of project right sides to right sides of project. Place the bottom piece first.


    Step 28:
    Place top piece of Therma-flec.


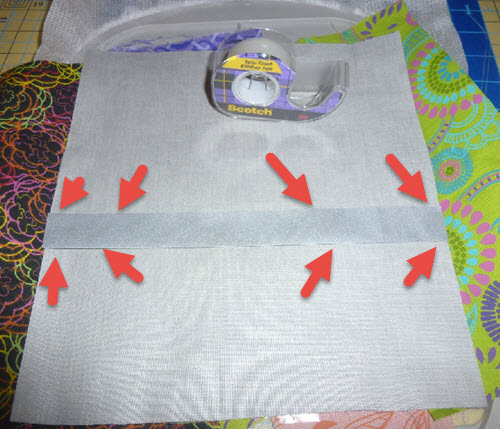
    Step 29:
    Tape outside edges so pieces are not caught in embroidery foot.


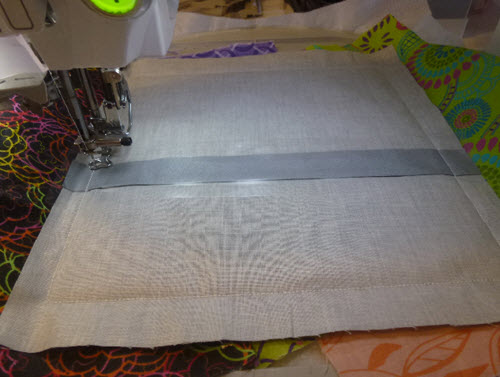
    Step 30:
    Stitch tack down stitch.


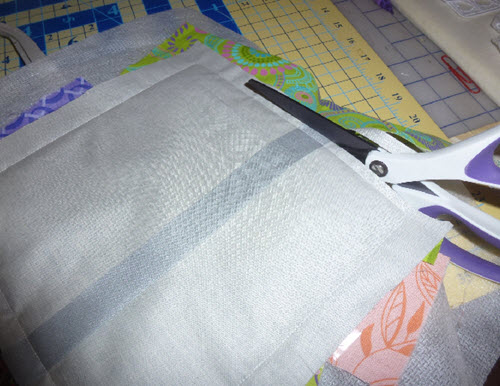
    Step 31:
    Take project out of hoop and trim seam to a little less than ¼”.


    Step 32:
    Turn project inside out smoothing corners.


    Step 33:
    Press to flatten.


    Step 34:
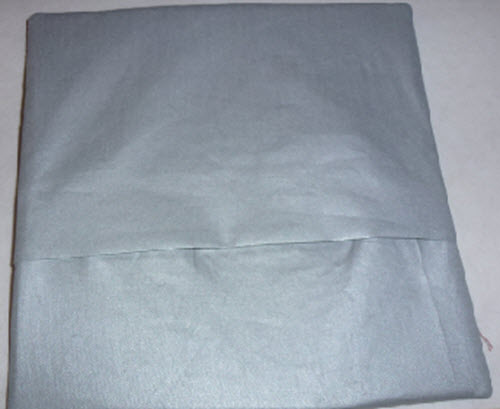
    The finished back.

    Enjoy!
    Jeanie Marleen
    DesignWhiz
    May 2014

    Meet the Author: Jeanie Marleen
    Jeanie Marleen
    Quilter, Embroiderer and Digitizer. Love to create fun things to make and share.
    More From This Author
    Link is Broken, Please check the URL
    Exclusive Embroidery Offers!
    Copyright © {{ currentDate | date:'yyyy'}} - EmbroideryDesigns.com
    GET 50% OFF! ×