Border OptionsHugging border, circle, square, or rectangle — with a 3mm satin stitch.
Backing OptionsAvailable with iron-on, sew-on, or velcro backing.
Fast ShippingShipped quickly from the USA.
Free Online Tools
Powerful embroidery utilities that save time and prevent costly mistakes.
Stitch AssistantRECOMMENDED
Get the exact stabilizer, machine settings, needle, and thread color sequence for every embroidery design you purchase — based on that design's stitch density, dimensions, and color count.
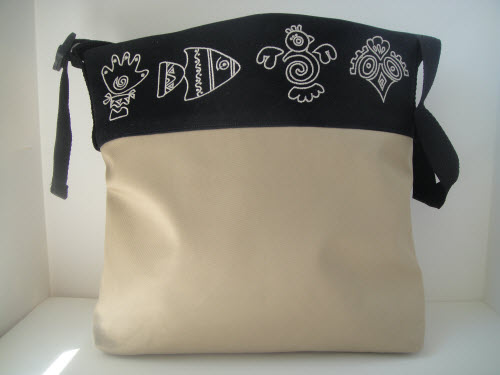
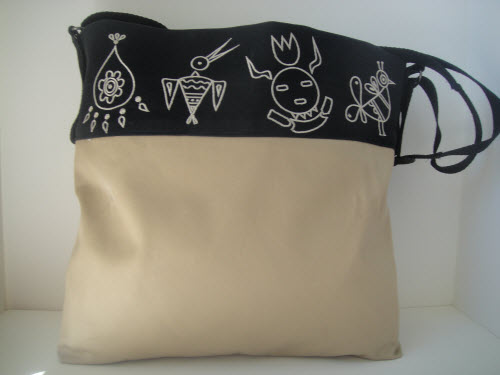
This little tote bag 11.5" in height, 13” wide and 2” deep was made for a friend’s birthday. She is a tiny lady, so the bag was made small and with an adjustable strap so it would fit her perfectly.
Step
of
Whimsical Native Designs Small Tote Bag
By Pat Williams
It is simple to make this bag any size you want, no pattern
is required.Just keep the depth of the
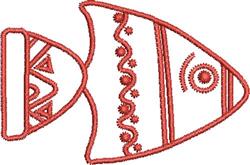
top panel at least 4” deep so that the embroidery designs will fit nicely.All seams are ½”.If you have a 12” x 7” hoop you may purchase
the two files where the designs are already grouped.If you do not have a hoop that large you may
purchase the individual designs and line their centers up in your own software,
or sew them individually in a 4” x 4” hoop.
Step 1:
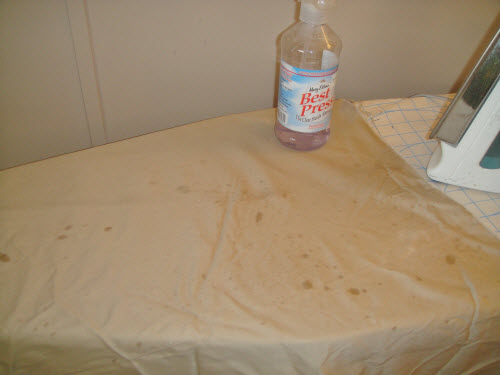
Prewash
all fabrics and press with Best Press or Magic Sizing to restore the sizing to
the fabric.
Step 2:
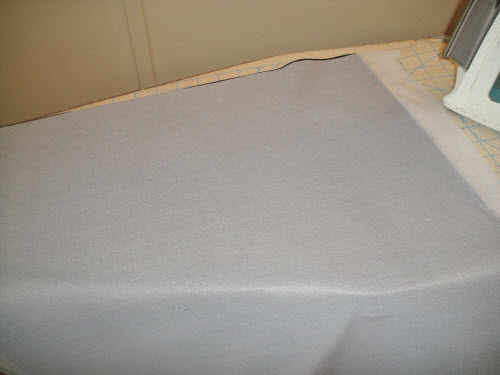
Press
light knit fusible backing on to the wrong side of the fabrics.
Step 3:
Cutting instructions:
Cut 2 rectangles of black twill 9”
deep by 15” wide
Cut 2 rectangles of khaki twill
10” deep by 15” wide
Cut 2 rectangles of lining fabric
10” deep by 15” wide
Cut 1 pocket from lining fabric 6”
deep by 10” wide
Cut 2 10” strips of 1” web strap
Cut 1 57” strap of 1” web strap
Step 4:
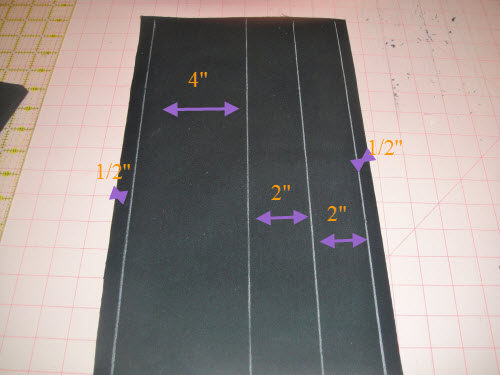
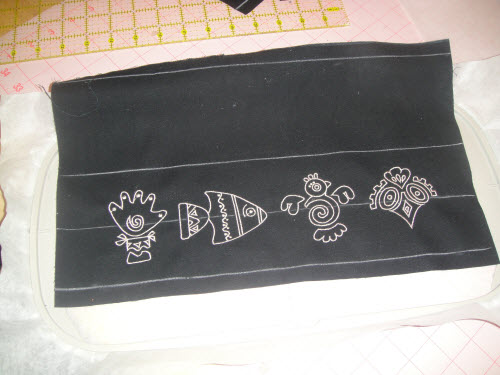
Mark
both black rectangles with the following white chalk lines to line up for
embroidery.Make the first line a ½”
from the right edge for the seam line.Draw another line 2” to the left of that line for the center of the
embroidery designs.Draw a third line 2”
to the left of the designs line – that is the center of the strip.Make a 4th line ½” from the left
hand edge that is your facing seam line.
Step 5:
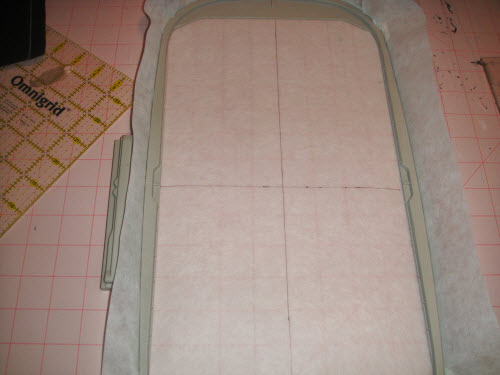
Hoop
tear away stabilizer in your 12” x 7” hoop.If you do not have a hoop that large you may purchase the individual
designs and line their centers up in your own software, or sew them
individually in a 4” x 4” hoop.Mark
vertical and horizontal lines on your tear away.
Step 6:
Spray adhesive spray on the tear away.
Step 7:
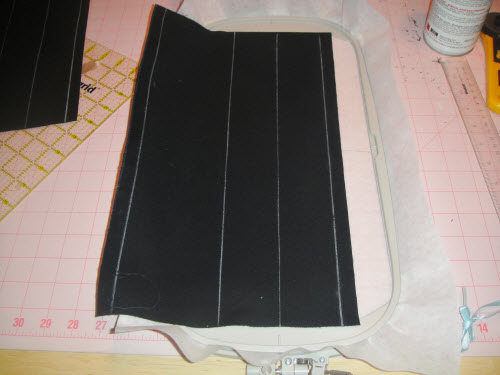
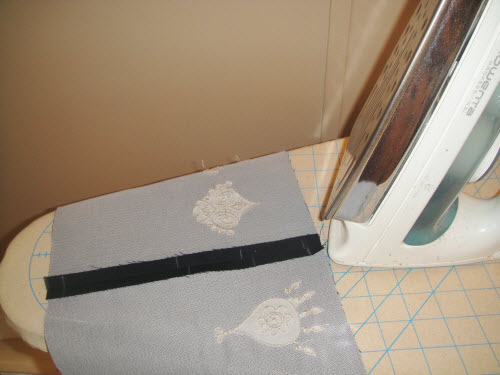
Place
the black band on the top of the tear away aligning the design center vertical
line and matching the center of the panel with the horizontal line on the tear
away.
Step 8:
(Click Image to Enlarge)
Load
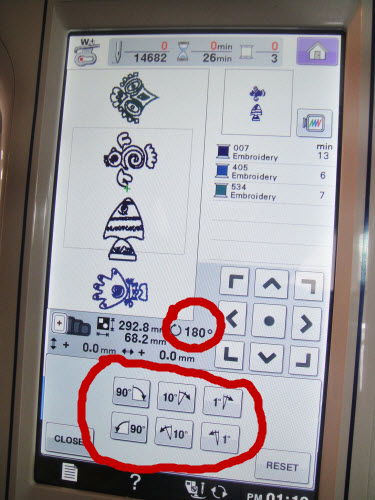
the design into the machine and rotate 180 degrees.Do this even if you are using the single
designs so that the bottom of the design will be sewn at the right of the
fabric.
Step 9:
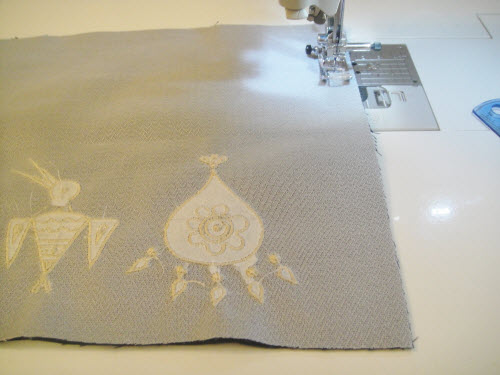
Stitch
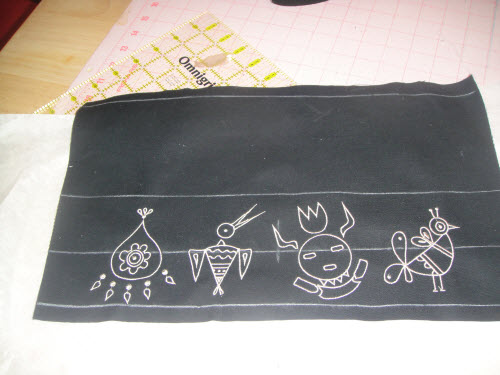
the designs.There are color stops in
the design in case you want to sew each design a separate color.In the sample all designs were stitched with Madeira
Doe Skin (1138).
Step 10:
Repeat
steps 5 through 9 for the second band for the back of the bag.
Step 11:
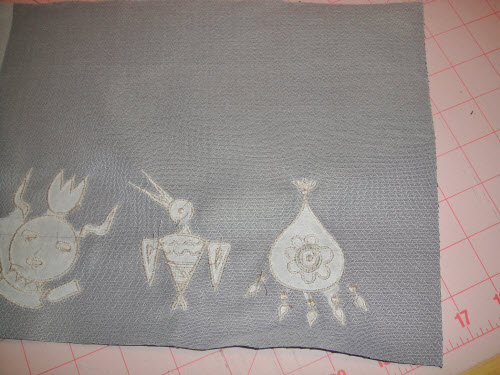
Remove
the tear away stabilizer from around the outsides of the designs.You may leave what is inside the designs.
Step 12:
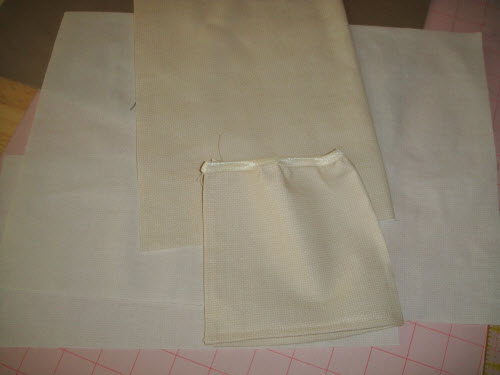
Prepare
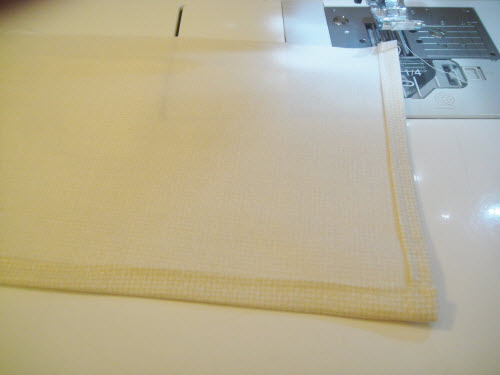
the pocket for the lining by folding over the side and bottom edges ¼” and then
¼” again.Press and stitch close to the
inside edge with matching thread.
Step 13:
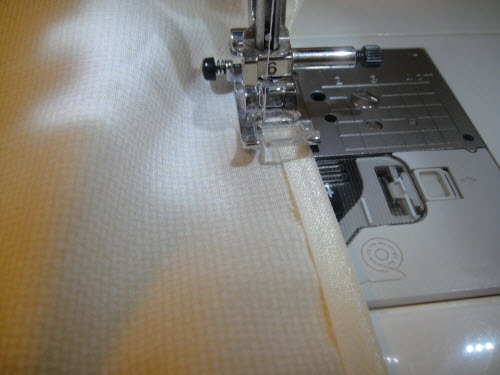
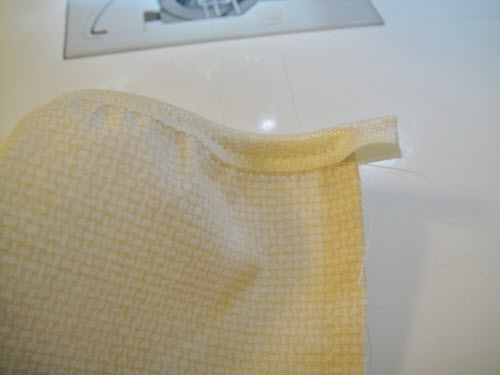
Fold
5/8” Fold-Over Elastic over the top edge leaving about 1/4 “ of the elastic
overhanging each edge of the pocket.Stitch with a zigzag stitch stretching the elastic as you go.
Step 14:
When
you pin the pocket to the lining fold under those ¼” overhangs of the elastic.
Step 15:
Fold
a lining piece and the pocket in half.Finger press to leave a center crease line.
Step 16:
Place
the pocket about 2” down from the top of the lining.Align the center of the pocket with the
creased lines. Pin the pocket to the
lining stretching the elastic at the top of the pocket so that the edges are
straight.Edge-stitch the pocket to the
lining.
Step 17:
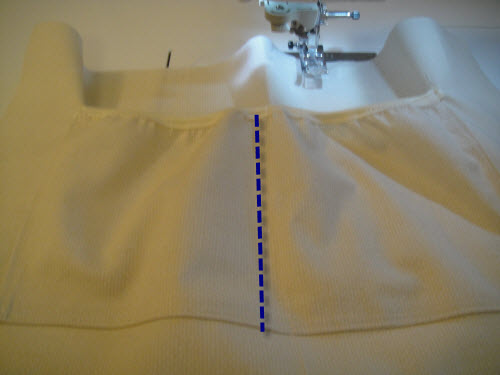
Stitch
a line down the center of the pocket to form two pockets.
Step 18:
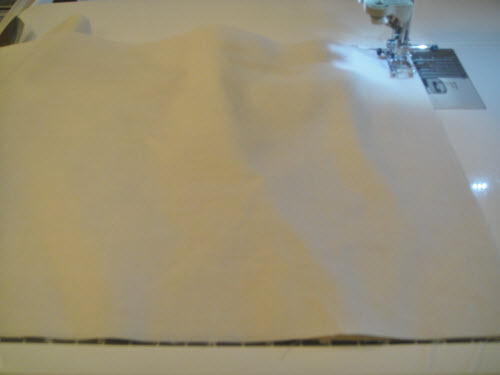
Lay
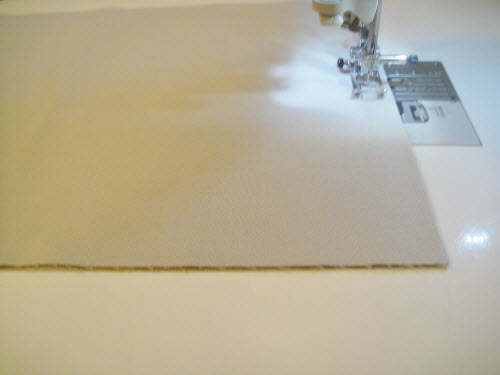
the two lining pieces right sides together, and stitch down both sides and
across the bottom with a ½” seam allowance pivoting at the corners.
Step 19:
Press
seams open.
Step 20:
Repeat
steps 18 & 19 for the khaki fabric.
Step 21:
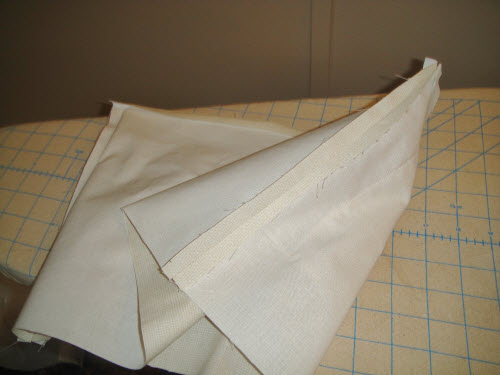
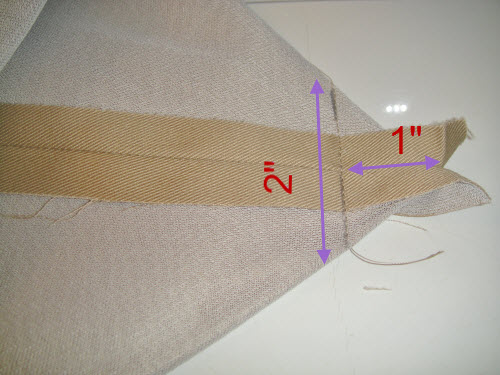
Fold
the corner seams so that the side seam and the bottom seam are aligned, forming
a triangle at the end of the tote.Measure 1” from the tip of the
triangle up the seam and make a mark.Draw a line across this mark which should give you a 2” long line to
stitch on.Stitch across this line.
Step 22:
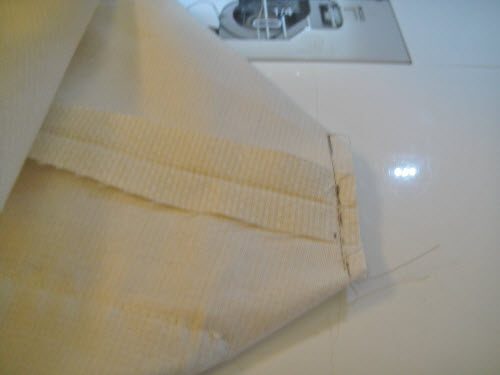
Repeat on the other bottom corner of the tote
fabric and on both bottom corners of the lining.
Step 23:
Trim
both corners on the tote fabric and the lining to ¼”.
Step 24:
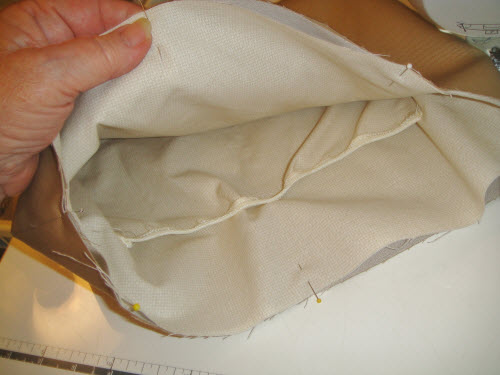
Drop
the lining inside the tote fabric wrong sides together.Pin in place aligning the side seams and
front and back.
Step 25:
Stitch
the lining to the bag with an approximate 3/8” seam all around.
Step 26:
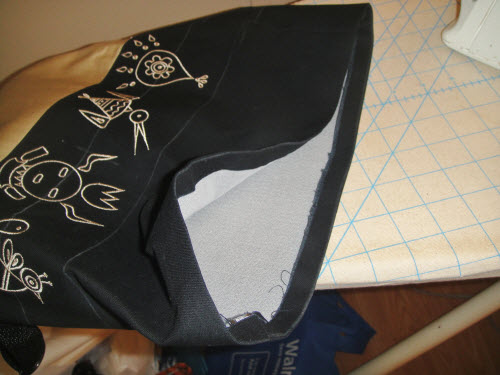
Stitch
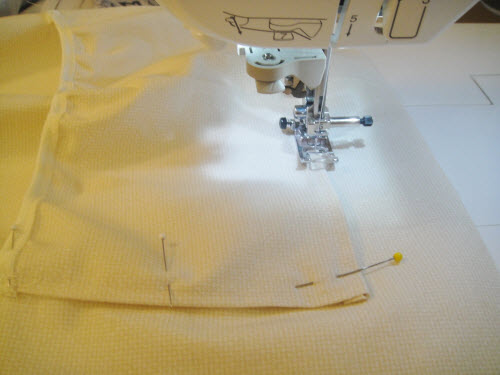
the two sides of the top band together on the side edges with a ½” seam.
Step 27:
Press
the seams open.
Step 28:
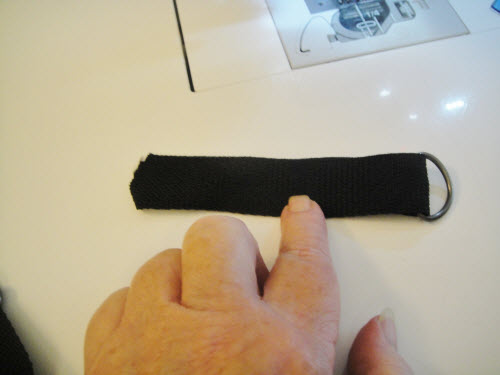
Cut
2 10” strips of the poly web strap.Fold
over through a D ring.
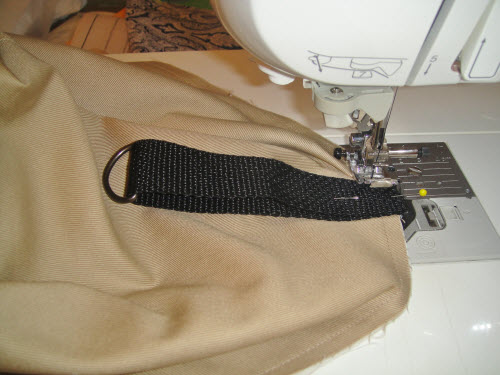
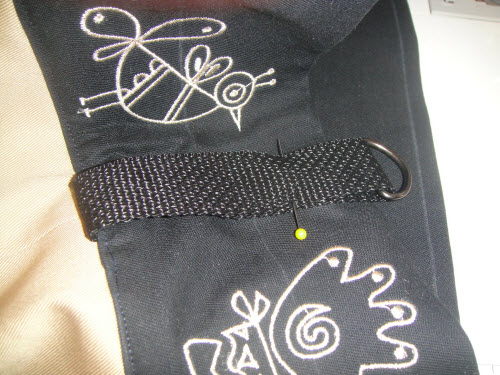
Step 29:
Pin
both ends of the raw edges of the strapping centered over the outside of the
side seam of the tote.Stitch in place.
Step 30:
Attach
the second strap and D ring to the other side of the tote as in Step 29.
Step 31:
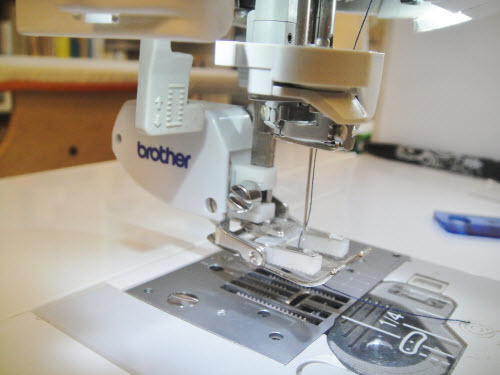
As
the next step is going to have some thick areas to sew through, now is a good
time to attach your walking foot if you have one.If you have a Pfaff engage the walking foot.
Step 32:
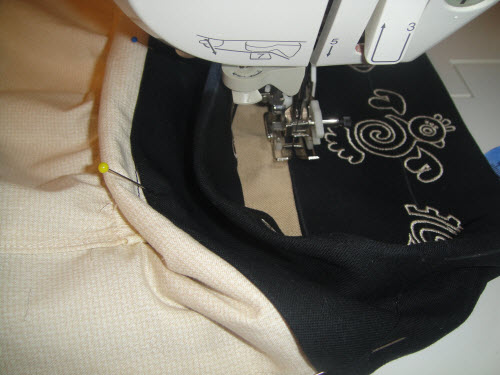
Slip the black band over the tote bag right
sides together. The embroidered designs
should be closest to the top of the bag. Pin in place aligning the side seams. Stitch with a ½” seam all around.
Step 33:
Press
the seam towards the band.Fold under
the seam allowance ½” on the acing side of the band and press.
Step 34:
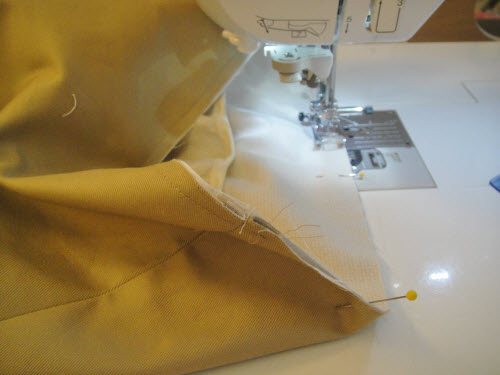
Pin
the folded seam allowance of the band over the seams inside the bag.Top stitch the band in place.I actually did it this way so I was forced to
stitch from the front of the bag and slip my hand underneath the bag to remove
the pins as I sewed.It would probably
be easier to attach the facing side of the band to the bag first and then fold
it over on the front and then top stitch from the front.
Step 35:
Fold
up the straps with the D rings on the sides and pin.
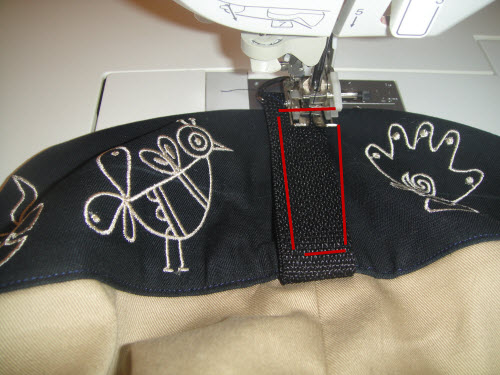
Step 36:
Stitch
a rectangle around the edges of the strap to secure.You only have to go as far to the top and
bottom as your presser foot will allow.
Step 37:
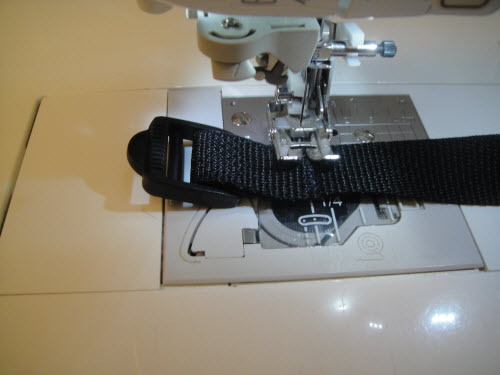
If
you wish to make an adjustable strapcut
the strap about twice as long as you want it and add 4 “.I cut this strap 57” long.Follow the directions on the Strap Adjusters
pattern to complete the strap.Slip the
strap through both D rings before feeding the second side of the strap to the
tote bag.
Step 38:
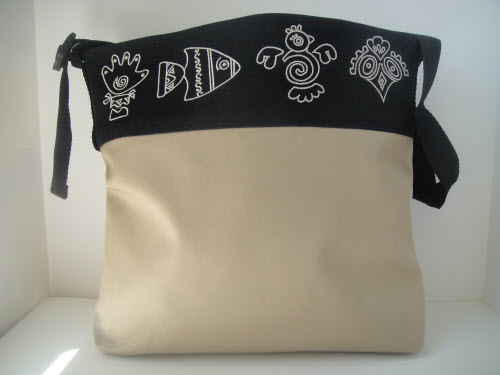
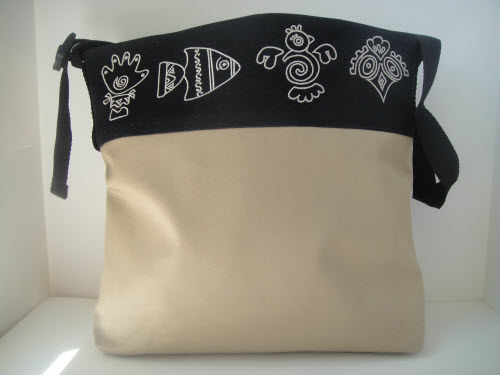
Congratulations,
you tote is complete.Your tote will
look like this on the front.
Award winning Digitizer, Embroidery Educator, Author and a Consultant to the Industry, Pat Williams has 30 years of experience in the embroidery industry. Pat has won multiple awards for her digitizing expertise including the 2007 Impressions Awards Grand Championship, Best of Show as well as the 1st and 2nd Place Awards. Pat’s love of digitizing has afforded her the opportunity to write numerous articles for Impressions magazine in the United States and Images Magazine in Europe. In 2001 Pat was named “Embroidery Educator of the Year.” For many years Pat taught digitizing seminars at the ISS Shows in Long Beach, CA and for Compucon software. She now resides in Tucson, AZ.