Live Chat
Embroidery Designs
Welcome, Embroiderer
Login
Deer Hunter Dresser Box

Deer Hunter Dresser Box Embroidery Project

By   Ramona Baird   on   May 02, 2014
  • SKILL LEVELSome Experience
  • TIME REQUIRED04:30
Description

If you’ve never worked with leather in doing embroidery, this is the perfect project for your first time. Leather really isn’t hard to work with as long as the embroidery designs have a lighter stitch count.

Step of

Materials

Project Preview Video

Materials
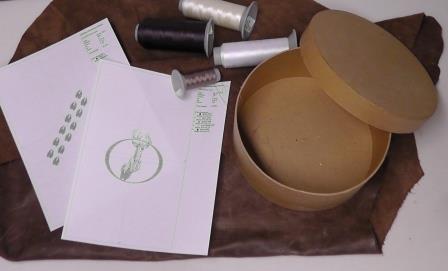
  • Band box or chip wood box
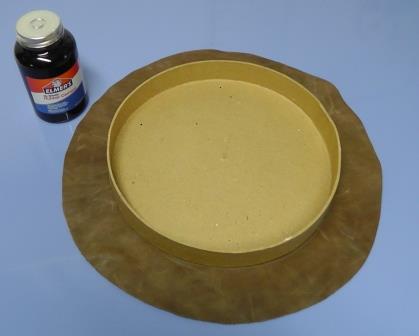
  • Leather to cover top, sides and inside (use a hide or even purchase an old leather jacket from the thrift store and cut it apart to use for the project)
  • Poly mesh or other cutaway stabilizer suitable for stabilizing the leather for embroidery
  • Rubber cement glue
  • Embroidery thread
  • Printed images of design to be stitched
  • Extra paper to draw pattern
  • Temporary spray adhesive
  • Elastic (to be used to hold the leather to the edge of the lid while the glue is drying)

  • Designs used in this project

    Preface:
    Since individual box sizes will vary, general instruction will be given. Use the general instructions to measure and figure out how the leather needs to be cut and how many of the hoof designs need to be stitched. Note: the time given was for preparation and stitching time. Time is needed for the rubber cement to dry overnight. Figure that time in the overall time needed to complete the project.


    Step 1:
    Gather the supplies and inspect the leather.


    Step 2:
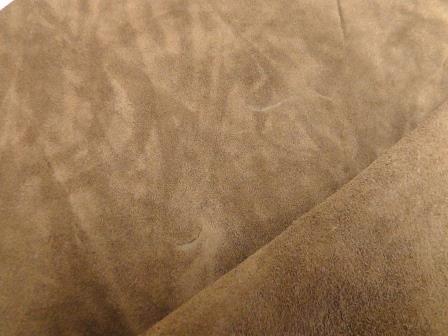
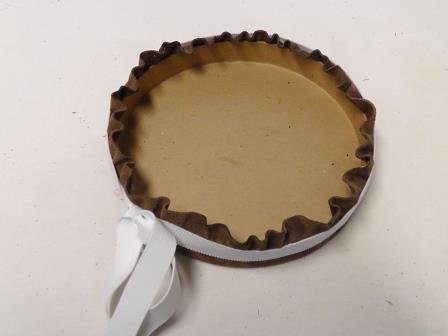
    Leather will either be smooth on both sides or have a suede-like side and a smooth side. The smooth side may have natural marks on the hide. Use these to your advantage when planning the layout of the embroidery. They add character to the box. Decide which side of the leather is to be stitched. For the project, the suede side was used for the top of the box and the smooth side for the side of the box.


    Step 3:
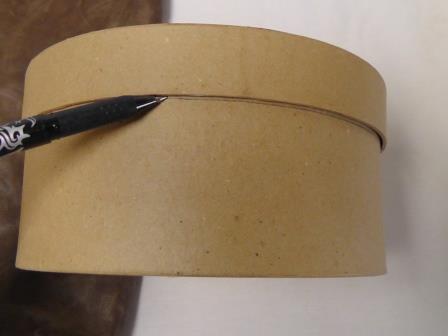
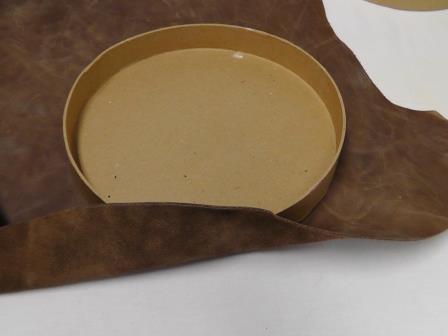
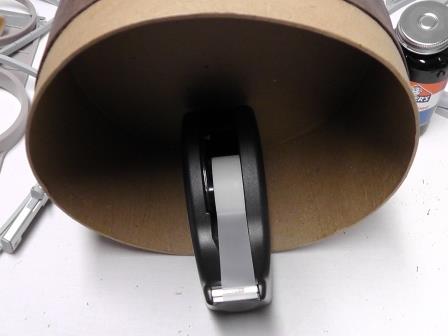
    With the top on the box, draw a line around the bottom of the side of the box top as shown.


    Step 4:
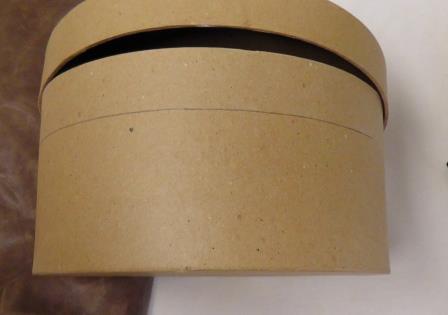
    When placing the leather on the side of the box, the top of the leather will not go beyond this line or the top would not fit on the box.


    Step 5:
    Plan the placement of the leather for the top of the box. The leather needs to be wide enough for the entire top, sides and a bit more all the way around.


    Step 6:
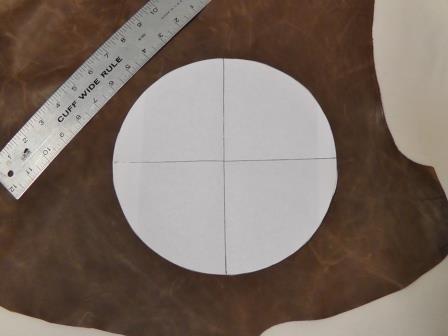
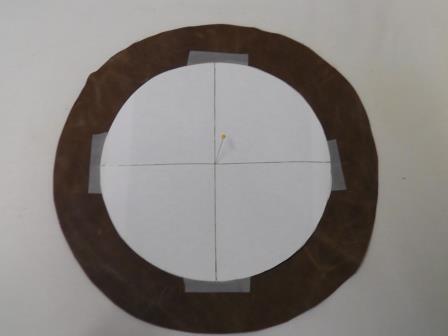
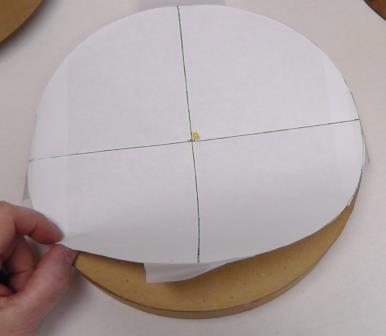
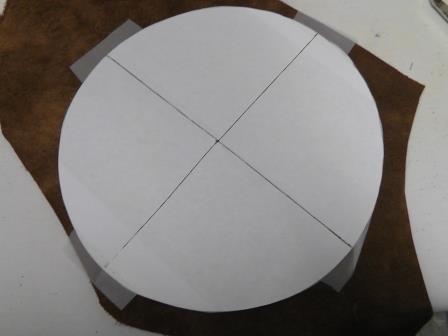
    On the paper, trace around the box top and fold it in quarters to find the center of the circle. The center will be the alignment point for the “Deer Hunter”design. Place the circle paper pattern on the leather.


    Step 7:
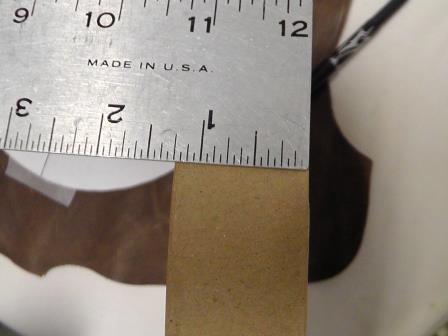
    Measure the depth of the drop of the box top. This one measures 1 1/4”.


    Step 8:
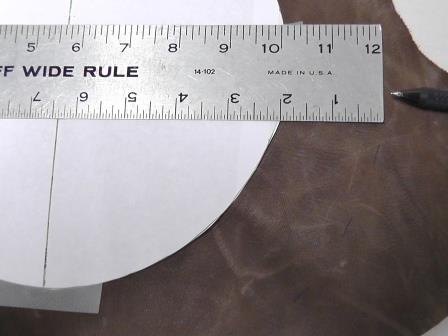
    Add the depth of the box top plus another half inch. For this box top I am measuring all around the paper pattern an additional 2”.


    Step 9:
    Use tape to hold the paper pattern to the circle only if the tape will not harm the leather. Cut out along the drawn circle and mark the center of this circle on the leather. Pins used with leather will cause holes in the leather. This hole will be covered up with stitching. Remove the paper circle pattern, but keep the pin in place.


    Step 10:
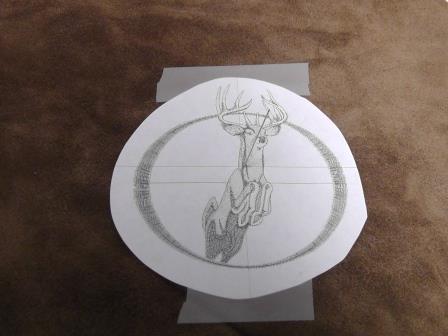
    Center the paper embroidery pattern over the pin, aligning centers, and tape in place.


    Step 11:
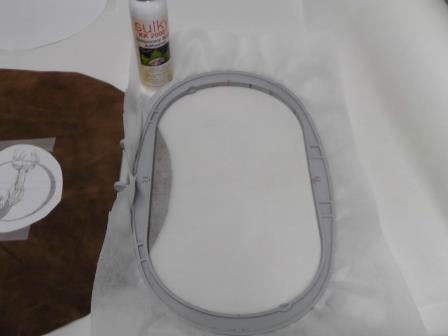
    Hoop the poly mesh stabilizer and spray with temporary spray adhesive.


    Step 12:
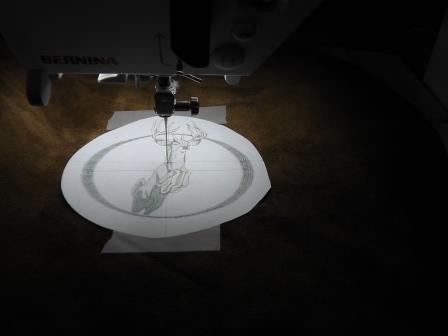
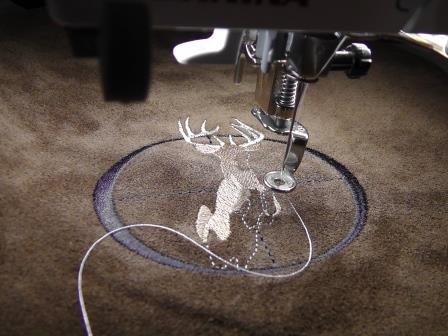
    Center the leather in the hoop. At the machine, align the needle to the center of the paper design. In the photo the design was aligned with the presser foot taken off the machine. Be sure to replace the presser foot before stitching.


    Step 13:
    Stitch the design following the color sequence.


    Step 14:
    (Click Image to Enlarge)
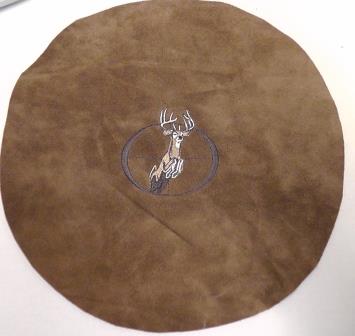
    After the stitching is completed, remove the leather from the hoop and trim the stabilizer close to the stitching on the back.


    Step 15:
    (Click Image to Enlarge)
    Align the paper pattern to the top of the box and place a pin through both to mark the center of the box top.


    Step 16:
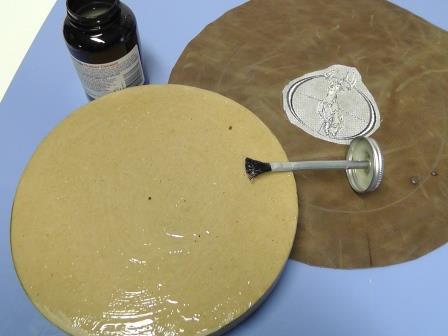
    Follow the instructions on the bottle of rubber cement for applying the glue to the box top. Do the top only at first.


    Step 17:
    Align the center of the design to the center of the box top placing the glue side to the wrong side of the leather.


    Step 18:
    Weight down the lid of the box to help bond the glue to the leather. Set aside for the glue to dry.


    Step 19:
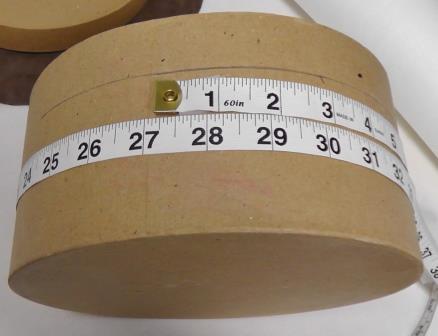
    Measure the circumference of the box.


    Step 20:
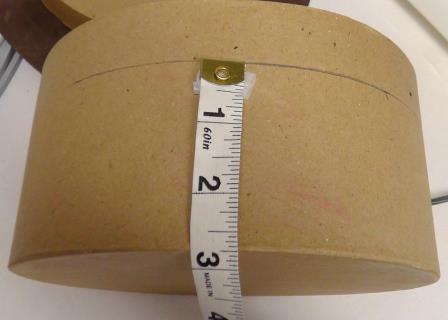
    Measure the depth of the box from the drawn line to the bottom.


    Step 21:
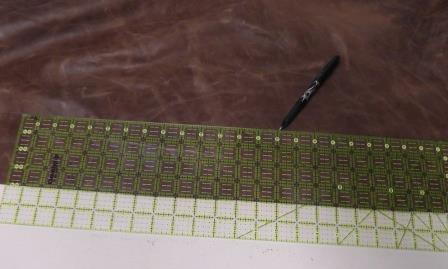
    Measure and mark the piece of leather the length and width of the box dimensions, adding two inches to the width and circumference.


    Step 22:
    (Click Image to Enlarge)
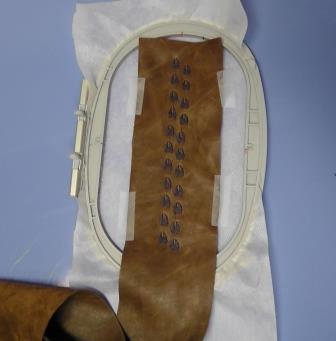
    Load the “Deer Track” design and rotate them so they will stitch vertically in the hoop. Hoop a piece of poly mesh stabilizer. Tape or otherwise secure the leather to the hoop, aligning it straight in the hoop. Stitch the “Deer Tracks” design.


    Step 23:
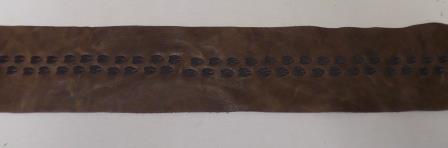
    Re-hoop and stitch this design along the entire length of this piece of leather. Trim the stabilizer from the back of the stitched design.


    Step 24:
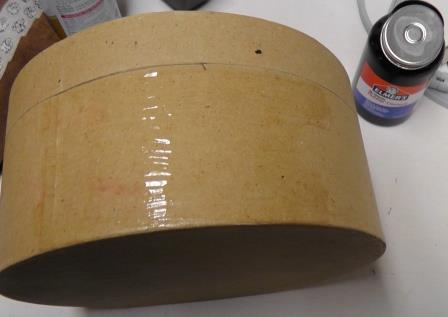
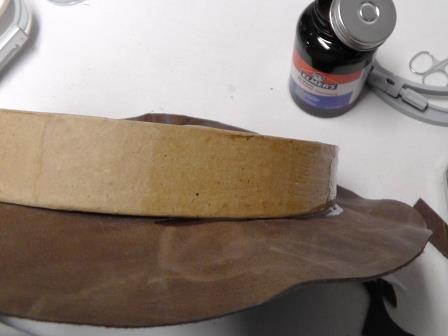
    Following the instructions on the glue bottle, coat the box from below the drawn lid line to the bottom of the box. Work in sections.


    Step 25:
    Align the edge of the leather with the drawn line, smoothing the leather into position.


    Step 26:
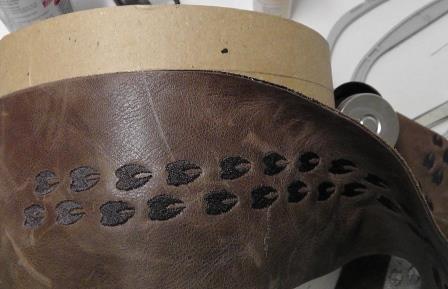
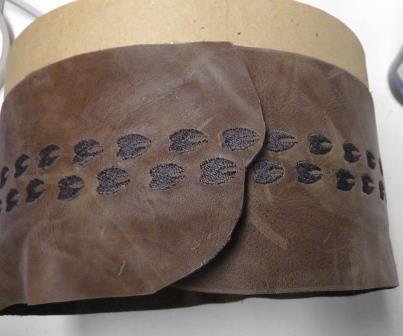
    Determine how to end and meet the edges. Here the bottom edge tucks under, and on the upper edge the leather was cut loosely around the tracks design and glued, overlapping the other edge.


    Step 27:
    Set the box aside and allow the glue to dry. Use a weight on the overlapping edge to help secure the leather together until it dries. Let this glue dry overnight.


    Step 28:
    After the glue on the lid dries, follow the instructions and apply rubber cement to the lid side. Gently and carefully work the leather into the glue to make the edges as smooth as possible. Work small sections at a time.


    Step 29:
    Tie the piece of elastic tightly around the edge to hold the glued leather in place for drying. Let this dry overnight.


    Step 30:
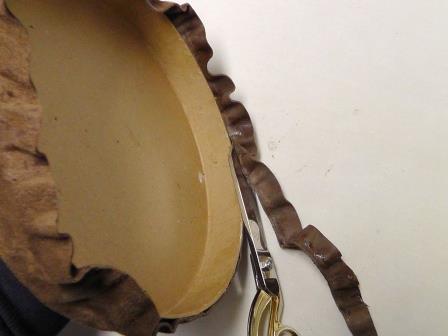
    After the glue has dried on the lid, remove the elastic. Trim the extra leather close to the edge of the lid.


    Step 31:
    (Click Image to Enlarge)
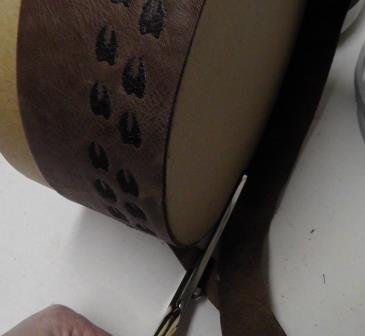
    After the glue has dried on the box, trim the excess leather from the bottom of the box.


    Step 32:
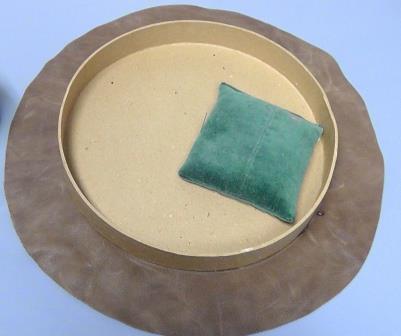
    Use the paper pattern and cut one more piece of leather to line the inside of the box.


    Step 33:
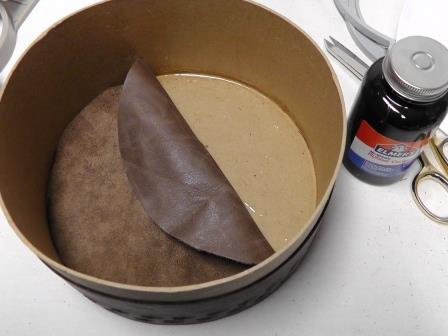
    Glue the leather in place inside the box. Weight the leather and allow the glue to dry thoroughly.


    Step 34:
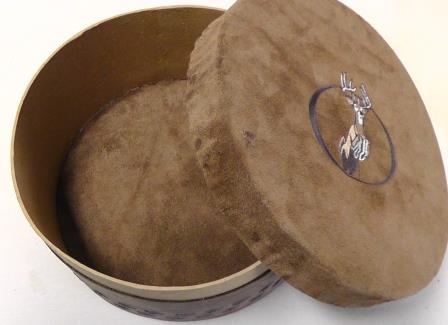
    For this box, the bottom insert was placed suede side up. If you’d like, also cover the sides of the inside of the box with leather.


    Step 35:
    (Click Image to Enlarge)
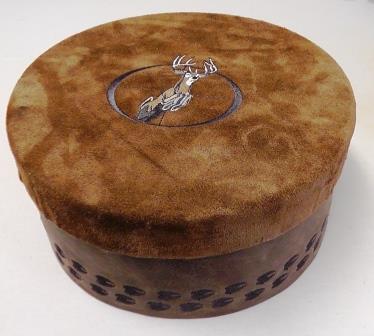
    Place the lid on the box.
    Meet the Author: Ramona Baird
    Ramona Baird
    Ramona Baird has been in the embroidery industry for over 23 years. She and her husband owned a commercial and retail embroidery store in Arizona for many years. She is an experienced digitizer having been mentored by award-winners Pat Williams and Lindee Goodall. Ramona is a contributor to “Creative Machine Embroidery” magazine having 5 covers to her credit. Ramona has worked for Wilcom America and served many years as Education Director for the American Sewing Guild. With a degree in fashion design, she is able to design and execute patterns which Pat Williams says are “out of the box” in creativity and application. Ramona likes to challenge the boundaries of embroidery and bring new and exciting designs, ideas, and projects to EmbroideryDesigns.com. She wants embroiderers of all levels to increase their skills and enjoyment in using their embroidery machine for gift-making and personal pleasure.
    More From This Author
    Link is Broken, Please check the URL
    Exclusive Embroidery Offers!
    Copyright © {{ currentDate | date:'yyyy'}} - EmbroideryDesigns.com
    GET 50% OFF! ×