| Preface: | |
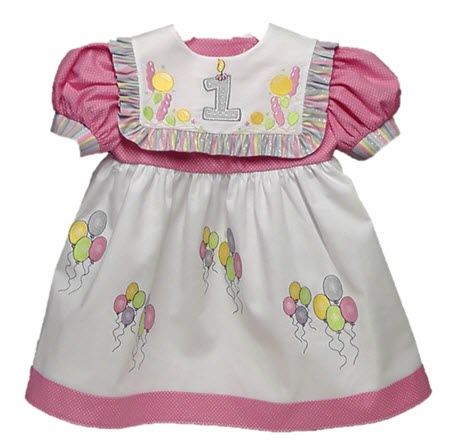
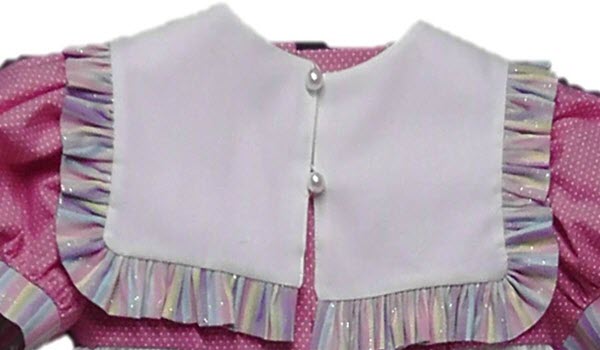
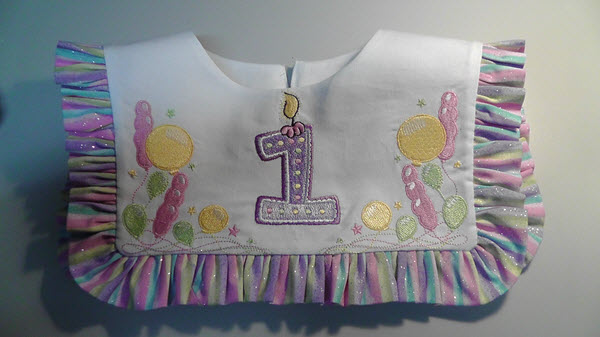
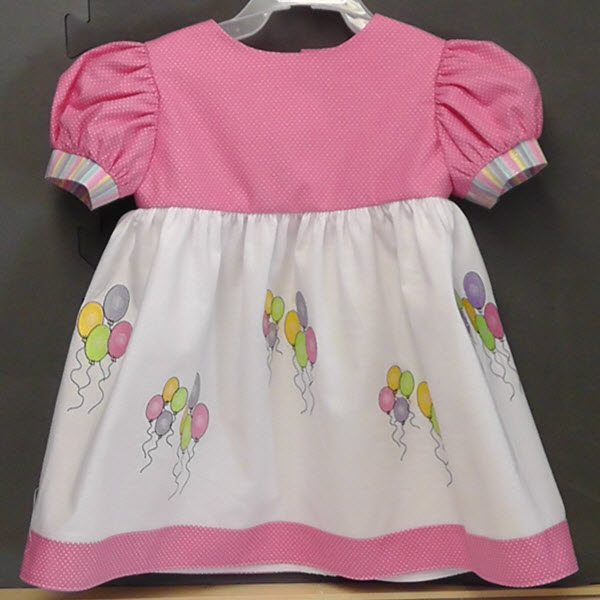
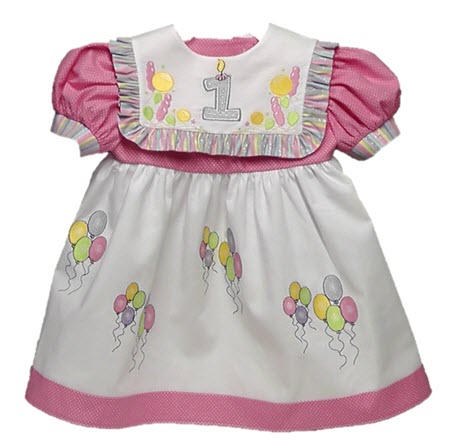
Important: any measurements given in these instructions are what I used to create this project in a size 18 month dress (pattern drafted from a ready-to-wear dress). You will need to adjust your measurements for the number of designs to be embroidered, their placement and sizes to the project you are doing. The dress is done with the embroidered skirt attached to the bodice. A separate removable collar was constructed, with the embroidery designs edited and sized to fit.
I purchased more fabric than needed. The embroidery was done in a 10” x 10” hoop. The fabric for the collar and skirt were initially cut much larger than needed to fit into the hoop so several designs could be stitched at once in the hoop. After the embroidery was done, the skirt and collar were cut according to the pattern. The embroidery was done on a collar but if the commercial pattern you are using does not have a collar, the embroidery may be done on the front bodice of the dress. Step-by-step instructions are included in the sewing pattern. Follow the pattern instructions for layout, cutting, and sewing.
The embroidery designs first need to be edited and resized for the size of dress you will be doing, then the hoop selected for your machine to be able to accommodate the final size of the designs. Due to so many variations in dress sizes and hoop sizes, techniques will be given in these instructions and then you can figure out what you need to do for your project.
For the project dress, a thrift store find (size 18 months) was used. The dress was taken apart and used to draft a pattern. The dress did not have a collar, so a separate removable collar was drafted and will be shown (these instructions presume you have pattern drafting experience to draft the collar).
|
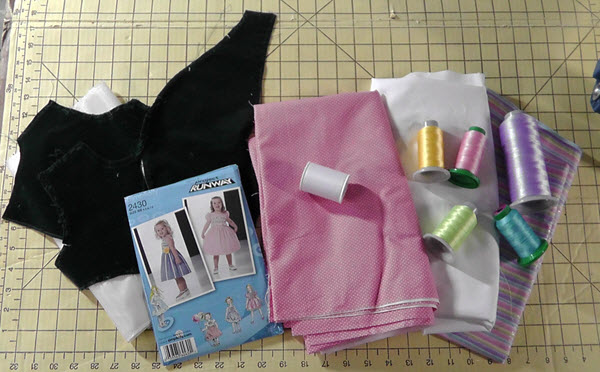
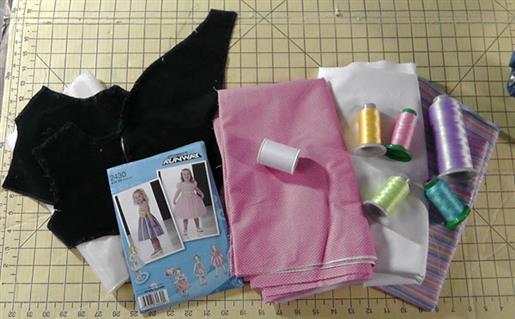
Step 1: | | Prepare the fabric. Prewash and press the fabric. Gather all the embroidery and sewing supplies. Read all instructions thoroughly before beginning.
|  (Click Image to Enlarge) |
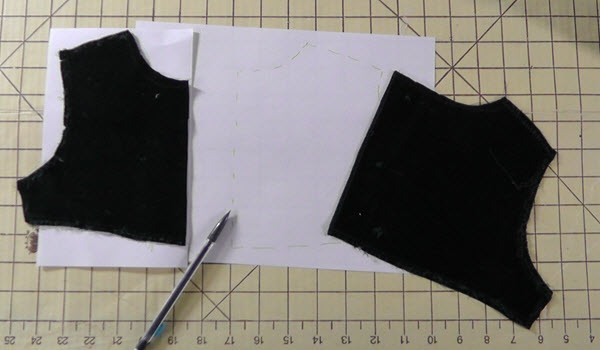
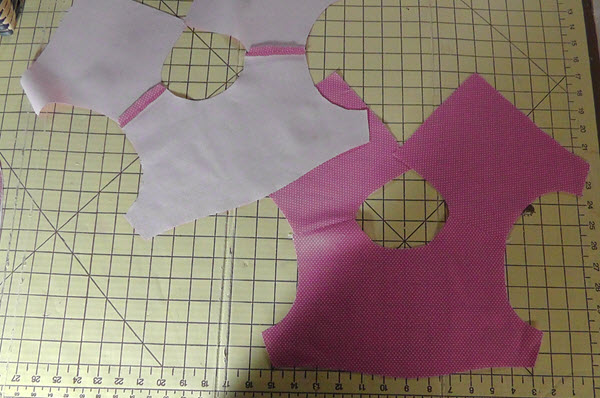
Step 2: | Prepare the pattern : If using a commercial pattern, read and follow the instructions for preparation using the commercial pattern. Roughly cut out around the pattern pieces, press them with a dry iron, and select the pattern pieces needed (in the correct size) for the dress being constructed. Cut out the fabric according to the pattern layout instructions. Cut the fabric pieces to be embroidered larger than needed to enable easier hooping. After the embroidery is finished, the pieces will be cut to size. If embroidering directly on a purchased dress, determine if any preparation is needed outside of planning the design layout, editing, sizing, and placement. Drafting a pattern from a dress: remove the stitching and take apart the dress purchased from the thrift store. Press the pieces and draft the patterns using the dress as a pattern. Add seam allowances as required. The dress I took apart had ¼” seam allowances and I just used those in this project. Alternately: keep the dress intact and trace-off the pattern using the existing dress. Draft the collar pattern on the pattern paper using the bodice sections as the base of the collar design. | 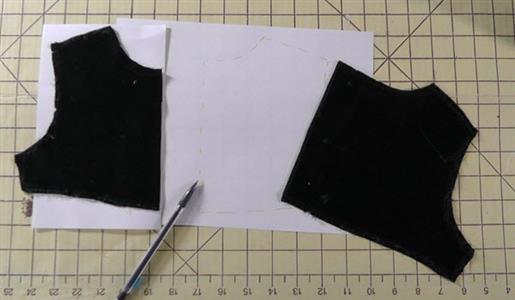 (Click Image to Enlarge) |
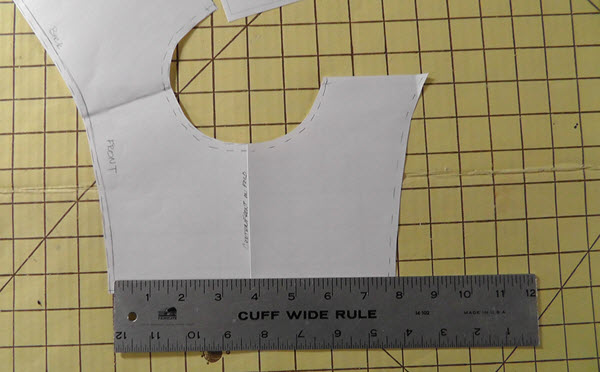
Step 3: | Prepare the embroidery designs: for all designs, choose the embroidery thread colors to coordinate with the chosen fabric. Collar: Measure the collar area to be embroidered (exclude seam allowance). Measure the width from corner to corner. | 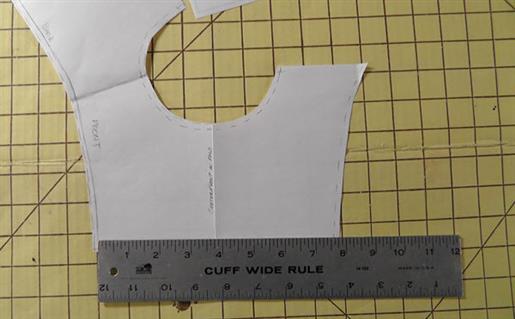 (Click Image to Enlarge) |
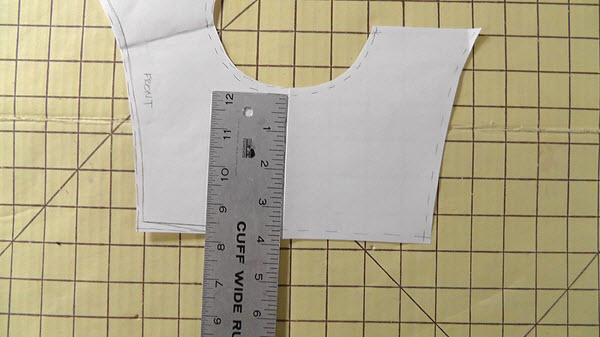
Step 4: | Measure the collar depth from neckline to the bottom (exclude seam allowance on the pattern pieces). | 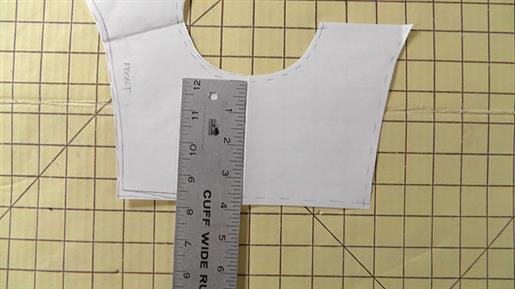 (Click Image to Enlarge) |
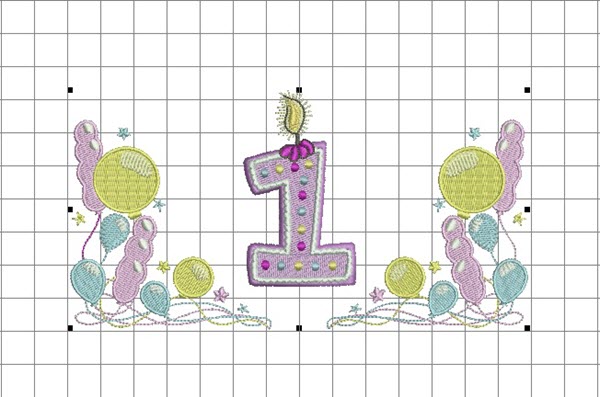
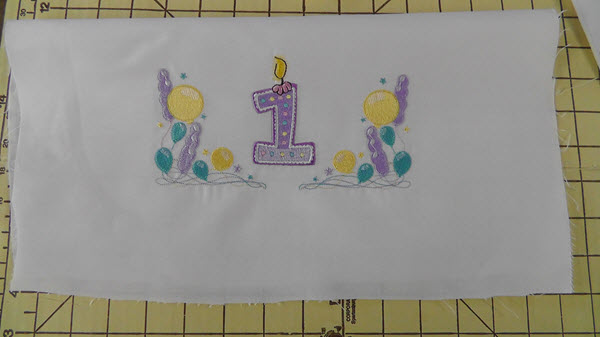
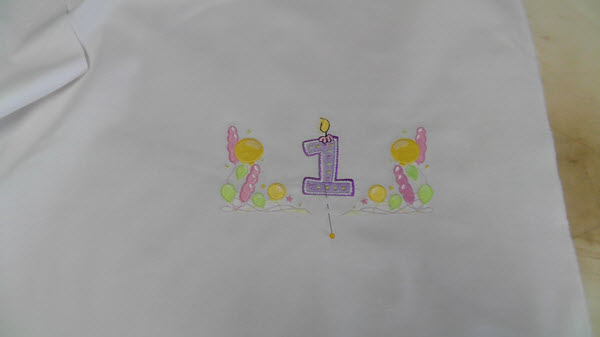
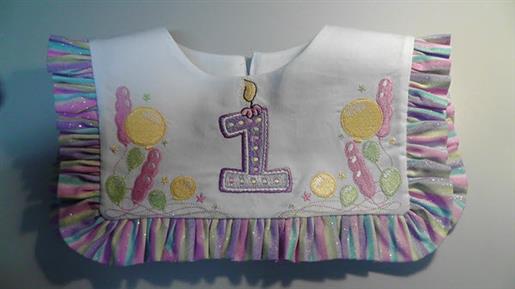
Step 5: | In software plan the design placement for the collar using the measurements taken from the collar. The “Party Balloons” are placed in each corner, mirrored. The number “1” from the “Happy 1st Birthday “ is centered between the “Party Balloons” and sized to fit the overall look of the entire design to fit within the collar depth. | 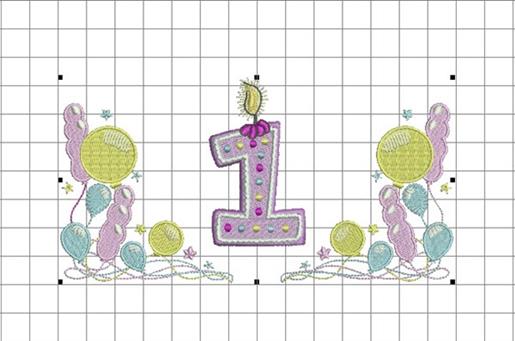 (Click Image to Enlarge) |
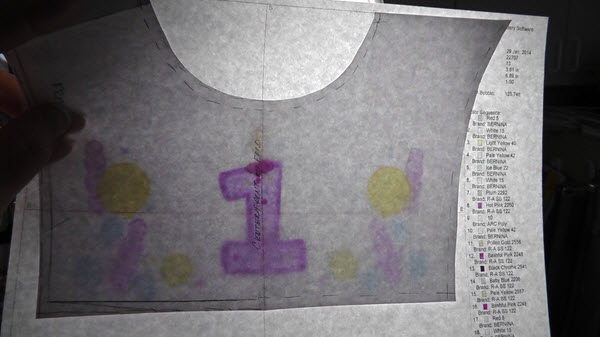
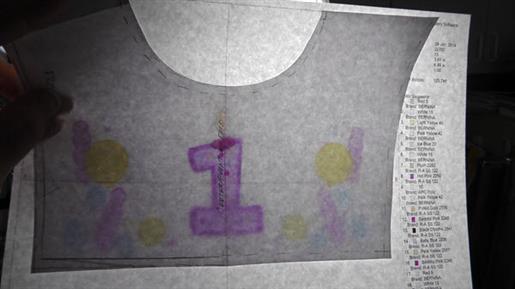
Step 6: | | Print out the design at actual size and place the printed design behind the collar pattern and determine if any other edits or resizing is needed.
|  (Click Image to Enlarge) |
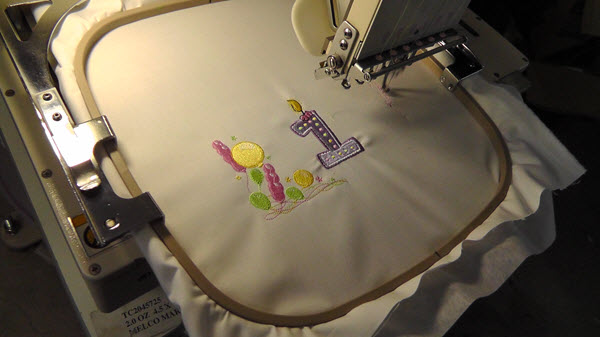
Step 7: | Test-sew the design using the thread colors chosen. | 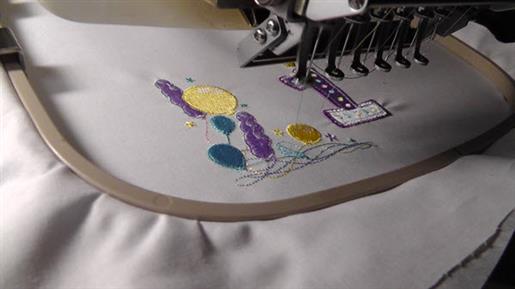 (Click Image to Enlarge) |
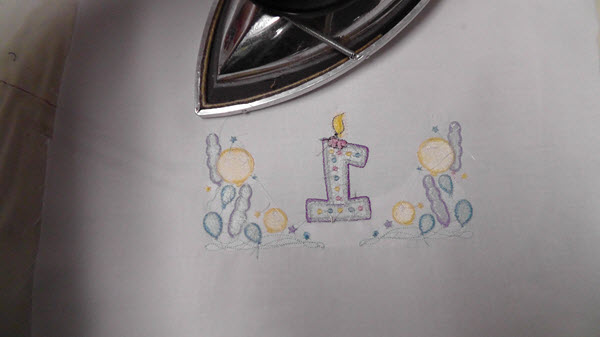
Step 8: | | Remove the fabric from the hoop, remove the stabilizer and press the fabric. Evaluate the design size and colors.
| 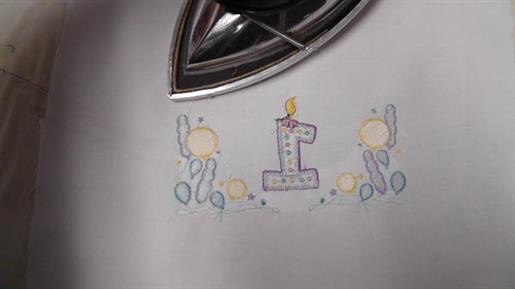 (Click Image to Enlarge) |
Step 9: | After test-sewing in the original colors shown here, I decided to change the colors; I didn’t like two of the colors originally chosen for the balloons. This is why test-sewing is so important in the embroidery process. | 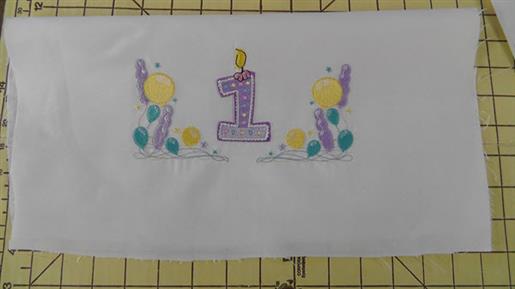 (Click Image to Enlarge) |
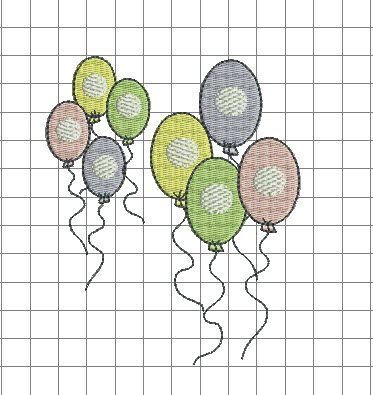
Step 10: | 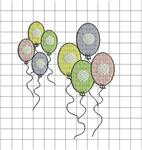 (Click Image to Enlarge) Edit the “Birthday Balloons” as described in the “Embroidery Designs” section above. |
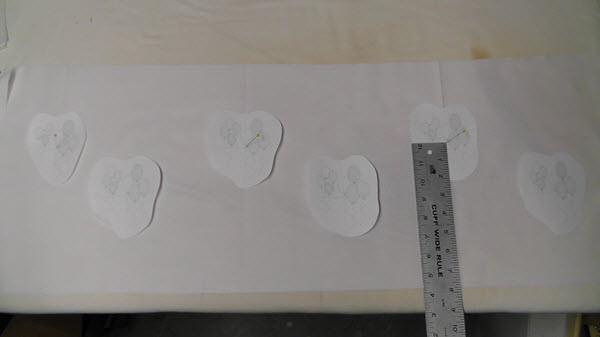
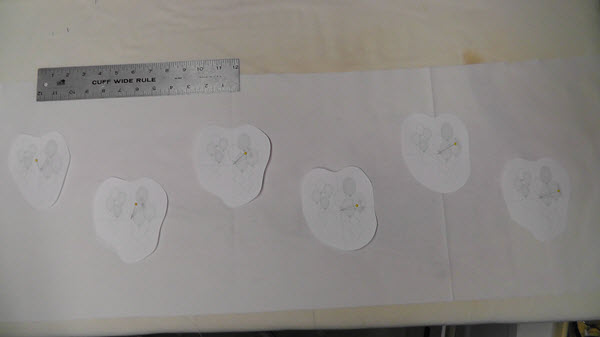
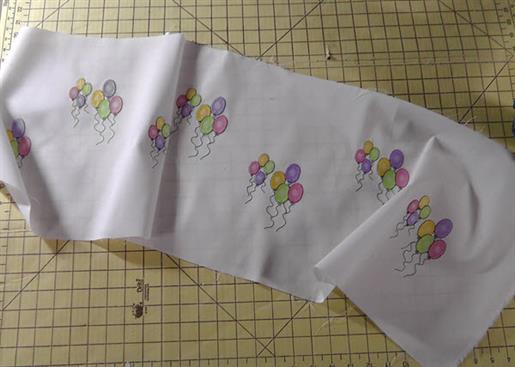
Step 11: | | Print several copies of the design and cut them out to plan the design placement. Measure the dimension of the skirt (excluding hem and seam allowances). Use a ruler to align the designs vertically across the skirt fabric as you'd like. | 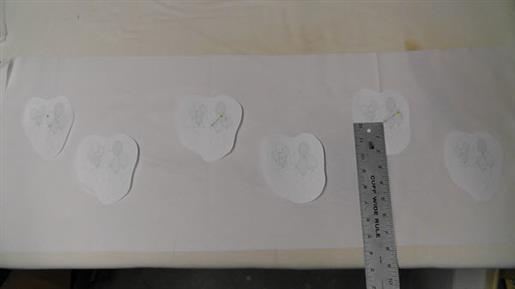 (Click Image to Enlarge) |
Step 12: | Also measure across the fabric horizontally to determine the spacing between the designs. In this project, for this skirt, they were spaced at 5 ¼” apart. | 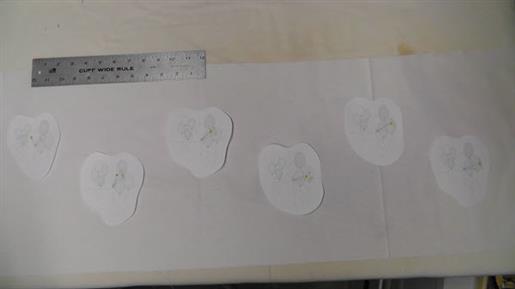 (Click Image to Enlarge) |
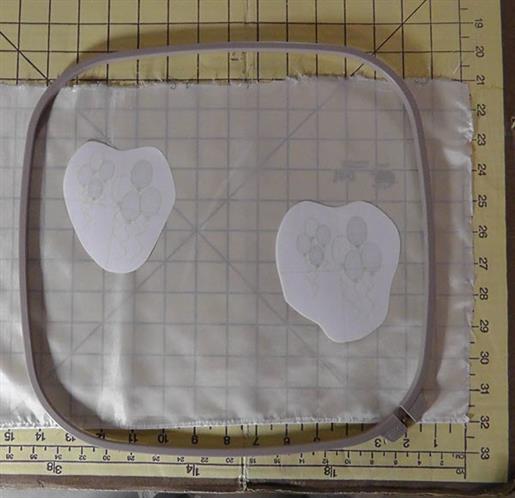
Step 13: | | After the placement is determined, pin the paper designs in place. Determine how many designs may be sewn at one time.
|  (Click Image to Enlarge) |
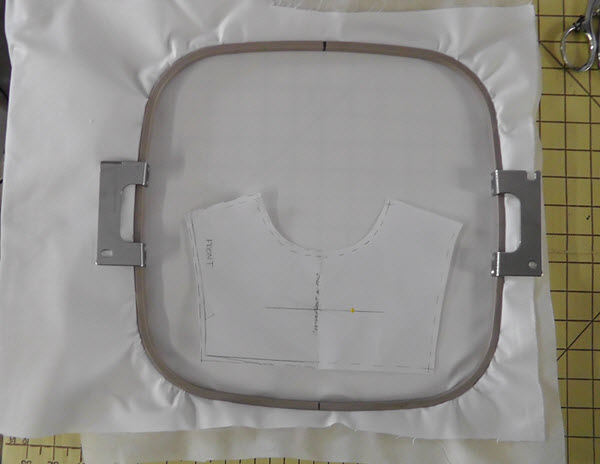
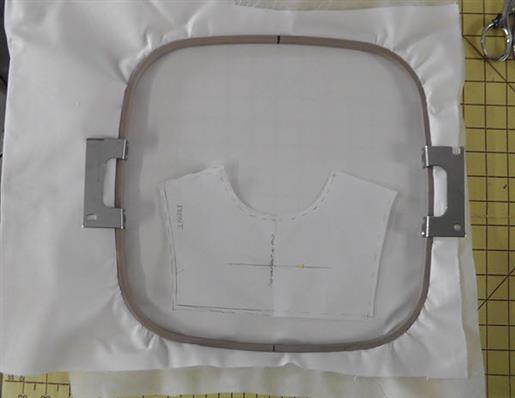
Step 14: | | Hoop white fabric with stabilizer. Place the collar front pattern piece in the hoop to determine placement.
|  (Click Image to Enlarge) |
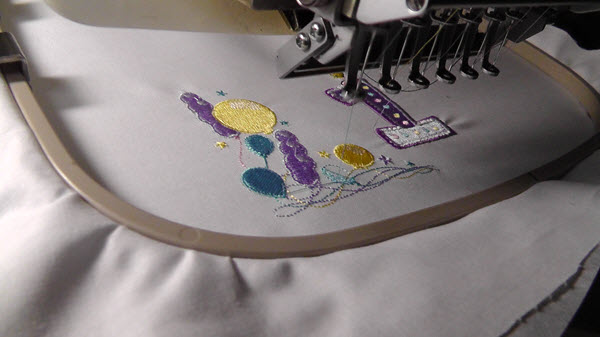
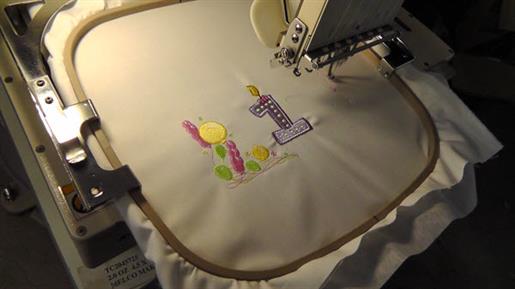
Step 15: | | Stitch the collar design using chosen colors and changing colors as needed in the sequence.
|  (Click Image to Enlarge) |
Step 16: | Remove the fabric from the hoop, remove the stabilizer and press the fabric. | 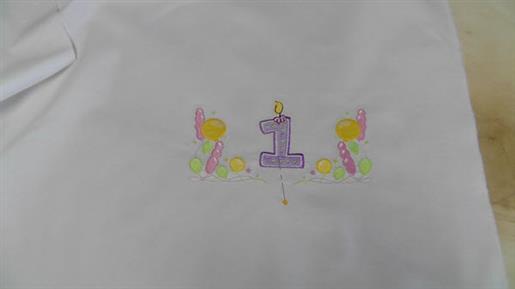 (Click Image to Enlarge) |
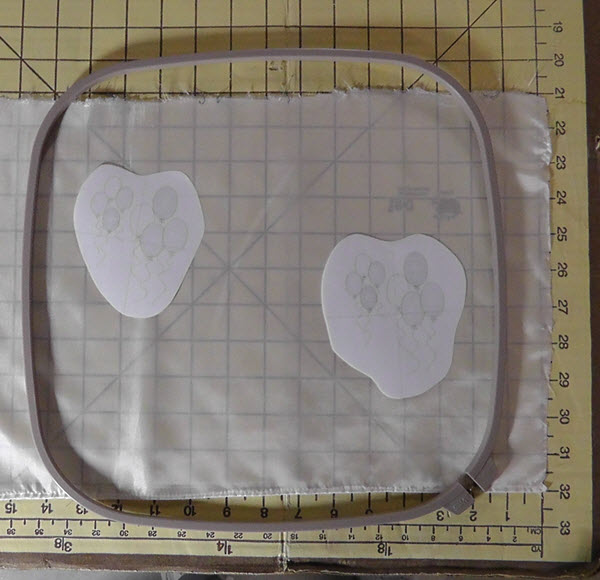
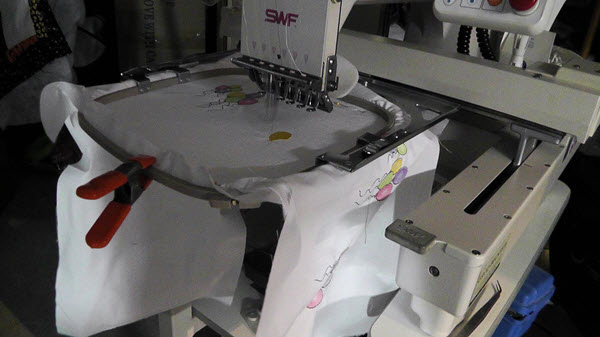
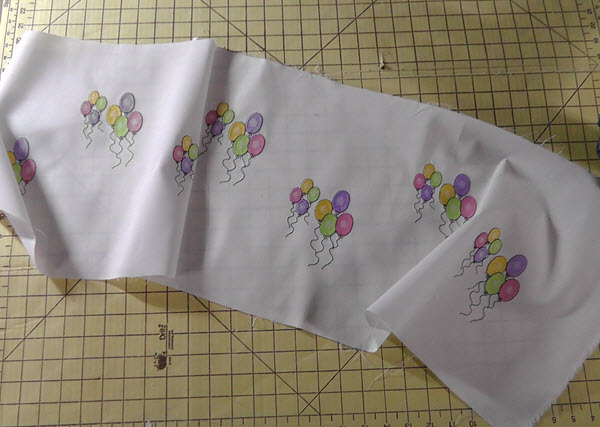
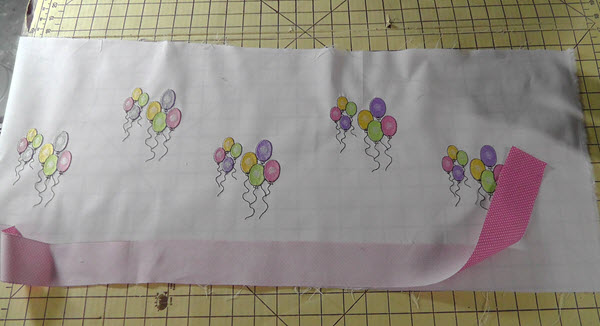
Step 17: | | Hoop the white skirt fabric with stabilizer. Stitch the edited "Birthday Balloons" designs across the skirt as planned, changing thread colors as determined. | 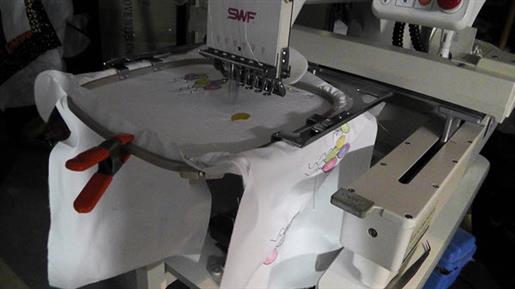 (Click Image to Enlarge) |
Step 18: | | Remove the fabric from the hoop, remove the stabilizer, and press the skirt fabric.
|  (Click Image to Enlarge) |
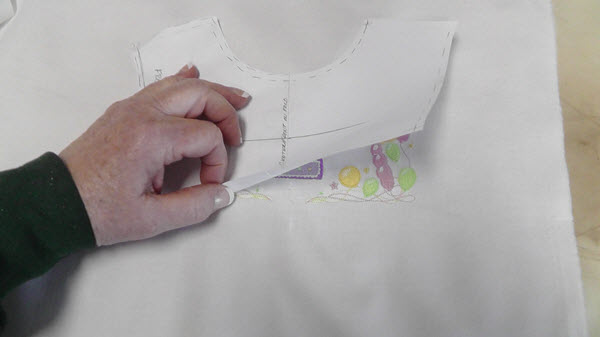
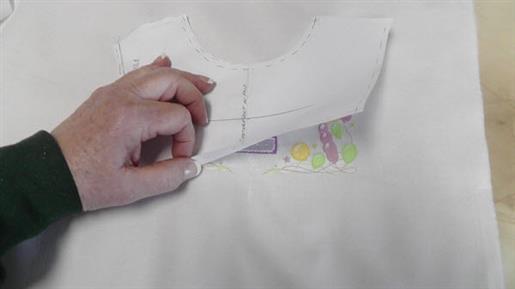
Step 19: | | Align the pattern over the stitched design and pin in place.
|  (Click Image to Enlarge) |
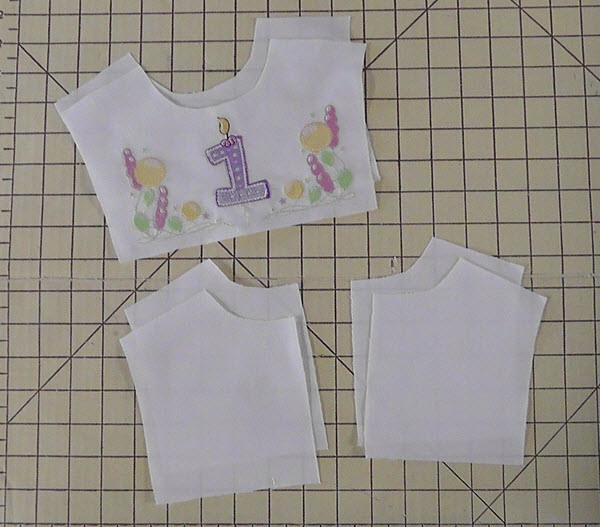
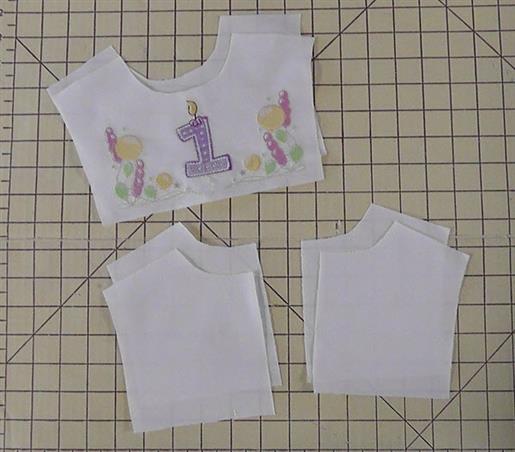
Step 20: | | Cut out the collar and collar back pieces. Also cut out the lining pieces.
|  (Click Image to Enlarge) |
Step 21: |
Sew the shoulder seams for both the collar and collar lining by placing the collar back and collar front, right sides together, and stitching. Baste along all edges of the collar front at the seam line. This will aid in placement of the ruffle. To cut the stripped fabric for the ruffle, measure along the entire bottom edge of the collar, double this measurement for a full ruffle. Cut the fabric this measurement plus seam allowance by 2 ½” wide (includes ¼” seam allowance). The ruffle will finish 1” in width.
|
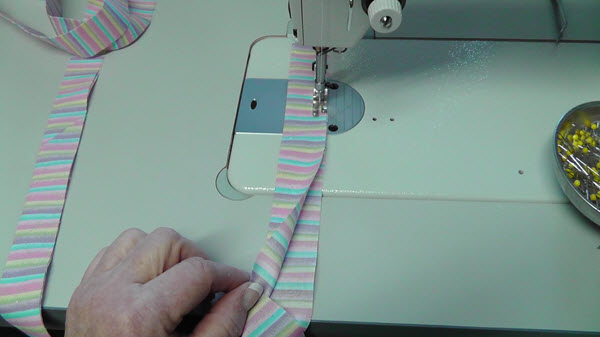
Step 22: | | Press the fabric in half lengthwise and baste the cut edges together. | 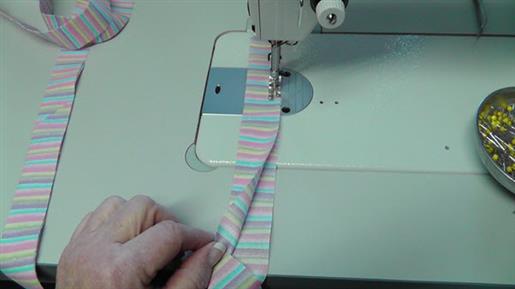 (Click Image to Enlarge) |
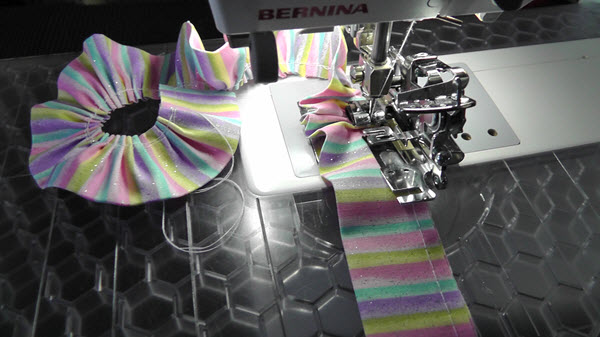
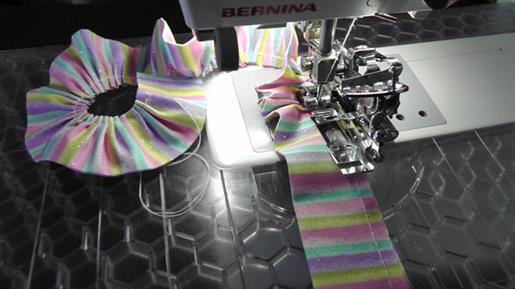
Step 23: | | Using a ruffling attachment for the sewing machine, gather or pleat the fabric. (Alternately: use basting stitches to gather the fabric.)
|  (Click Image to Enlarge) |
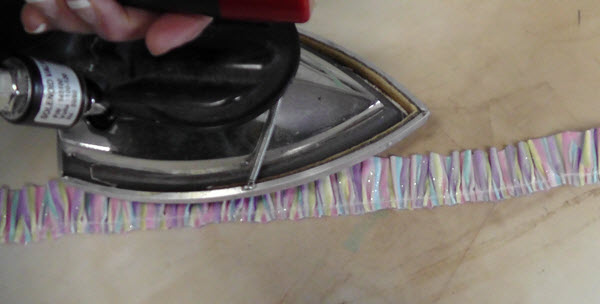
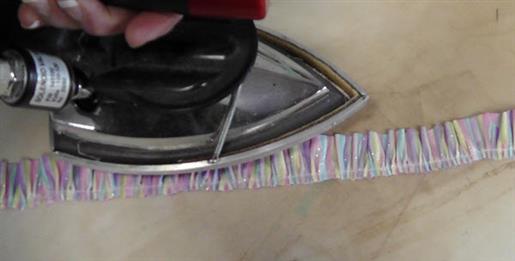
Step 24: | | Very gently, steam press the ruffle into shape.
|  (Click Image to Enlarge) |
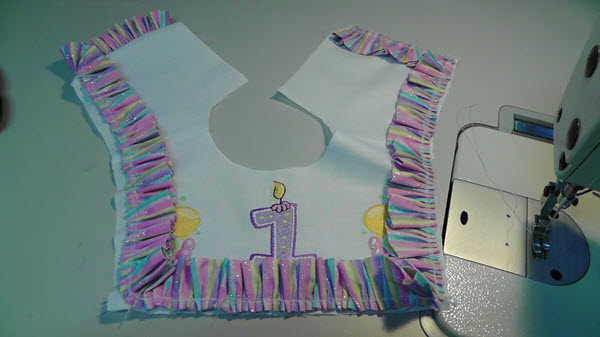
Step 25: | | Using the ruffle stitching line as a guide, align this stitching line over the collar basting line and pin in place as shown. Be sure to place excess in the corners. Baste the ruffle to the embroidered collar.
| 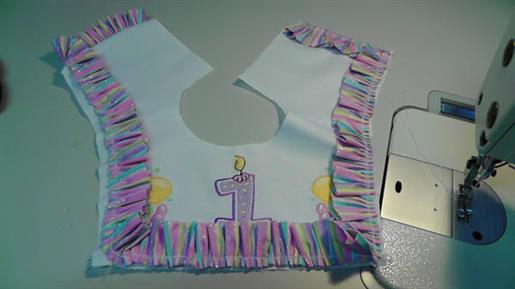 (Click Image to Enlarge) |
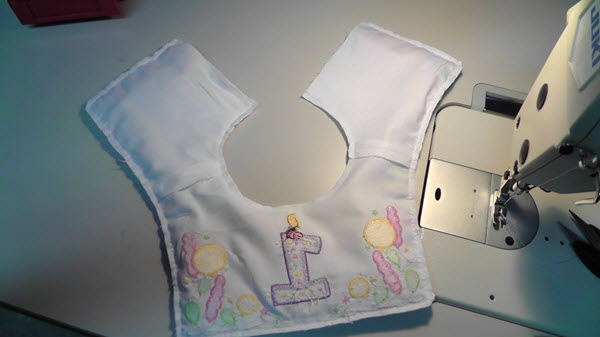
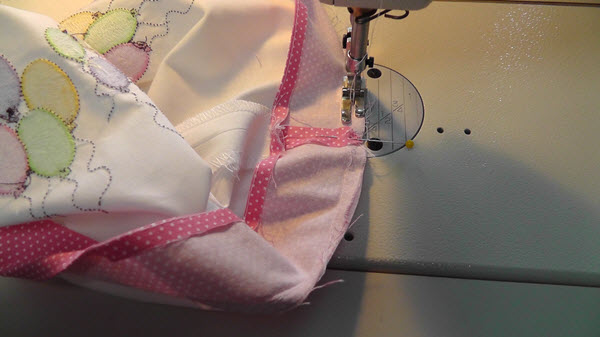
Step 26: | | With right sides together, place the collar lining over the collar. Stitch the lining to the collar from the embroidered collar side, using the basting line on the collar as a guide for stitching. Stitch around the neck edge as well. Trim the corners to remove bulk.
| 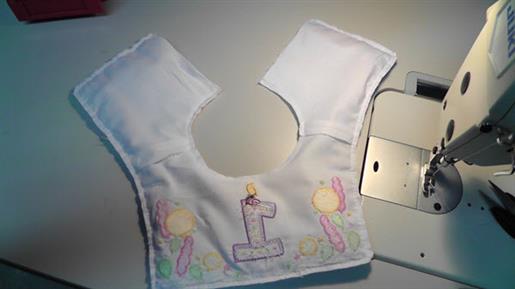 (Click Image to Enlarge) |
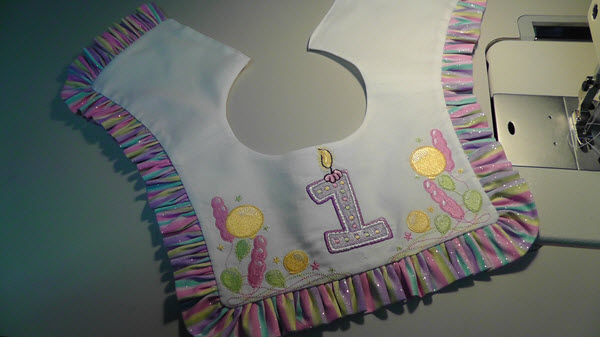
Step 27: | | Turn the collar right side out. Turn the back edges of the collar in and either hand or machine stitch.
| 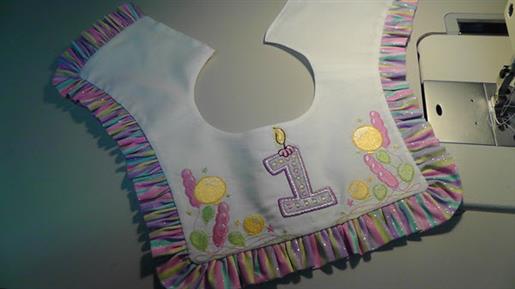 (Click Image to Enlarge) |
Step 28: | | Attach the pearl ball buttons on the right back of the collar at the top and middle. On the other side of the collar back, create thread loops to secure the collar.
| 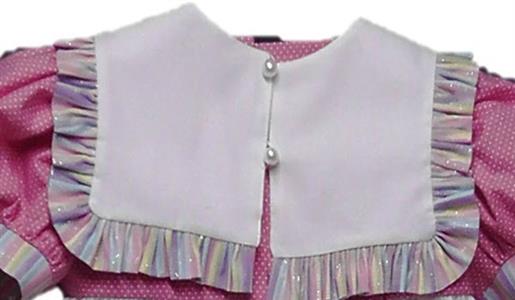 (Click Image to Enlarge) |
Step 29: | | Give the collar a final press and set aside.
|  (Click Image to Enlarge) |
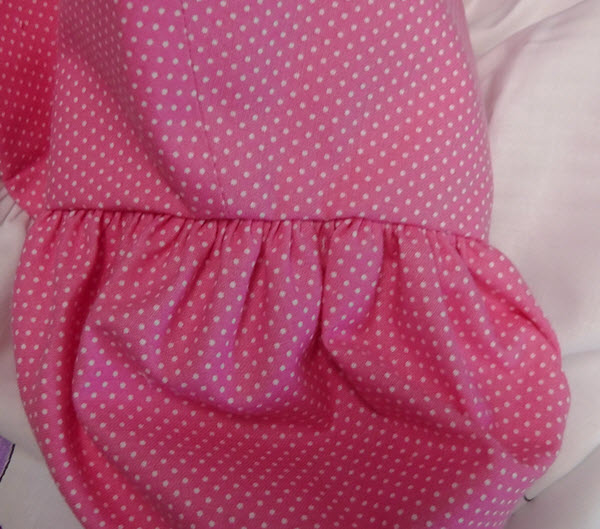
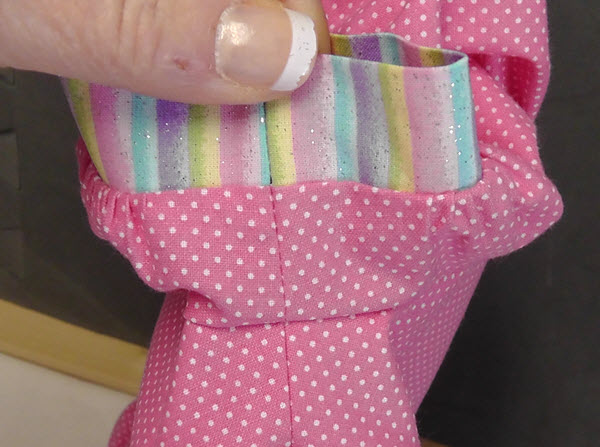
Step 30: | | Gather the sleeve cap using the ruffle or with gathering threads. Construct the sleeve band from the stripped fabric. Measure the lower edge of the sleeve, including the seam allowances. Cut the fabric this measurement by 2 ½” (includes ¼ seam allowances). Fold the band in half lengthwise and attach to the sleeve bottom. |
Step 31: | Construct the bodice and bodice lining, sewing at the shoulders. | 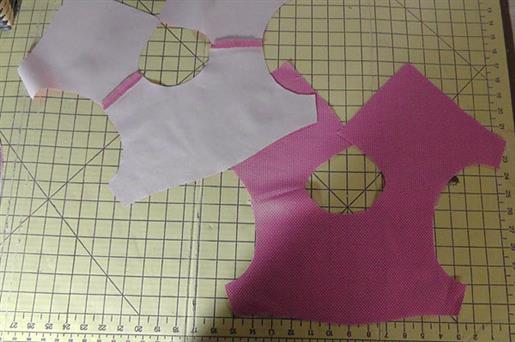 (Click Image to Enlarge) |
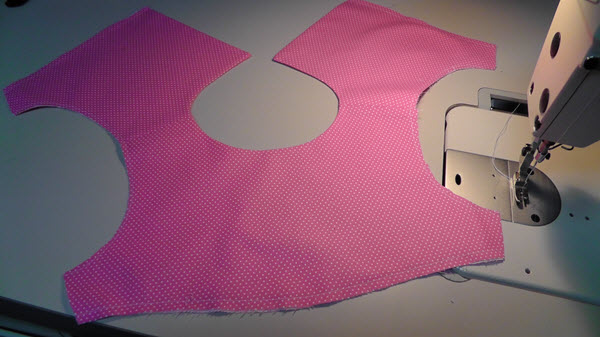
Step 32: | With right sides together, sew the neck edge. Clip the seam, press, turn and understitch. Baste the remaining edges together. | 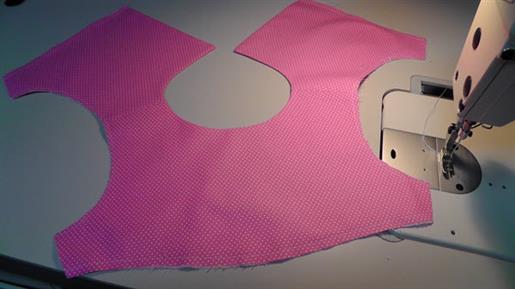 (Click Image to Enlarge) |
Step 33: | Set the sleeves into the bodice. Note: for small sizes, I first sew the sleeves into a flat bodice, from notch to notch around the sleeve cap. | 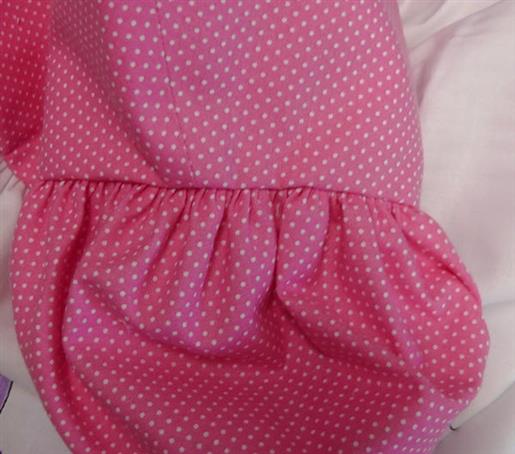 (Click Image to Enlarge) |
Step 34: | Then I sew the underarm seams of the sleeve and bodice and then finish setting the sleeve from notch to notch through the underarm. | 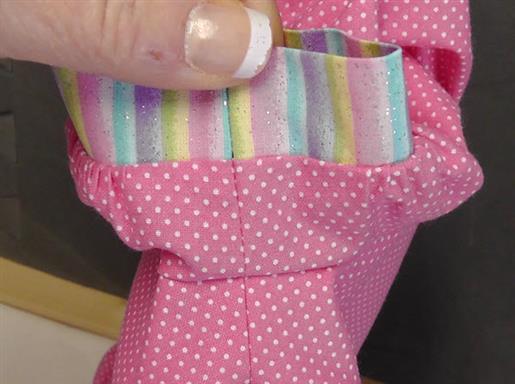 (Click Image to Enlarge) |
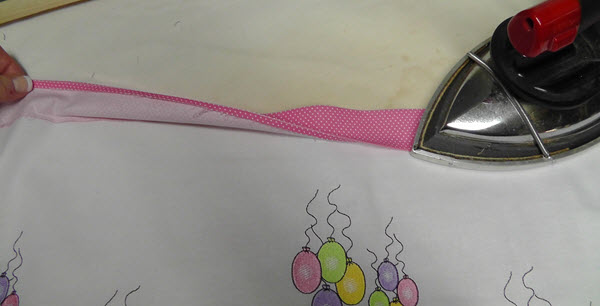
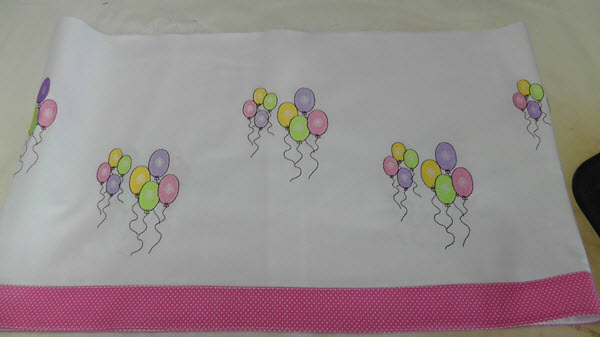
Step 35: | For the skirt band, measure the bottom of the skirt (including seam allowances). Cut the fabric this measurement by the desired depth of the band including seam allowances (2 ½” was used in the project with ¼’’ seam allowances, finishing at 2”). | 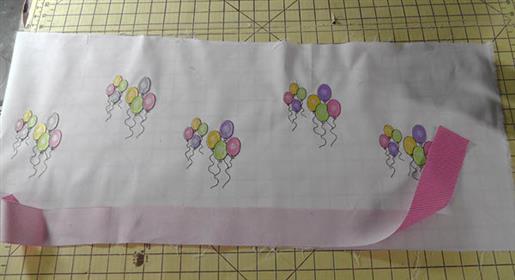 (Click Image to Enlarge) |
Step 36: | Sew the skirt back seam, right sides together, from the bottom to where the opening needs to begin. Press the seam open. With right sides together, stitch the short ends of the band together. Press the seam open. Press under ¼” on the top of the band. |
Step 37: | Matching center back seams, place the right side of the band bottom to the wrong side of the skirt hem. Stitch using a ¼” seam allowance. | 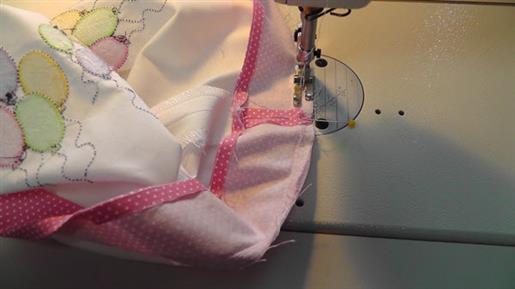 (Click Image to Enlarge) |
Step 38: | Press the band toward the skirt. | 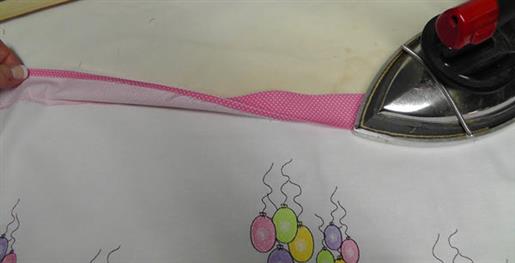 (Click Image to Enlarge) |
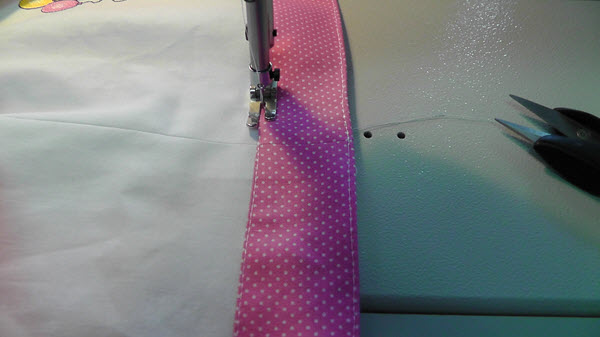
Step 39: | Using white embroidery thread (this gives a very pretty luster to the stitching), edge stitch the band to the skirt on both edges. | 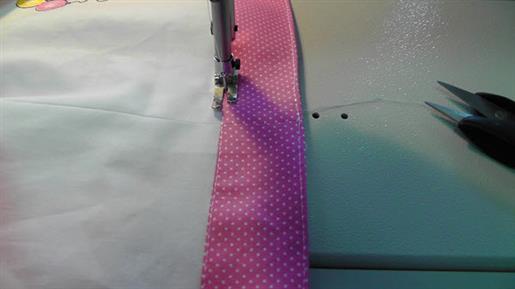 (Click Image to Enlarge) |
Step 40: | Press the skirt. | 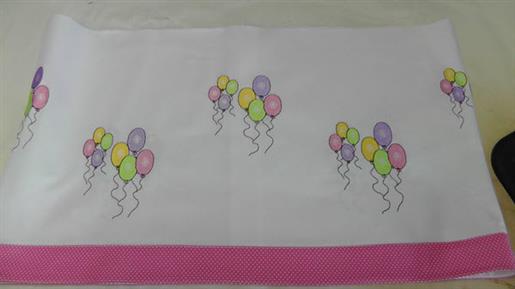 (Click Image to Enlarge) |
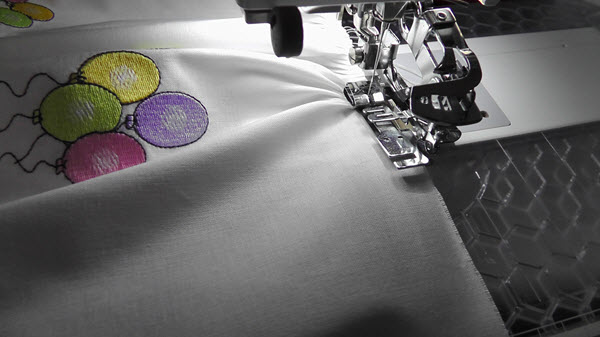
Step 41: | Gather the top of the skirt with the ruffler attachment or use basting threads. | 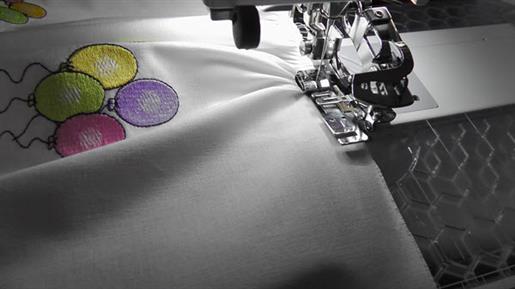 (Click Image to Enlarge) |
Step 42: | Sew the skirt to the bodice. | 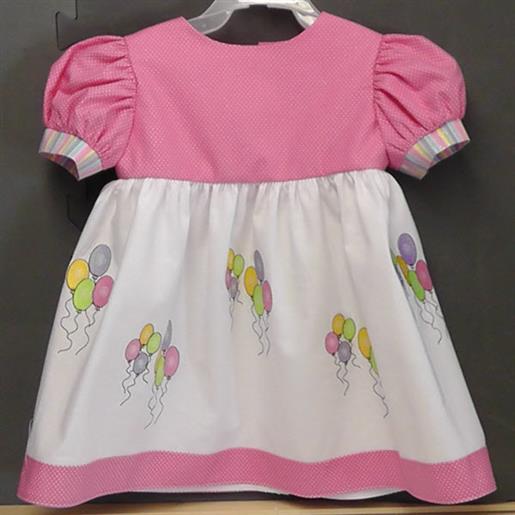 (Click Image to Enlarge) |
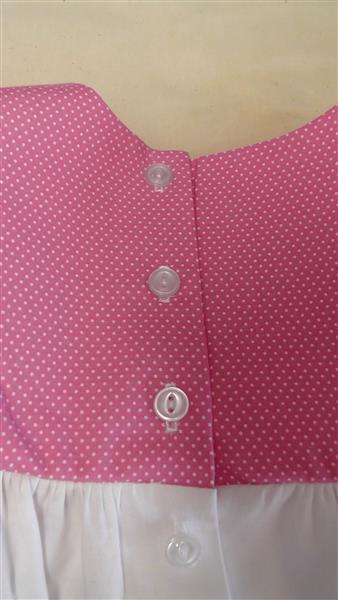
Step 43: | 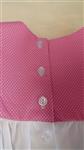 (Click Image to Enlarge) Determine the placement of the buttonholes on the bodice back. Sew the buttonholes using the white embroidery thread and sew on the buttons. |
Step 44: | Give the dress a final press. | 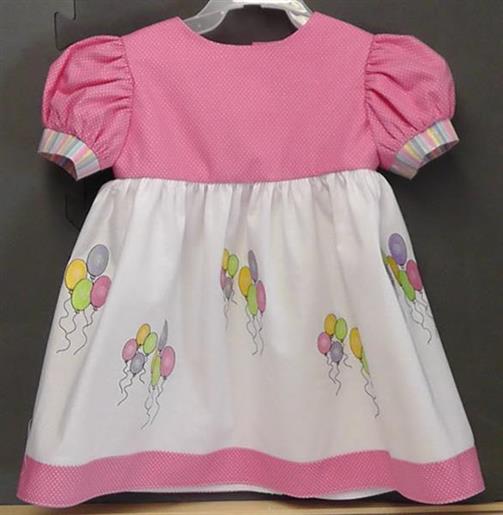 (Click Image to Enlarge) |
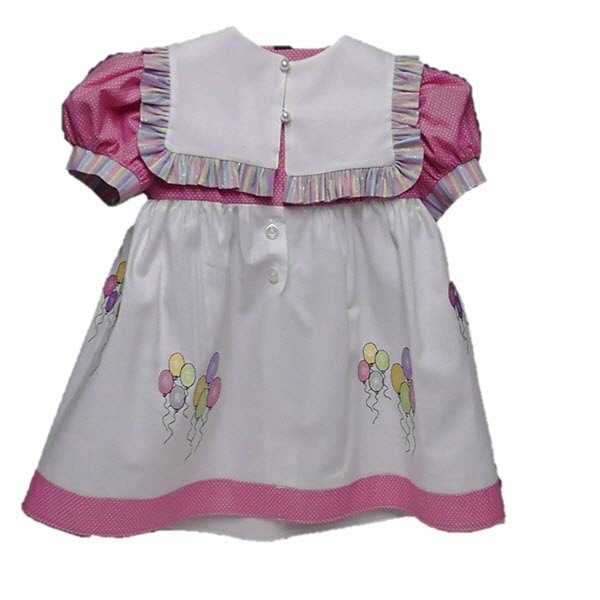
Step 45: | | Place the collar over the bodice. |
Step 46: | The dress from the back view. | 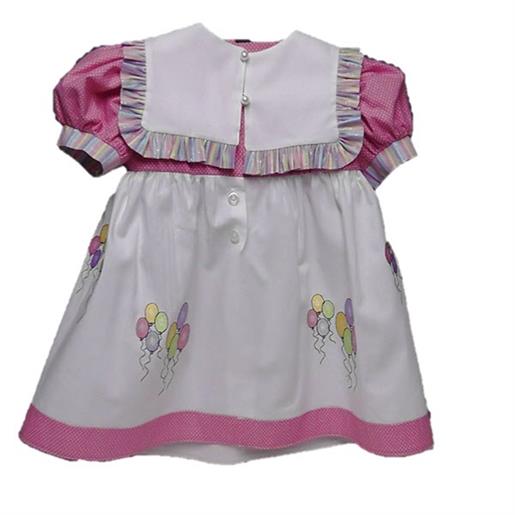 (Click Image to Enlarge) |
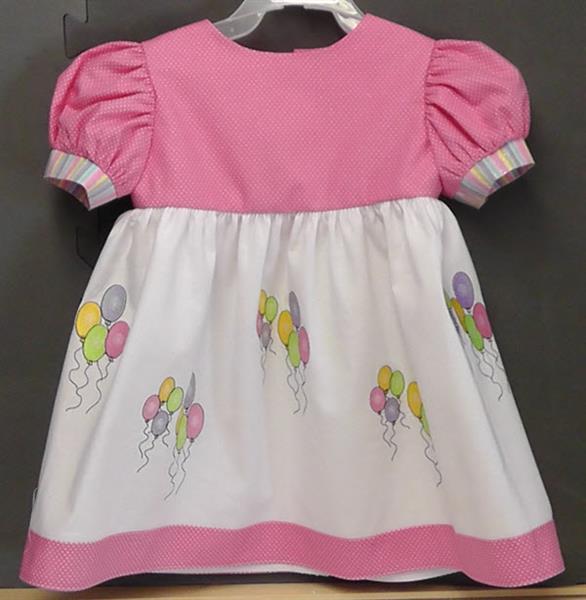
Step 47: | The dress from the front. Won't the lucky little girl having her first birthday look adorable in this dress! | 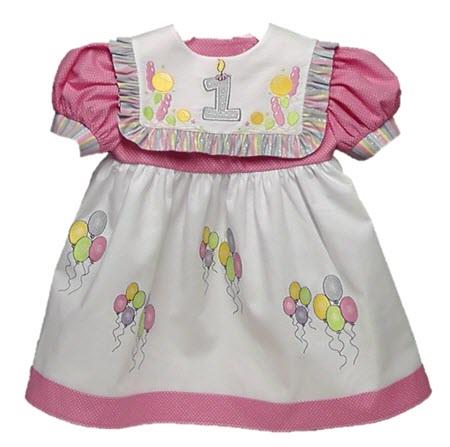 |
|