














































PROJECT INSTRUCTIONS


PROJECT INSTRUCTIONS

Ladybug Mug Rug Embroidery Project
By
Wanda Bastien
on
April 08, 2014
Description
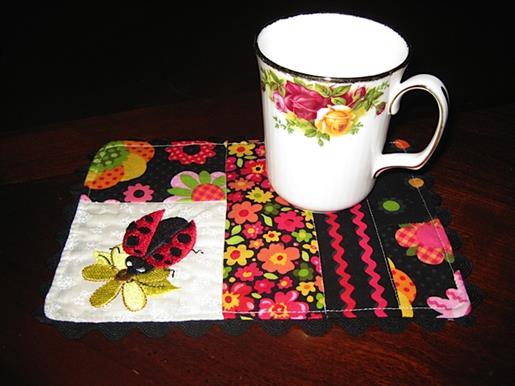
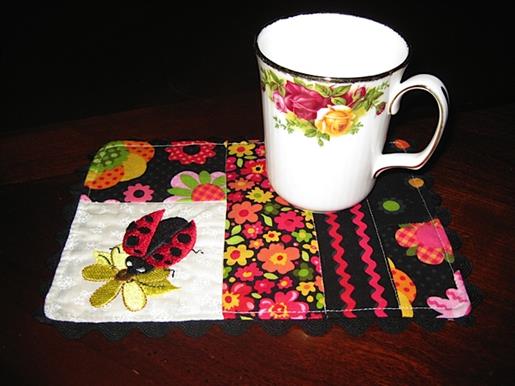
I used the free ladybug embroidery pattern found at www.embroiderydesigns.com to create this fun mug rug. The colorful fabrics I used were scraps from another project and I thought they worked well with the ladybug. I framed the edge.
Step
of
Materials
Project Preview Video

Ladybug
$4.99
Circle Price: $3.74

Lady Bug
$4.99
Circle Price: $3.74

FOLLOW THE LEADER
$4.99
Circle Price: $2.34

Ladybug Circle
$4.64
Circle Price: $3.48

Lil Lady Bug
$3.99
Circle Price: $2.99

QUICK VIEW
Ladybugs
$7.19
$3.60
Circle Price: $3.45

QUICK VIEW
Cute as a Bug
$2.64
$1.32
Circle Price: $1.17

LADYBUG
free
Circle Price: $0.00
Tear Away Stabilizer
$7.98
Circle Price: $7.18







| Materials Embroidery machine Downloaded Ladybug pattern Embroidery thread - I used red, black, white, light gold, dark gold, and green Bobbin thread Your choice of coordinating fabrics to create a 6" x 9" top Coordinating fabric for the back 6" x 9" Quilt batting 6" x 9" All purpose sewing thread 1 yd rick-rack for the border |
| Design used in this project |
| Final Product: What You Will Create |
 |
|
Projects You May Like
Meet the Author:
Wanda Bastien

I'm a novice at machine embroidery who is having fun experimenting with small projects.
Feedback
Characters Remaining
Please Login to Submit a Feedback
Invalid Characters, Please enter a valid Comment
Please enter a valid Comment
Reviewed On
Link is Broken, Please check the URL