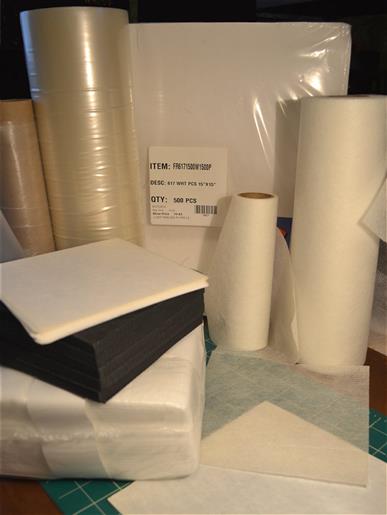
|
Preface:
| |
Machine embroidery designs require proper stabilization in order to produce the
best results. Each design and fabric type has particular needs, and it would be
a simple problem to solve if there was but one type of design and one type of fabric.
However, there are multiple fabric weights and textures, as well as design types,
making it difficult to decide exactly what materials to use. Let's see if we can
narrow the choices down by determining a few facts to use for starting points.
|
Consider the Design |
When a design is custom digitized for a specific fabric, the digitizer takes the
fabric into consideration with each stitch that is punched, building an appropriate
foundation with layers of underlay stitches, so when the design is sewn, the least
amounts of fabric stabilization is necessary. Designs created for stock, such as
those available at EmbroideryDesigns.com, are created in a general manner that may
or may not contain a foundation of stitches that will work properly on each and
every type of fabric. You must decide what type of stabilizer should be used to
best support the stitches of the design on the fabric that you are sewing.
In general, if the design has ample stitch coverage of all elements, including the
background, it requires a stronger foundation than if the design consists of only
outlined elements. Every time the needle pierces the fabric, the surface is weakened,
which then causes a distortion of the fabric, sometimes resulting in unsightly puckers
around the sewn elements. Proper stabilization will help eliminate, much of that
possible distortion. Designs that contain less coverage, such as outlines of the
elements in satin stitches or bean stitches require a lighter weight of foundation
in most situations, however, this is determined by considering the degree of strength
or vulnerability of the type of fabric sewn. |
Consider the Fabric |
If the fabric is dense, such as nylon, it usually requires lighter stabilization
than one that is loosely knitted or woven, such as wool. Determining the density
of the fabric can sometimes be tricky at first, but I personally begin with a "finger
test": stretch the fabric over your index finger and if you can't see any flesh
through the fibers, it's dense; if you see a lot of flesh, it's loosely knitted
or woven; and if there's just a bit of flesh showing through, it's somewhere in
between.
You must also consider the vulnerability and stretch of the fabric. A silk or stretchy
lycra may be of about the same density, yet a silk is delicate and vulnerable to
distortion for different reasons than stretch as found in a lycra. Get to know the
fabrics and the different needs of each by testing your work on similar fabric with
various stabilizers prior to stitching on the final item.
|
Types of Stabilizers |
There are a variety of stabilizers, but the choices available will fit within four
basic categories: cut-away, tear-away, adhesive, and heat or water soluble. Most
often, one sheet of the appropriate stabilizer will be sufficient, but keep in mind,
sometimes you will need to use multiple layers or a combination of more than one
type below the fabric and sometimes above. | 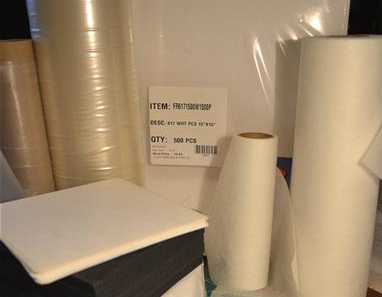
(Click Image to Enlarge) |
Tear-Away Stabilizer | |
Tear-away stabilizer offers a sturdy, but flexible, backing for most situations.
It’s used with fabrics of a light to medium weight and in situations where
you would not wish to leave an excess of stabilizer in view after the sewing. It
is torn away up to the stitches easily after the sewing has been completed. You
can use two sheets of tear-away for situations when you want to create a more sturdy
foundation such as under stitch-intensive designs sewn on fabrics of an average
weight. It is available in both black and white so it can also be used as an appliqué-type
topping to help coverage of fill stitches when the stitch density is not thick enough
for the fabric.
|
Cut-Away | |
Cut-away is a sturdy, permanent stabilizer that must be cut away up to the stitches
at the exterior of the design after the sewing and is not very flexible. It’s
used most often for vulnerable fabrics that distort easily during the sewing process
such as knits. To keep flexibility in the garment, a poly-mesh cut-away is the perfect
solution. But when used on a project that requires no flexibility, such as a framed
embroidery, a lower-cost cut-away is most suitable.
|
Adhesive | |
Adhesive such as an iron-on or a peel-and-stick stabilizer is first applied with
an iron and is used most often on knits and fleece. It creates a lightweight and
flexible sewing area and the excess can be peeled away after the sewing. Some very
vulnerable situations, such as sewing on loose knits, benefit when an adhesive stabilizer
is applied and combined with one sheet of either a tear-away or poly-mesh.
|
Heat or Water Soluble Stabilizer |
Heat or water soluble stabilizer disappears after the sewing when exposed to heat
or water. Heat soluble stabilizer is used for rare, special situations such as when
creating a lace edging along a hem or when un-washable fabric is too delicate for
a tear-away. In the same situations, if the fabric is washable, a water soluble
stabilizer is the best solution because remnants of the stabilizer disappear when
laundered. Most often water soluble stabilizer is used in addition to a backing
as a topping to keep the stitching above the fibers of the fabric, as when sewing
terry cloth. It also will help retain the integrity of the stitches on knits and
fleece, assuring that satin columns don’t become too narrow or gaps don’t
occur between stitched elements.
A heavy-weight, water soluble stabilizer is used for sewing designs that are created
specifically for freestanding lace, or as a backing on towels, linens or other items
that you don’t want remnants of a backing to be seen in the final results. |
Test the Materials |
You should always test-sew a new design, as well as when you are sewing on a new-to-you
fabric. Before you embroider the final garment, do a test-sew of the design with
the stabilizer you’ve chosen on a fabric similar to the garment or item you’ll
be embroidering to be sure that the materials are the best for the project. At first
you may not want to do test sew-outs, because it seems a waste of materials, but
the samples – both good and bad results – can be kept in a binder or
box for future reference. Once you have a collection of samples, you’ll have
a better idea of which stabilizers to use on various fabrics, making future projects
easier.
|
|