Border OptionsHugging border, circle, square, or rectangle — with a 3mm satin stitch.
Backing OptionsAvailable with iron-on, sew-on, or velcro backing.
Fast ShippingShipped quickly from the USA.
Free Online Tools
Powerful embroidery utilities that save time and prevent costly mistakes.
Stitch AssistantRECOMMENDED
Get the exact stabilizer, machine settings, needle, and thread color sequence for every embroidery design you purchase — based on that design's stitch density, dimensions, and color count.
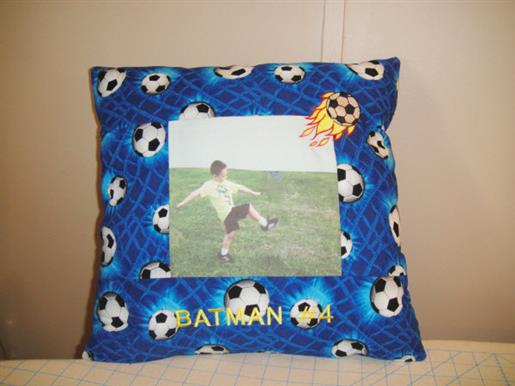
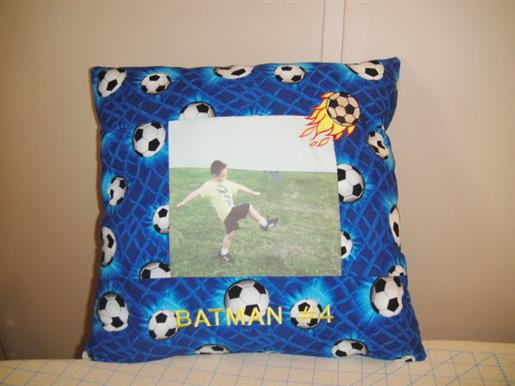
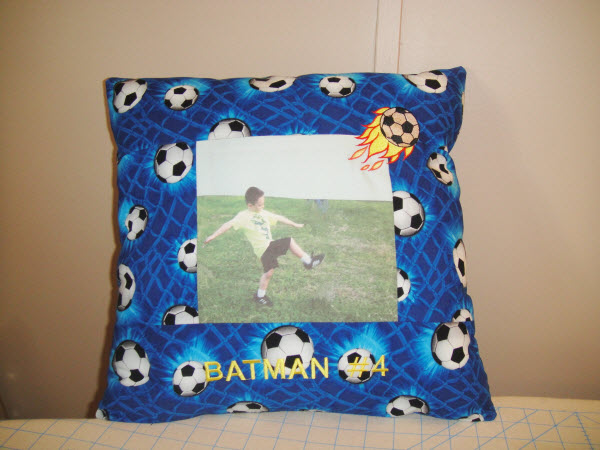
Create a personalized soccer-themed memory pillow perfect for commemorating special occasions like sports events, weddings, or graduations. This pillow features a vibrant soccer ball design and can hold a cherished photo for a unique touch. Step-by-step instructions are included.
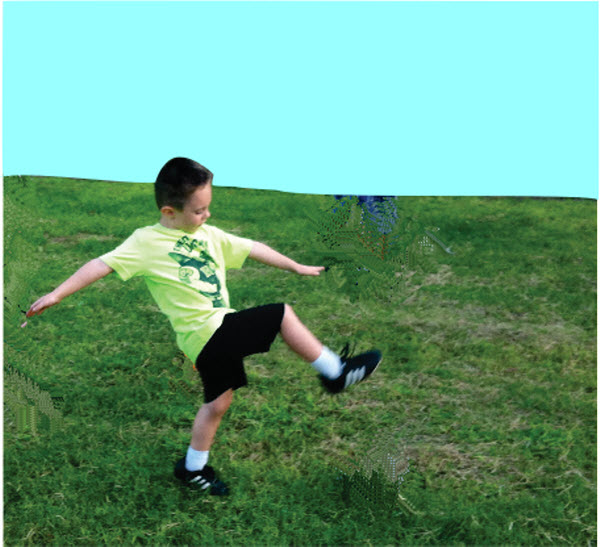
Start with a great picture. This photo was edited some in photo editing software to remove the ball that this child actually missed kicking. But if you have the perfect picture you won’t have to edit it.
(Click Image to Enlarge)
Step 2:
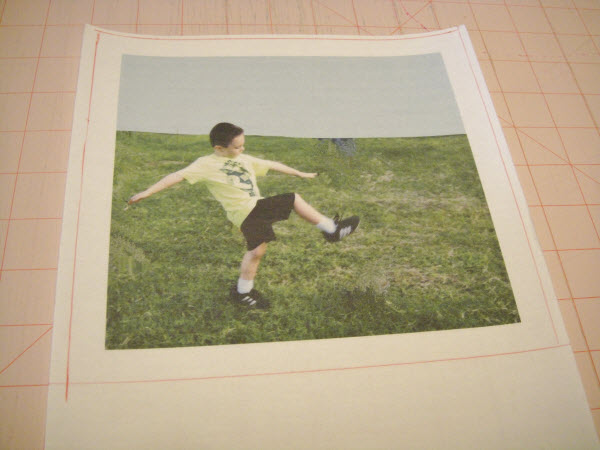
Following the manufacturer’s directions print the photo on the fabric. The manufacturer’s directions say to print at normal print quality. If you increased the settings on your printer a brighter picture might be achieved.
Step 3:
Draw a ½” seam allowance around the picture. Cut out on your drawn lines.
(Click Image to Enlarge)
Step 4:
Cut 2 16” squares of fabric – Note: cutting the squares the same measurement of the pillow form will ensure a tight fit of the pillow in the cover. This includes using a ½” seam allowance all the way around your pillow cover.
Step 5:
We will sub-cut one of the 16” squares to make strips to frame your photo. Your picture may be larger or smaller than the one in this project, so remembering to add a half inch seam allowance where the fabric will join the photo, cut two strips the height off your photo and wide enough so that when they are attached to your photo the total measurement will be 16”. Cut two more strips 16” long and wide enough to include a half inch seam allowance to attach the strip to the pillow cover top and bottom.
Step 6:
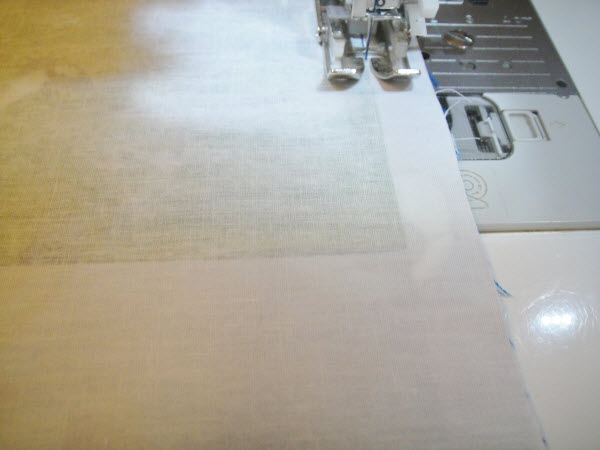
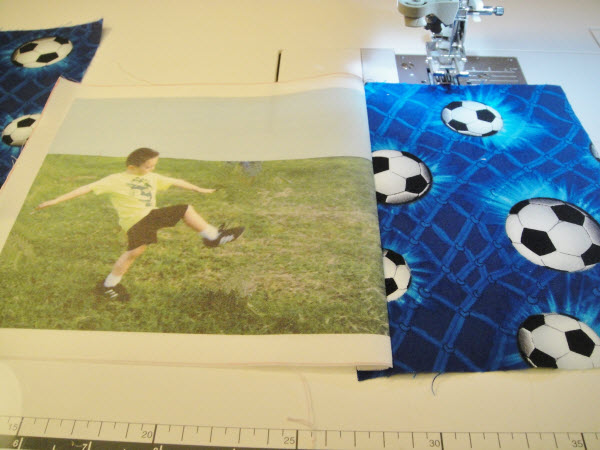
Remove the paper backing form the photo. Place the photo face down on a side fabric strip and sew down the length. Place the photo on top as this will let you see the edge of your photo as you stitch.
(Click Image to Enlarge)
Step 7:
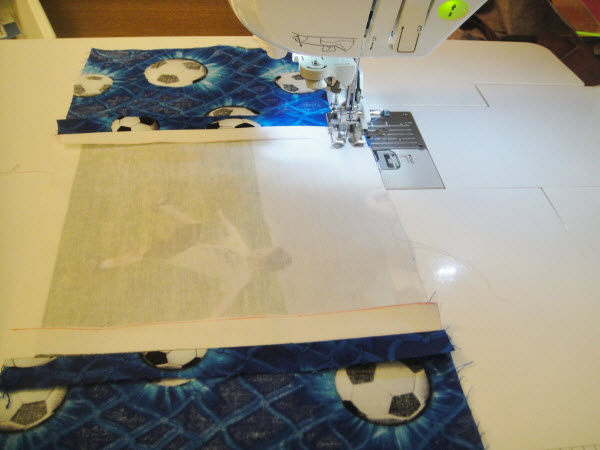
Stitch the opposite side of the photo and strip as in step 6. Press seams open.
(Click Image to Enlarge)
Step 8:
Stitch the long strips to the photo and side strips in the same manner. Press seams open.
(Click Image to Enlarge)
Step 9:
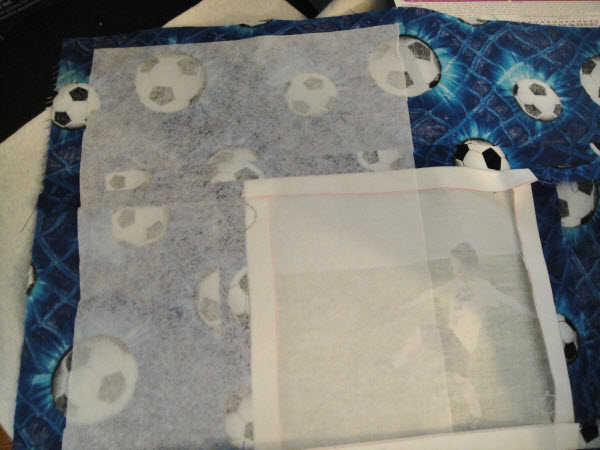
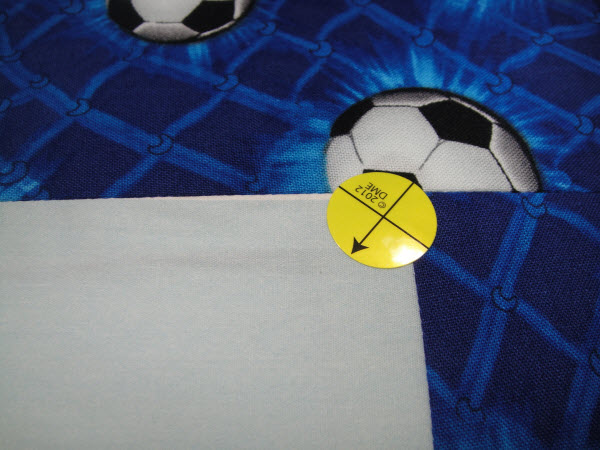
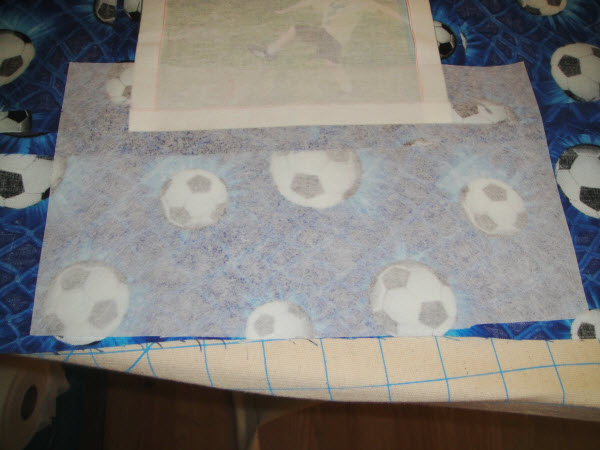
Iron a piece of iron-on tear away backing over the general area where you will place your embroidery. In this project the ball was to look like the child was kicking it right out of the picture frame, so the tear away backing was ironed over the upper left quadrant of the pillow cover.
(Click Image to Enlarge)
Step 10:
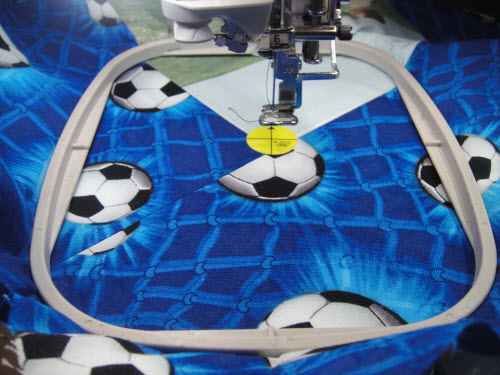
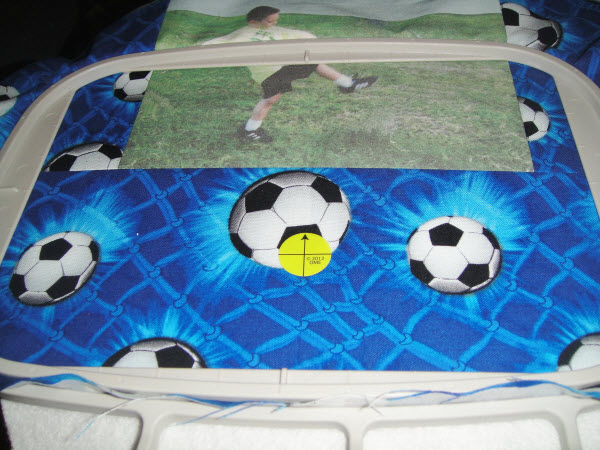
The original design has the flames on the top of the ball. For this project the ball was to have the flames shooting off of the back of the ball. So a Target Sticker was used to indicate the direction that the flames were to be positioned.
(Click Image to Enlarge)
Step 11:
Hoop the fabric so that the Target Sticker was facing up and the sticker was centered in the hoop. Align the center of the sticker with the needle.
Step 12:
Stitch the design following the color chart given.
Step 13-14:
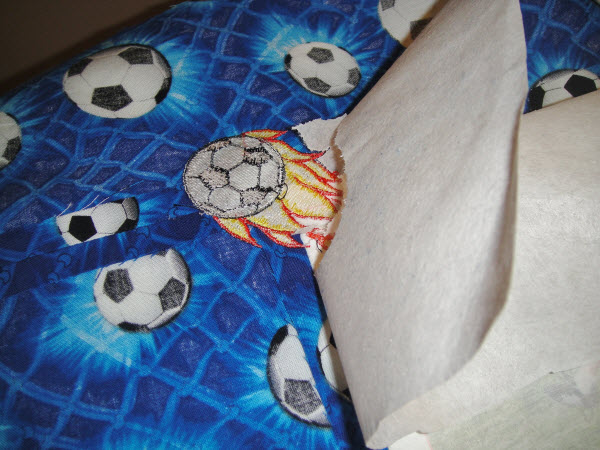
13. Remove the tear away backing from the design. If the backing is difficult to remove, iron for a few seconds and it will remove easily.
14. Tear away the backing.
(Click Image to Enlarge)
Step 15:
Set up keyboard lettering for your subject’s team name and number. This lettering is Meister Block at .78” tall. Edge walk underlay and a density of .40 was used. Transfer your lettering via a thumb drive or computer connection.
Step 16:
Iron a piece of iron-on tear away stabilizer to the lower center section of your pillow cover.
(Click Image to Enlarge)
Step 17:
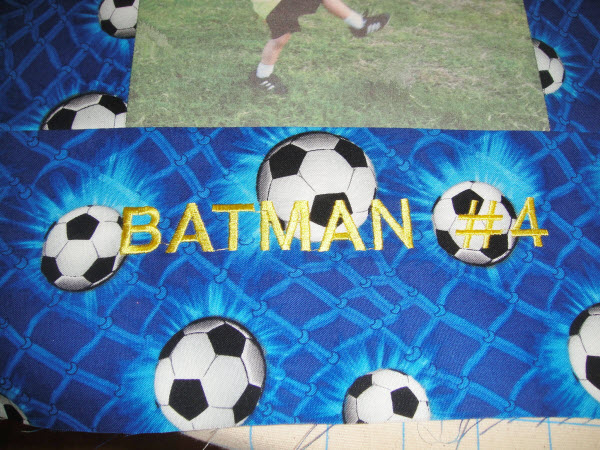
Compute where you want to put the lettering on the pillow cover. Here it was centered under the picture. Place a Target Sticker where you want the center of the lettering to be and hoop in a 5” x 7” hoop.
(Click Image to Enlarge)
Step 18:
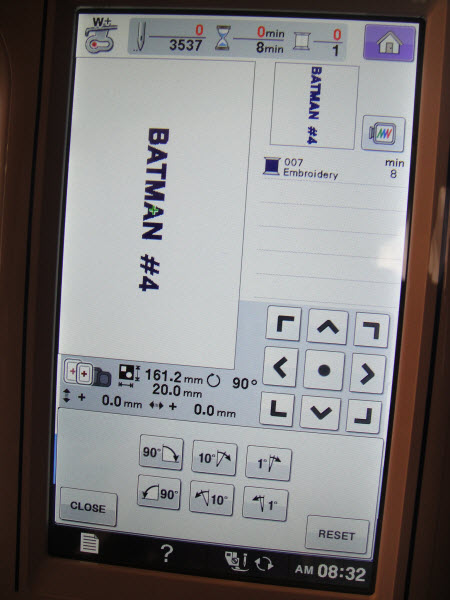
Rotate the lettering on your embroidery machine screen to have the lettering run in the correct direction.
(Click Image to Enlarge)
Step 19:
Stitch the lettering, remove the backing.
(Click Image to Enlarge)
Step 20:
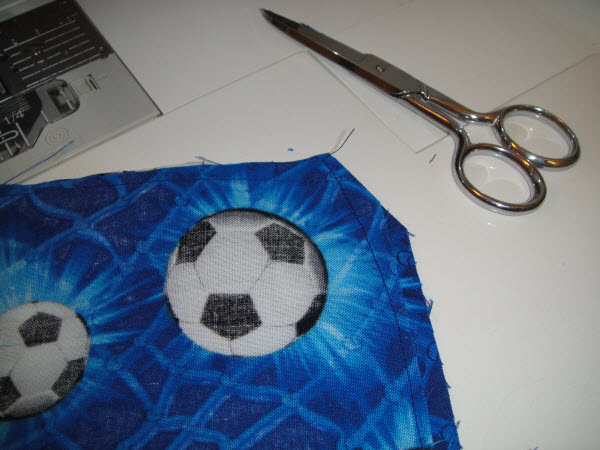
Place your pillow front and back together right sides together. With a ½” seam allowance on the bottom edge of the pillow, stitch from 3” before the first corner, all the way around the pillow and end 3” from the last corner of the pillow. This will leave 10” unsewn section at the bottom of the pillow for inserting the pillow form. Clip the corners diagonally.
(Click Image to Enlarge)
Step 21:
Turn the pillow case right side out, using a point turner or other object to square up the corners.
Award winning Digitizer, Embroidery Educator, Author and a Consultant to the Industry, Pat Williams has 30 years of experience in the embroidery industry. Pat has won multiple awards for her digitizing expertise including the 2007 Impressions Awards Grand Championship, Best of Show as well as the 1st and 2nd Place Awards. Pat’s love of digitizing has afforded her the opportunity to write numerous articles for Impressions magazine in the United States and Images Magazine in Europe. In 2001 Pat was named “Embroidery Educator of the Year.” For many years Pat taught digitizing seminars at the ISS Shows in Long Beach, CA and for Compucon software. She now resides in Tucson, AZ.