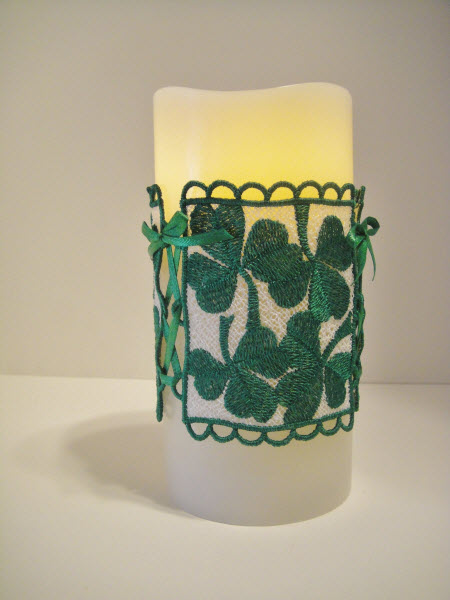
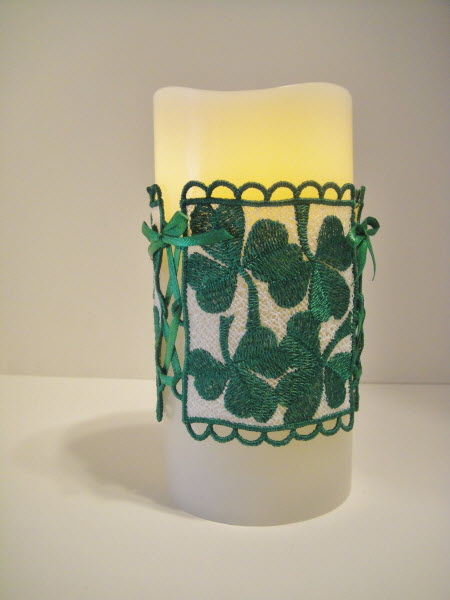
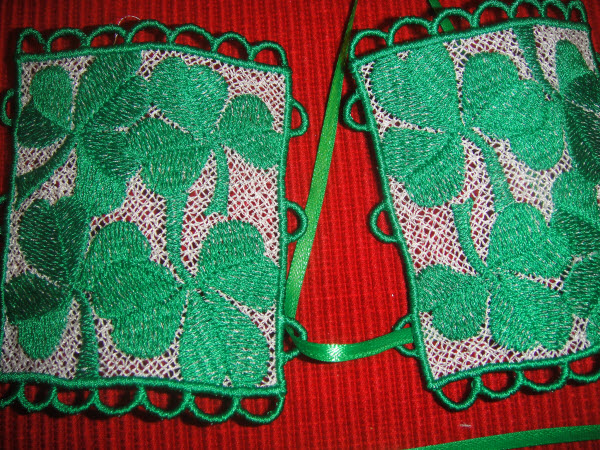
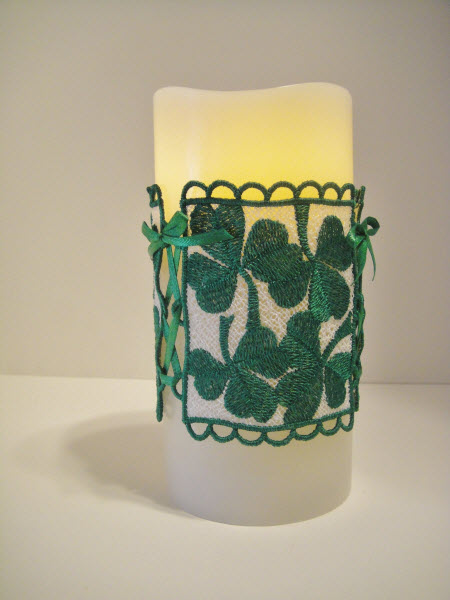
FSL Shamrock Candle Wrap

FSL Shamrock Candle Wrap Embroidery Project

By   Pat Williams   on   February 27, 2014
  • SKILL LEVELBeginner
  • TIME REQUIRED04:45
Description

Enhance your decor with this charming freestanding lace shamrock candle wrap. Perfect for adding a touch of Irish flair to any table setting. This delicate lace piece requires no regular sewing machine. Step-by-step instructions are included.

Step of

Materials

Project Preview Video

Materials
  • 1 ¼ yards water soluble fibrous stabilizer such as Wet n’ Gone or Aqua Mesh
  • Emerald green and white polyester embroidery thread
  • White bobbin thread
  • 1 ½ yards green ribbon
  • 4” x 4” embroidery hoop
  • Flameless candle and batteries

  • Designs used in this project

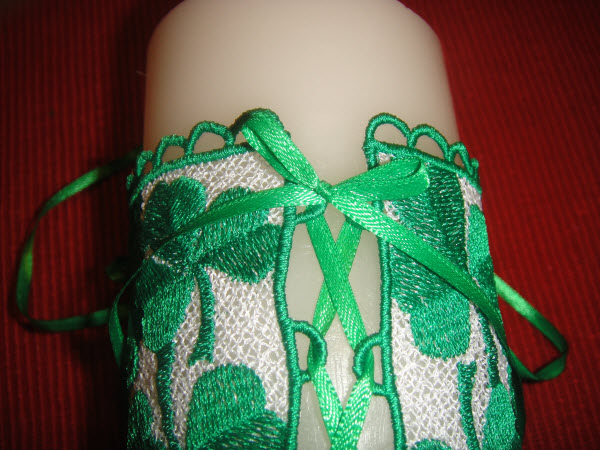
    Final Product: What You Will Create


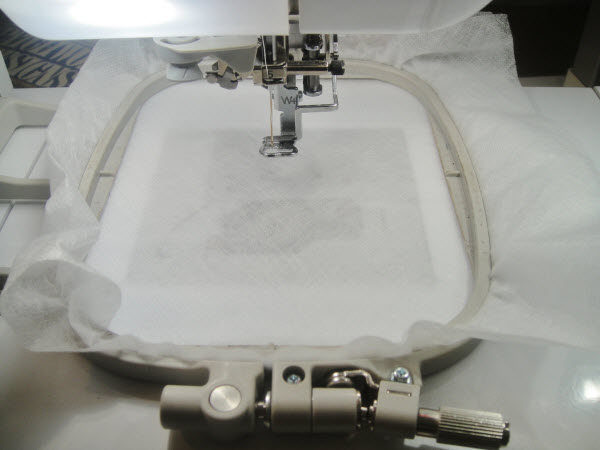
    Step 1:
    Hoop two layers of water soluble fibrous stabilizer tautly in a 4” x4” hoop. 

    (Click Image to Enlarge)


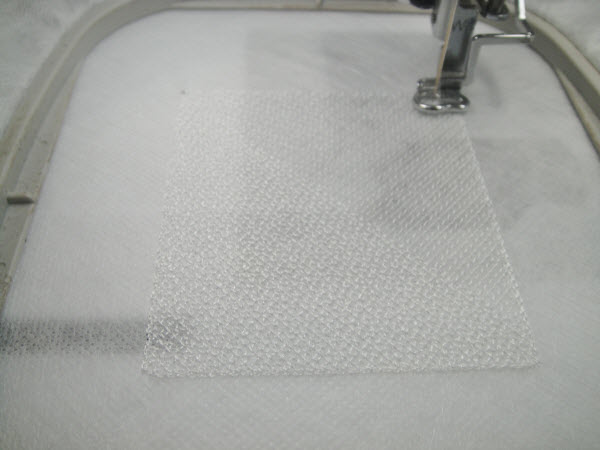
    Step 2:
    Run this first color which is the net background grid in white.

    (Click Image to Enlarge)


    Step 3:
     
    Change the top thread to the green thread. As the back of the candle cover will be up against the candle you do not need to change the bobbin thread.


    Step 4:
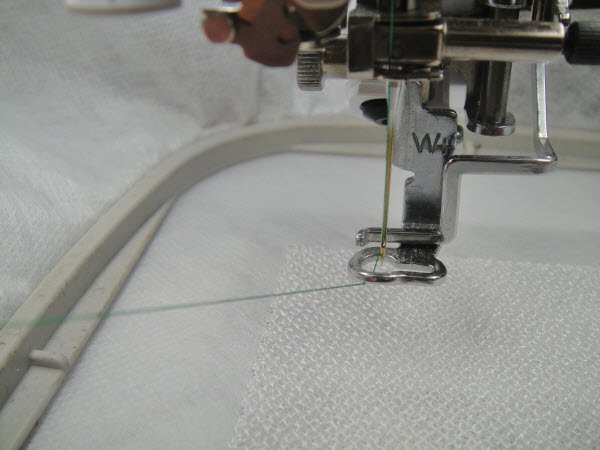
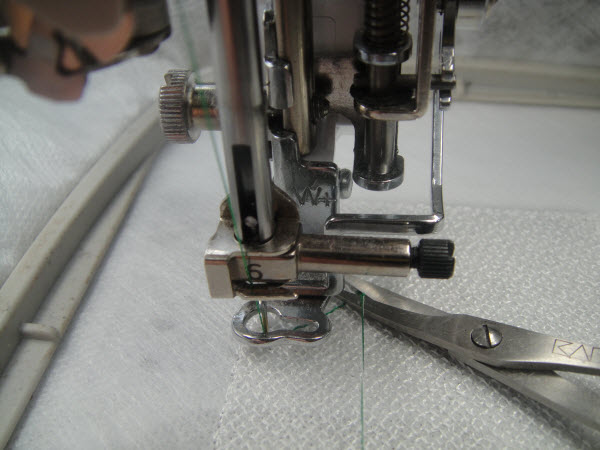
    In order to keep tails of threads from being on the back of your free standing lace, bring the bobbin thread to the top by feeding the top thread through the presser foot;  press the needle up button twice on your machine; pull the bobbin thread tail to a length matching your top color tail.

    (Click Image to Enlarge)


    Step 5:
    Start the machine and run a few stitches; stop the machine; trim your tails.

    (Click Image to Enlarge)


    Step 6:
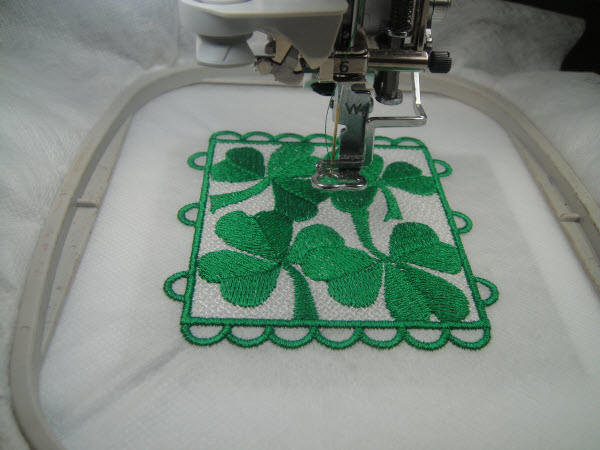
    Restart the machine and let the rest of the second color sew.

    (Click Image to Enlarge)


    Step 7:
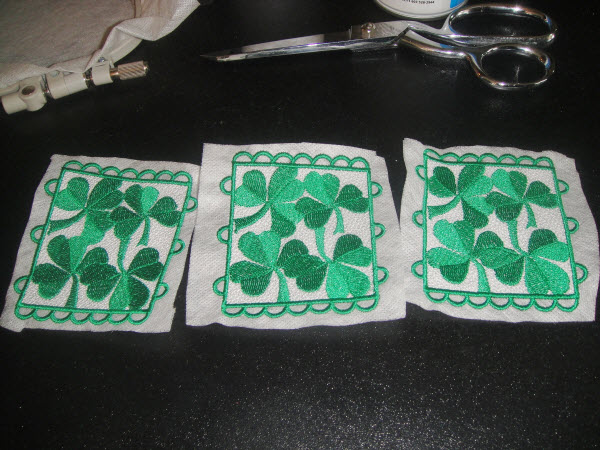
    Repeat steps 1 through 6 twice so that you have 3 sections.

    (Click Image to Enlarge)


    Step 8:
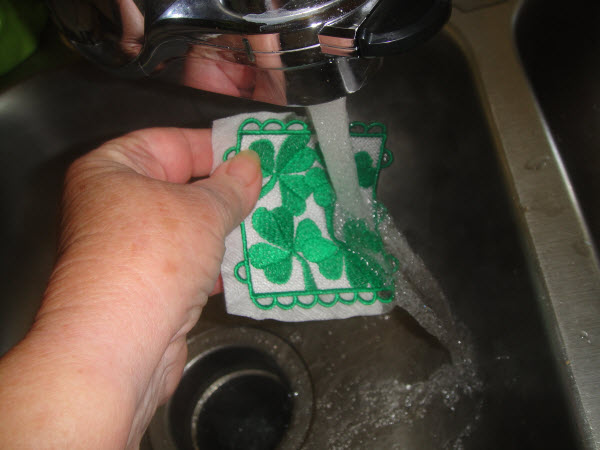
    Hold each section under hot running water to remove the stabilizer. Just hold under the water long enough to remove the stabilizer from the loops. Leaving some stabilizer in the project provides the stiffness we want in the sections.

    (Click Image to Enlarge)


    Step 9:
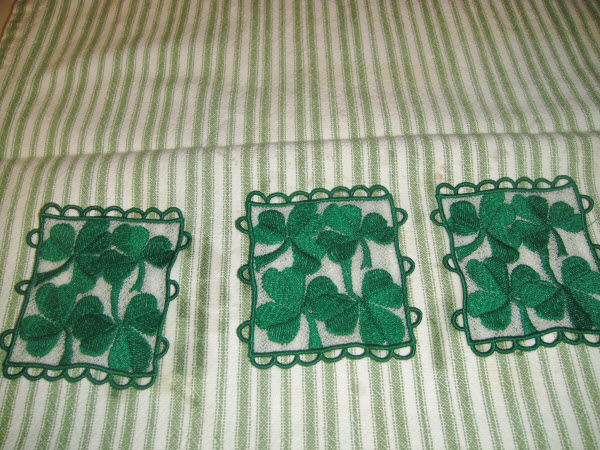
    Blot out as much water as possible on a smooth cotton dish towel.

    (Click Image to Enlarge)


    Step 10:
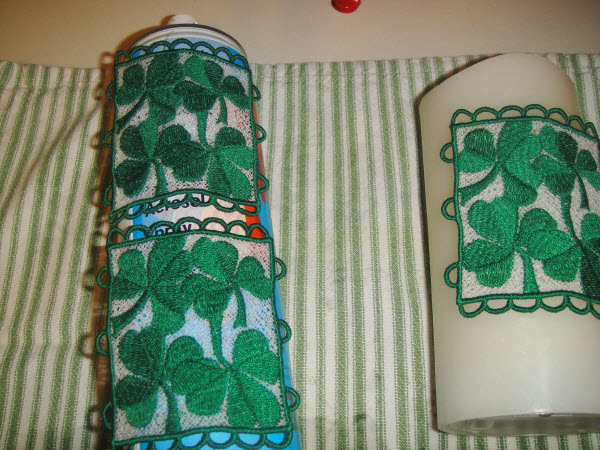
    This is optional, but it is nice to lay the sections on top of the candle or spray cans to let the sections dry in a slightly curved shape.

    (Click Image to Enlarge)


    Step 11:
     
    Allow to dry thoroughly – about 3 hours.


    Step 12:
     
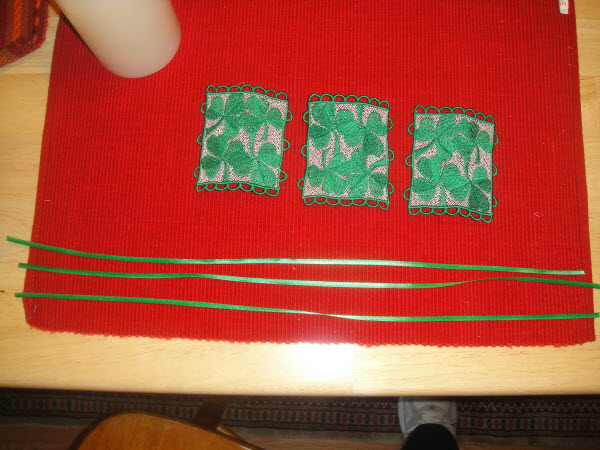
    Lay out your dry candle cover sections.


    Step 13:
    Cut 3 pieces of ribbon 18” long.

    (Click Image to Enlarge)


    Step 14:
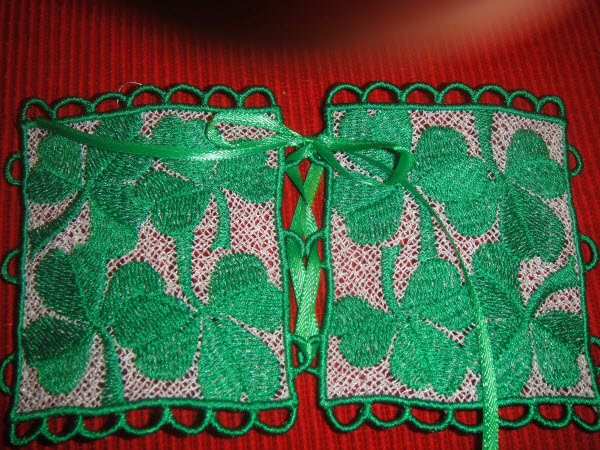
    Thread the ribbon through the loops of section one and two of the candle cover as you would thread a shoelace. Tie a bow with a square knot at the top.

    (Click Image to Enlarge)


    Step 15:
     
    Repeat step 13 to join the third section to the second section. Note all the sections are alike so it doesn’t matter which two you join together first.


    Step 16:
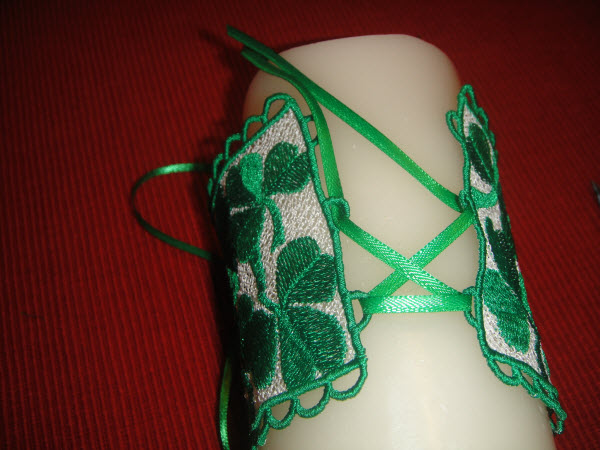
    Before threading the last two sections together, lay the candle on the previously joined sections.

    (Click Image to Enlarge)


    Step 17:
    Thread the last two sections together.

    (Click Image to Enlarge)


    Step 18:
    Tie with a bow with a square knot.

    (Click Image to Enlarge)


    Step 19:
     
    Trim ends of the ribbons with a slanted cut approximately 1.25” from the bow.


    Step 20:
    Congratulations your project is complete!

    (Click Image to Enlarge)

    Meet the Author: Pat Williams
    Pat Williams
    Award winning Digitizer, Embroidery Educator, Author and a Consultant to the Industry, Pat Williams has 30 years of experience in the embroidery industry. Pat has won multiple awards for her digitizing expertise including the 2007 Impressions Awards Grand Championship, Best of Show as well as the 1st and 2nd Place Awards. Pat’s love of digitizing has afforded her the opportunity to write numerous articles for Impressions magazine in the United States and Images Magazine in Europe. In 2001 Pat was named “Embroidery Educator of the Year.” For many years Pat taught digitizing seminars at the ISS Shows in Long Beach, CA and for Compucon software. She now resides in Tucson, AZ.
    More From This Author
    Link is Broken, Please check the URL
    Exclusive Embroidery Offers!
    Copyright © {{ currentDate | date:'yyyy'}} - EmbroideryDesigns.com
    GET 50% OFF! ×