

























PROJECT INSTRUCTIONS



PROJECT INSTRUCTIONS
Heart-Shaped Chocolate Box Pin Cushion Embroidery Project
By
Pat Williams
on
February 05, 2014
Description
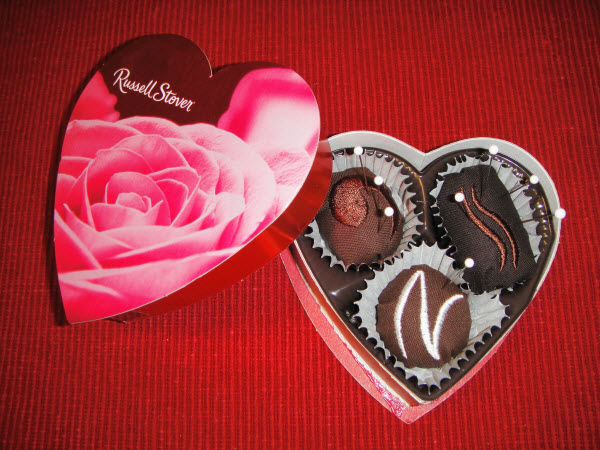
This charming heart-shaped box is perfect for holding pins or presenting a pair of earrings. Its design is inspired by a chocolate gift box, making it a delightful addition to any sewing or dressing table. Step-by-step instructions are included.
Step
of
Materials
Project Preview Video

QUICK VIEW
Valentine Pin Cushion
$10.00
$5.00
Circle Price: $4.85

Cut Away Stabilizer - 2.5 Oz wt.
$8.94
$7.15
Circle Price: $7.15

Cut Away Stabilizer - 2 oz wt.
$8.52
$6.82
Circle Price: $6.82

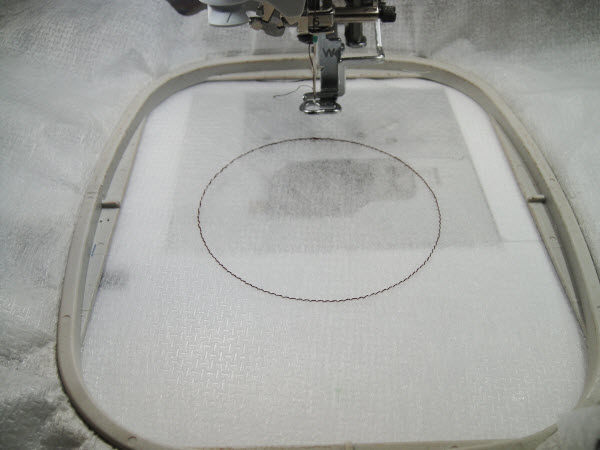
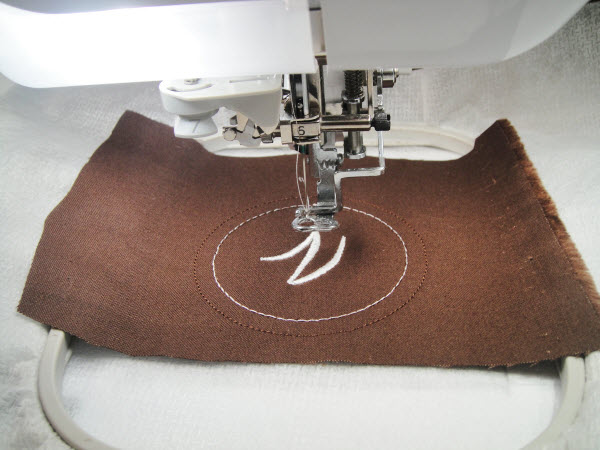
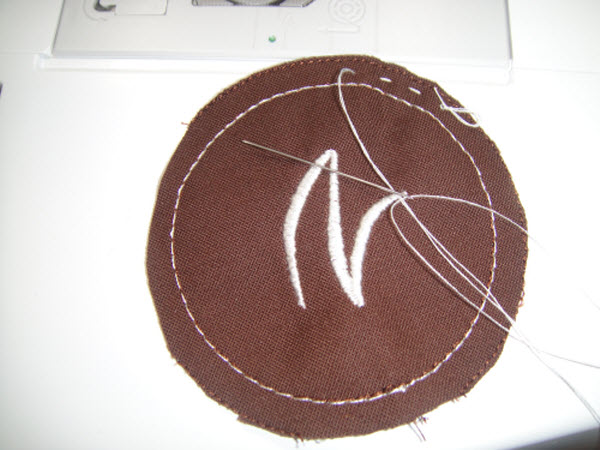
| Materials A small heart shaped box of Russell Stover’s Chocolates 2 4” squares of “dark chocolate” cotton fabric 1 4” square of “milk chocolate” cotton fabric Handful of polyester stuffing Glue gun Candy size baking cups Design file: VCAND which will contain 3 files VCAND1, VCAND2, VCAND3 (VCAND1web pic, VCAND2web pic, VCAND web pic3) Embroidery thread, Dark Chocolate, Milk Chocolate and Cream Hand sewing needle Regular sewing thread Poly-mesh or “no-show” stabilizer 4”x 4” embroidery hoop A few ball headed straight pins |
| Designs used in this project |
| Final Product: What You Will Create |
 |
|
Projects You May Like
Meet the Author:
Pat Williams

Award winning Digitizer, Embroidery Educator, Author and a Consultant to the Industry, Pat Williams has 30 years of experience in the embroidery industry. Pat has won multiple awards for her digitizing expertise including the 2007 Impressions Awards Grand Championship, Best of Show as well as the 1st and 2nd Place Awards. Pat’s love of digitizing has afforded her the opportunity to write numerous articles for Impressions magazine in the United States and Images Magazine in Europe. In 2001 Pat was named “Embroidery Educator of the Year.” For many years Pat taught digitizing seminars at the ISS Shows in Long Beach, CA and for Compucon software. She now resides in Tucson, AZ.
Feedback
Characters Remaining
Please Login to Submit a Feedback
Invalid Characters, Please enter a valid Comment
Please enter a valid Comment
Reviewed On
Link is Broken, Please check the URL