














































PROJECT INSTRUCTIONS



PROJECT INSTRUCTIONS

Luggage Tags Embroidery Project
By
Barbara Geer
on
February 06, 2014
Description
Make your luggage stand out in the crowd.
Step
of
Materials
Project Preview Video

Luggage Tag M
$4.99
Circle Price: $4.49

Luggage Tag B
$3.99
Circle Price: $3.59

Luggage Tag C
$3.99
Circle Price: $3.59

Luggage Tag G
$3.99
Circle Price: $3.59

Luggage Tag H
$3.99
Circle Price: $3.59

Luggage Tag K
$3.99
Circle Price: $3.59

QUICK VIEW
Luggage Tag Border
$4.99
$2.50
Circle Price: $2.35

QUICK VIEW
Luggage Tag Outline
$3.99
$2.00
Circle Price: $1.85
Tear Away Stabilizer
$7.98
Circle Price: $7.18

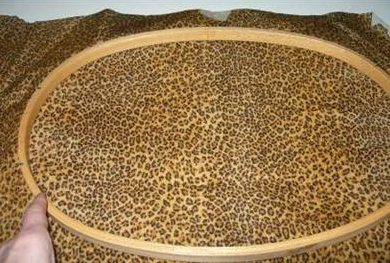
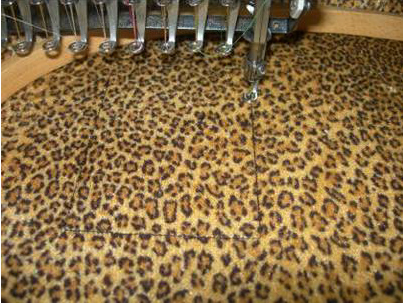
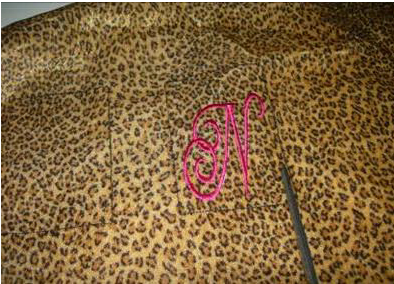
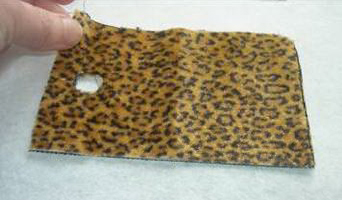
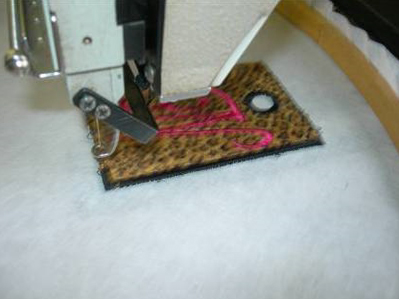
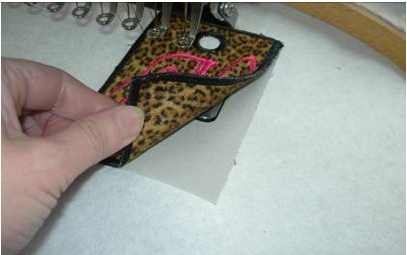
| Materials Luggage Tag Outline Design Luggage Tag Border Design A letter from the Luggage Tag Alphabet, LTA through LTZ Or Tag Designs (Choose from CHG366 to CHG429 and corresponding text drops.) Heavy fabric of your choosing Tear-away backing Embroidery thread in colors of choice, bobbin thread Embroidery machine Scissors |
| Designs used in this project |
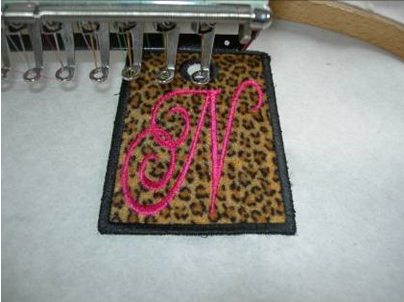
| Final Product: What You Will Create |
 |
|

Projects You May Like
Meet the Author:
Barbara Geer

Barbara Geer, Creative Director/Digitizer, Grand Slam Designs, an embroidery stock design and contract digitizing operation, has been in the decorated apparel industry since 1990. She is a popular speaker at commercial decorated apparel and home embroidery events. She also is a frequent contributor to commercial and home embroidery publications such as EMB, Stitches, and Printwear. You may reach Barbara at 218-222-3501; e-mail [email protected] or visit her Web site at www.grandslamdesigns.com.
Feedback
Characters Remaining
Please Login to Submit a Feedback
Invalid Characters, Please enter a valid Comment
Please enter a valid Comment
Reviewed On
Link is Broken, Please check the URL