ITH Alphabet Key Fob Set

ITH Alphabet Key Fob Set Embroidery Project

By   Rhonda Slack   on   March 01, 2014
  • SKILL LEVELBeginner
  • TIME REQUIRED02:00
Description

Create personalized alphabet key fobs with this easy in-the-hoop project. Perfect for organizing keys or adding a personal touch to your belongings. Step-by-step instructions are included.

Step of

Materials

Project Preview Video

Materials
  • Cloth aprox. 1 ½” x 3”
  • Embroidery Thread
  • Matching Bobbin Thread
  • Tear-A-Way Stabilizer or Opaque Was-A-Way


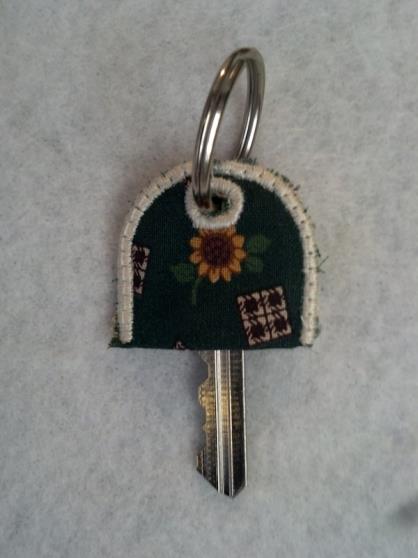
  • Final Product: What You Will Create


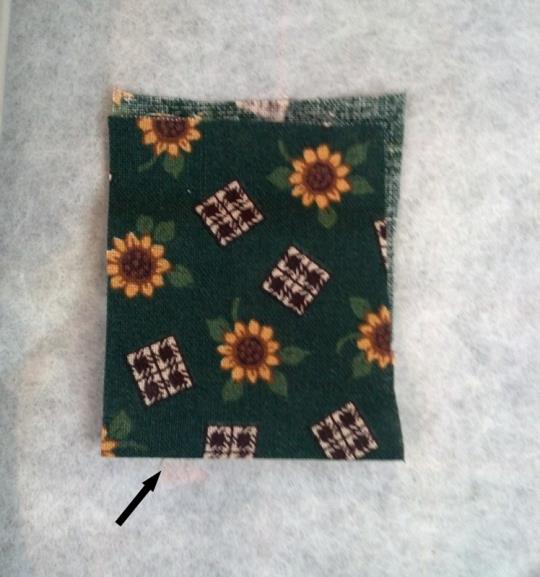
    Step 1:
    Follow as in picture.

    (Click Image to Enlarge)


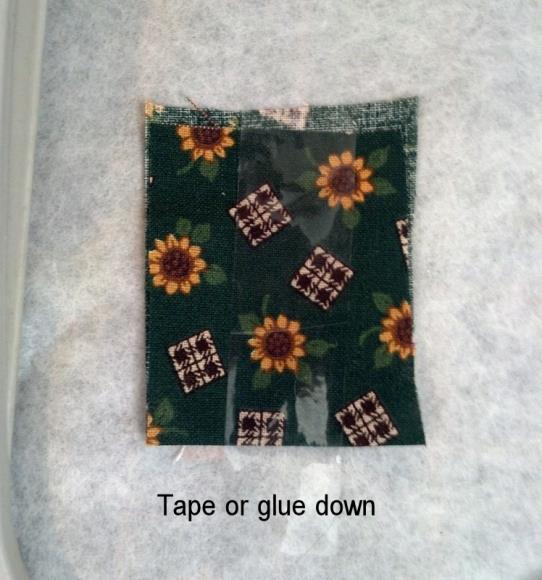
    Step 2:
    Tape or glue down.

    (Click Image to Enlarge)


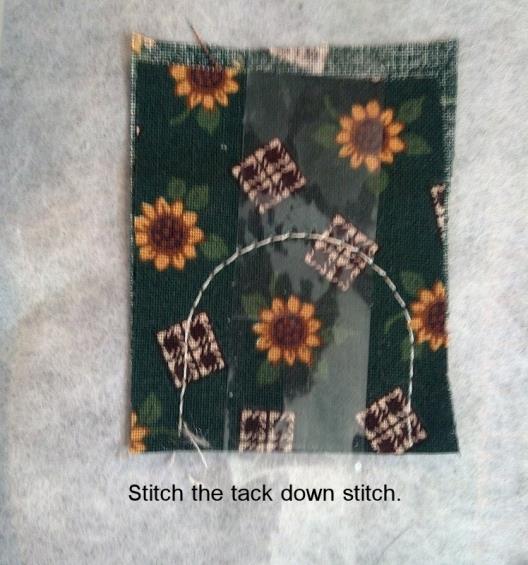
    Step 3:
    Stitch the tack down stitch.

    (Click Image to Enlarge)


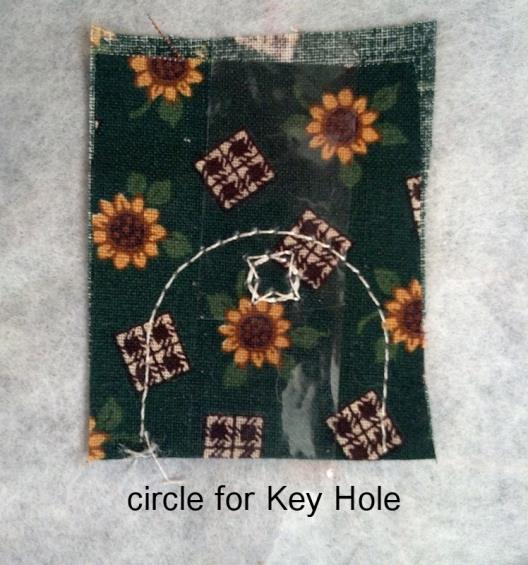
    Step 4:
    Circle for Key Hole.

    (Click Image to Enlarge)


    Step 5:
    Stitch Color #3. This is the circle outline for the Key Hole.

    (Click Image to Enlarge)


    Step 6:
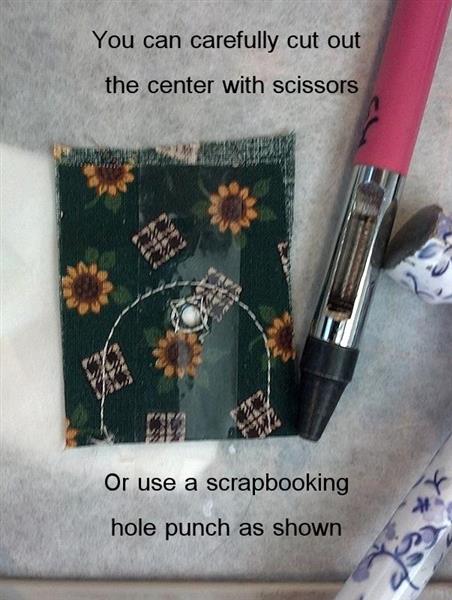
    Remove hoop from machine and carefully cut out the center of the key hole with scissors or by using a scrap-booking hole punch as pictured.

    (Click Image to Enlarge)


    Step 7:
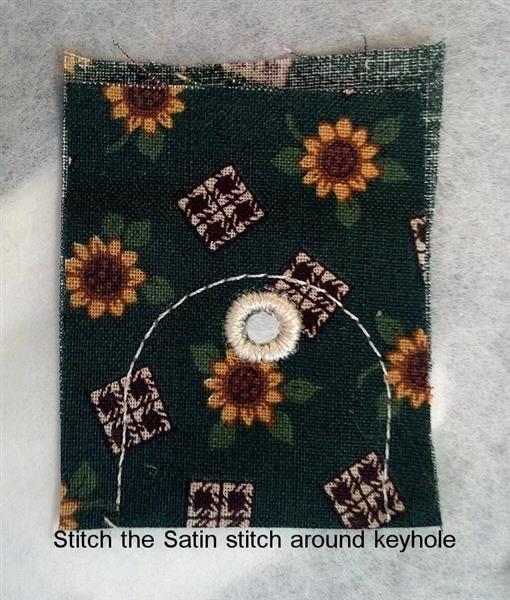
    Stitch Color #4. This is the Satin Stitch Outline for the Key Hole.


    Step 8:
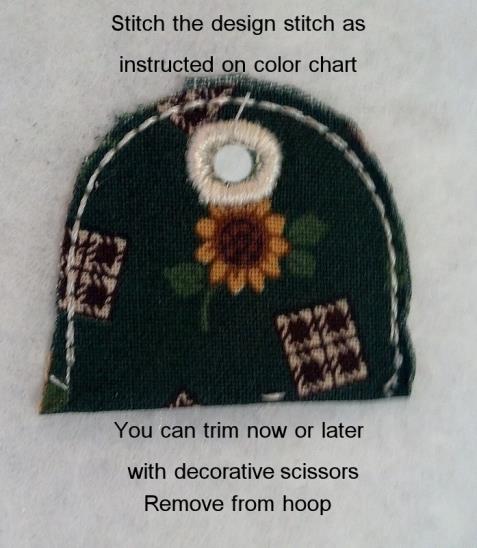
    Stitch the decorative design, as instructed color chart. Remove hoop and carefully tear the stabilizer from around the design. You may have to clip the stitch line at the bottom. Don’t worry about removing all the stabilizer, it will not show when finished. The last 8 colors are to be stitched as follows. Hoop new stabilizer.

    (Click Image to Enlarge)


    Step 9:
    Follow the same directions for the next 4 colors exactly like you did for the first 4 colors of the design.

    (Click Image to Enlarge)


    Step 10:
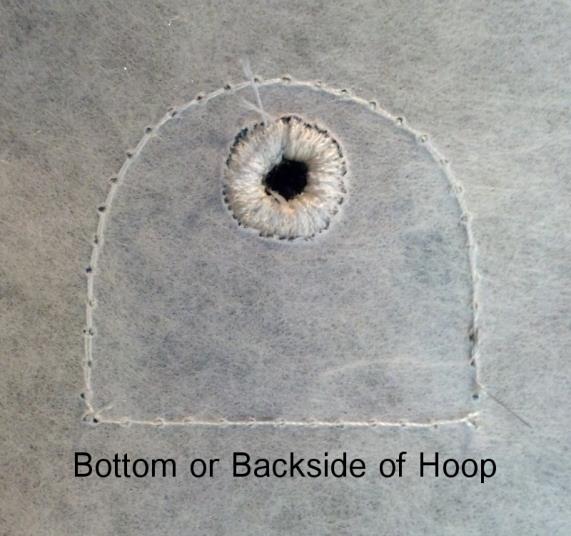
    Remove hoop from machine and turn it upside down so that the bottom of the hoop is facing up.

    (Click Image to Enlarge)


    Step 11:
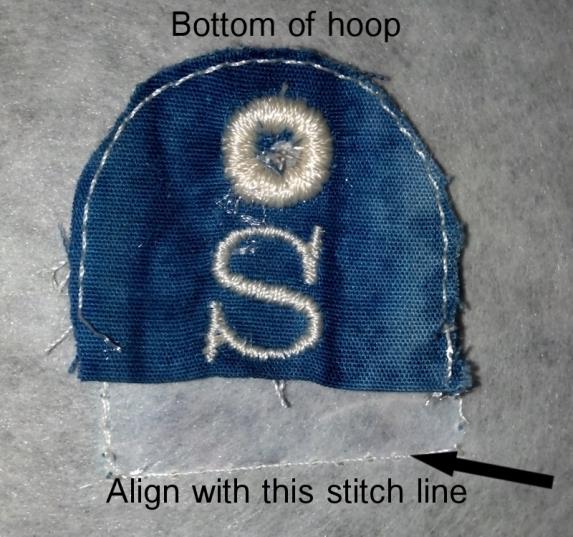
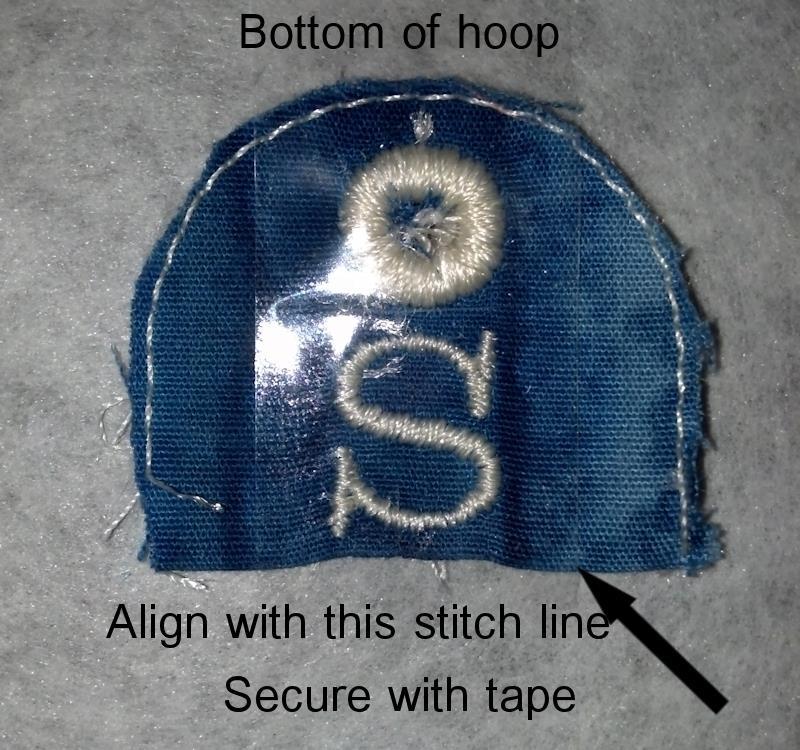
    Place the 1st part of the design face up, matching the stitch lines. Be very careful and make sure that the designs are aligned. Tape down to secure piece.

    (Click Image to Enlarge)


    Step 12:
    Return the hoop to the machine and stitch the next color which will be the tack down stitch.

    (Click Image to Enlarge)


    Step 13:
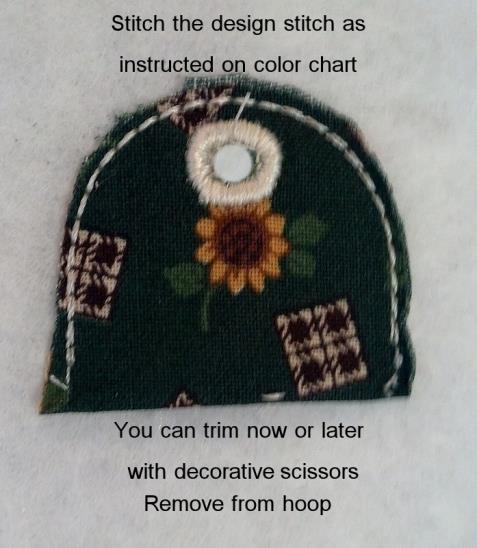
    Trim the design area like you do for appliqué or wait until finished and use decorative scissors to cut around the entire design.

    (Click Image to Enlarge)


    Step 14:
    Stitch the next color, zig zag tack down. Stitch the next color, Satin Stitch around the Key Tag. Stitch the next color, Single Stitch on top of Satin Stitch. Remove design from hoop, trim threads and insert key. Secure to key with a key ring.
    Meet the Author: Rhonda Slack
    Rhonda Slack
    I am a work at home mom and a retired Air Force wife of 20 yrs. I have traveled the world with my husbands career and loved it. My favorite is still Guam. I sew and donate to New Borns In Need and to my local Church Humanitarian Projects. I learned to digitize out of the pure love of the embroidery machine. It's great to be an American! God Bless Our Troops and Bring Them Home Safely.
    More From This Author
    Link is Broken, Please check the URL
    Exclusive Embroidery Offers!
    Copyright © {{ currentDate | date:'yyyy'}} - EmbroideryDesigns.com
    GET 50% OFF! ×