Border OptionsHugging border, circle, square, or rectangle — with a 3mm satin stitch.
Backing OptionsAvailable with iron-on, sew-on, or velcro backing.
Fast ShippingShipped quickly from the USA.
Free Online Tools
Powerful embroidery utilities that save time and prevent costly mistakes.
Stitch AssistantRECOMMENDED
Get the exact stabilizer, machine settings, needle, and thread color sequence for every embroidery design you purchase — based on that design's stitch density, dimensions, and color count.
Create charming Halloween candy bags using the Redwork technique. Perfect for handing out treats or decorating your home during the spooky season. Step-by-step instructions are included.
Cut fabric as follows - it’s easier if you prepare the fabrics all at one time for the bags you're making. Cut 2 pieces (1 for front & 1 for back) of fabric – 5 x 6. On the 6” side fold over about 1” and press a clean edge-this is now the top of you bag.
Step 2:
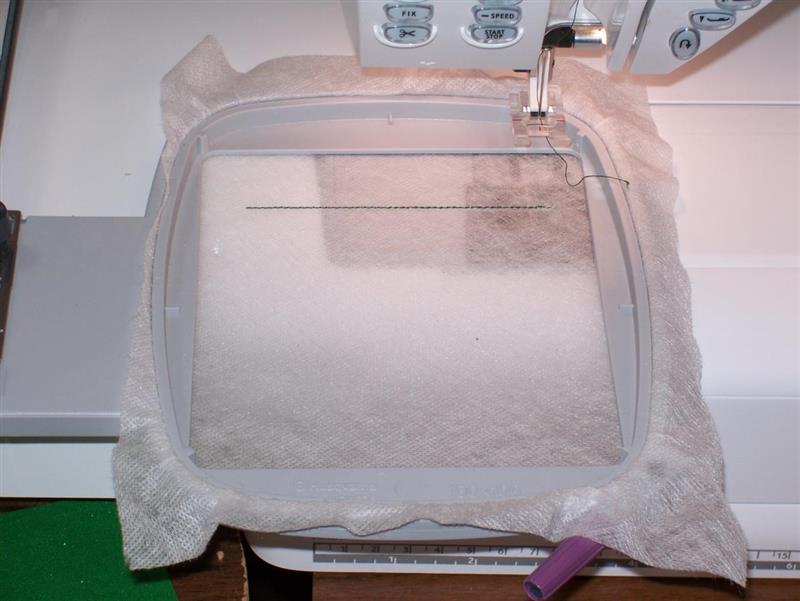
Back of Bag Hoop med. weight tear-away in your hoop and stitch first color change. This is a marking line across the top of the hoop. This represents the top of the bag. Line up the folded edge of your fabric with the marking line on the hoop and lay fabric right side up on hoop.
(Click Image to Enlarge)
Step 3:
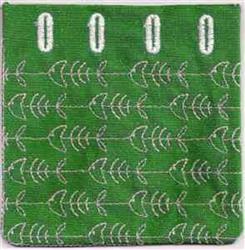
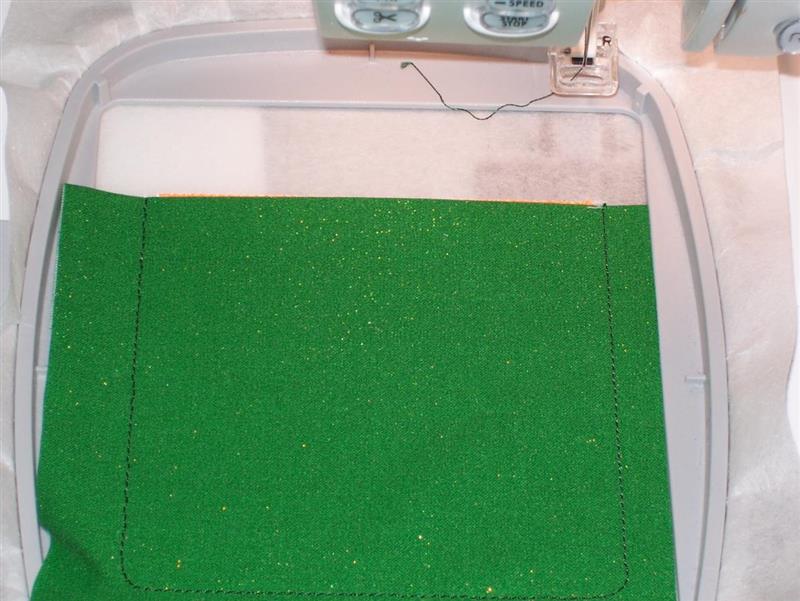
Stitch the next color – this will tack down the fabric to hold in place. Next stitch out next color (3) - this will be the buttonholes for the ribbon. Next color is the bone fish (4). Remove from hoop and remove stabilizer from back.
(Click Image to Enlarge)
Step 4:
Front of Bags Hoop med. weight tear-a-way in your hoop and stitch first color change. This is a marking line across the top of the hoop. This represents the top of the bag. Place front fabric in hoop matching top folded fabric with stitching line, next stitch next color (this will stitch down bag front and hold it in place).
Step 5:
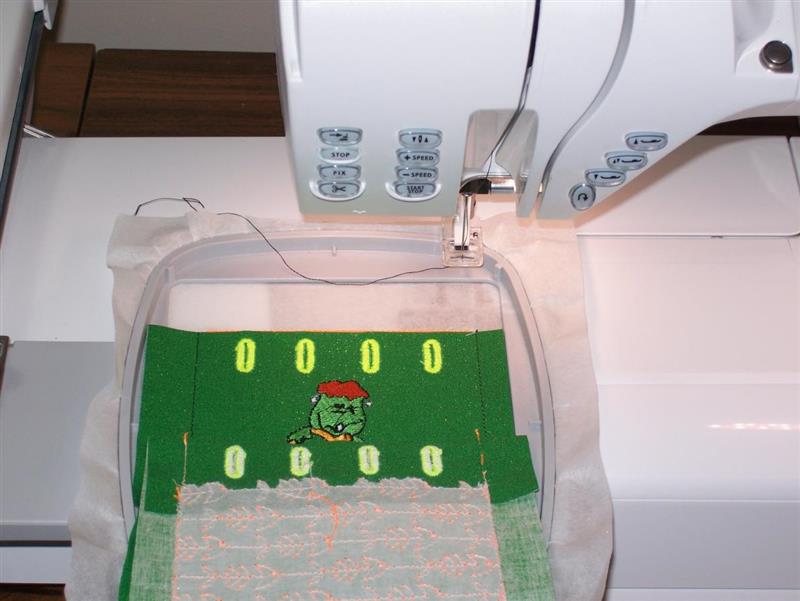
Next follow color changes for stitching design in front of bag. Before stitching last color, place back of bag on-top of front with right sides together in the hoop lining up across the top and making sure the buttonhole are matched, then stitch last color. This will stitch the front and back together.
(Click Image to Enlarge)
Step 6:
Remove from hoop and trim with pinking sheers, cut open buttonholes, turn and press and you have a wonderful little bag for a special gift! You can also make a pleat or fold in the back and it will give a little more room for stuffing. To do this you need to cut the back of the bag wider than stated above so that you have extra fabric to make the pleat. Iron it to help hold the pleat in place.
Step 7:
Back
1-Placement for top
2-Tackdown to hold fabric in place
3-Buttonholes
4-Bone fish
Step 8:
Frank01
1-Placement for top
2-Tackdown to hold fabric in place
3-Buttonholes
4-Green face
5-Brown hair
6-White tooth
7-Dk Blue bag side
8-Blue bag front
9-Black
10-Color of bag
Step 9:
Frank02
1-3 Same as above
4-Green
5-Brown
6-White
7-Orange
8-Yellow
9-Black
10-Color of bag
Step 10:
Frank03
1-3 Same as above
4-Green
5-Brown
6-White
7-Red
8-Orange
9-Black
10-Color of bag
Step 11:
Frank04
1-3 Same as above
4-Green
5-Brown
6-White
7-Gray
8-Black
9-Color of bag
Step 12:
Frank05
1-3 Same as above
4-Red
5-Green
6-Brown
7-White
8-Lt Brown
9-Black
10-Color of bag
Step 13:
Frank06
1-3 Same as above
4-Red
5-Green
6-Brown
7-White
8-Orange
9-Lt brown
10-Dk brown
11-Black
12-Color of bag
Step 14:
Frank07
1-3 Same as above
4-Green
5-Brown
6-White
7-Gray
8-Yellow
9-Black
10-Color of bag
Step 15:
Front01
1-3 Same as above
4-Lettering
5-Color of bag
Step 16:
Front02
1-3 Same as above
4-Lettering
5-Color of bag