














































PROJECT INSTRUCTIONS


PROJECT INSTRUCTIONS
ITH Cord Organizers Embroidery Project
By
Anonymous
on
April 10, 2014
Description
Keep your cords tidy and organized with these In The Hoop cord wraps. Available in two sizes, they are perfect for managing cables at home or on the go. Step-by-step instructions are included.
Step
of
Materials
Project Preview Video
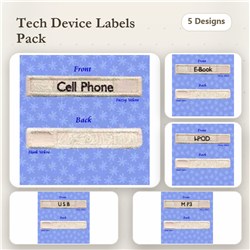
QUICK VIEW
ITH Cord Wraps
$19.90
$10.95
Circle Price: $10.95

Cell Phone Cord Wrap
$2.39
Circle Price: $1.84

E-Book Label
$2.39
Circle Price: $1.84

Name Label
$2.39
Circle Price: $1.84

USB Cord Wrap
$2.39
Circle Price: $1.84
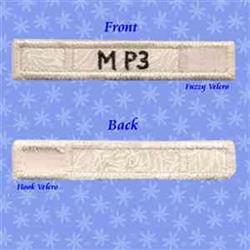
MP3 Label
$2.39
Circle Price: $1.84

Cut Away Stabilizer - 2.5 Oz wt.
$8.94
$7.15
Circle Price: $7.15
{{ item.name }}
{{ item.listPriceDisplay }}{{ item.salePriceDisplay }}
Circle Price:
{{ item.clubPriceDisplay }}


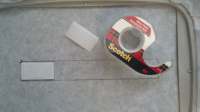
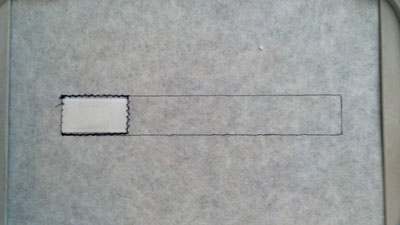
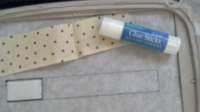
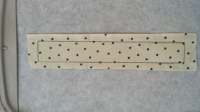
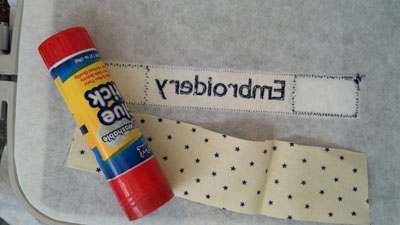
| Materials Tear-away stabilizer Fabric of choice (these will be trimmed the same as applique) Small = 4" x 1" and 3" x 1" Large = 5" x 1 1/4" and 4" x 1 1/4" Velcro Small Size = 3/4" x 1" Velcro Large Size = 3/4" x 1 1/2" Clear Tape Washable Glue Stick Hoop Tear-away stabilizer |
| Designs used in this project |
| Final Product: What You Will Create |
 |
|
Projects You May Like
Meet the Author:
Anonymous

Feedback
Characters Remaining
Please Login to Submit a Feedback
Invalid Characters, Please enter a valid Comment
Please enter a valid Comment
Reviewed On
Link is Broken, Please check the URL