














































PROJECT INSTRUCTIONS


PROJECT INSTRUCTIONS
ITH House-Shaped Mug Rug Embroidery Project
By
Anonymous
on
April 17, 2014
Description
Create a charming house-shaped mug rug perfect for any coffee table. This in-the-hoop project combines functionality with a touch of homey decor. Step-by-step instructions are included.
Step
of
Materials
Project Preview Video

QUICK VIEW
Sports-themed Embroidery Designs Bundle – Ice Skates, Football Tag, Baseball Tag & More (10 Designs)
$19.90
$10.95
Circle Price: $10.95

Basketball Hoop Tag
$4.89
Circle Price: $1.84

Skating Tag
$4.39
Circle Price: $1.84

Ice Skate Tag
$3.89
Circle Price: $1.84

Hockey Tag
$3.89
Circle Price: $1.84

Golf Tag
$3.89
Circle Price: $1.84

Baseball Heart Label
$3.89
Circle Price: $1.84

Tennis Tag
$3.89
Circle Price: $1.84

Soccer Heart Tag
$3.89
Circle Price: $1.84

Heart Football Tag
$3.89
Circle Price: $1.84

Bowling Tag
$3.89
Circle Price: $1.84

Cut Away Stabilizer - 2.5 Oz wt.
$8.94
$7.15
Circle Price: $7.15
{{ item.name }}
{{ item.listPriceDisplay }}{{ item.salePriceDisplay }}
Circle Price:
{{ item.clubPriceDisplay }}


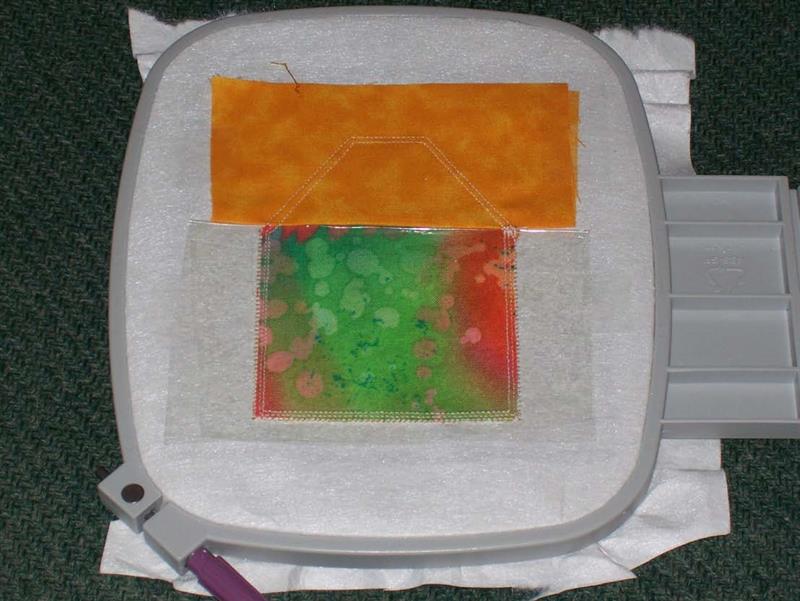
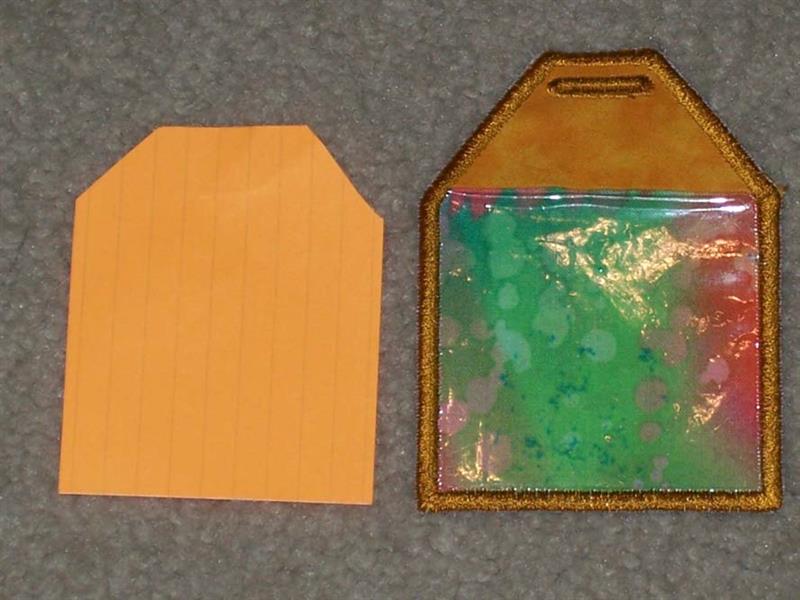
| Materials Fabrics of your choice (cut into 4” x 4” pieces if you like) Med weight clear vinyl Tear-away or Vilene type wash-away (whatever you like to use) Thread of your choice Clear Vinyl (4 x 8” per each tag) CC - stands for color change |
| Designs used in this project |
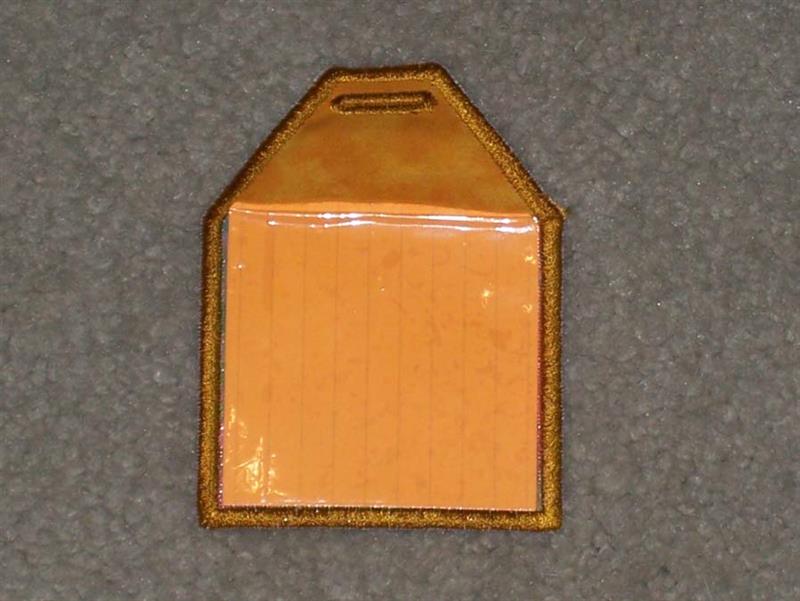
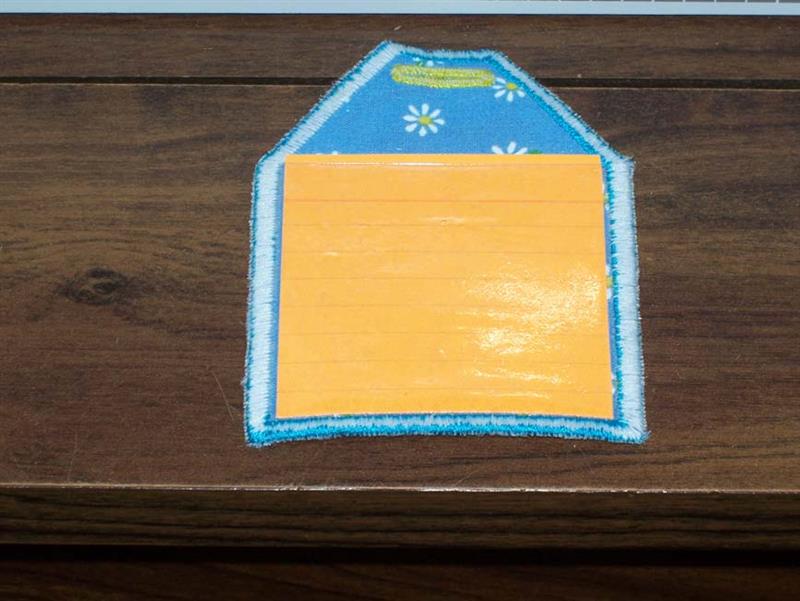
| Final Product: What You Will Create |
 |
|
Projects You May Like
Meet the Author:
Anonymous

Feedback
Characters Remaining
Please Login to Submit a Feedback
Invalid Characters, Please enter a valid Comment
Please enter a valid Comment
Reviewed On
Link is Broken, Please check the URL