














































PROJECT INSTRUCTIONS


PROJECT INSTRUCTIONS

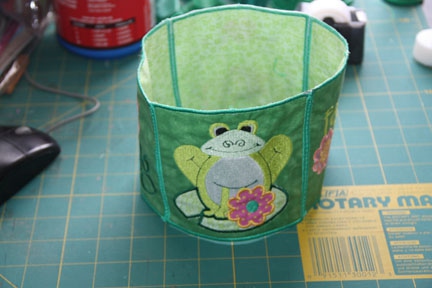
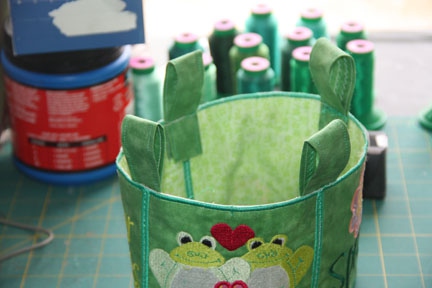
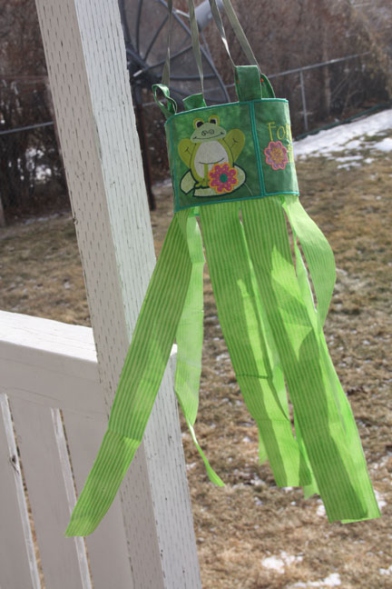
Frog Windsock Embroidery Project
By
Anonymous
on
April 14, 2014
Description
Read all instructions carefully before starting.
Step
of
Materials
Project Preview Video

QUICK VIEW
Frogs & Flowers Embroidery Designs Bundle – Spring Frogs, Flower Arrangement, Frog with Heart & More (10 Designs)
$19.90
$11.94
Circle Price: $11.94

QUICK VIEW
Frog Applique
$4.99
$1.99
Circle Price: $1.84

QUICK VIEW
Frog Windsock Cattail
$3.89
$1.99
Circle Price: $1.84

QUICK VIEW
Frog Windsock
$4.99
$1.99
Circle Price: $1.84

QUICK VIEW
Frog Wind Sock
$4.99
$1.99
Circle Price: $1.84

QUICK VIEW
Forever Frog Windsock
$4.89
$1.99
Circle Price: $1.84

QUICK VIEW
Frog Windsock
$4.89
$1.99
Circle Price: $1.84

Frog Wind Sock
free
Circle Price: $0.00

Floral Windsock
free
Circle Price: $0.00

Frog Wind Sock
free
Circle Price: $0.00
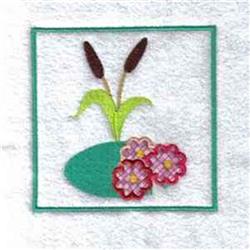
Windsock
free
Circle Price: $0.00
Tear Away Stabilizer
$7.98
Circle Price: $7.18

| Materials Fat quarters Wide ribbon Fabric scraps |
| Designs used in this project |
|
Projects You May Like
Meet the Author:
Anonymous

Feedback
Characters Remaining
Please Login to Submit a Feedback
Invalid Characters, Please enter a valid Comment
Please enter a valid Comment
Reviewed On
Link is Broken, Please check the URL