Border OptionsHugging border, circle, square, or rectangle — with a 3mm satin stitch.
Backing OptionsAvailable with iron-on, sew-on, or velcro backing.
Fast ShippingShipped quickly from the USA.
Free Online Tools
Powerful embroidery utilities that save time and prevent costly mistakes.
Stitch AssistantRECOMMENDED
Get the exact stabilizer, machine settings, needle, and thread color sequence for every embroidery design you purchase — based on that design's stitch density, dimensions, and color count.
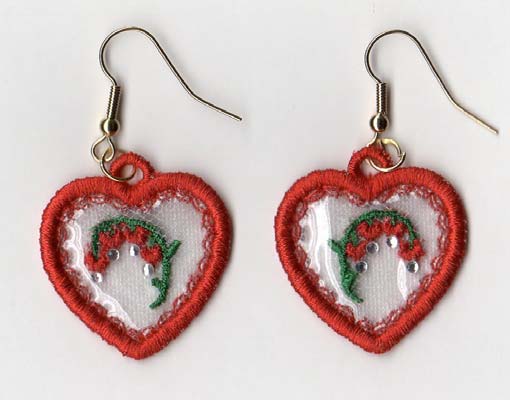
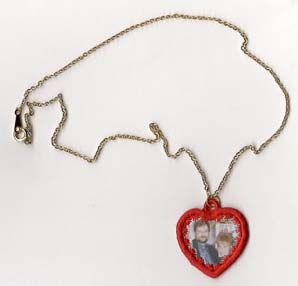
Create a charming heart-shaped photo pendant using in-the-hoop techniques. Perfect for personalizing with a cherished photograph, this pendant makes a thoughtful keepsake. Step-by-step instructions are included.
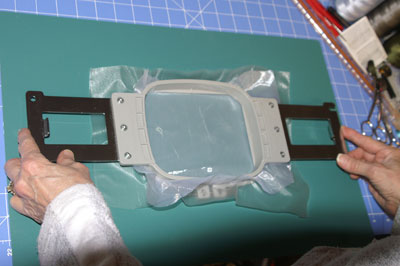
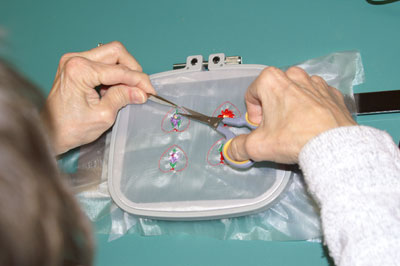
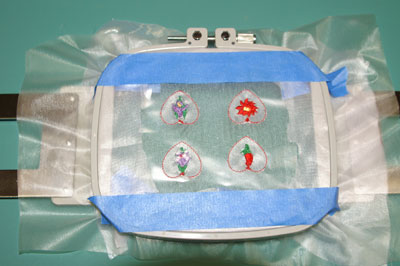
Hoop a piece of organdy or any material that is almost transparent along with a piece of clear water soluble stabilizer. Sew the design up to the first heart that is to be a single stitch. After sewing the single stitch heart, take the hoop out of the machine. Do not un‐hoop. Carefully trim the material away from the single stitched heart. Do Not Cut The Stabilizer - only the material and trim all the little tails or anything you don't want encased.
Step 2:
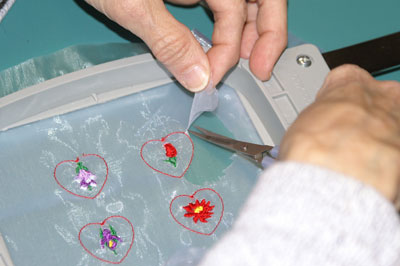
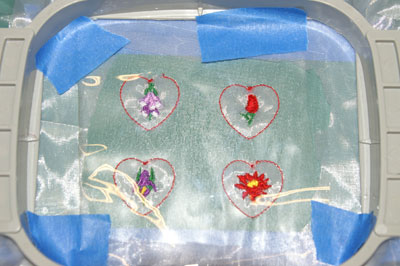
Hold the hoop up to the light to see if there are any unwanted threads and trim them carefully. (See pics below)
Step 3:
Hold the hoop up to the light to see if there are any unwanted threads and trim them carefully. (See pics below)
Step 4:
Hold the hoop up to the light to see if there are any unwanted threads and trim them carefully. (See pics below)
Step 5:
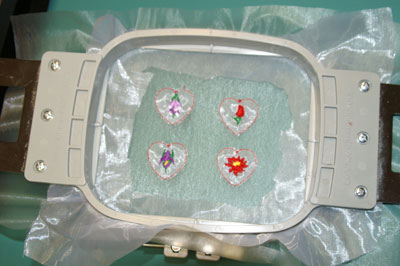
Cut two 4" x 4" pieces of clear vinyl (the soft kind found in fabric stores for covering upholstery.) Turn the hoop over and tape one of the pieces over the design, making sure that the entire underside is completely covered. Be sure the there will be no tape or bent edges of the vinyl interfering with the needle or arm of the machine.
Step 6:
Then turn the hoop right side up and place a piece of clear vinyl over the design, tape the edges so it won't shift.
Step 7:
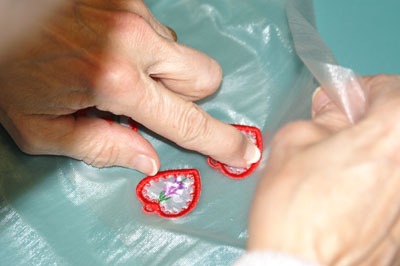
Place the hoop back into the machine and sew the rest of the design. Do not do any trimming until the design is completed. Take the hoop out of the machine hold the edges of the earring down with your finger and carefully pull the vinyl away, doing each layer one by one. The idea is to press the edges down while tearing the excess material away without harming the satin stitch. Everything should tear away from the earring easily leaving a clean satin edging and giving the flower a 3‐D floating effect. The circle can be poked out with a pin.
Step 8:
Putting the Wires in the Earrings
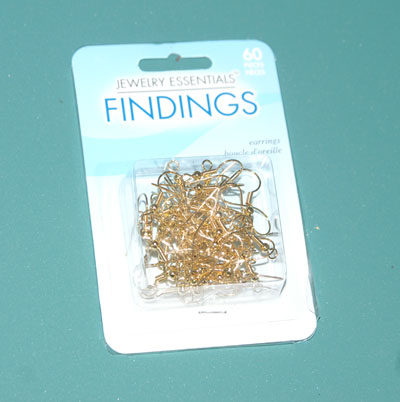
I used 6mm earring wires that can be purchased at any craft store.
Step 9:
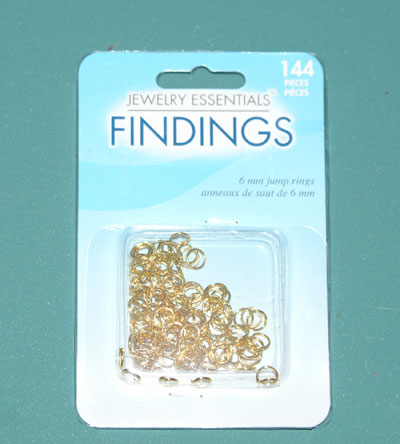
Putting the Wires in the Earrings: I used 6mm jump rings that can be purchased at any craft store.
Step 10:
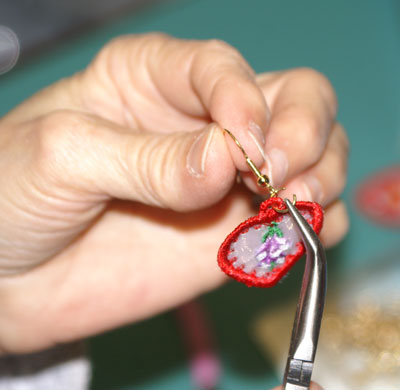
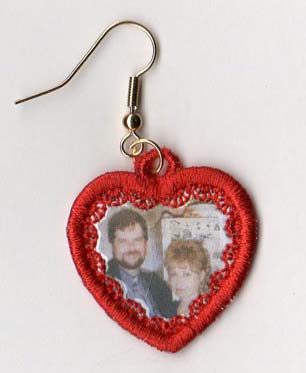
Pull the jump ring open slightly and place it though the top circle of the earring and earring wire. The ring will join everything together. Then close the jump ring, leaving no gaps. You can also place crystals or even a picture (by itself) and have it beautifully encased in a heart earring, necklace or charm.
Step 11:
To Create Hearts with Pictures or Crystals
Reduce or cut a picture squarely to .80 of an inch. This is the size that will fit best in the frame. Hoop with 1 layer of clear water soluble stabilizer.
Sew First Single Heart Stitch
This is the placement stitch. Place just a tiny dab of glue on the back of the picture or crystals (anything that you would like to encase in the heart) and center it in the heart. (note: just put a teeny tiny dab of glue, because you don't want to make a hole in the water soluble stabilizer ‐ you want the item to stay put but you don't want a hole) ‐ the stabilizer stays permanently and acts to hold the picture or whatever you put in the heart. Then the clear vinyl is sewn over everything, leaving a clear window.) Cut two 4 x 4 pieces of vinyl and tape one piece under the hoop covering the design and the other piece of vinyl on top. Tape both lightly so they won't move. Do not un‐hoop.
Sew the complete design. When finished, just gently tear away one layer at a time while holding the design firmly with your fingertip. Heart should come out clean and neat. You’re finished. Now, just attach the rings, etc.
Hi, my name is Marlene Stewart. I was born in Indiana and really have a strange career path of - secretary at a brokerage firm in Chicago. In 1972 I moved to Arkansas and became owner of a TV/VCR sales and repair, then school insurance coordinator, Realtor, bakery owner, arts & crafts, now digitize.
I began teaching myself to digitize in 1992 after I purchased my first embroidery software and Brother PE150 embroidery machine since then I have upgraded software and machines.
My husband is retired from the U.S. Air Force and I have a 36 year old son. My favorite part of the day is evening when my husband and I cuddle with a blanket and watch science fiction movies. I love digitizing, my husband calls it a love affair and admire the works of Thomas Kinkade.