Live Chat
Embroidery Designs
Welcome, Embroiderer
Login
Valentine Day Post Cards
{{mainImageAlt || (productInfo._source && productInfo._source.name) || ''}}

Valentine Day Post Cards Embroidery Project

By   Cindy Dzikowski   on   April 17, 2014
  • SKILL LEVELBeginner
  • TIME REQUIRED02:00
Description

No matter WHAT color shows up on your particular machine, the running stitches around the edges and the final satin stitch around the edge of the front, are to be stitched in the color RED! Also, before stitching then final satin stitch around the front

Step of

Materials

Project Preview Video

Materials
  • Hoop stabilizer
  • Fabric
  • Stabilizer
  • Postcard
  • Double sided tape
  • Spray
  • Fray block

  • Designs used in this project


    Step 1:
    (Click Image to Enlarge)
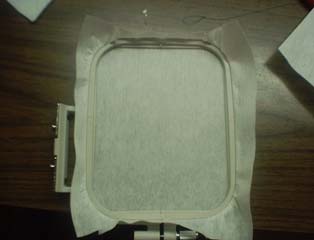
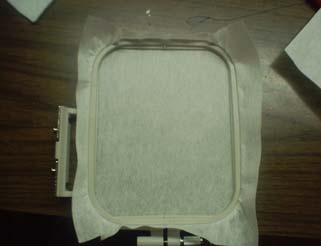
    Hoop stabilizer only.


    Step 2:
    (Click Image to Enlarge)
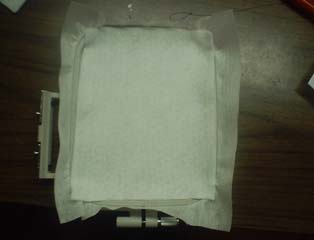
    Lay your fabric on top of the stabilizer. You can use spray adhesive on it if you like. Attach hoop to machine.


    Step 3:
    (Click Image to Enlarge)
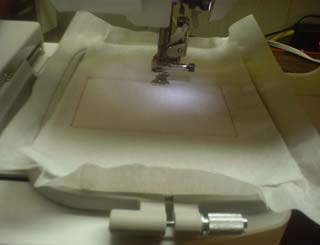
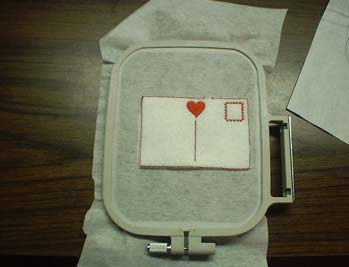
    Stitch out entire back of postcard and remove from machine.


    Step 4:
    (Click Image to Enlarge)
    Remove back of postcard from the machine and un-hoop.


    Step 5:
    (Click Image to Enlarge)
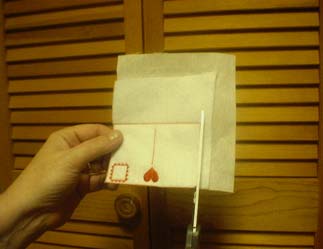
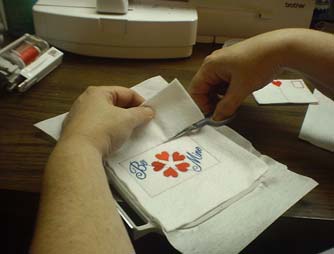
    Trim fabric & stabilizer as close to running stitch line as possible without cutting through the stitches.


    Step 6:
    (Click Image to Enlarge)
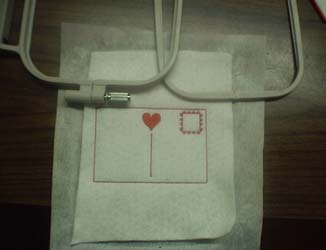
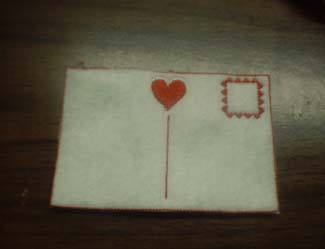
    The back of your postcard should look similar to this once it is all trimmed. Leave the back of the postcard to the side for now.


    Step 7:
    (Click Image to Enlarge)
    Hoop a new piece of stabilizer and lay fabric on the stabilizer. Follow instructions 1 & 2 above.


    Step 8:
    (Click Image to Enlarge)
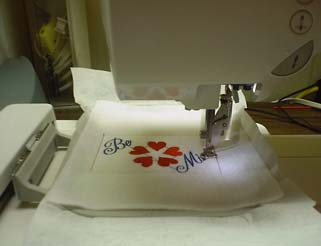
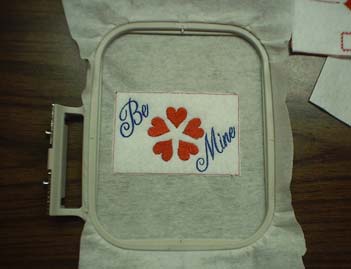
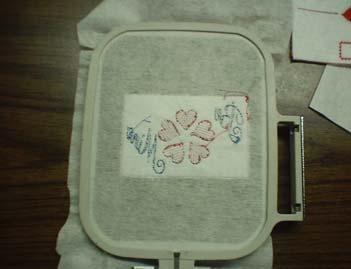
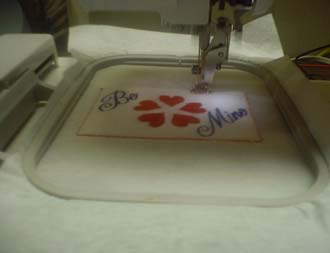
    Stitch the front of the postcard. STOP the machine before the last TWO sections of stitching. The second to last is a running stitch and the last is a satin stitch. Remove from machine.


    Step 9:
    (Click Image to Enlarge)
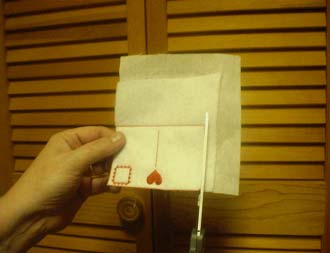
    Leaving stabilizer hooped, trim fabric as close as possible to the running stitch edge. Be careful, trying not to cut through running stitch. Do not cut the stabilizer.


    Step 10:
    (Click Image to Enlarge)
    After you trim the fabric you should have something that looks like this.


    Step 11:
    (Click Image to Enlarge)
    Turn entire hoop over so the back side is facing you.


    Step 12:
    (Click Image to Enlarge)
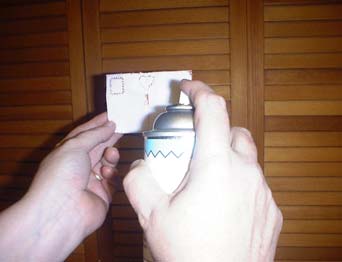
    Spray the back-side of the back of the postcard that you stitched before with adhesive. You can also put a piece of double sided tape in the center of the back (this is the method I use). Make sure if you use tape you center it, so nothing will sew through it. You will only be sewing the edges for the last two steps.


    Step 13:
    (Click Image to Enlarge)
    Carefully lay the back of the postcard on the BACK of the hoop following the running stitch edge from the front of the postcard. Make sure the top of the postcard from the back matches the direction of the top of the postcard on the front and the same thing for the bottom. Please be careful not to “push” down on it too hard as you will stretch the stabilizer.
     
    Remember to change your bobbin thread to red at this point!
     
    Turn over and return hoop to machine. Once hoop is back in machine I always run my fingers over the entire design to make sure the back hasn’t folded or winkled. When the hoop is back on the machine you can “press” a little harder to adhere the spray adhesive or tape better, as now it has some support under it.


    Step 14:
    (Click Image to Enlarge)
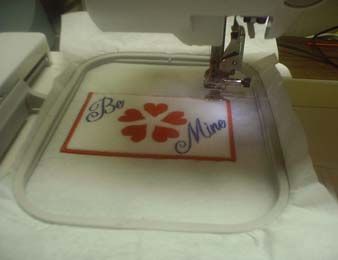
    Start stitching where you left off. The running stitch will stitch first. Then the satin stitch will stitch second. I have added a tack down stitch to the satin stitch that will automatically stitch before the actual satin stitch starts, but it is all done in one motion, no need to restart machine.


    Step 15:
    (Click Image to Enlarge)
    Almost finished! When stitching the satin stitch it should look something like this.


    Step 16:
    (Click Image to Enlarge)
    Remove hoop from machine and un-hoop everything. If you have used tear away stabilizer, pull it away VERY carefully. If you used regular stabilizer trim as close to satin stitch as possible without cutting the satin stitch. Trim any necessary jumps or strings. And you are done! I always add “Fray Block”or “Fray Check” to the edges just for added protection. Both are available at Wal-Mart.


    Step 17:
    (Click Image to Enlarge)
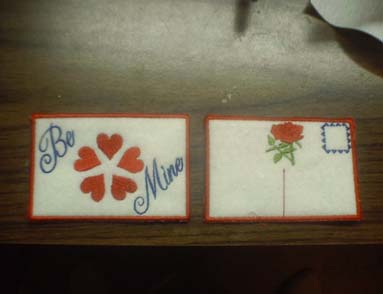
    Your finished product should look like this.


    Step 18:
    I have stitched these on felt, I do not recommend felt if you are going to write on them. It may not be a bad idea to hoop a piece of “Press & Seal” when you first start with the back of the postcard. Hoop stabilizer & “Press & Seal” together then lay the fabric on it. This way if you do write on it, the ink shouldn’t bleed through the other side. I have NOT tested this….at this point it’s just an educated guess.


    Step 19:
    If when you are finished and you trim or tear away the stabilizer and you can still see a little “white” color showing through. Grab a red permanent marker, like a Sharpie and carefully color over the white that is showing. I have bought the biggest color set of Sharpie’s on the market.
    Meet the Author: Cindy Dzikowski
    Cindy Dzikowski
    I live in the beautiful mountains of Georgia with my wonderful husband and 3 grown children. I have just recently been blessed with my first granddaughter which is simply the most unbelievable gift away could give me! I started sewing about 40 years ago (YIKES! That just made me feel really old) by rolling myself up in a piece of fabric on the floor, drawing a line on it, cutting it, then proceeded to make my very own wedding gown Halloween costume. I haven't stopped sewing since. My primary business is purses. About 3 years ago I received my first embroidery machine as a Christmas gift. I was amazed watching it stitch and embroidered everything in sight. Although I love to sew, I love my computer more. When I found out I could draw my own things and turn them into embroidery patterns .....well...it has just snowballed. The funny part is, I spend more time digitizing now then I do sewing and I couldn't be happier!
    More From This Author
    Link is Broken, Please check the URL
    Exclusive Embroidery Offers!
    Copyright © {{ currentDate | date:'yyyy'}} - EmbroideryDesigns.com
    GET 50% OFF! ×