














































PROJECT INSTRUCTIONS


PROJECT INSTRUCTIONS
Child's Paw Print Wash Mitt Embroidery Project
By
Rhonda Slack
on
April 14, 2014
Description
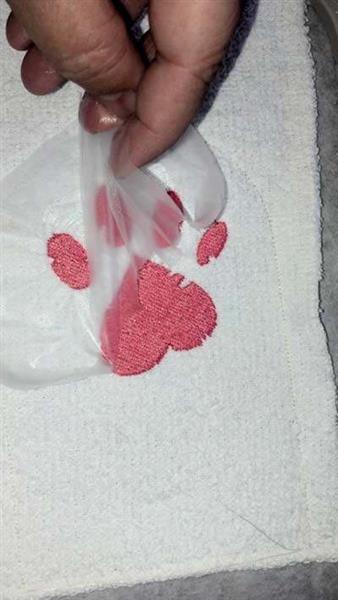
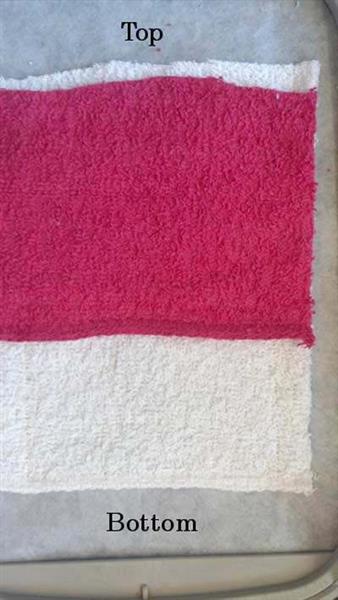
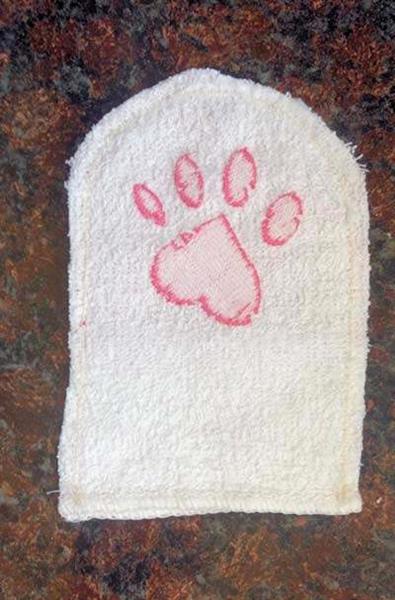
This child's wash mitt features a playful paw print design, perfect for making bath time fun. It includes a convenient pocket for holding soap, ensuring easy use for little hands. Crafted to be soft and gentle on the skin, it measures 4 inches wide by 6 inches long. Step-by-step instructions are included.
Step
of
Materials
Project Preview Video

QUICK VIEW
Sailboat, Clownfish & Bee Embroidery Bundle – Fun Designs (10 Designs)
$19.90
$10.95
Circle Price: $10.95

Clown Fish
$3.89
Circle Price: $1.84

Bumble Bee
$3.89
Circle Price: $1.84

Volleyball Circle
$3.89
Circle Price: $1.84

Happy Frog
$3.89
Circle Price: $1.84

Hand Print
$3.89
Circle Price: $1.84

Yellow Duck
$3.89
Circle Price: $1.84

Blue Paw Print
$3.89
Circle Price: $1.84

Wash Mitt
$3.89
Circle Price: $1.84

QUICK VIEW
Sailboat Summer
$3.89
$1.99
Circle Price: $1.84
QUICK VIEW
Bubbles Collection
$3.89
$1.99
Circle Price: $1.84

Cut Away Stabilizer - 2.5 Oz wt.
$8.94
Circle Price: $8.05

Cut Away Stabilizer - 2 oz wt.
$8.52
Circle Price: $7.67

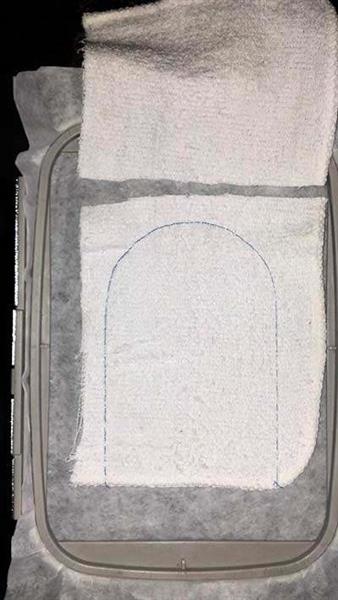
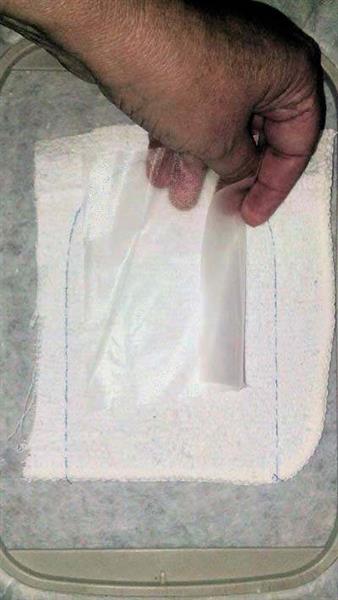
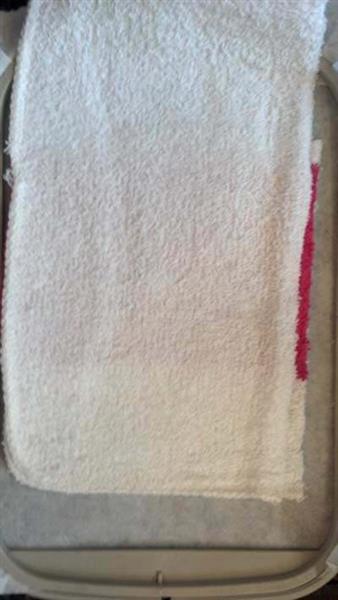
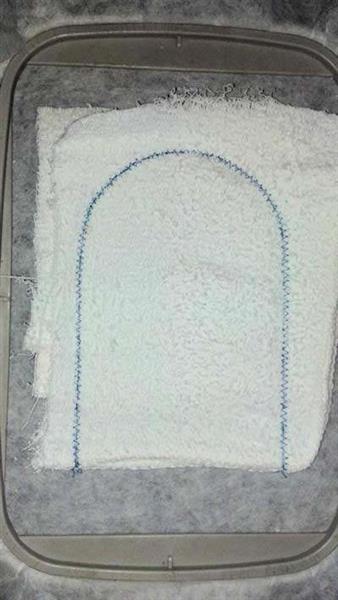
| Materials Wash cloth - basic 11 inch or larger, cut in half Tear away stabilizer or Opaque wash away stabilizer Thread to match wash cloth Thread colors for design Tape or pins Clear wash away stabilizer |
| Designs used in this project |
| Final Product: What You Will Create |
 |
|
Projects You May Like
Meet the Author:
Rhonda Slack

I am a work at home mom and a retired Air Force wife of 20 yrs. I have traveled the world with my husbands career and loved it. My favorite is still Guam. I sew and donate to New Borns In Need and to my local Church Humanitarian Projects. I learned to digitize out of the pure love of the embroidery machine. It's great to be an American! God Bless Our Troops and Bring Them Home Safely.
Feedback
Characters Remaining
Please Login to Submit a Feedback
Invalid Characters, Please enter a valid Comment
Please enter a valid Comment
Reviewed On
Link is Broken, Please check the URL