














































PROJECT INSTRUCTIONS


PROJECT INSTRUCTIONS
Decorative Candle Reflector Embroidery Project
By
Anonymous
on
April 16, 2014
Description
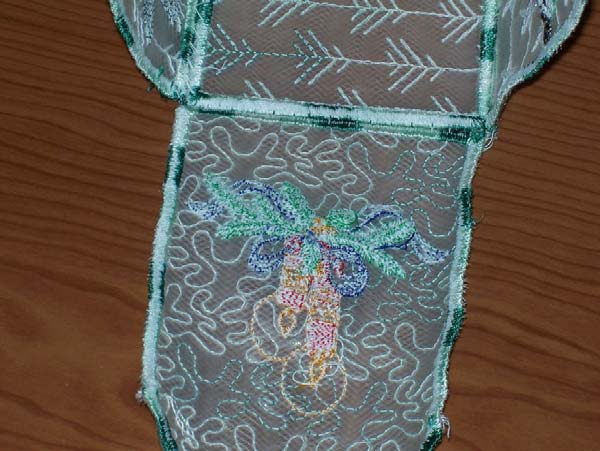
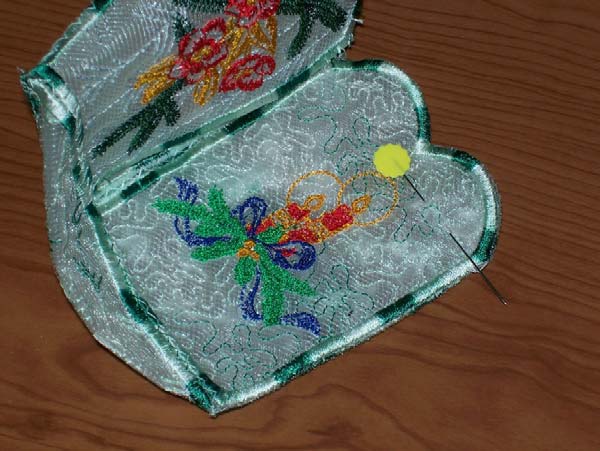
Enhance your candle displays with this decorative candle reflector. Featuring colorful floral accents, this piece adds a touch of elegance to any setting. Perfect for enhancing ambiance in home decor. Step-by-step instructions are included.
Step
of
Materials
Project Preview Video

QUICK VIEW
Christmas Quilt Embroidery Designs Bundle – Christmas Tree, Santa with Bag, Christmas Bells & More (9 Designs)
$17.91
$9.85
Circle Price: $9.85

QUICK VIEW
Elegant Holiday Embroidery Designs Bundle – Holiday Sleigh, Candle with Holly, Poinsettia Design & More (8 Designs)
$15.92
$8.76
Circle Price: $8.76

FSL Bottom
$4.99
Circle Price: $1.84

ITH Santa Claus Gift Box
$4.99
Circle Price: $1.14

Silver Bells
$4.99
Circle Price: $1.14

Church Box Side
$4.94
Circle Price: $1.84

Poinsetta Box Side
$4.89
Circle Price: $1.14

Votive Candlewrap
$4.89
Circle Price: $1.14

Holiday Box Side
$4.39
Circle Price: $1.14

Christmas Tree Celebration
$4.39
Circle Price: $1.14

Candle Project
$4.39
Circle Price: $1.14

Church Box Bottom
$3.89
Circle Price: $1.84

Xmas Box Bottom
$3.89
Circle Price: $1.14

FSL Star Pattern
$3.89
Circle Price: $1.84

FSL Abstract Tree Decor
$3.89
Circle Price: $1.84

ITH Textured Elegance Coaster
$3.89
Circle Price: $1.84
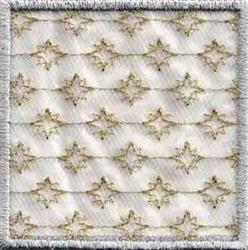
Star Line Pattern
$3.89
Circle Price: $1.84

ITH Abstract Arrow Key Fob
$3.89
Circle Price: $1.84

Candle Bottom
$3.89
$1.95
Circle Price: $1.80

Water Soluble Stabilizer - 12" x 25 Yds
$32.46
$25.97
Circle Price: $25.97

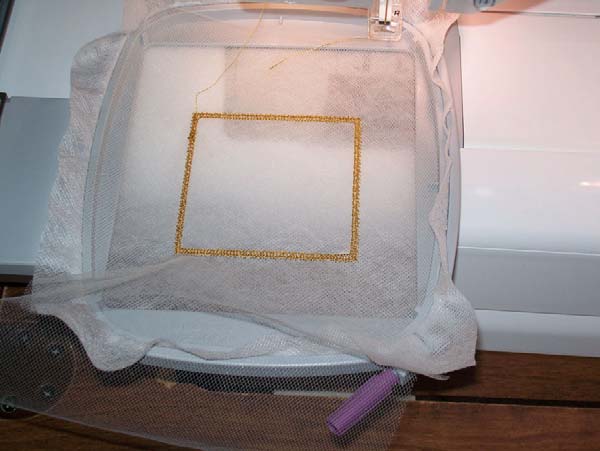
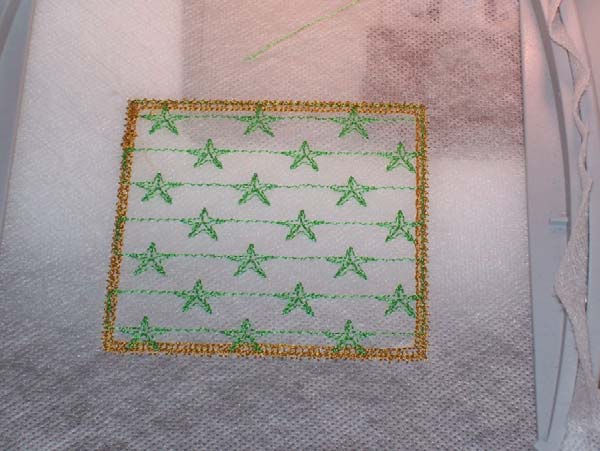
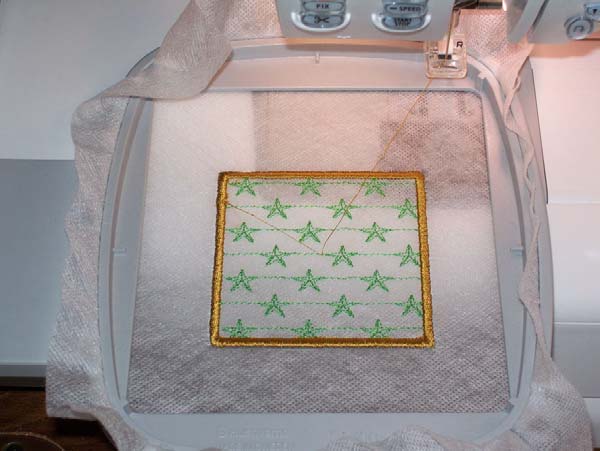
| Materials Wash-away stabilizer Thread for designs Bridal tulle |
| Designs used in this project |
| Final Product: What You Will Create |
 |
|
Projects You May Like
Meet the Author:
Anonymous

Feedback
Characters Remaining
Please Login to Submit a Feedback
Invalid Characters, Please enter a valid Comment
Please enter a valid Comment
Reviewed On
Link is Broken, Please check the URL