














































PROJECT INSTRUCTIONS


PROJECT INSTRUCTIONS
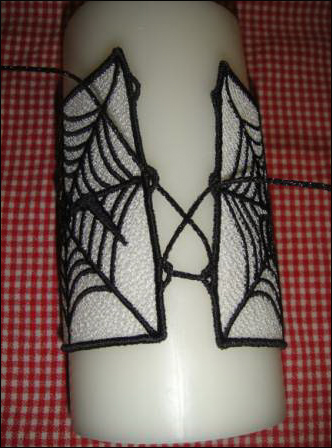
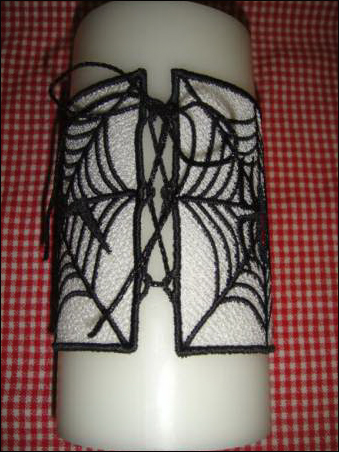
FSL Halloween Candle Wraps Embroidery Project
By
Pat Williams
on
October 01, 2013
Description
Enhance your Halloween decor with these freestanding lace candle wraps. Featuring intricate designs, they easily fit around standard candles to add a spooky touch to your festivities. Step-by-step instructions are included.
Step
of
Materials
Project Preview Video

QUICK VIEW
FSL Halloween Candle Cover
$15.00
$7.50
Circle Price: $7.35

QUICK VIEW
Water Soluble Stabilizer - 12" x 25 Yds
$32.46
$25.97
Circle Price: $25.97
{{ item.name }}
{{ item.listPriceDisplay }}{{ item.salePriceDisplay }}
Circle Price:
{{ item.clubPriceDisplay }}


| General Instructions:
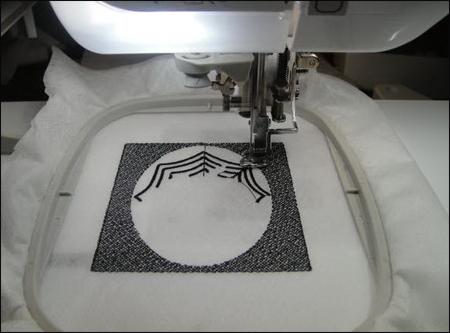
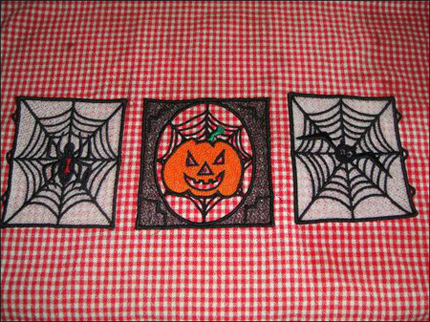
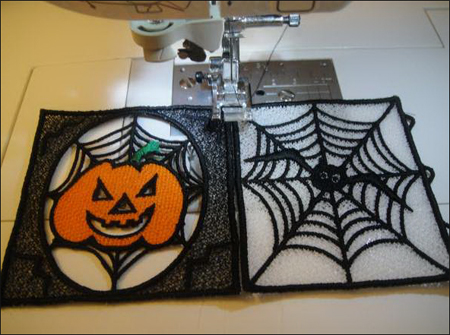
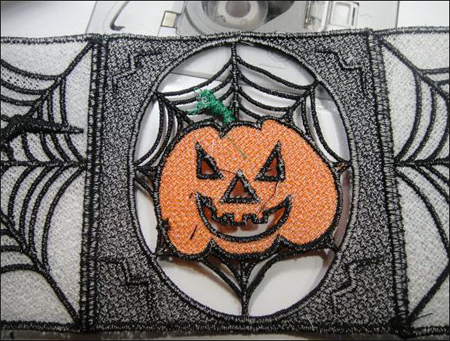
The candle cover is made from three separate designs that are embroidered one at a time in a 4" embroidery hoop. The three completed sections are then joined together with a zigzag stitch on your regular sewing machine to complete the candle cover. |
| Materials 6" or 4" flameless candle Batteries for your candles if it doesn't come with them Madeira Polyneon thread: black (1800), off white (1804), red (1747), orange (1765), green (1751) 1 yard fibrous water soluble stabilizer such as Floriani's Wet-n-Gone, or OESD's Aqua Mesh 1 yard of black stiff Craft Yarn or ribbon for back tie 4" embroidery hoop Standard sewing machine |
| Designs used in this project |
| Final Product: What You Will Create |
 |
|
Projects You May Like
Meet the Author:
Pat Williams

Award winning Digitizer, Embroidery Educator, Author and a Consultant to the Industry, Pat Williams has 30 years of experience in the embroidery industry. Pat has won multiple awards for her digitizing expertise including the 2007 Impressions Awards Grand Championship, Best of Show as well as the 1st and 2nd Place Awards. Pat’s love of digitizing has afforded her the opportunity to write numerous articles for Impressions magazine in the United States and Images Magazine in Europe. In 2001 Pat was named “Embroidery Educator of the Year.” For many years Pat taught digitizing seminars at the ISS Shows in Long Beach, CA and for Compucon software. She now resides in Tucson, AZ.
Feedback
Characters Remaining
Please Login to Submit a Feedback
Invalid Characters, Please enter a valid Comment
Please enter a valid Comment
Reviewed On
Link is Broken, Please check the URL