Border OptionsHugging border, circle, square, or rectangle — with a 3mm satin stitch.
Backing OptionsAvailable with iron-on, sew-on, or velcro backing.
Fast ShippingShipped quickly from the USA.
Free Online Tools
Powerful embroidery utilities that save time and prevent costly mistakes.
Stitch AssistantRECOMMENDED
Get the exact stabilizer, machine settings, needle, and thread color sequence for every embroidery design you purchase — based on that design's stitch density, dimensions, and color count.
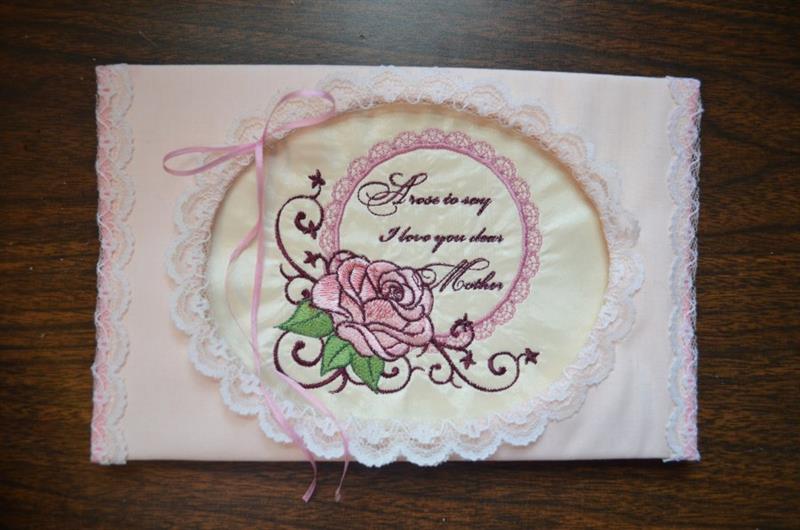
This elegant Mother's Day card features an embroidered sample adorned with lace and ribbon, perfect for expressing heartfelt sentiments. The delicate design adds a touch of sophistication to your message. Step-by-step instructions are included.
Step
of
Mother's Day Greeting Card with Lace and Ribbon
By Bonnie Landsberger
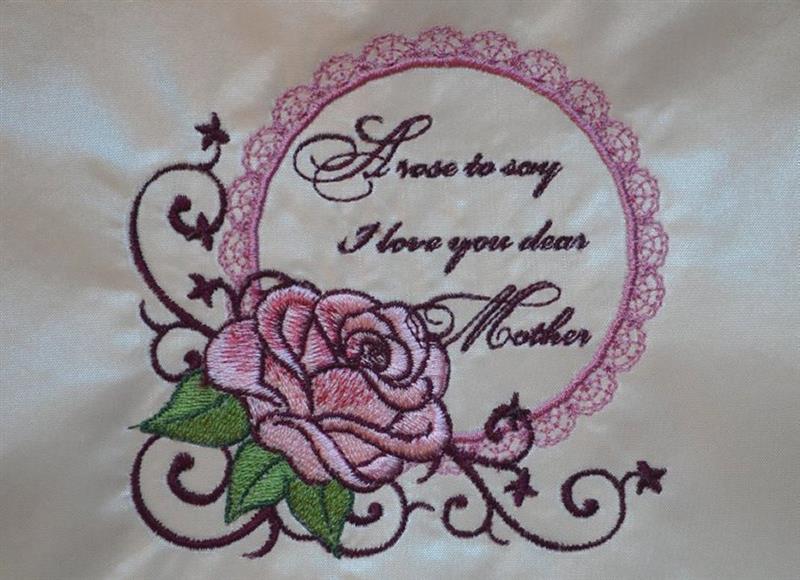
I decreased the size of the
design just slightly to fit the 4 x 4” hoop.
I used 1 sheet of tear-away with a piece of light cotton yellow fabric for
the stabilizer because the sateen-like fabric I had was a little sheer. I used a burgundy instead of the mauve that is
recommended in the color chart. I also used a dark pink instead of the
recommended light red for the shadow of the rose.
(Click Image to Enlarge)
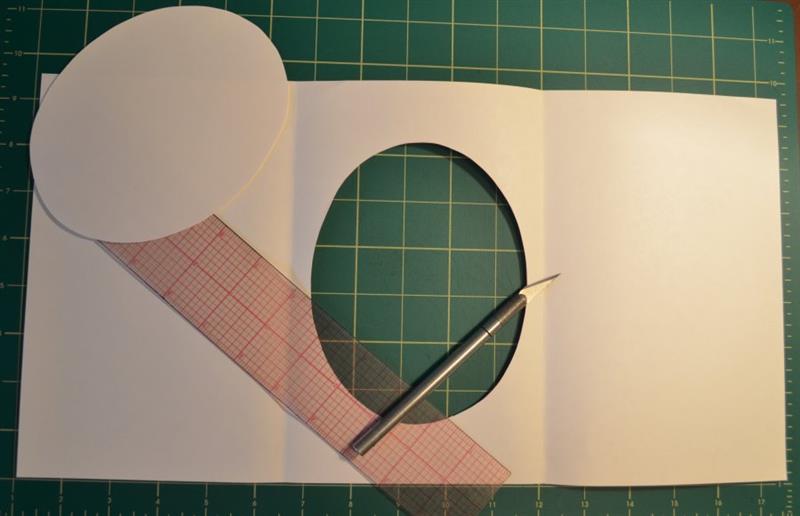
Step 2:
Cut an oval out of the center panel of the
template about 4.5” high and 7.75” wide.
(Click Image to Enlarge)
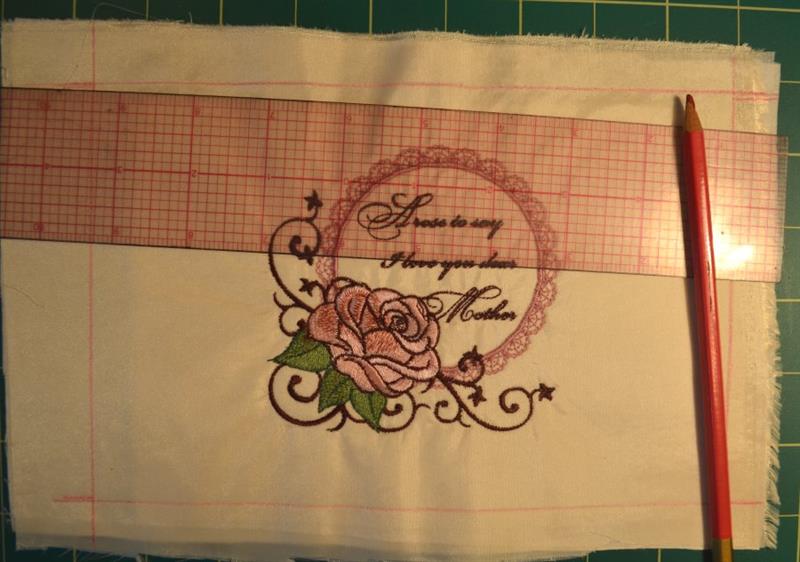
Step 3:
Measure, mark and trim away the excess fabric from the sew-out.
(Click Image to Enlarge)
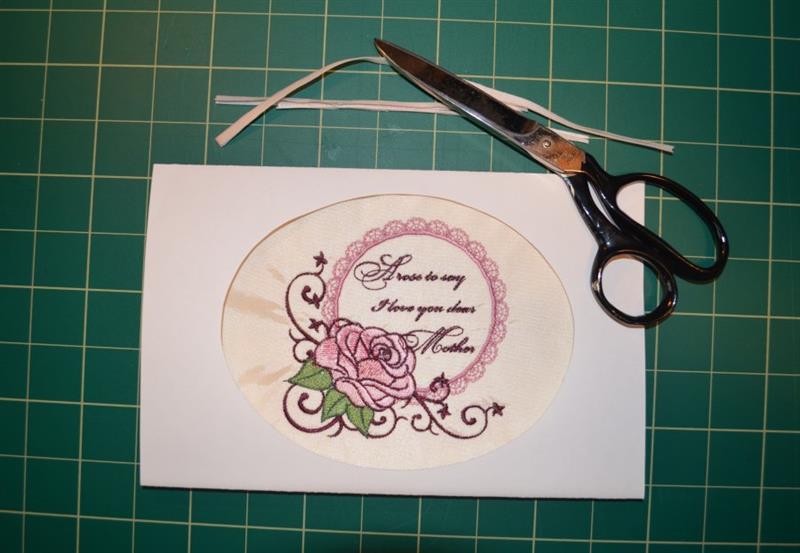
Step 4:
Then, set the sew-out into the panel to check if it will sit properly
when done; trim the sides of the fabric up to the edge of the card.
(Click Image to Enlarge)
Step 5:
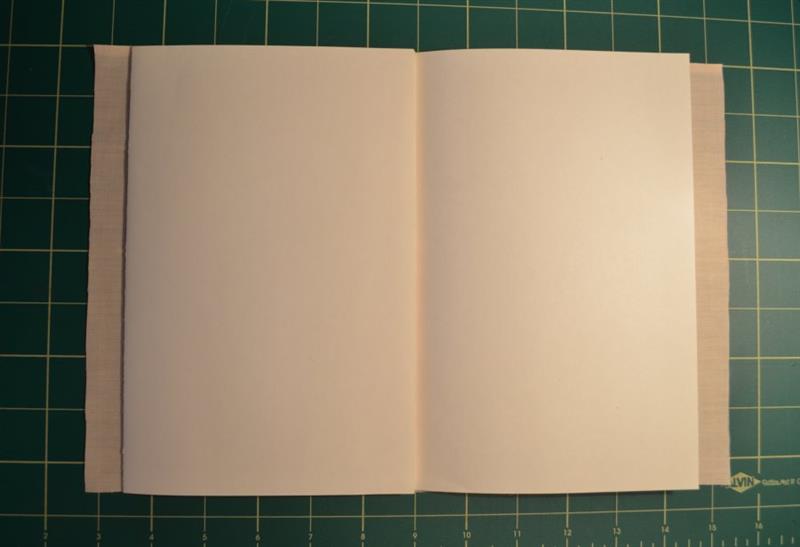
Place the folded card on top of the pink fabric, leaving an equal amount
of fabric on each side.
(Click Image to Enlarge)
Step 6:
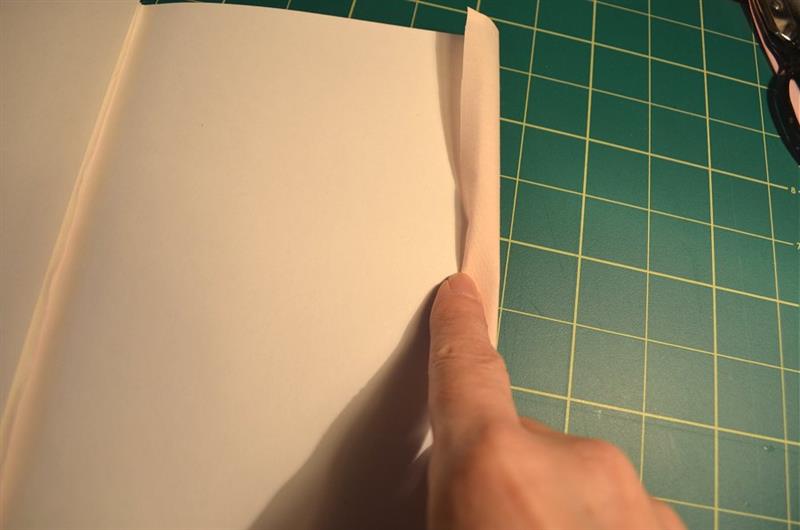
Finger press a hem along each side and press with an iron to hold the crease.
(Click Image to Enlarge)
Step 7:
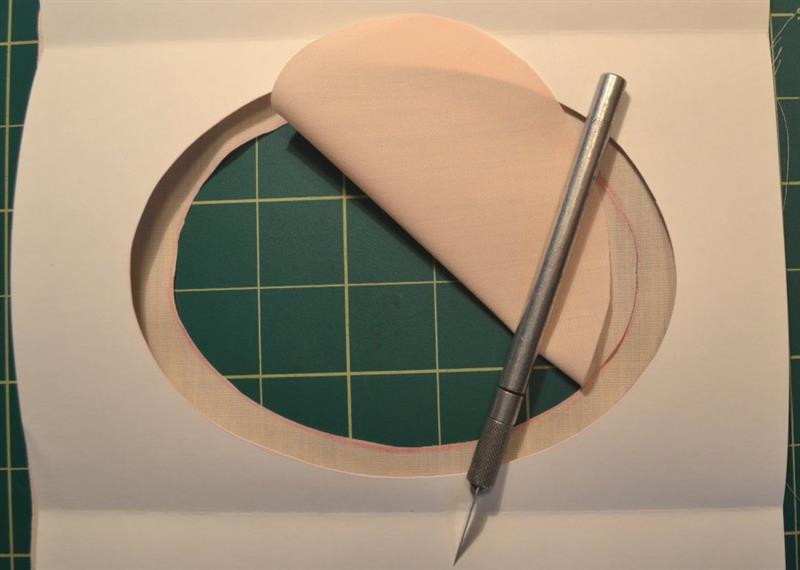
Cut along the inside oval and remove inside scrap.
(Click Image to Enlarge)
Step 8:
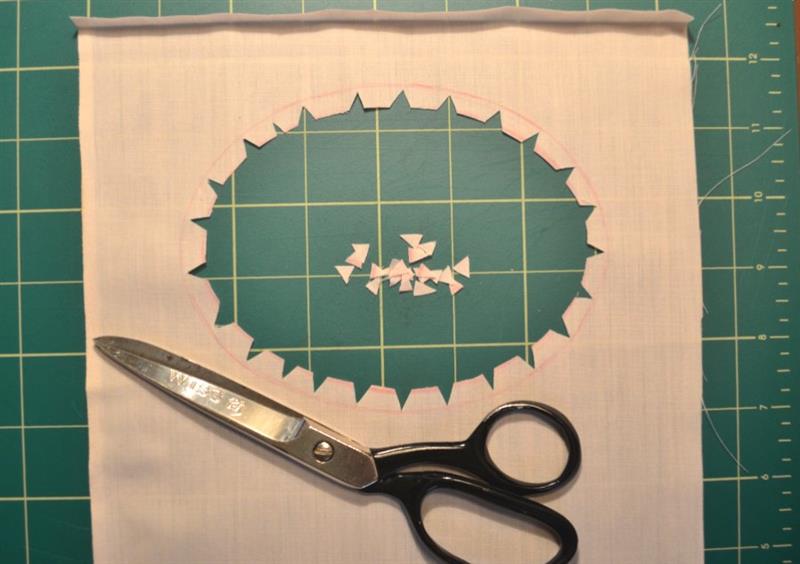
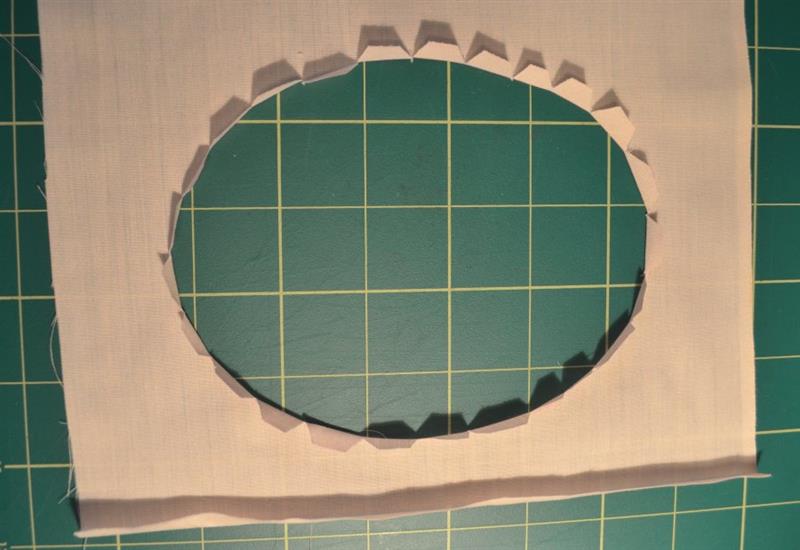
Cut triangles from the inside cut edge stopping just before the outside oval.
(Click Image to Enlarge)
Step 9:
Set card on fabric, fold tabs over the card edge and use scotch tape to
secure them to the inside of the card. Use
a bit of glue under the top and bottom hems that you finger pressed to
adhere them to the inside of the card; secure with small binder clips
until glue dries.
(Click Image to Enlarge)
Step 10:
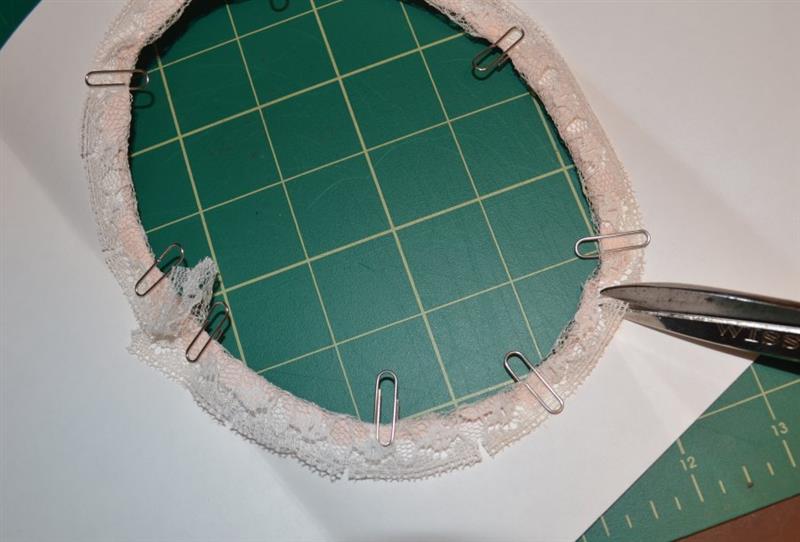
Press the 20” lace trim along its length in half and place around the
edge of the oval covering both the card and the pink fabric; hold in place with
paper clips. Make little clips about 1" apart on the outside edge of the
lace that rests on the inside of the card to release stress. Tape the edge of
lace to card, overlapping the lace ends neatly.
(Click Image to Enlarge)
Step 11:
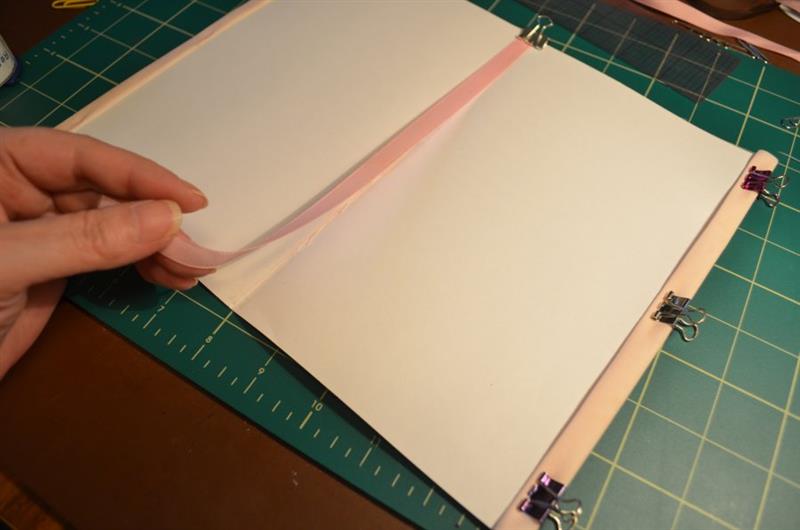
Place sample inside the oval and use small strips of scotch tape to
secure the fold at each side along open edge. Lay the 9.5” length of 10 MM wide
pink ribbon along the center of the inside fold.
(Click Image to Enlarge)
Step 12:
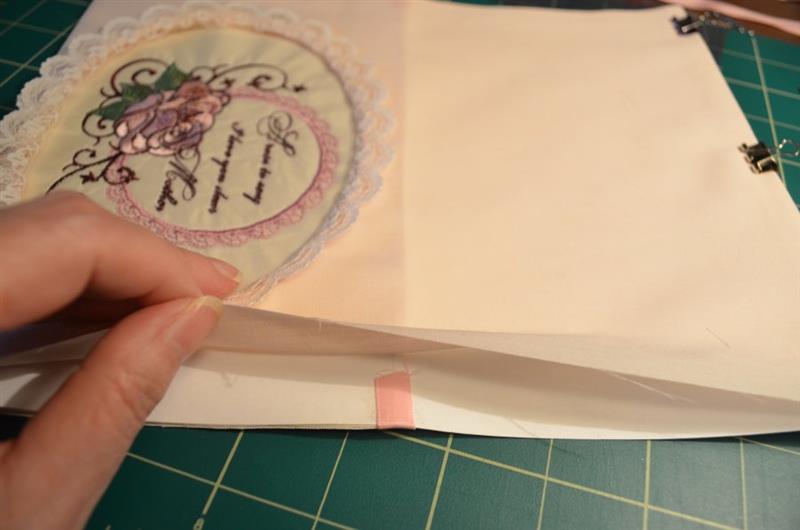
Tuck the ends between fabric and card on each side and secure with
scotch tape.
(Click Image to Enlarge)
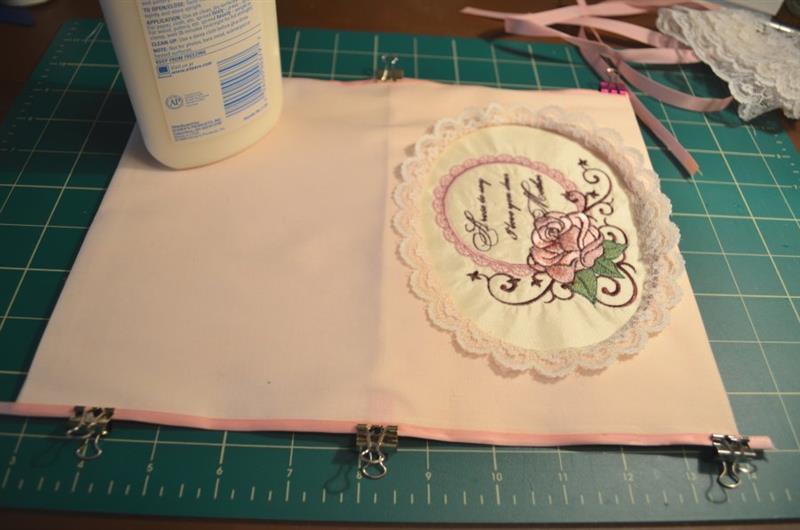
Step 13:
Press the 2 pink ribbons of 10 MM wide in half along the length; fold
one over each side to cover both the pink fabric and the card, using a little
glue to adhere the ribbon and close the sides; use binder clips to clamp until
glue dries.
(Click Image to Enlarge)
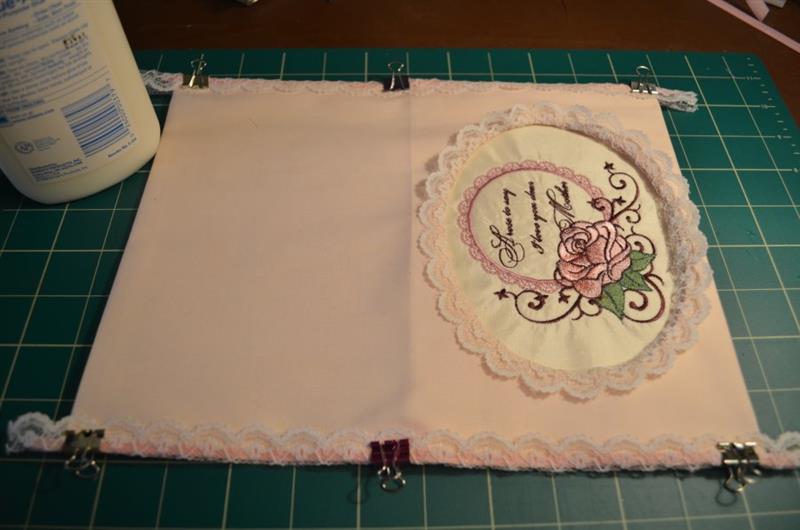
Step 14:
Press the remaining strands of lace trim in half along the length
and
clamp with binder clips to each side, covering edge of ribbon, card and
fabric, leaving an equal excess of trim on each side of card.
(Click Image to Enlarge)
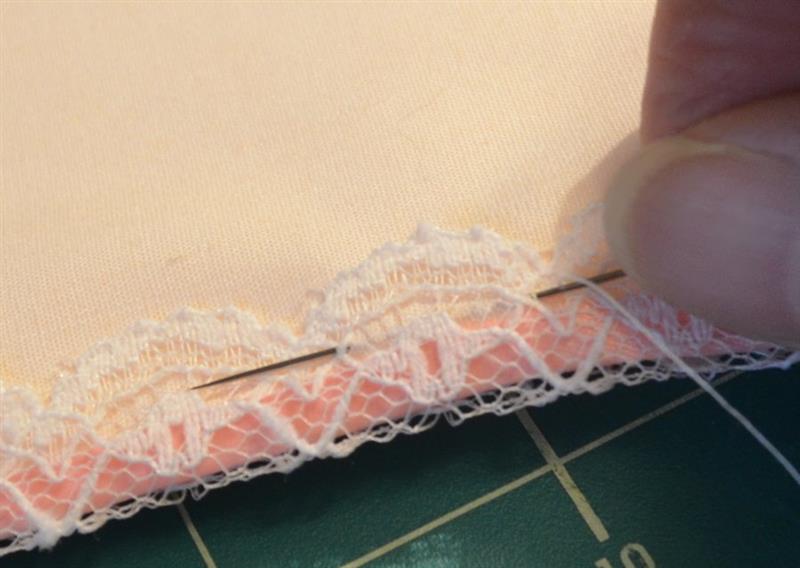
Step 15:
With needle and thread, baste the lace to the outside of the card,
slipping the length of thread below the fabric, making small stitches on the
surface.
(Click Image to Enlarge)
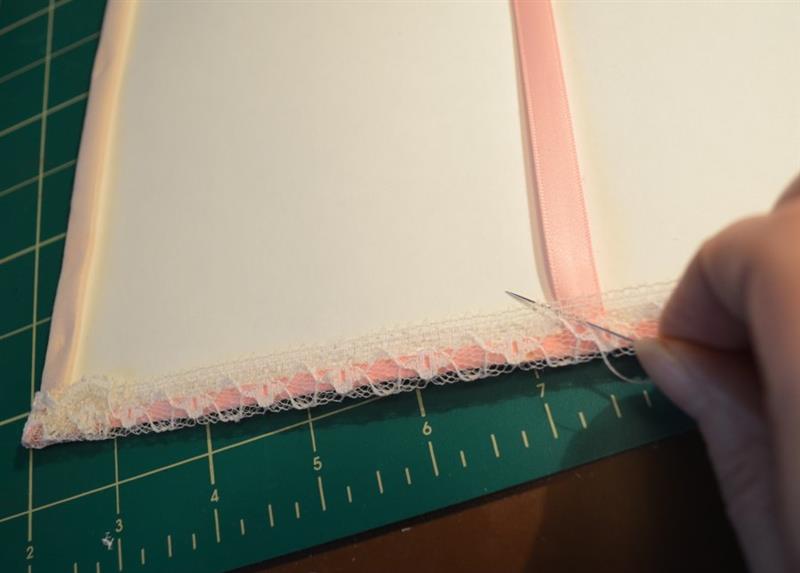
Step 16:
On the inside of the card, tack the lace to the
ends of the ribbon that lays along the center. Fold the ends of the
lace and ends of the ribbon at each corner to
the inside and tack in place with a couple of stitches.
(Click Image to Enlarge)
Step 17:
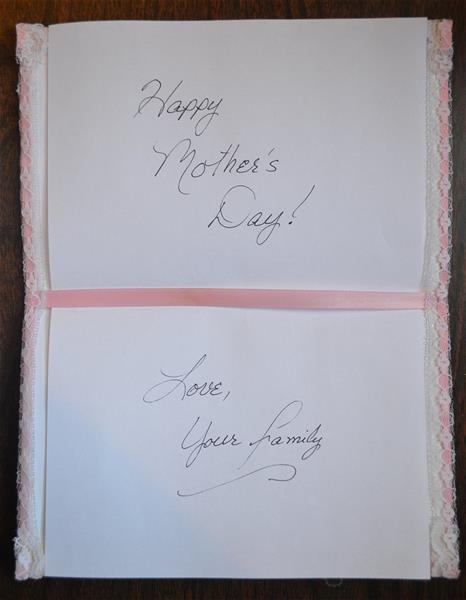
Print or write your message on a separate piece of paper or stationary;
cut to fit the card, about 11 x 7.5”, and slip through the ribbon along
the center fold.
(Click Image to Enlarge)
Step 18:
Tie a bow in the strand of 2 MM wide pink ribbon and stitch in place at
the top of the oval.
Bonnie Landsberger has been a crafter and hand embroiderer since childhood and a machine embroiderer and digitizer since 1986. She was the in-house head digitizer for a 50-head embroidery shop for 11 years and later offered custom digitizing services and stock design sales through her web site for Moonlight Design since 1993. She currently also holds a position as a customer service representative at EmbroideryDesigns.com.
Bonnie has won several awards for digitizing, including a gold medal in the 2002 Digitizing Olympics and grand prize in all categories & first place for Winter Holidays category in the Stitches Magazine Great Greeting Card Contest 2003.
Her embroidery and digitizing technical articles can be found in various trade magazines and she is currently a contributing writer and Editorial Advisory Board Member for Stitches Magazine. You can also find more of her articles online at EmbroideryDesigns.com and will continue to contribute articles to our Learning Center.