















































PROJECT INSTRUCTIONS


PROJECT INSTRUCTIONS
Quilt Alphabet Learning Blanket Embroidery Project
By
Barbara Geer
on
July 01, 2014
Description
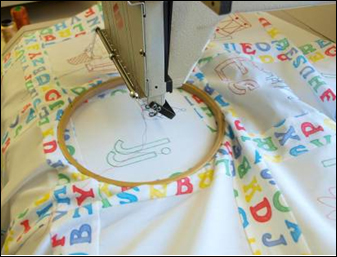
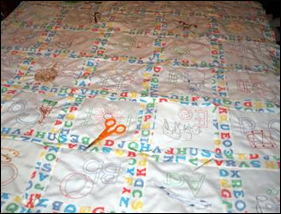
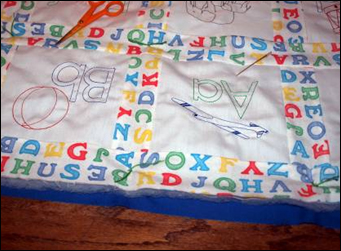
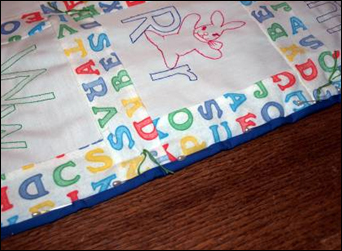
This charming quilt features the alphabet, making it a perfect cuddly learning tool for children. The quilt is designed with colorful blocks, each showcasing a different letter, ideal for educational and decorative purposes in a child's room. Step-by-step instructions are included.
Step
of
Materials
Project Preview Video
Tear Away Stabilizer
$7.98
Circle Price: $7.18
| Materials 2 yards of 44" white fabric 3 yards of 44" fabric for trim and back. This can be the same fabric or the trim and back can contrast. 2 yards of quilt batting Embroidery Designs (choose desired or appropriate size) Fabric listed above Tear-away backing of choice Embroidery thread in colors of choice Embroidery machine Sewing machine Sewing thread to match trim Cutting mat, rotary cutter, scissors, iron |
| Designs used in this project |
| Final Product: What You Will Create |
 |
|
Projects You May Like
Meet the Author:
Barbara Geer

Barbara Geer, Creative Director/Digitizer, Grand Slam Designs, an embroidery stock design and contract digitizing operation, has been in the decorated apparel industry since 1990. She is a popular speaker at commercial decorated apparel and home embroidery events. She also is a frequent contributor to commercial and home embroidery publications such as EMB, Stitches, and Printwear. You may reach Barbara at 218-222-3501; e-mail [email protected] or visit her Web site at www.grandslamdesigns.com.
Feedback
Characters Remaining
Please Login to Submit a Feedback
Invalid Characters, Please enter a valid Comment
Please enter a valid Comment
Reviewed On
Link is Broken, Please check the URL