2026 Flash Sale
Live Chat
Embroidery Designs
Welcome, Embroiderer
Login
Cornhole Bags
{{mainImageAlt || (productInfo._source && productInfo._source.name) || ''}}

Cornhole Bags Embroidery Project

By   Barbara Geer   on   June 29, 2012
  • SKILL LEVELIntermediate
  • TIME REQUIRED00:30
Description

Now you don’t have to keep replacing those expensive bags by purchasing them. You can make your own! One of the hottest new games!

Step of

Materials

Project Preview Video

Materials
  • Cornhole Bag Embroidery Design
  • Duck fabric in two colors (each team needs 4 bags)
  • Embroidery thread and machine
  • Sewing machine and thread to match fabric
  • Scissors
  • Blunt pointed object
  • Plastic pop/water bottle or funnel
  • Field or seed corn

  • Designs used in this project


    Step 1:
    (Click Image to Enlarge)
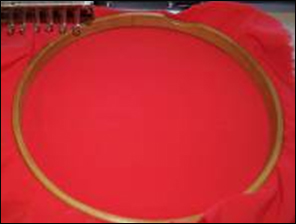
    Hoop two pieces of duck fabric, right sides together and wrong sides out. Duck cloth is durable and breathable for the corn dust to come through. Other fabrics will wear too easily or be too dense for the corn dust to come through. That's an important part of the game!


    Step 2:
    (Click Image to Enlarge)
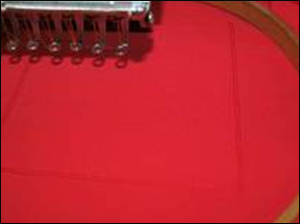
    Stitch the Cornhole Bag design. Use no backing! The design is two rows of bean stitch that are very close together, so the bag will be very sturdy.


    Step 3:
    (Click Image to Enlarge)
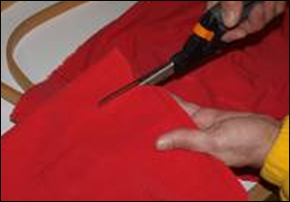
    Remove the cloth with embroidered design from hoop. Cut out about a half inch from the stitching, cutting the corners away at a diagonal. Be careful not to clip the stitching!


    Step 4:
    (Click Image to Enlarge)
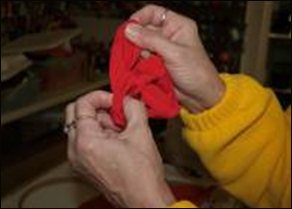
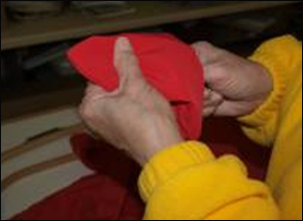
    Turn the bag right side out by pushing the fabric through the hole.


    Step 5:
    (Click Image to Enlarge)
    Using a blunt object, poke the corners out so that they are square. A pencil or pen works well. Take care not to push too hard so that you don't break the stitching and create a hole.


    Step 6:
    (Click Image to Enlarge)
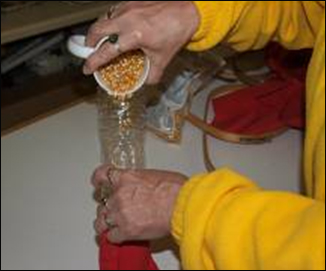
    Create a funnel by cutting the bottom from a plastic water bottle. Positioning your "funnel" into the hole, pour one pound (two cups) of seed/field corn into the bag. You can also weigh the corn for accuracy. Each bag should have one pound of corn. Discerning eyes will notice that I have used popcorn. Avoid the temptation to use popcorn! Feed corn is recommended because it is coarser and creates the right kind of dust as the game is played.


    Step 7:
    (Click Image to Enlarge)
    Remove the funnel from the filled bag and determine how you will finish the hole. A whip stitch with upholstery thread would do the trick, but...


    Step 8:
    (Click Image to Enlarge)
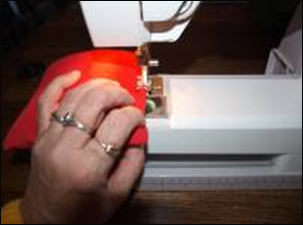
    I prefer the sewing machine. Push the corn to the side as much as possible. Stitch the hole closed with two or three rows of stitching, one on top of the other. The stitching will definitely outlast the bag.


    Step 9:
    (Click Image to Enlarge)
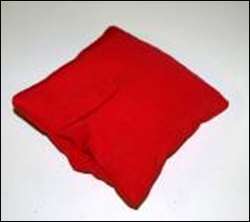
    The finished product: You will need four bags for each team. For ease of playing, it is recommended that the bags be two different colors. You can choose your favorite colors.
    Meet the Author: Barbara Geer
    Barbara Geer
    Barbara Geer, Creative Director/Digitizer, Grand Slam Designs, an embroidery stock design and contract digitizing operation, has been in the decorated apparel industry since 1990. She is a popular speaker at commercial decorated apparel and home embroidery events. She also is a frequent contributor to commercial and home embroidery publications such as EMB, Stitches, and Printwear. You may reach Barbara at 218-222-3501; e-mail [email protected] or visit her Web site at www.grandslamdesigns.com.
    More From This Author
    Link is Broken, Please check the URL
    Exclusive Embroidery Offers!
    Copyright © {{ currentDate | date:'yyyy'}} - EmbroideryDesigns.com
    GET 50% OFF! ×