















































PROJECT INSTRUCTIONS


PROJECT INSTRUCTIONS
Quilt Heirloom Baptism Keepsake Embroidery Project
By
Barbara Geer
on
April 16, 2012
Description
Create a cherished heirloom with this feminine baptism quilt perfect for a special little girl. Crafted from a wedding dress, it adds a personal touch to a memorable occasion. Step-by-step instructions are included.
Step
of
Materials
Project Preview Video

Proud New Grandma
$6.24
$0.99
Circle Price: $0.99

Child Of God Shell
$5.49
$0.99
Circle Price: $0.99

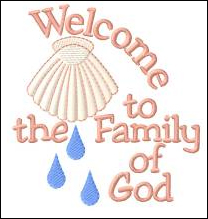
Family Of God Shell
$6.49
$0.99
Circle Price: $0.99

Babys Baptism
$6.69
$0.99
Circle Price: $0.99

Miracle Baptism Scene
$7.39
$0.99
Circle Price: $0.99

Cut Away Stabilizer - 2.5 Oz wt.
$8.94
Circle Price: $8.05

Cut Away Stabilizer - 2 oz wt.
$8.52
Circle Price: $7.67

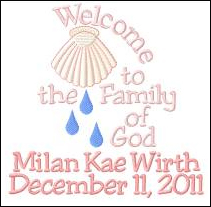
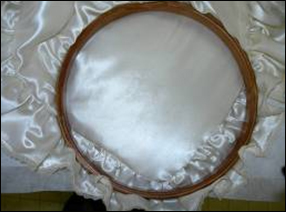
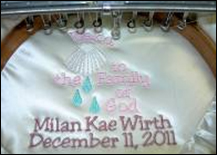
| Materials Family of God Shell Embroidery Design or design of choice Embroidery machine Ripper, scissors, needle and thread for reassembly |
| Designs used in this project |
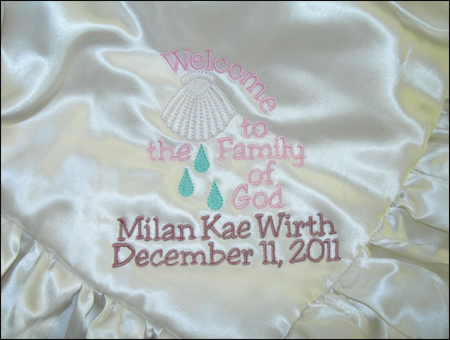
| Final Product: What You Will Create |
 |
|
Projects You May Like
Meet the Author:
Barbara Geer

Barbara Geer, Creative Director/Digitizer, Grand Slam Designs, an embroidery stock design and contract digitizing operation, has been in the decorated apparel industry since 1990. She is a popular speaker at commercial decorated apparel and home embroidery events. She also is a frequent contributor to commercial and home embroidery publications such as EMB, Stitches, and Printwear. You may reach Barbara at 218-222-3501; e-mail [email protected] or visit her Web site at www.grandslamdesigns.com.
Feedback
Characters Remaining
Please Login to Submit a Feedback
Invalid Characters, Please enter a valid Comment
Please enter a valid Comment
Reviewed On
Link is Broken, Please check the URL