














































PROJECT INSTRUCTIONS


PROJECT INSTRUCTIONS
ITH Nativity Scene Set Embroidery Project
By
Starbird Inc.
on
December 19, 2011
Description
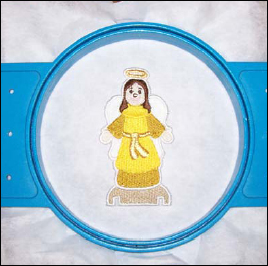
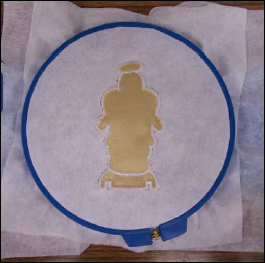
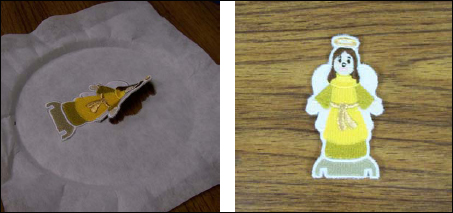
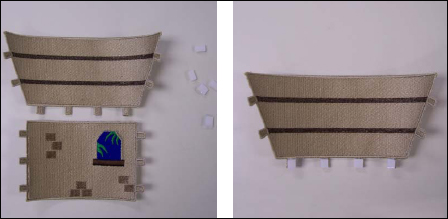
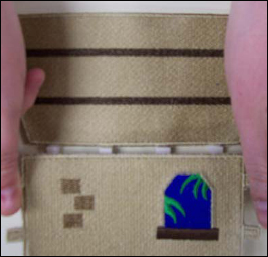
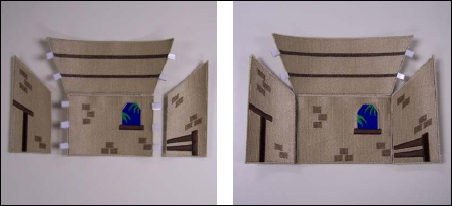
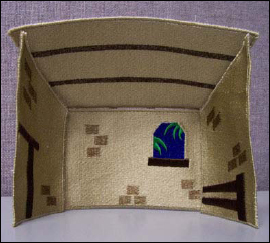
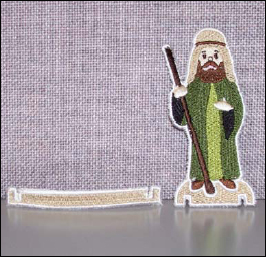
Create a charming Nativity Scene with this In the Hoop project. This set includes figures and a backdrop to bring the holiday spirit to your home. Perfect for seasonal decoration and a delightful addition to your Christmas traditions. Step-by-step instructions are included.
Step
of
Materials
Project Preview Video

QUICK VIEW
Nativity Scene Figures Embroidery Bundle – Angel, Mary, Joseph, Wise Man & More (23 Designs)
$36.95
$20.32
Circle Price: $20.32

Creche Joseph
$7.95
Circle Price: $1.34

Creche Mary
$7.95
Circle Price: $1.34

Creche Barn Left Side
$5.95
Circle Price: $1.34

QUICK VIEW
Applique Angel Figure
$7.95
$3.98
Circle Price: $3.83

QUICK VIEW
Applique King Figure
$7.95
$3.98
Circle Price: $3.83

QUICK VIEW
Applique Wise Man Gifts
$7.95
$3.98
Circle Price: $3.83

QUICK VIEW
Applique Lamp Bearer
$7.95
$3.98
Circle Price: $3.83

Applique Baby Crib Halo
$7.95
$3.98
Circle Price: $3.83

QUICK VIEW
Creche Star
$7.95
$3.98
Circle Price: $3.83

QUICK VIEW
Creche Camel
$7.95
$3.98
Circle Price: $3.83

QUICK VIEW
Creche Donkey
$7.95
$3.98
Circle Price: $3.83

QUICK VIEW
Creche Ox
$7.95
$3.98
Circle Price: $3.83

Creche Sheep
$7.95
$3.98
Circle Price: $3.83

QUICK VIEW
Creche Stands
$5.95
$2.98
Circle Price: $2.83

QUICK VIEW
Creche Barn Back
$5.95
$2.98
Circle Price: $2.83

QUICK VIEW
Creche Barn Right Side
$5.95
$2.98
Circle Price: $2.83

QUICK VIEW
Creche Barn Roof
$5.95
$2.98
Circle Price: $2.83

Creche 3 12" Stand
$3.89
$1.95
Circle Price: $1.80
QUICK VIEW
ITH Narrow Rectangular Accent
$3.89
$1.95
Circle Price: $1.80

QUICK VIEW
ITH Vertical Geometric Accent
$3.89
$1.95
Circle Price: $1.80

ITH Narrow Accent Border
$3.89
$1.95
Circle Price: $1.80

QUICK VIEW
ITH Vertical Line Bookmark
$3.89
$1.95
Circle Price: $1.80

QUICK VIEW
Creche 5" Stand
$3.89
$1.95
Circle Price: $1.80

Cut Away Stabilizer - 2.5 Oz wt.
$8.94
$7.15
Circle Price: $7.15
{{ item.name }}
{{ item.listPriceDisplay }}{{ item.salePriceDisplay }}
Circle Price:
{{ item.clubPriceDisplay }}


| Materials Nativity Scenes (In The Hoop) Embroidery Design Pack 2 tear-away backing pieces per embroidery design - sized to fit in your hoop Gold embroidery thread and matching bobbin thread Spray adhesive Scissors Small package of sticky back velcro strips (you do not need very much) Thick appliqué fabric pieces - we used cream PSA Twill for our appliqué pieces |
| Designs used in this project |
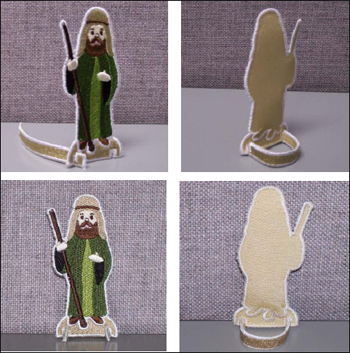
| Final Product: What You Will Create |
 |
|
Projects You May Like
Meet the Author:
Starbird Inc.
Starbird Inc. has been digitizing custom embroidery designs for over 25 years. They have seen so many wonderful and creative designs over the years that Starbird decided to create some of their own embroidery stock designs. Starbird Inc. is having a great time creating new and imaginative ideas and would like you to be able to enjoy them also.
Feedback
Characters Remaining
Please Login to Submit a Feedback
Invalid Characters, Please enter a valid Comment
Please enter a valid Comment
Reviewed On
Link is Broken, Please check the URL