2026 Flash Sale
Live Chat
Embroidery Designs
Welcome, Embroiderer
Login
Rag Baby Quilt
{{mainImageAlt || (productInfo._source && productInfo._source.name) || ''}}

Rag Baby Quilt Embroidery Project

By   Barbara Geer   on   August 10, 2011
  • SKILL LEVELExperienced
  • TIME REQUIRED12:00
Description

Soft and Cuddly, Just Like They Like It!

Step of

Materials

Project Preview Video

Materials
  • Any redwork design
  • 1 1/2 yards of two different flannel fabrics
  • Tear-away backing
  • Matching embroidery thread
  • Matching bobbin thread
  • Embroidery machine
  • Sewing machine
  • Cutting mat, rotary cutter, scissors, iron

  • Designs used in this project

    Final Product: What You Will Create


    Step 1:
    (Click Image to Enlarge)
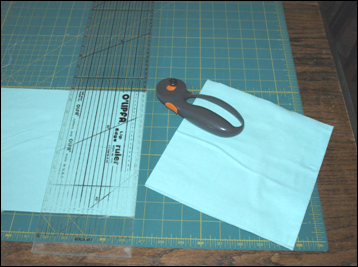
    Cut both pieces of fabric into 8 1/2 inch squares. You need 30 squares of each fabric. With remaining fabric, cut four inch finishing strips for the sides, top and bottom of the quilt.


    Step 2:
    (Click Image to Enlarge)
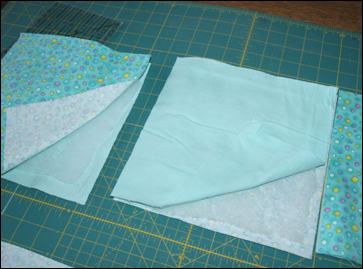
    With wrong sides together and a layer of batting (cut one inch smaller than the squares) sandwiched in between the two squares of contrasting flannel pieces, arrange each row of five squares with alternating fabric styles up.


    Step 3:
    (Click Image to Enlarge)
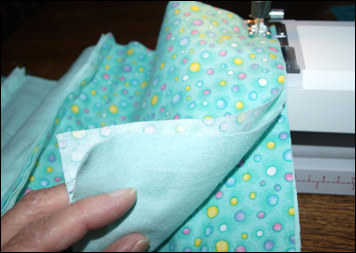
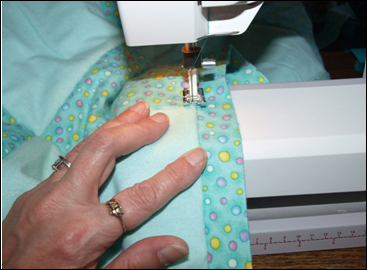
    Stitch squares together with all of the seams facing the same direction. You will be stitching through four layers of fabric. It's easy to get confused during this step. Check it out before you stitch! It will save you a lot of ripping!


    Step 4:
    (Click Image to Enlarge)
    When each row is finished, stitch the rows together, again facing the seams the same direction as the squares. Fold finishing strips in half and press. Stitch to each of the four edges with seams facing the same direction as the squares. Topstitch those strips on the back side of the quilt.


    Step 5:
    (Click Image to Enlarge)
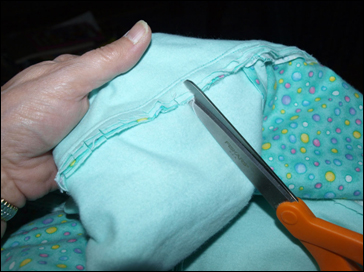
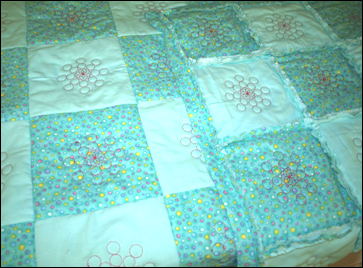
    The stitching is now completed. With sharp scissors, clip all of the seams perpendicular to the stitching at about 1/4 to 1/2 inch intervals. The quilt will start to look "raggy".


    Step 6:
    (Click Image to Enlarge)
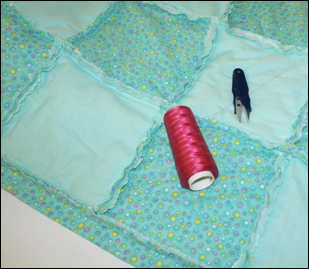
    Choose your embroidery thread. This quilt is for a baby girl, so I chose a bright pink. Put the same color thread on the bobbin so that the quilt looks great on both sides. The embroidery will be the quilting, keeping that batting right where it belongs.


    Step 7:
    (Click Image to Enlarge)
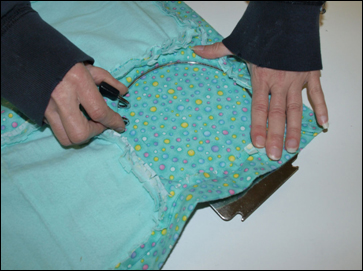
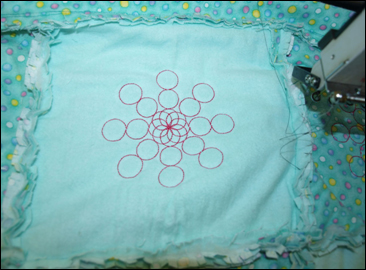
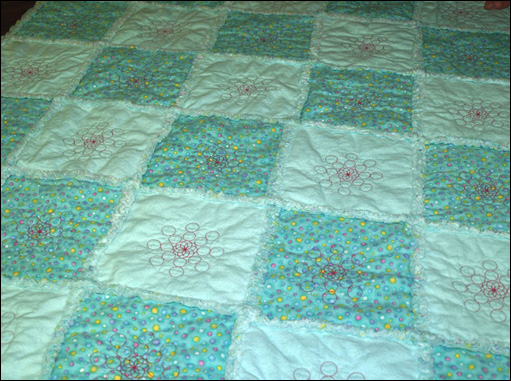
    Hoop each square right in the center and embroider the selected design. I chose a design with circles in it to match the dots of color in my fabric. There is no need for backing. The quilt has enough body to support the embroidery.


    Step 8:
    (Click Image to Enlarge)
    Embroider all 30 squares.


    Step 9:
    (Click Image to Enlarge)
    The right side of the quilt has the rag look. The back side of the quilt has finished seams.


    Step 10:
    Launder the quilt. The action of the washer will loosen the threads of the clipped seams. Dry the quilt in the dryer. Be sure to check and empty the lint screen a couple of times as it will collect the loose pieces of thread that raveled in the washer. This process makes the seams of the rag quilt fuzzy and inviting!
    Meet the Author: Barbara Geer
    Barbara Geer
    Barbara Geer, Creative Director/Digitizer, Grand Slam Designs, an embroidery stock design and contract digitizing operation, has been in the decorated apparel industry since 1990. She is a popular speaker at commercial decorated apparel and home embroidery events. She also is a frequent contributor to commercial and home embroidery publications such as EMB, Stitches, and Printwear. You may reach Barbara at 218-222-3501; e-mail [email protected] or visit her Web site at www.grandslamdesigns.com.
    More From This Author
    Link is Broken, Please check the URL
    Exclusive Embroidery Offers!
    Copyright © {{ currentDate | date:'yyyy'}} - EmbroideryDesigns.com
    GET 50% OFF! ×