Musical-Themed Tablecloth

Musical-Themed Tablecloth Embroidery Project

By   Barbara Geer   on   July 28, 2011
  • SKILL LEVELIntermediate
  • TIME REQUIRED06:00
Description

Enhance your dining experience with this musical-themed tablecloth, perfect for music lovers. It adds a touch of elegance and harmony to any meal setting. Step-by-step instructions are included.

Step of

Materials

Project Preview Video

Materials
  • See preface for cloth sizes
  • Embroidery designs
  • Sewing machine
  • Embroidery machine
  • Black thread and black bobbin thread
  • Tear-away backing
  • Scissors

  • Designs used in this project

    Final Product: What You Will Create

    Preface:
      
     Cloth Size Table Size Table Seats
    SQUARE 52"x 52" 28" x 28" to 40" x 40" 4
     OBLONG 52" x 70" 28" x 46" to 40" x 58"  4-6
     60" x 84" 36" x 60" to 48" x 72"  6-8
     60" x 104" 36" x 80" to 48" x 92" 8-10
    60" x 120"36" x 96" to 48" x 108"10-12
    60" x 144"36" x 124" to 48" x 126"14-16
    OVAL60" x 84"36" x 60" to 48" x 72"6-8
    60" x 104"36" x 36" to 80" x 92"8-10
    ROUND60"36" to 48" diameter4
    70"48" to 58" diameter4-6
    90"66" to 78" diameter4-6


    Step 1:
    (Click Image to Enlarge)
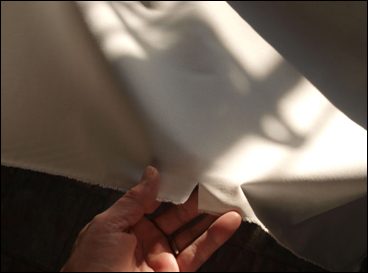
    Choose the tablecloth size. Add one inch to each measurement, allowing for a quarter inch hem all around. To ensure that the fabric is straight, make a small cut on the measured line and tear the fabric across. If there are selvages, tear them away as well.


    Step 2:
    (Click Image to Enlarge)
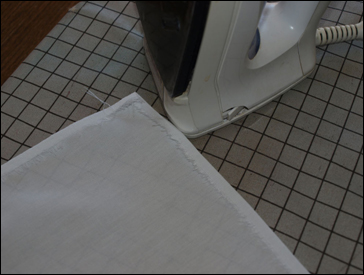
    Turn edges toward wrong side of fabric 1/4 inch and press.


    Step 3:
    (Click Image to Enlarge)
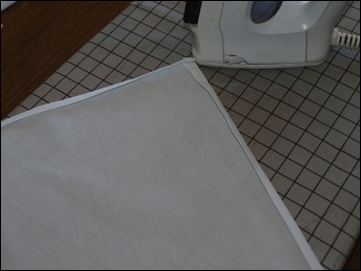
    For easy hemming, turn edges under a second time and press.


    Step 4:
    (Click Image to Enlarge)
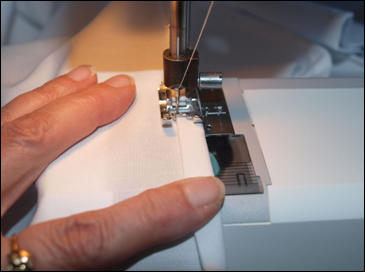
    Stitch hem close to the edge of the turn. Tablecloth is now ready to embroider.


    Step 5:
    (Click Image to Enlarge)
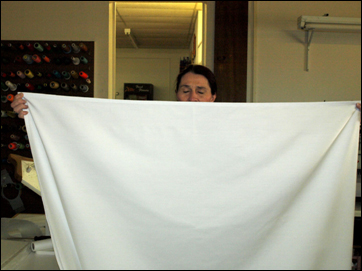
    Find the center by folding the tablecloth in half.


    Step 6:
    (Click Image to Enlarge)
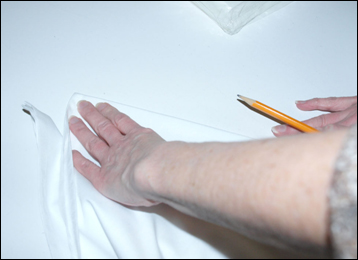
    Mark the center near the edge. On the long sides, fold in half again. Mark both center points near the edge.


    Step 7:
    (Click Image to Enlarge)
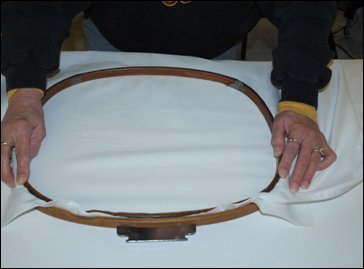
    Layer the cutaway backing and the tablecloth in the hoop, centering the mark made previously.


    Step 8:
    (Click Image to Enlarge)
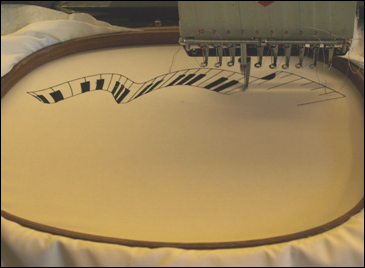
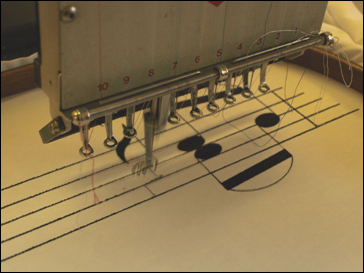
    Trace the design before stitching. Place the design as close to the edge as possible.

    Hint: the design may be rotated 180 degrees for ease in handling the excess fabric of the tablecloth. That way, only the edge of the tabelcloth will be near the working parts of the machine.


    Step 9:
    (Click Image to Enlarge)
    Once the first design is finished, remove the cloth from the hoop. Repeat steps 7 and 8 untill all designs have been embroidered around the cloth. Remove from the hoop and eliminate all tear-away backing.


    Step 10:
    The Finished Product

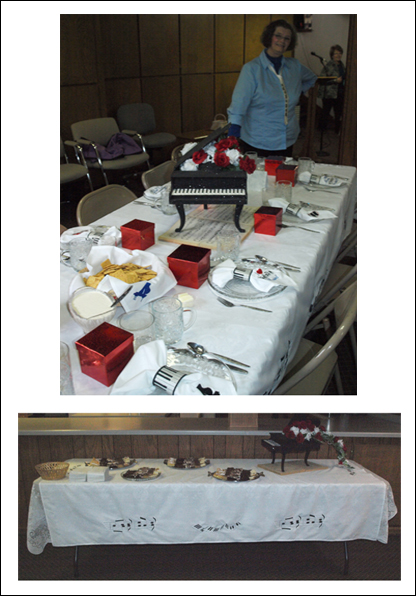
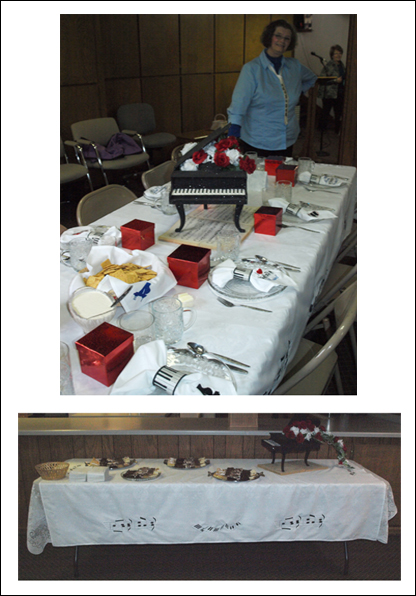
    The Keyboard Tablecloth was used at a Festival of Tables, where each hostess decorated a table in an area of interest. Mine, of course was keyboard music.
    On the same weekend, the tablecloth was used to decorate the treat table following a piano recital.

    (Click Image to Enlarge)

    Meet the Author: Barbara Geer
    Barbara Geer
    Barbara Geer, Creative Director/Digitizer, Grand Slam Designs, an embroidery stock design and contract digitizing operation, has been in the decorated apparel industry since 1990. She is a popular speaker at commercial decorated apparel and home embroidery events. She also is a frequent contributor to commercial and home embroidery publications such as EMB, Stitches, and Printwear. You may reach Barbara at 218-222-3501; e-mail [email protected] or visit her Web site at www.grandslamdesigns.com.
    More From This Author
    Link is Broken, Please check the URL
    Exclusive Embroidery Offers!
    Copyright © {{ currentDate | date:'yyyy'}} - EmbroideryDesigns.com
    GET 50% OFF! ×