














































PROJECT INSTRUCTIONS


PROJECT INSTRUCTIONS
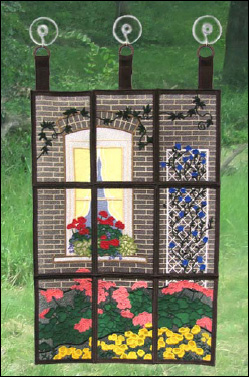
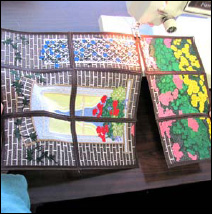
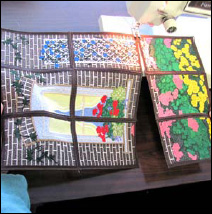
Spring Window and Garden Wall Hanging Embroidery Project
By
Starbird Inc.
on
April 29, 2011
Description
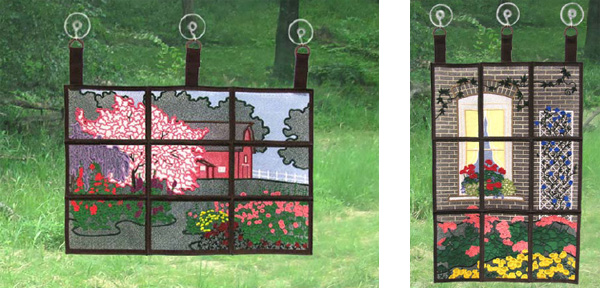
Craft a charming wall hanging featuring a springtime window scene with colorful flowers. Perfect for adding a touch of seasonal beauty to any room. Step-by-step instructions are included.
Step
of
Materials
Project Preview Video

QUICK VIEW
FSL Spring Panel 1
$39.95
$21.97
Circle Price: $21.97

QUICK VIEW
FSL Spring Panel 2
$39.95
$21.97
Circle Price: $21.97

QUICK VIEW
FSL Floral Bouquet
$12.95
$2.49
Circle Price: $2.34

QUICK VIEW
Garden Window Panel
$12.95
$2.49
Circle Price: $2.34

QUICK VIEW
Garden Window Panel
$12.95
$2.49
Circle Price: $2.34

QUICK VIEW
House Window Panel
$12.95
$2.49
Circle Price: $2.34

QUICK VIEW
Home Window Panel
$12.95
$2.49
Circle Price: $2.34

QUICK VIEW
Vine Window Panel
$12.95
$2.49
Circle Price: $2.34

QUICK VIEW
Vining Window Left
$12.95
$2.49
Circle Price: $2.34

QUICK VIEW
Vining Window Right
$12.95
$2.49
Circle Price: $2.34
QUICK VIEW
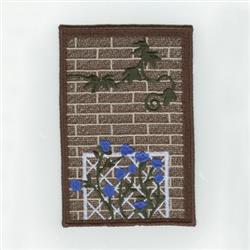
FSL Brick Wall Floral Lace
$12.95
$2.49
Circle Price: $2.34

QUICK VIEW
FSL Garden Flowers
$12.95
$2.49
Circle Price: $2.34

QUICK VIEW
FSL Floral Garden Scene
$12.95
$2.49
Circle Price: $2.34

QUICK VIEW
FSL Pink Floral Lace
$12.95
$2.49
Circle Price: $2.34

QUICK VIEW
FSL Wisteria and Roses
$12.95
$2.49
Circle Price: $2.34

QUICK VIEW
FSL Cherry Blossom Tree
$12.95
$2.49
Circle Price: $2.34

QUICK VIEW
FSL Red Barn Landscape
$12.95
$2.49
Circle Price: $2.34

QUICK VIEW
FSL Floral Arrangement
$12.95
$2.49
Circle Price: $2.34

QUICK VIEW
FSL Flowering Tree
$12.95
$2.49
Circle Price: $2.34
QUICK VIEW
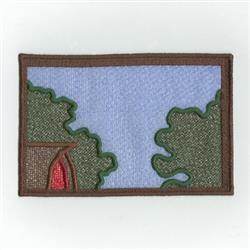
FSL Landscape Hut
$12.95
$2.49
Circle Price: $2.34

Water Soluble Stabilizer - 12" x 25 Yds
$32.46
Circle Price: $29.21
{{ item.name }}
{{ item.listPriceDisplay }}{{ item.salePriceDisplay }}
Circle Price:
{{ item.clubPriceDisplay }}


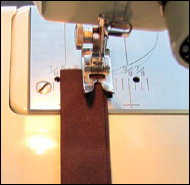
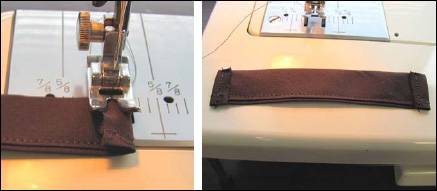
| Materials FSL Spring Panel embroidery designs from any of the FSL Panel Design Packs Ultra solvy or other heavy water soluble stabilizer 10/70 sharp needle/11 sharp or smaller 3 - 1 1/8" plastic rings 3 - pieces of double fold bias tape (each sized at: 5 1/2" long x 7/8" wide) 3 - medium suction cups w/ hooks thread to match border for sewing the panels together spray starch wax paper |
| Designs used in this project |
|
Projects You May Like
Meet the Author:
Starbird Inc.

Starbird Inc. has been digitizing custom embroidery designs for over 25 years. They have seen so many wonderful and creative designs over the years that Starbird decided to create some of their own embroidery stock designs. Starbird Inc. is having a great time creating new and imaginative ideas and would like you to be able to enjoy them also.
Feedback
Characters Remaining
Please Login to Submit a Feedback
Invalid Characters, Please enter a valid Comment
Please enter a valid Comment
Reviewed On
Link is Broken, Please check the URL