














































PROJECT INSTRUCTIONS


PROJECT INSTRUCTIONS
Christmas Cardinals Table Runner Embroidery Project
By
Jackie Woods
on
December 29, 2010
Description
Create a festive table runner featuring vibrant Christmas cardinals. Perfect for holiday gatherings, this table runner adds a touch of seasonal cheer to any dining setting. Step-by-step instructions are included.
Step
of
Materials
Project Preview Video

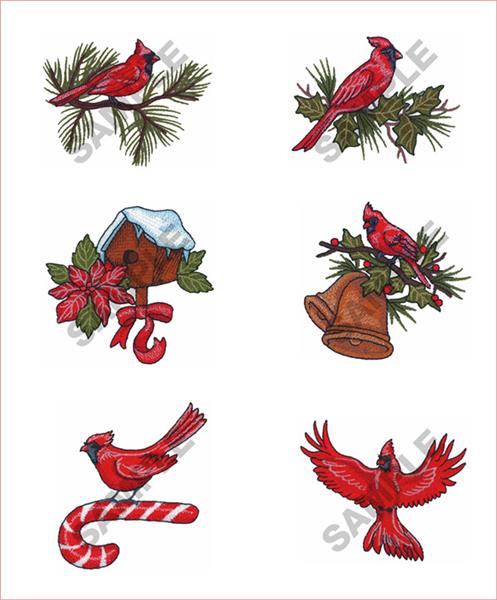
CARDINAL
$7.44
Circle Price: $1.34

CARDINAL ON FLIGHT
$6.69
Circle Price: $3.20

CARDINAL ON CANDY CANE
$5.69
Circle Price: $1.34

CHRISTMAS CARDINAL
$5.69
Circle Price: $1.34

Cut Away Stabilizer - 2.5 Oz wt.
$8.94
$7.15
Circle Price: $7.15

Cut Away Stabilizer - 2 oz wt.
$8.52
$6.82
Circle Price: $6.82

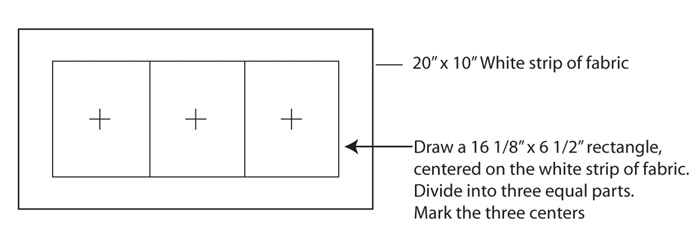
| Materials Two 20" x 10" strips of white fabric 16 1/8" x 22 1/2" piece of Christmas print fabric for the center of the runner 16 1/8" x 34 1/2" piece of low-loft batting 16 1/8" x 34 1/2" piece of backing fabric of choice 32" of trim 230-CRC Christmas Cardinals CD or memory card |
| Designs used in this project |
| Final Product: What You Will Create |
 |
|
Projects You May Like
Meet the Author:
Jackie Woods

Great Notions was started from our extensive history in digitizing custom designs for many years for customers all over the world. Our experience and expertise in digitizing allows us to make affordable patterns unlike what is currently available in the market place. We focus on producing more realistic designs with lots of dimension versus your standard clip art style of designs currently in the market.
Feedback
Characters Remaining
Please Login to Submit a Feedback
Invalid Characters, Please enter a valid Comment
Please enter a valid Comment
Reviewed On
Link is Broken, Please check the URL