





PROJECT INSTRUCTIONS


PROJECT INSTRUCTIONS

Pillow Kids Embroidery Project
By
Starbird Inc.
on
February 05, 2010
Description
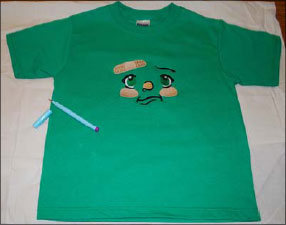
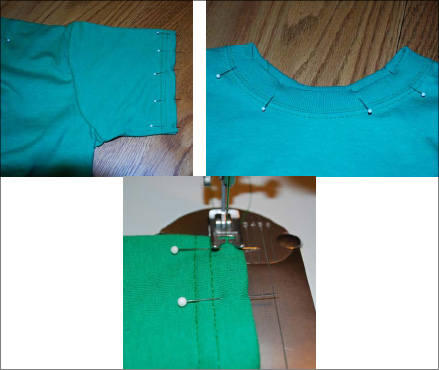
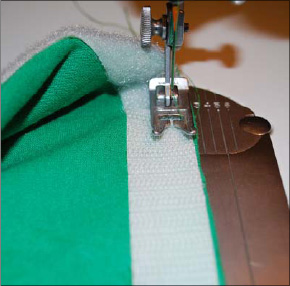
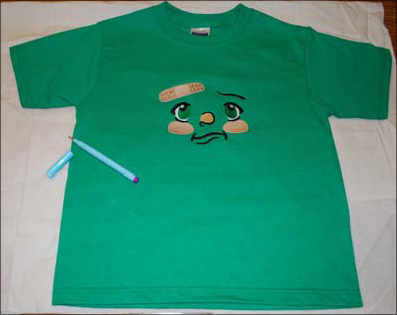
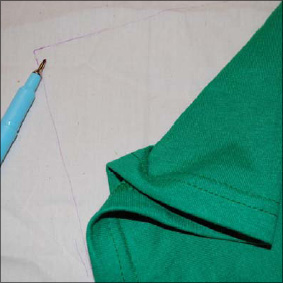
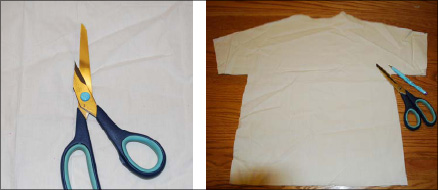
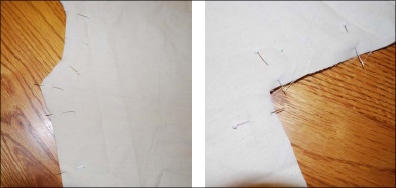
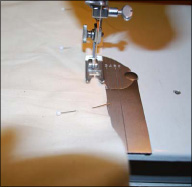
The following instructions will show you how to put the t-shirt pillowcase together and how to create a broadcloth t-shirt pillow to fit inside the t-shirt pillowcase.
Step
of
Materials
Project Preview Video

QUICK VIEW
Raccoon Embroidery Bundle – Cute Designs (47 Designs)
$58.95
$35.37
Circle Price: $35.37

QUICK VIEW
Animal Faces & Tails 1
$38.95
$23.37
Circle Price: $23.37

QUICK VIEW
Raccoon & Skunk Embroidery Bundle – Fun Animal Designs (23 Designs)
$38.95
$23.37
Circle Price: $23.37

QUICK VIEW
Cute Facial Expressions Embroidery Designs Bundle – Smiling, Angry, Sad, & More (12 Designs)
$32.95
$19.77
Circle Price: $19.77

Boo Boo Boy
$8.95
Circle Price: $6.71

Glad Boy
$8.95
Circle Price: $6.71

Happy Girl
$8.95
Circle Price: $6.71

Sleeping Girl
$8.95
Circle Price: $6.71

Cut Away Stabilizer - 2.5 Oz wt.
$8.94
Circle Price: $8.05

Cut Away Stabilizer - 2 oz wt.
$8.52
Circle Price: $7.67

| Materials Youth small T-shirt 2 pieces of 24" x 24" broadcloth (light color) 1 bag poly fiber fill 1 piece of Velcro 18" long Embroidery thread for design and to match T-shirt and broadcloth Scissors Fabric marker Embroidery machine Sewing machine Pillow Kids embroidery file |
| Designs used in this project |
| Final Product: What You Will Create |
 |
|
Projects You May Like
Meet the Author:
Starbird Inc.

Starbird Inc. has been digitizing custom embroidery designs for over 25 years. They have seen so many wonderful and creative designs over the years that Starbird decided to create some of their own embroidery stock designs. Starbird Inc. is having a great time creating new and imaginative ideas and would like you to be able to enjoy them also.
Feedback
Characters Remaining
Please Login to Submit a Feedback
Invalid Characters, Please enter a valid Comment
Please enter a valid Comment
Reviewed On
Link is Broken, Please check the URL