Holiday Flash $1.49
ITH Valentine Card Holder

ITH Valentine Card Holder Embroidery Project

By   Starbird Inc.   on   February 01, 2010
  • SKILL LEVELSome Experience
  • TIME REQUIRED02:00
Description

Create a heartfelt Valentine with this in-the-hoop card holder. Perfect for expressing love and affection, these holders feature charming heart designs and fit standard-size cards. Ideal for Valentine's Day celebrations. Step-by-step instructions are included.

Step of

Materials

Project Preview Video

Materials
  • Valentine Card Applique In The Hoop embroidery design
  • 3 tear away backing pieces (sized to fit your hoop)
  • Bobbin thread to match the thread color of the last color stop
  • Applique fabric pieces - approximately 10" H x 5" W each
  • Velcro strip 1" square (optional)
  • Spray adhesive
  • Scissors

  • Designs used in this project

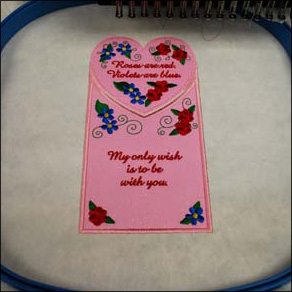
    Final Product: What You Will Create


    Step 1:
    Create your applique pieces.

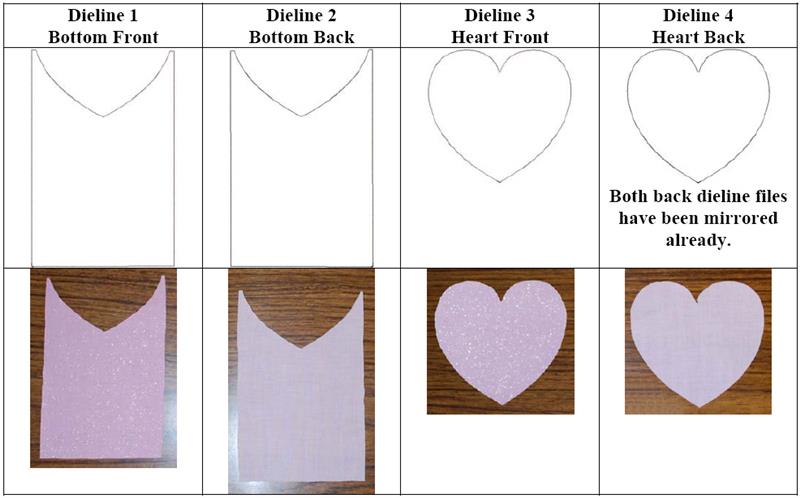
    You can create the applique a couple of different ways. If you have software you can print the dielines and create a template. If not, you could also hoop the applique fabric face up and then embroider the dieline directly on it. Then gently cut along the stitches.

    (Click Image to Enlarge)


    Step 2:
    (Click Image to Enlarge)
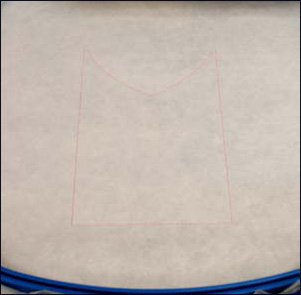
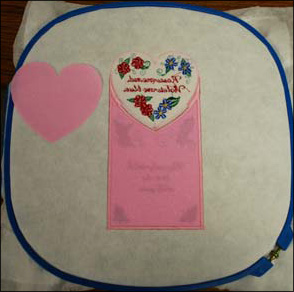
    First hoop 3 pieces of tear away backing in your hoop. Then sew the 1st color stop which is the dieline. (You can now use this as a template to cut both the front and back applique pieces if you want).


    Step 3:
    (Click Image to Enlarge)
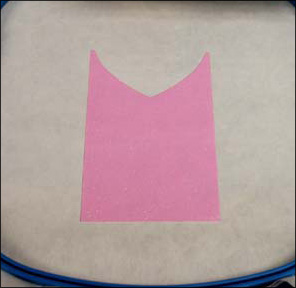
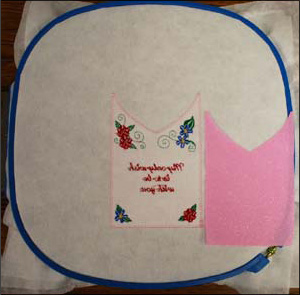
    After the dieline has sewn, stop the machine and place the bottom front applique piece within the dielines. (If you are using your own fabric be sure to use an adhesive spray to keep the fabric in place).


    Step 4:
    (Click Image to Enlarge)
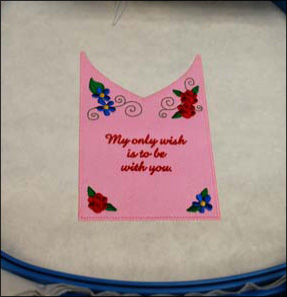
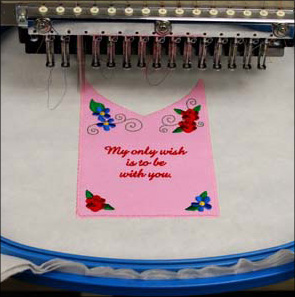
    Start the machine again and embroider the design until the next applique placement stop.


    Step 5:
    (Click Image to Enlarge)
    Remove the hoop from your machine. Do not unhoop the design. Turn the hoop over so you are looking at the back of the design.


    Step 6:
    (Click Image to Enlarge)
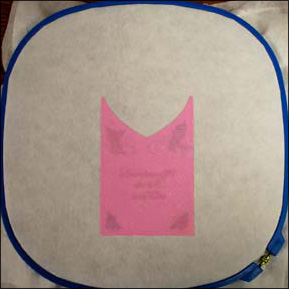
    Now place the bottom back applique piece on the back of the design making sure that the applique piece is secure and will not fall off when you return the hoop to the machine. (Use spray adhesive if you are not using the PSA Twill).


    Step 7:
    (Click Image to Enlarge)
    Carefully return the hoop to your machine and continue embroidering the design.


    Step 8:
    (Click Image to Enlarge)
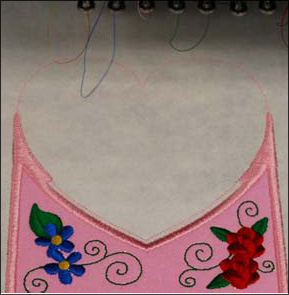
    Now you should see the dieline for the heart, stop the machine and go to the next step.


    Step 9:
    (Click Image to Enlarge)
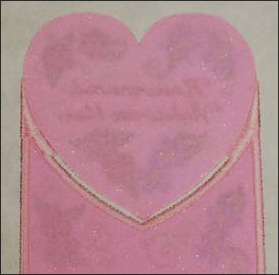
    Place the heart front applique piece within the dielines. (If you are using your own fabric be sure to use an adhesive spray to keep the fabric in place).


    Step 10:
    (Click Image to Enlarge)
    Start the machine again and embroider the design until the next applique placement stop.


    Step 11:
    (Click Image to Enlarge)
    Remove the hoop from your machine. Do not unhoop the design. Turn the hoop over so you are looking at the back of the design.


    Step 12:
    (Click Image to Enlarge)
    Now place the bottom back applique piece on the back of the design making sure that the applique piece is secure and will not fall off when you return the hoop to the machine. (Use spray adhesive if you are not using the PSA Twill).


    Step 13:
    (Click Image to Enlarge)
    Carefully return the hoop to your machine and continue embroidering the design.


    Step 14:
    (Click Image to Enlarge)
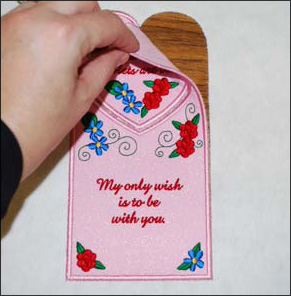
    Remove the design from the hoop and gently tear away the backing from the bookmark. You may need to trim away any excess backing or stray thread.


    Step 15:
    (Click Image to Enlarge)
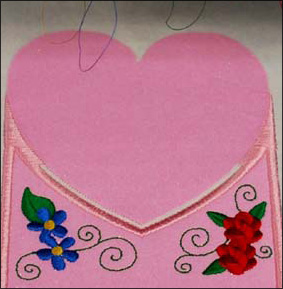
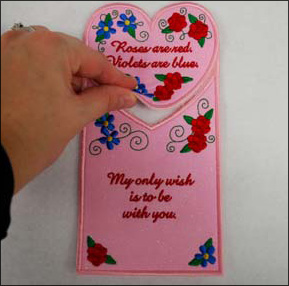
    You will also need to remove the tear away backing just below the heart.


    Step 16:
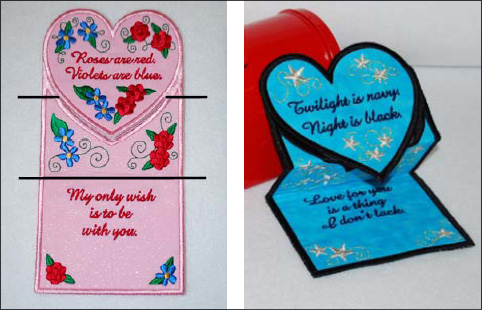
    Fold the card in half along the bottom line shown in the picture. Measure about 3" above the bottom of the card. Then fold the heart back along the top line so it is facing up.


    Step 17:
    (Click Image to Enlarge)
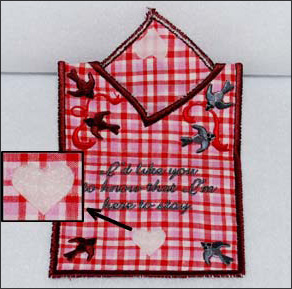
    If you want you can cut a little heart out of the Velcro. Then remove the backing from one side and place it on the back of the heart. Then remove the backing from the other side and close the card. (Let the card sit with the Velcro together so that the Velcro adheres to the fabric).
    Meet the Author: Starbird Inc.
    Starbird Inc.
    Starbird Inc. has been digitizing custom embroidery designs for over 25 years. They have seen so many wonderful and creative designs over the years that Starbird decided to create some of their own embroidery stock designs. Starbird Inc. is having a great time creating new and imaginative ideas and would like you to be able to enjoy them also.
    More From This Author
    Link is Broken, Please check the URL
    Exclusive Embroidery Offers!
    Copyright © {{ currentDate | date:'yyyy'}} - EmbroideryDesigns.com
    GET 50% OFF! ×