This design will require a 5" x 7" or larger embroidery hoop.
Stabilize Linen/Cotton Fabric: we suggest either an iron-on or sticky stabilizer for all cross stitch. Stabilize the linen/cotton fabric and hoop the fabric.
Brown Fur Santa Color Chart: print out and
refer to the color chart included with each machine design file to
stitch the design in the correct color stop order.
Select the correct file type for your machine and stitch the Brown Fur Santa design.
Step 1:
(Click Image to Enlarge)
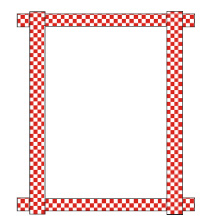
Cutting & Assembling Instructions: After completing your stitching, center Santa embroidery and trim to 7" x 9". From the red fabric cut:
four 1 1/2 squares
two strips 1" x 9 1/2 for top and bottom of center piece
two strips 1" x 10" for each side
Sew the two 9"
strips to the top & bottom of your embroidery, and the two 10"
strips to the sides completing your first border.
Step 2:
(Click Image to Enlarge)
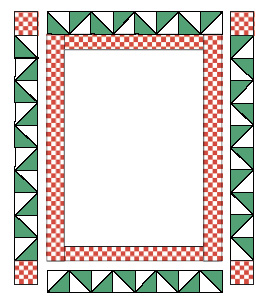
Half-Square Triangle Border: To
construct your second border, you will need a total of 36 one inch half -
square triangles. To rotary cut, place the two 4" x 30" pieces of dark
green and tan fabric right sides together. Make your strips 1 7/8" wide,
measure off squares 1 7/8" and slice once diagonally. Sew the bias
sides of the triangles together, using a 1/4" seam allowance. Press
seams towards dark green triangles.
You may also use Template A as provided should you choose to cut and sew your triangles traditionally by printing out the pattern pieces. Make Templates A and B,
using a medium weight cardboard or template plastic. Cut 36 dark green
and 36 tan triangle A's and follow instructions above on sewing half-square triangles.
Referring to photo for layout of border squares, sew a strip of eight
triangle units together for the top & bottom and 10 for the side
borders. Add your strips to the top and bottom first. To each end of
your side strips of squares, add two 1" check squares. Add border to center panel, matching seams at corners.
Step 3:
(Click Image to Enlarge)
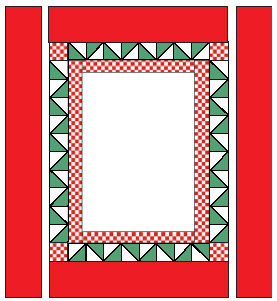
Final Border: For your final border,
cut two 2" x 10 1/2 strips from the red print fabric and sew to top
& bottom, then cut two 2" x 15" strips and attach to sides. Your
beautiful Brown Fur Santa is now ready to finish as a picture of pillow!
Step 4:
Finishing: Layer Santa picture, batting and
remaining piece of dark green fabric; baste or pin. We hand-quilted
1/4" from seam line of first border, all around Santa and diagonally
through each half-square triangle with red quilting thread. After
quilting your design as desired, trim all excess batting, then trim
excess backing to 1" all around quilted design. To construct
self-binding, fold in 1/2" of backing towards picture. Fold again and
pin and sew to quilt. You may also make into a pillow by adding
purchased polyester stuffing.
Donna Vermillion Giampa, the much-loved designer of Vermillion Stitchery, has been creating needle works of art since 1980. Her wide range of work has appeared in Janlynn kits, Leisure Arts and ASN leaflets, Sudberry House kits, and in the magazines and books of leading publishers like Just Cross Stitch and Better Homes and Gardens.