














































PROJECT INSTRUCTIONS


PROJECT INSTRUCTIONS
Paper Doll with Outfit Set Embroidery Project
By
Starbird Inc.
on
March 03, 2009
Description
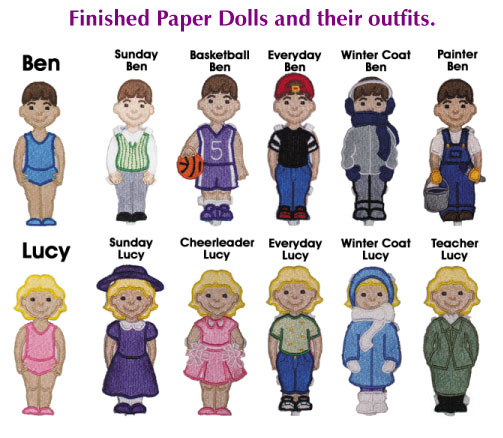
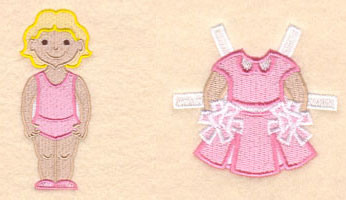
Create charming paper dolls with interchangeable outfits, featuring characters like Ben and Lucy in various themes. Perfect for imaginative play or as a unique craft project. Step-by-step instructions are included.
Step
of
Materials
Project Preview Video

QUICK VIEW
Vintage Paper Doll Clothing Embroidery Designs Bundle – Basketball Jersey, Dress, Hat & More (14 Designs)
$32.95
$18.12
Circle Price: $18.12

QUICK VIEW
Lucy
$8.95
$4.48
Circle Price: $4.33

QUICK VIEW
Cheerful Boy
$8.95
$4.48
Circle Price: $4.33

QUICK VIEW
Lucys Winter Coat
$7.95
$3.98
Circle Price: $3.83

QUICK VIEW
Winter Human Figure
$7.95
$3.98
Circle Price: $3.83

QUICK VIEW
Basketball Player Jersey
$6.95
$3.48
Circle Price: $3.33

QUICK VIEW
Lucys Teacher Uniform
$6.95
$3.48
Circle Price: $0.00

Lucys Sunday Outfit
$6.95
$3.48
Circle Price: $3.33

Lucys Everyday Outfit
$6.95
$3.48
Circle Price: $3.33

QUICK VIEW
Lucys Cheerleading Outfit
$6.95
$3.48
Circle Price: $3.33

QUICK VIEW
Human Figure Attire
$6.95
$3.48
Circle Price: $3.33

QUICK VIEW
Blue Overalls and Gloves
$6.95
$3.48
Circle Price: $3.33

Bens Everyday Outfit
$6.95
$3.48
Circle Price: $3.33

Bens Everyday Hat
$3.89
$1.95
Circle Price: $1.80

Lucys Sunday Hat
$3.89
$1.95
Circle Price: $1.80

Cut Away Stabilizer - 2.5 Oz wt.
$8.94
Circle Price: $8.05

Cut Away Stabilizer - 2 oz wt.
$8.52
Circle Price: $7.67

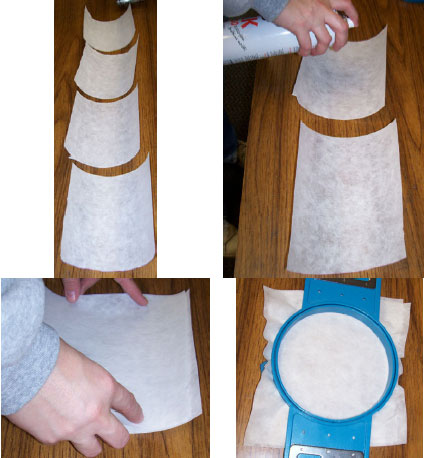
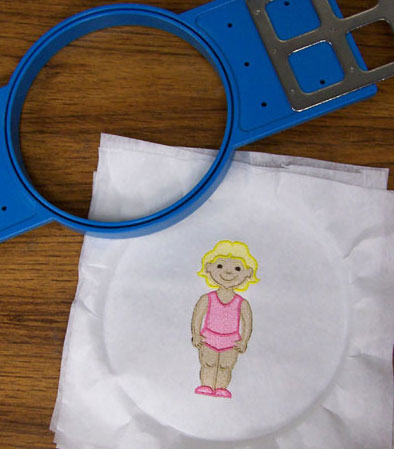
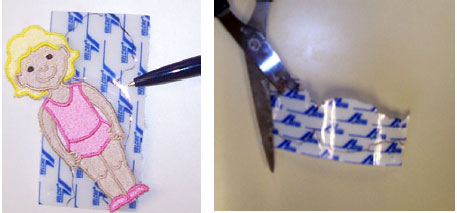
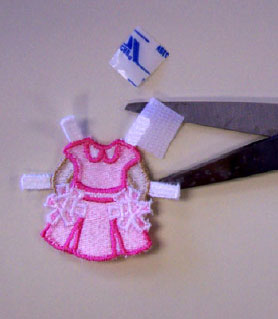
| Materials 1 Doll Embroidery Design 1 Doll Outfit Embroidery Design 7 Tear Away Backing Pieces (Sized to fit in your hoop). If you are embroidering a hat you will need 3 more pieces of backing 2 to 3 Velcro Strips 4" x 2" Spray Adhesive Marker or Pen Scissors |
| Designs used in this project |
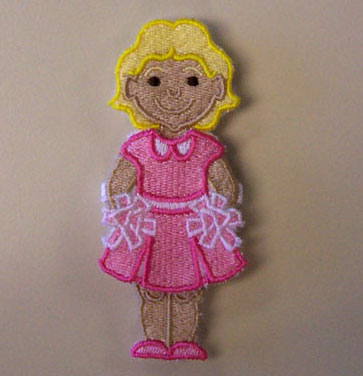
| Final Product: What You Will Create |
 |
|
Projects You May Like
Meet the Author:
Starbird Inc.
Starbird Inc. has been digitizing custom embroidery designs for over 25 years. They have seen so many wonderful and creative designs over the years that Starbird decided to create some of their own embroidery stock designs. Starbird Inc. is having a great time creating new and imaginative ideas and would like you to be able to enjoy them also.
Feedback
Characters Remaining
Please Login to Submit a Feedback
Invalid Characters, Please enter a valid Comment
Please enter a valid Comment
Reviewed On
Link is Broken, Please check the URL