Border OptionsHugging border, circle, square, or rectangle — with a 3mm satin stitch.
Backing OptionsAvailable with iron-on, sew-on, or velcro backing.
Fast ShippingShipped quickly from the USA.
Free Online Tools
Powerful embroidery utilities that save time and prevent costly mistakes.
Stitch AssistantRECOMMENDED
Get the exact stabilizer, machine settings, needle, and thread color sequence for every embroidery design you purchase — based on that design's stitch density, dimensions, and color count.
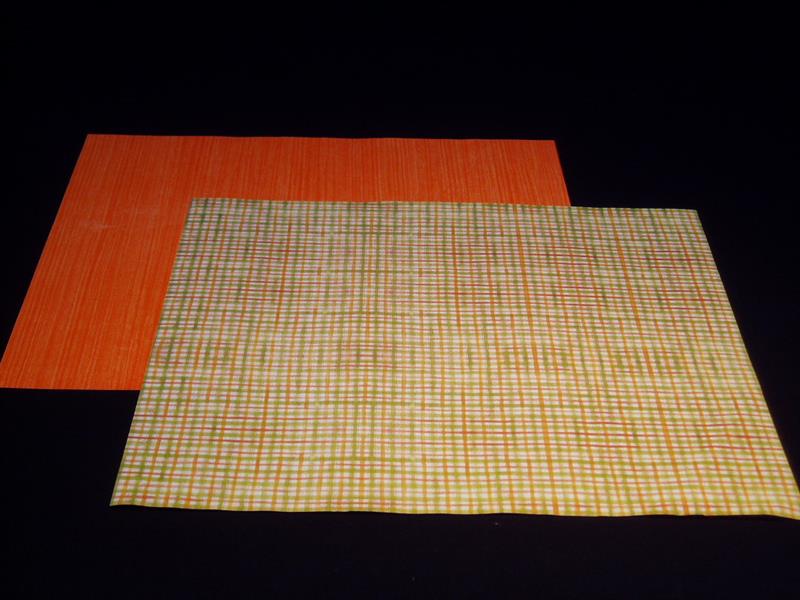
Choose 2 pieces of 12”x12” paper – one should be a
solid color or a pattern that will show embroidery well. The other
should be a coordinating pattern.
(Click Image to Enlarge)
Step 2:
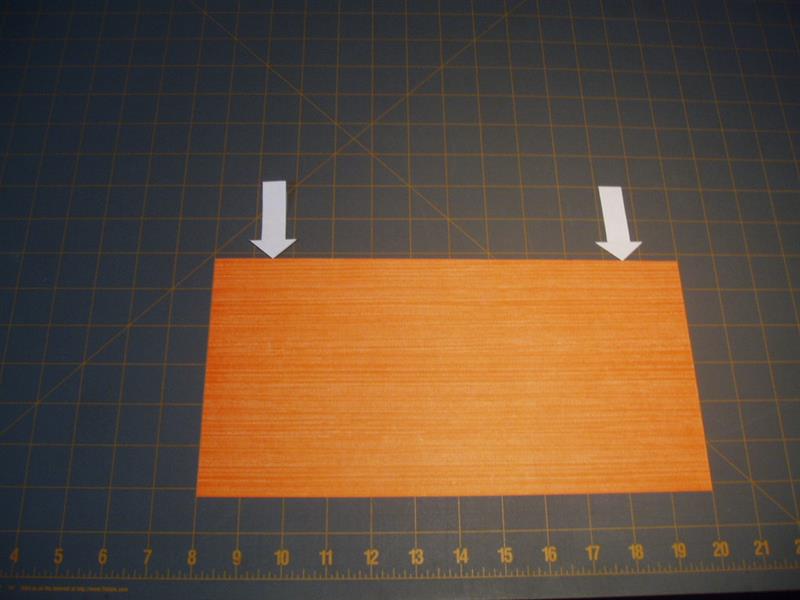
Cut both pieces of paper in half. Pull out one of the 6”x12” solid pieces. Put the others aside for later.
Step 3:
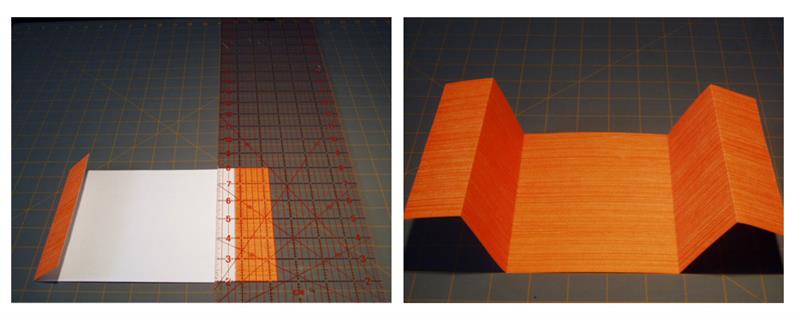
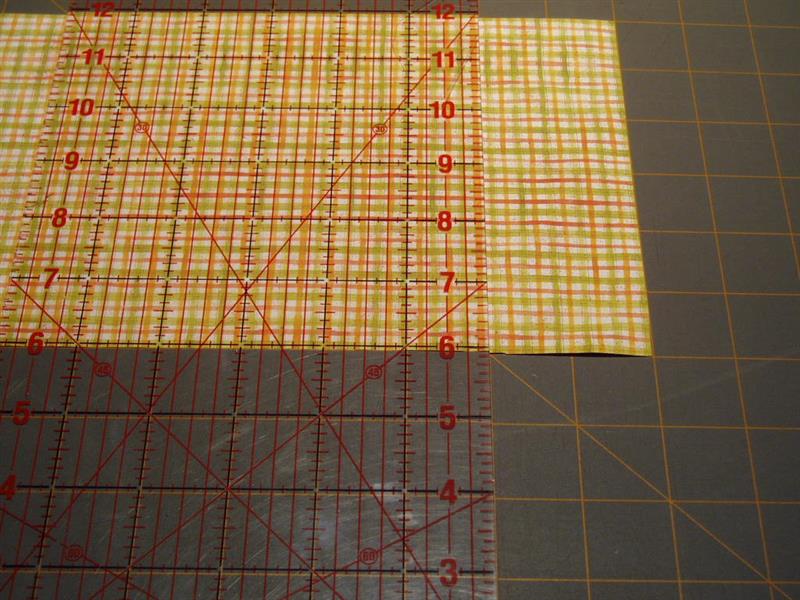
On the right side of the paper, score 1 ½” from both ends. Crease the folds.
(Click Image to Enlarge)
Step 4:
On the wrong side, score 2 ¼” from each fold. Crease the folds.
(Click Image to Enlarge)
Step 5:
Embroider the Card
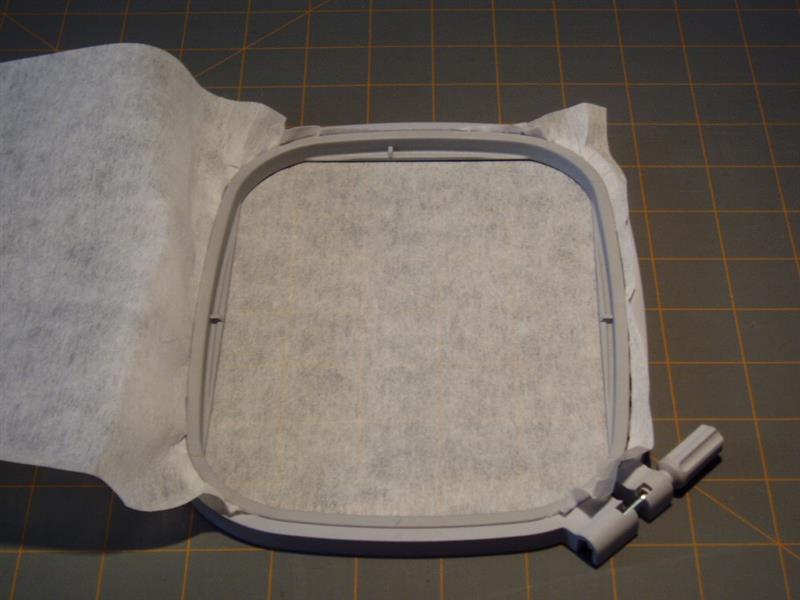
Hoop a piece of tear-away stabilizer.
(Click Image to Enlarge)
Step 6:
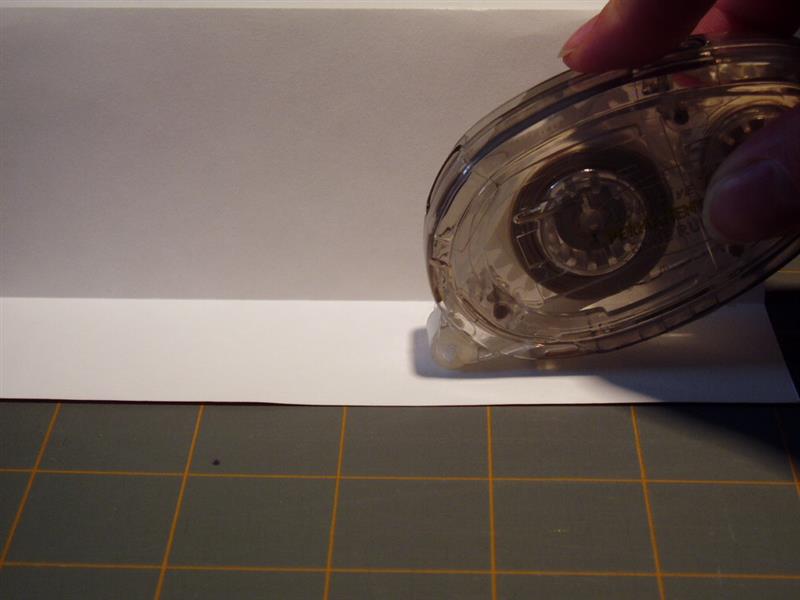
On the back of the front flap, apply a small amount of double-sided tape.
(Click Image to Enlarge)
Step 7:
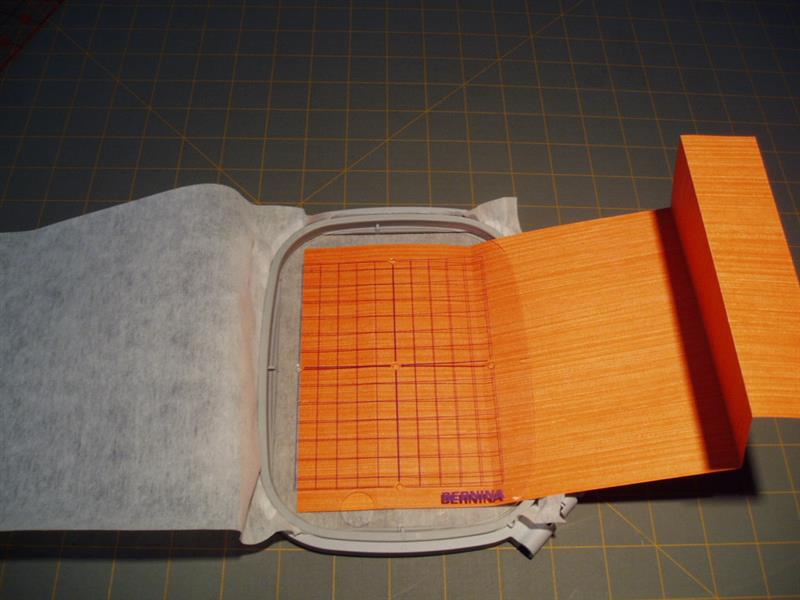
Use your hoop template to place the paper in the hoop. Place the flap
near one edge of the template, and center vertically. Firmly press the
flap so that the tape sticks to the stabilizer.
(Click Image to Enlarge)
Step 8:
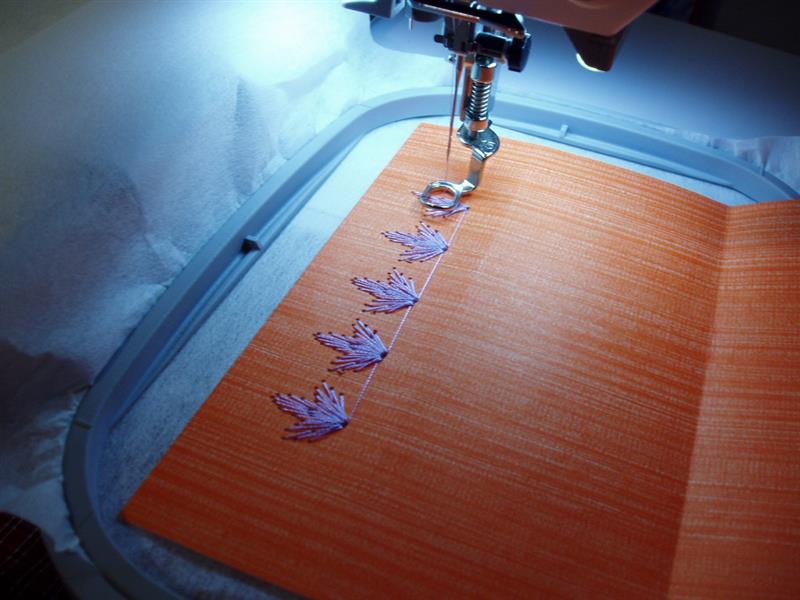
Gently place the hoop in the machine and embroider.
(Click Image to Enlarge)
Step 9:
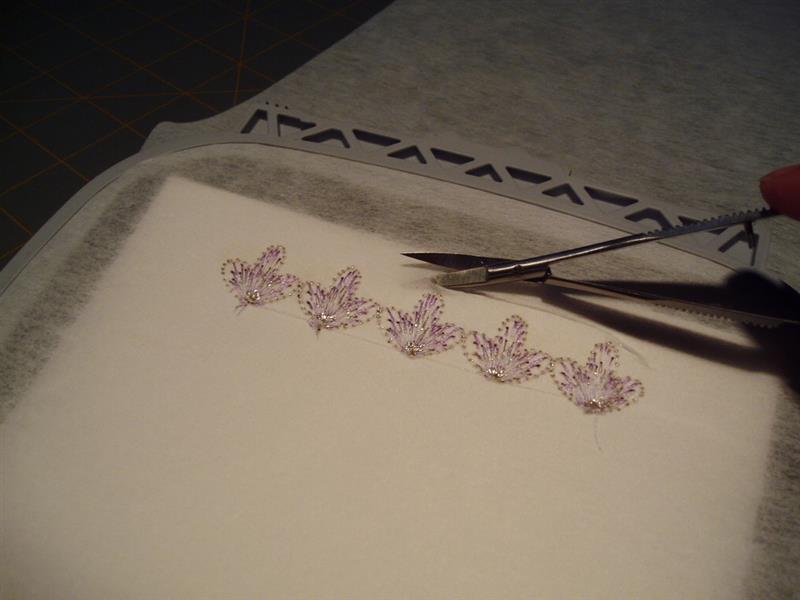
Remove the hoop from the machine. Turn the hoop over and cut the design out of the stabilizer using small scissors.
(Click Image to Enlarge)
Step 10:
Use the same hooped stabilizer (even with a hole in it!) to embroider
the other flap. Use double-sided tape to attach the second flap to the
other side of the hoop.
Step 11:
Stitch the Appliqués
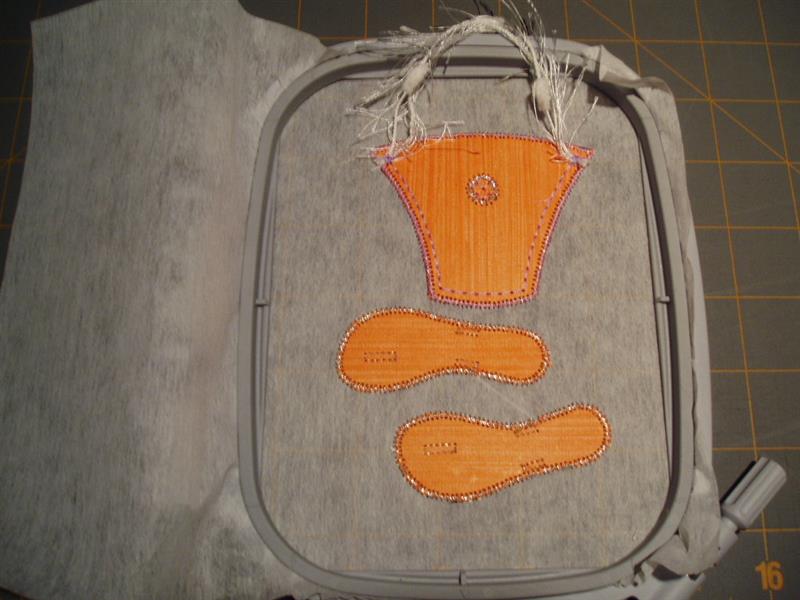
Hoop another piece of tear-away stabilizer. Follow
the instructions with the embroidery designs to appliqué the purse and
sandals directly to the tear-away stabilizer. If your hoop is large
enough (the hoop shown is 4”x6”), you can appliqué the purse and sandals
at the same time.
(Click Image to Enlarge)
Step 12:
Carefully cut the purse and sandals out of the stabilizer. (I have
skipped the sandal strap sequence in the embroidery design so that I can
attach the straps with decorative brads instead. If you prefer, you can
attach the straps with embroidery while the design is still in the
hoop.)
Step 13:
Sandal and Purse Details
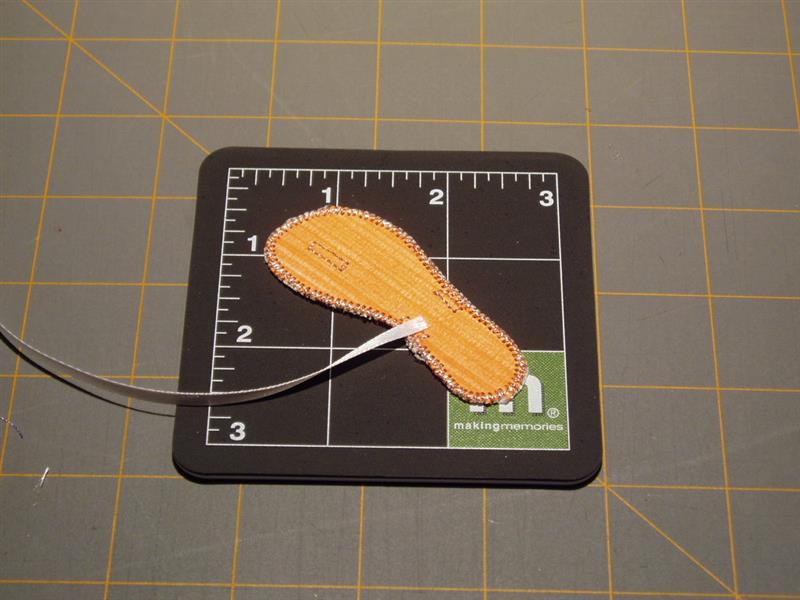
Place a sandal on the setting mat. Cut a 4” piece of
1/8” ribbon and place over the embroidered guides for the straps. Use a
hand-held hole punch to punch a small hole through the ribbon and sandal
in each of the three marked areas. Repeat for the other sandal.
(Click Image to Enlarge)
Step 14:
Attach the ribbon with decorative brads.
Step 15:
Place both sandals on the cutting mat. Punch a hole through both heels
and insert an eyelet. Turn the sandals over and set the eyelet. Set the
sandals aside.
Step 16:
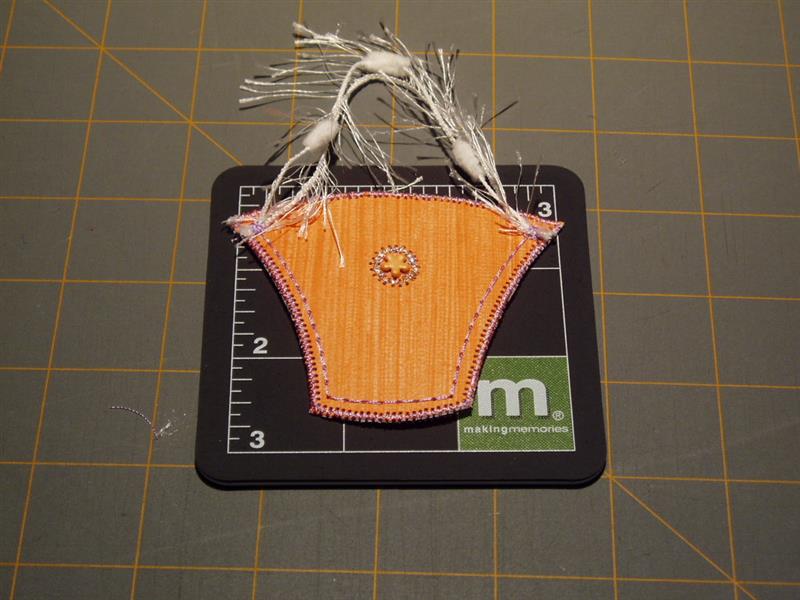
Insert an eyelet in the front of the purse.
(Click Image to Enlarge)
Step 17:
Use a decorative rotary blade or scissors to cut a two inch strip from
the patterned paper. Cut two of these. Use double-sided tape to adhere
these under the flaps with the decorative edge facing out.
(Click Image to Enlarge)
Step 18:
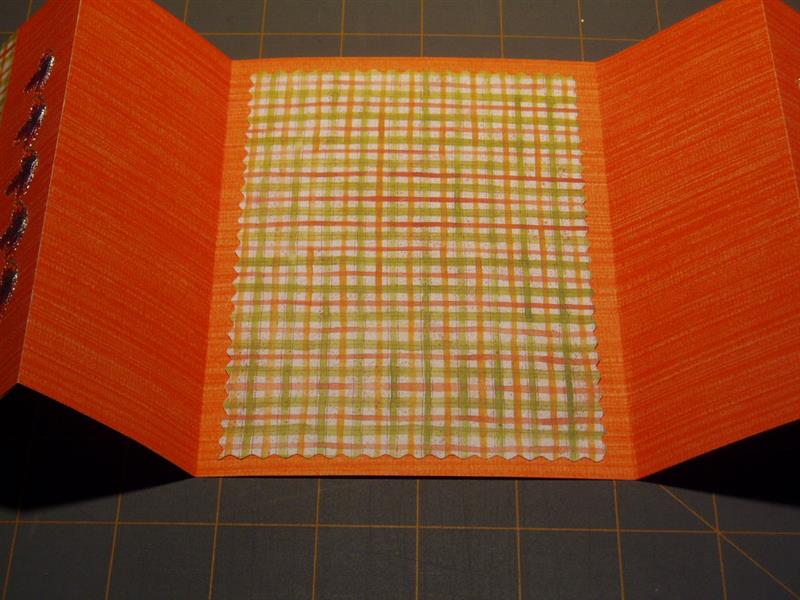
Cut a 4” x 5 ½” piece out of the decorative paper.
(Click Image to Enlarge)
Step 19:
Use double-sided tape to attach it to the inside of the card.
Step 20:
Cut two 1 ½” strips of decorative paper.
Step 21:
Use double-sided tape to attach the strips on either side of the card.
Step 22:
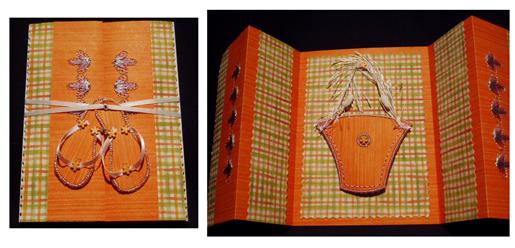
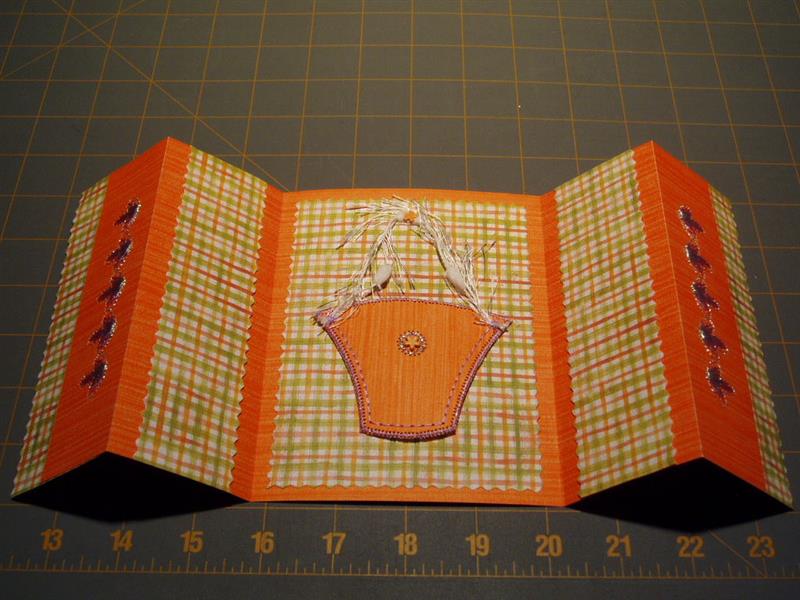
Use an eyelet to attach the purse to the card. Another option is to sew
the sides and the bottom of the purse to the card. Leave the top open to
create a pocket for a note.
(Click Image to Enlarge)
Step 23:
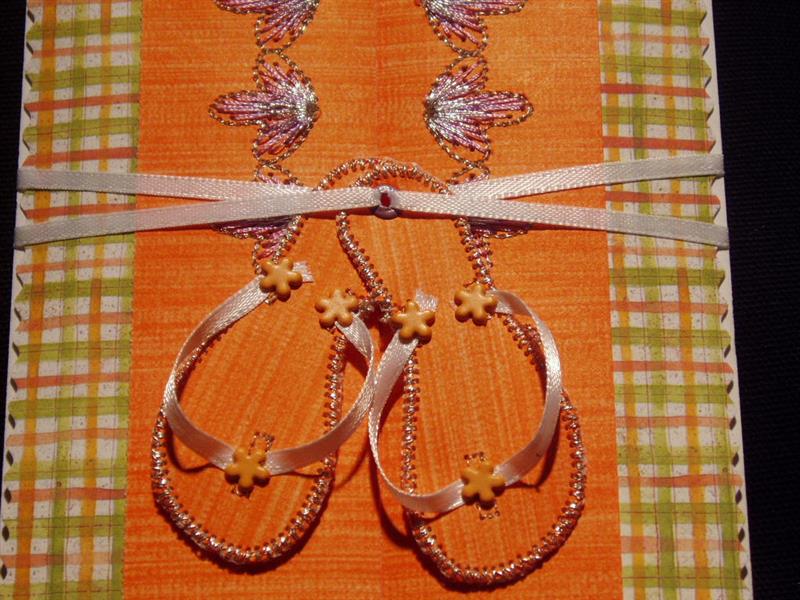
Thread 1/8” ribbon through the eyelet in the sandals. Wrap the ribbon around the card and tie it off.
Shelly teaches mathematics in Pocatello, Idaho. In her spare time, she sews, crochets, and digitizes, and serves as a scratching post for Pelé the Cat.