

Digitizing Designs for Maximum Productivity Embroidery Project
Tips for keeping constant production at top efficiency levels.
Materials
Project Preview Video

Cut Away Stabilizer - 2.5 Oz wt.

Cut Away Stabilizer - 2 oz wt.
Tips for keeping constant production at top efficiency levels.
Do you sometimes feel the need to manufacture time? I sure do! While we can’t turn our bodies into factories adding time like employees to a line, we can make better use of the hours we have, saving precious minutes that can be used for other projects. In a typical day in our little shop, we see and talk to customers, some of whom require vast amounts of time for perusing and decision making. We work on designs for orders. We have embroidery machines running on one side of the building and printing on the other. The phones are ringing, the fax machine spews paper, and then there is snail mail and e-mail to contend with. To survive all this and be profitable, it’s imperative that we have constant production at top efficiency levels. One of the best ways to achieve that goal is found in the design set-up. By understanding what it takes for efficient production, you can digitize accordingly. Minimizing stitch counts and trims are just two examples. Keeping your machine in good working order and changing out needles regularly help eliminate thread breaks decreasing downtime. Analyzing the Designs The first step before you start digitizing is to analyze the design. You have two goals in mind: maintain the integrity of the image while digitizing it to run smoothly and quickly. For most designs, it’s more efficient to digitize from the “back” to the “front.” You’ll also need to evaluate what types of stitches to use for fills, columns and outlines. Underlay is another big consideration. You have to decide how much and what type. Proper underlay ensures you have good coverage and allows you to make specific areas of the design stand out giving the finished piece dimension and texture. All of these considerations are important, because no matter how efficient the design, if the rendition is not beautiful, the customer will not be back. Minimize Stitch Counts Most designs are too stitch intensive, and this is caused by the fill pattern. Changing the parameters for fills, columns, and stitch lengths in the software program results in significantly lower stitch counts. A design with fewer stitches ordinarily means fewer or no thread breaks on a well-maintained machine. Since each program has its own language, I can’t tell you exactly where to set your specific numbers. Practice with fills at different densities until you find the one that is the most efficient for you. Column density is another variable that can be adjusted to meet the needs of both the design and the garment. Wide columns require a higher density than narrow columns. The narrower the column, the less density required. If the column is very narrow, particularly when under one millimeter, turn it into a run stitch to save even more time and eliminate machine problems. Columns generally require underlay, but run stitches do not. Create underlay stitches for the garment type and kind of stitch. Woven fabrics and caps are easy. They provide a strong, solid foundation for embroidery allowing the thread to sit on top the garment. Knits, however, are like a sponge absorbing thread. So be aware that underlay will vary from fabric to fabric. |
Much more underlay is necessary when embroidering on knits than wovens. If the job is on a woven fabric, eliminate excessive underlay. Stand-alone columns need only a center walk underlay, while columns that border a fill may need an edge walk, adding twice as many stitches, but necessary for a clean distinctive edge. One of the greatest compliments one can receive as a digitizer is that the designs run trouble free. The easiest way to get one of those acclaims is to reduce the stitch count wherever possible. This is also the best way to have designs run productively as possible. Examples 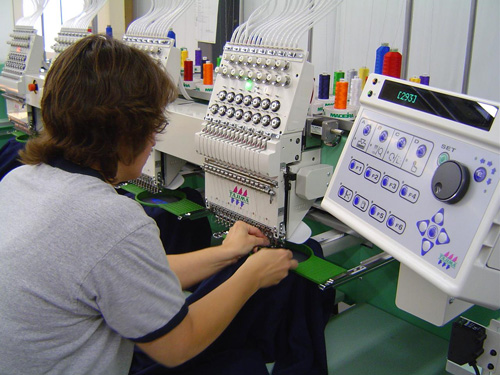 One of the biggest killers of embroidery productivity is thread breaks. By keeping your machine well maintained and minimizing stitch counts, you can lower your chances of frequent thread breaks. Photo courtesy of Mind’s Eye Graphics, Decatur, Ind. One of the biggest killers of embroidery productivity is thread breaks. By keeping your machine well maintained and minimizing stitch counts, you can lower your chances of frequent thread breaks. Photo courtesy of Mind’s Eye Graphics, Decatur, Ind.
|